

Easy Crochet Baby Jumper Pattern: A Step-by-Step Beginner-Friendly Guide
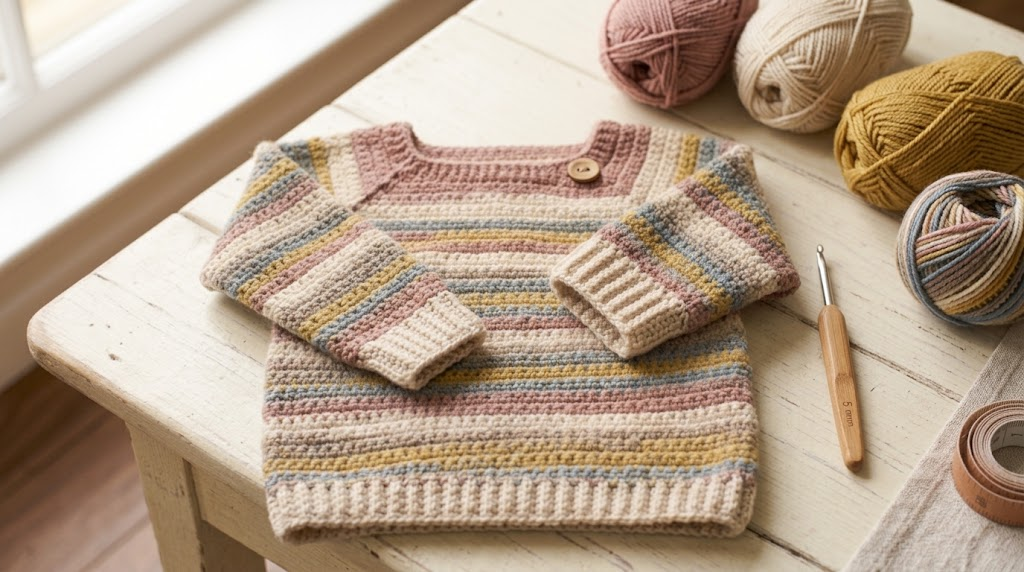
A handmade baby jumper is one of those crochet projects that feels extra special. It is practical, adorable, and small enough that you can see your progress quite quickly. I especially like baby jumpers because you can keep the design simple while still adding beautiful details through texture, ribbing, and color.
In this guide, I’m sharing an original crochet baby jumper pattern worked in separate front and back sections, followed by the sleeves, neckline, hem, and finishing details. The construction is beginner-friendly, but I recommend taking your time with the gauge and measurements because baby garments need a comfortable fit.
This pattern is designed as a simple template for approximately 6–12 months. You can adjust the length or width by adding or removing rows.
What You’ll Need
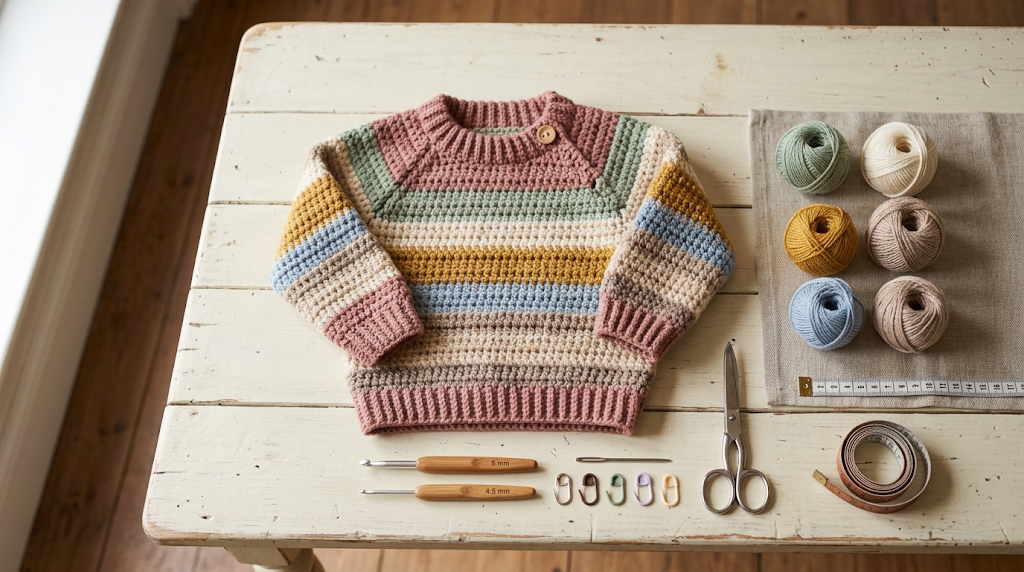
- Worsted-weight yarn, approximately 400–500 yards
- 5 mm crochet hook
- 4.5 mm crochet hook for ribbing
- Tapestry needle
- Stitch markers
- Scissors
- Measuring tape
- One small baby-safe button
For yarn, I recommend choosing a soft worsted-weight yarn that is comfortable against delicate skin. A smooth acrylic or acrylic-blend yarn is usually easy to work with, washable, and practical for baby clothing.
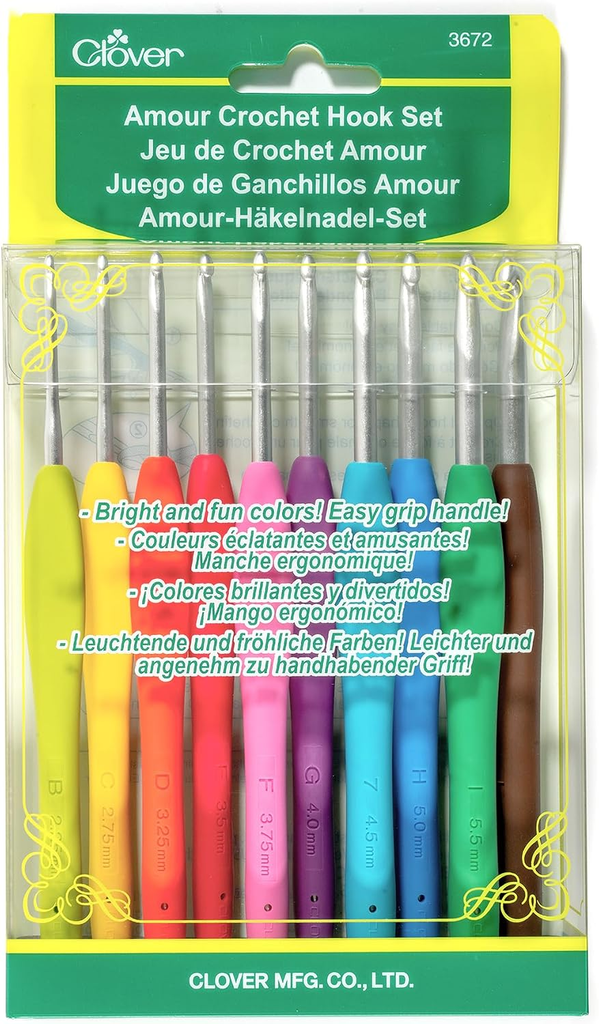
Helpful Amazon Pick #1: Ergonomic Crochet Hook Set
An ergonomic hook set can be useful if you make several baby garments or crochet for long periods. I prefer hooks with comfortable handles because they make repetitive rows easier on the hands, especially when working a textured stitch.
When shopping on Amazon, look for a set that includes 4.5 mm and 5 mm hooks, since both sizes are useful for this project.
Gauge
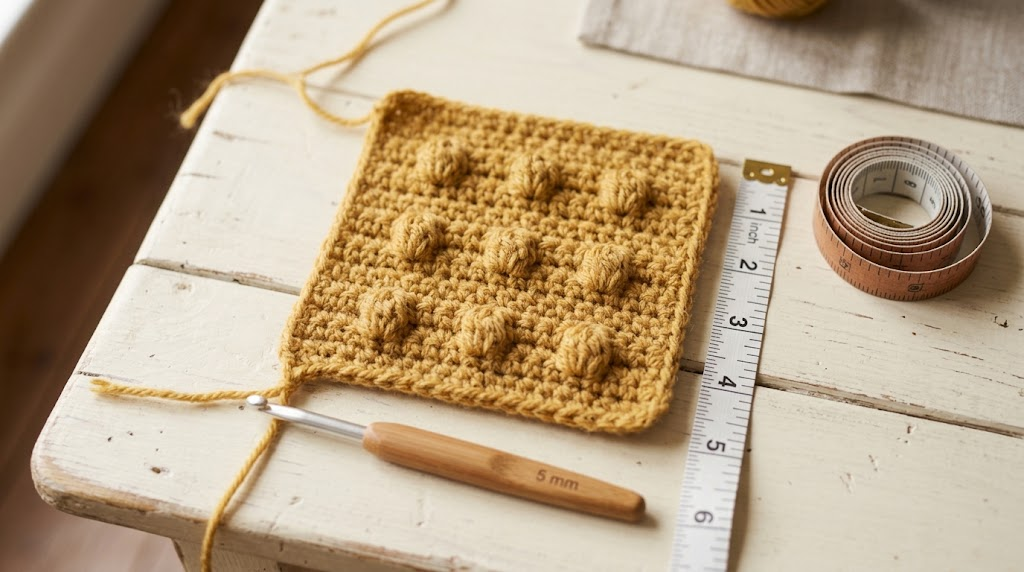
Before beginning the jumper, make a small swatch.
Chain 20 and work several rows of half double crochet.
Your goal is approximately 4 inches across and 4 inches tall, although the exact gauge will depend on your yarn and tension.
If your swatch is too large, try a smaller hook. If it is too small, move up to a larger hook.
For baby clothing, I strongly recommend measuring your gauge rather than skipping this step.
Abbreviations
US crochet terms:
- ch — chain
- sc — single crochet
- hdc — half double crochet
- dc — double crochet
- sl st — slip stitch
- st — stitch
- BLO — back loop only
- sk — skip
- rep — repeat
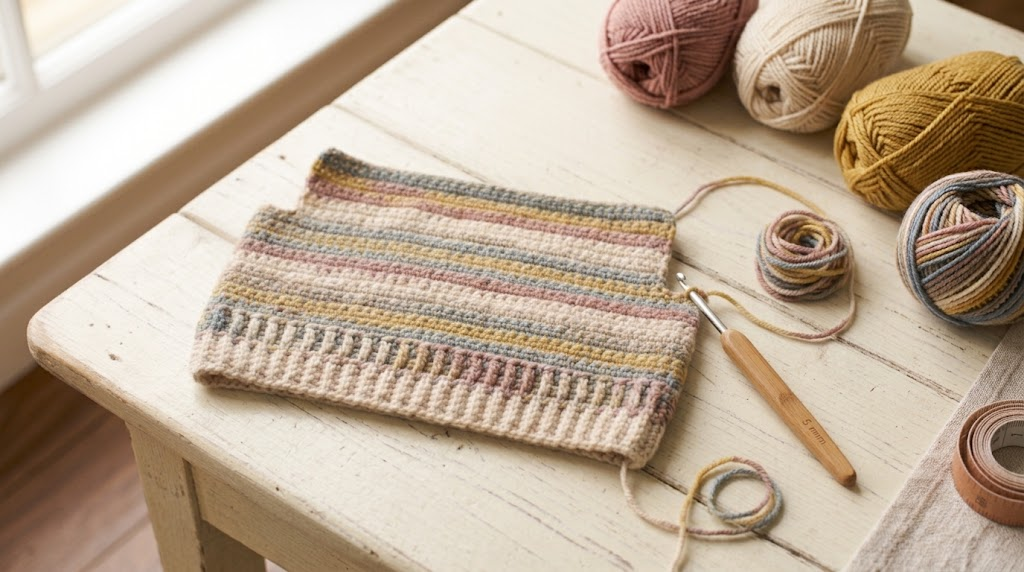
Step 1: Crochet the Back Panel
With your 5 mm hook, chain 52.
Row 1
Work 1 hdc into the second chain from the hook and 1 hdc across.
You should have 51 hdc.
Chain 1 and turn.
Row 2
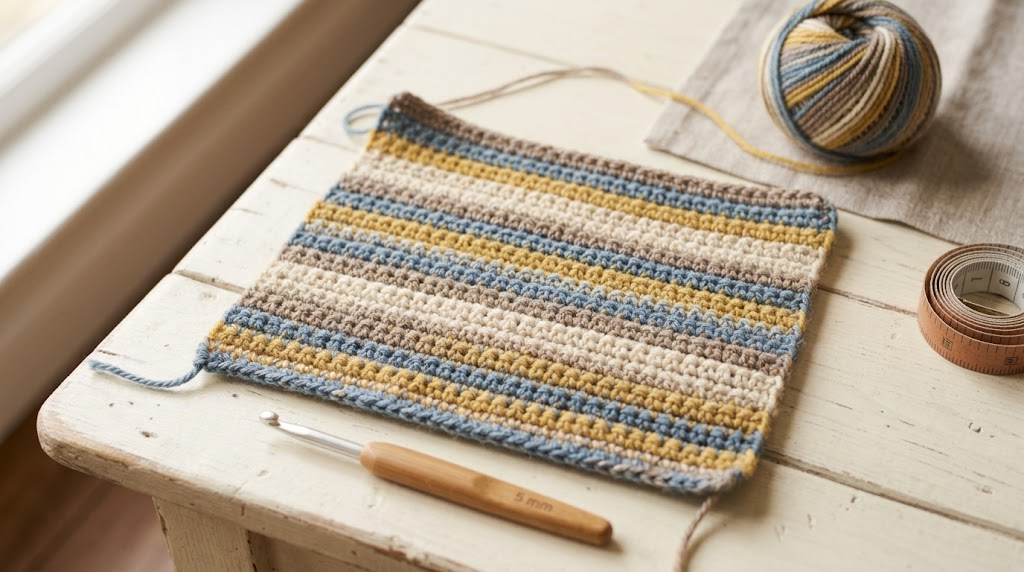
Work 1 hdc in the first stitch.
Then work 1 front-post double crochet around the next stitch and 1 hdc in the following stitch.
Repeat this simple texture across the row.
The combination creates a subtle raised texture without making the fabric too thick.
Chain 1 and turn.
Row 3
Work 1 hdc across the entire row.
Rows 4–20
Repeat Rows 2 and 3.
Keep your edges as straight as possible. I recommend counting the first few rows carefully because losing even one stitch can gradually make a baby garment narrower.
At the end of Row 20, fasten off.
You now have the back panel.
Step 2: Make the Front Panel
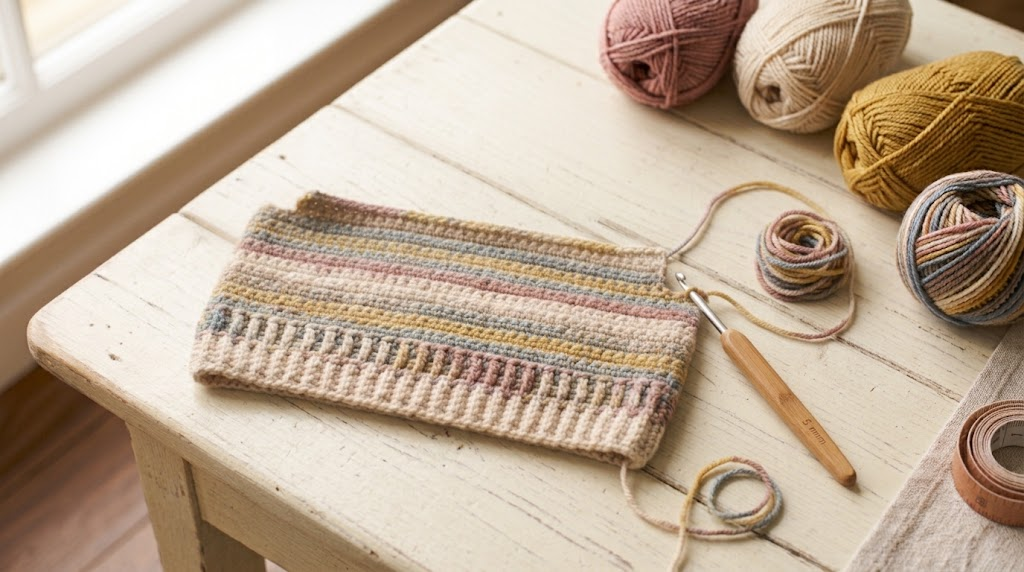
The front panel begins the same way.
Chain 52 with the 5 mm hook.
Row 1
Work 1 hdc into the second chain and 1 hdc in every chain across.
Chain 1 and turn.
Row 2
Repeat the textured sequence from the back panel:
1 hdc, 1 front-post dc, 1 hdc, then repeat.
Rows 3–17
Continue alternating the plain hdc row with the textured row.
The front panel is intentionally slightly shorter at this stage because we are going to create a simple neckline.
Step 3: Shape the Front Neckline
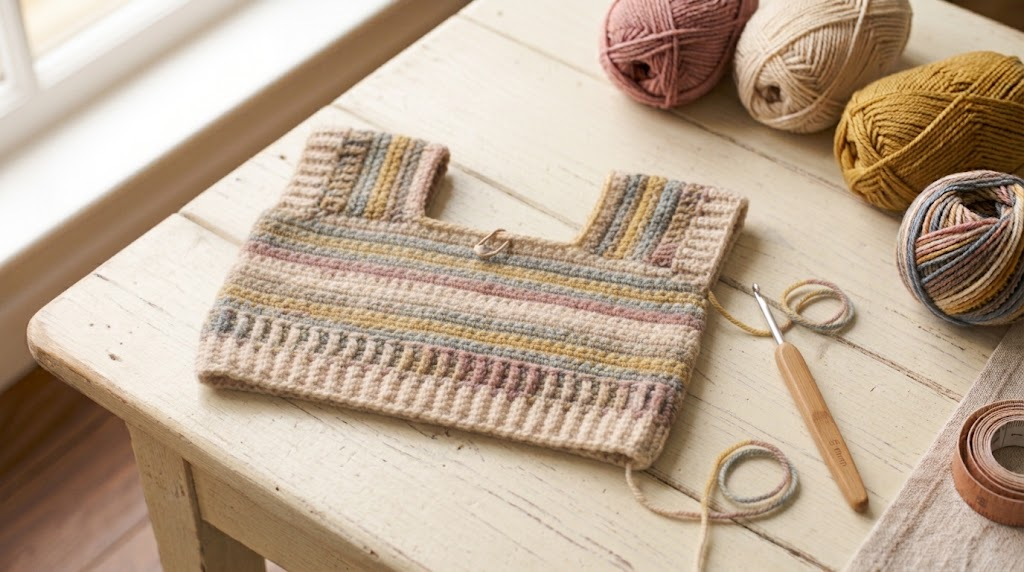
Place a marker around the center of the front panel.
For this size, leave approximately 15 stitches unworked in the middle.
Work across the first side until you reach the marked neckline area.
Turn and continue working only across this shoulder section for approximately 3 rows.
Fasten off.
Rejoin yarn on the opposite side of the neckline and repeat the same shaping.
Try to make both shoulders the same height. This makes joining much easier later.
Step 4: Join the Shoulders
Place the front and back panels together with the wrong sides facing outward.
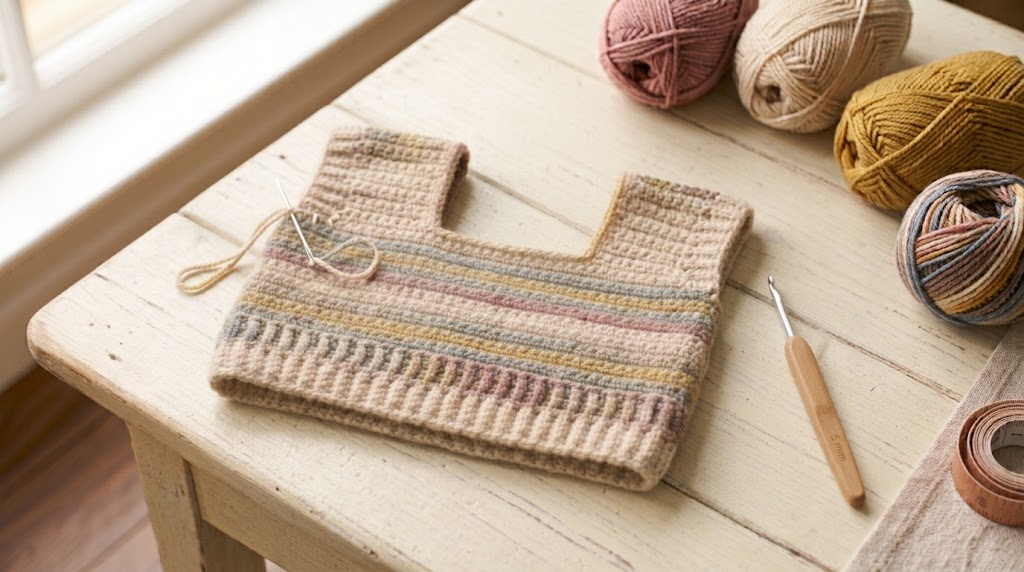
Use your tapestry needle and yarn to sew the first shoulder seam.
Keep your stitches neat but not overly tight.
Repeat on the second shoulder.
At this point, the jumper should begin to look like a tiny sweater with an opening for the head.
Step 5: Add the Neckline
Switch to the 4.5 mm hook.
Join yarn around the neckline.
Work one round of sc evenly around the opening.
Do not pull the stitches too tightly.
For the next round, work sc in the BLO around the neckline.
Repeat the BLO round once more if you want a slightly deeper ribbed effect.
Fasten off and weave in the end.
A slightly stretchy neckline is important because the baby’s head needs to pass through comfortably.
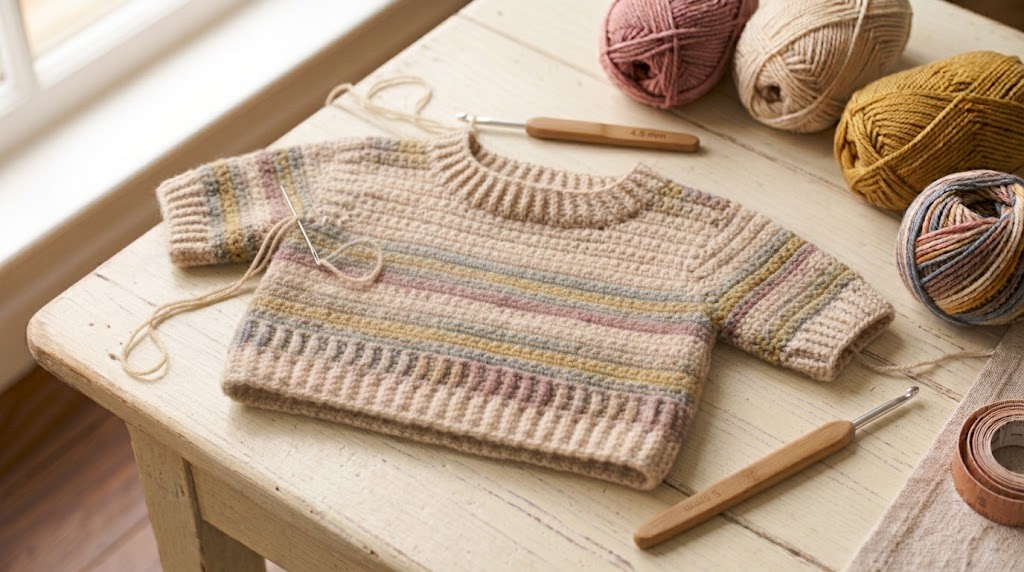
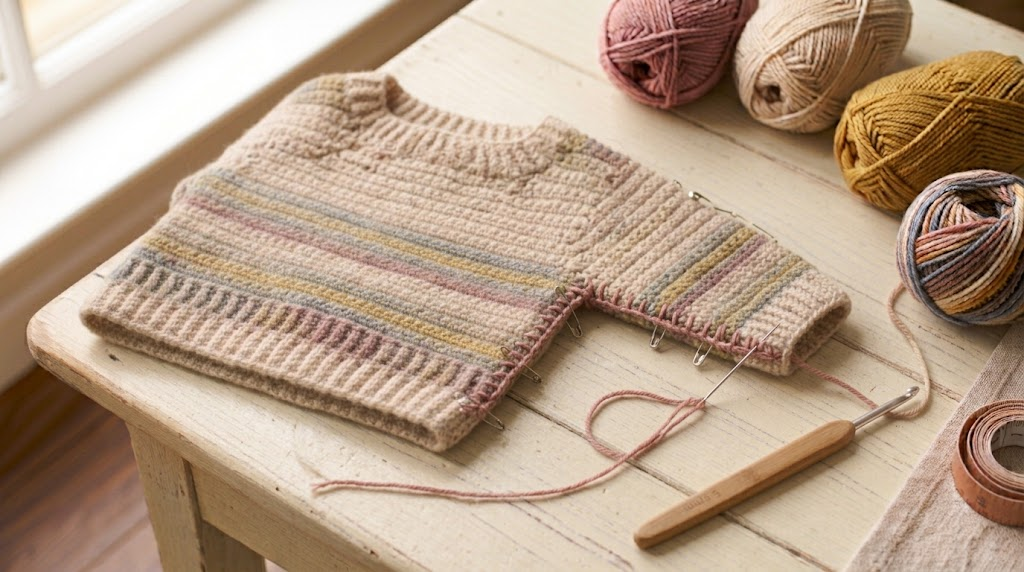
Step 6: Crochet the Sleeves
Attach your 5 mm hook underneath the arm opening.
For the first round, work hdc evenly around the opening.
Do not worry if you need to slightly adjust the number of stitches. The important thing is that the sleeve opening remains smooth without puckering.
Sleeve Rows
Work hdc around the sleeve opening for approximately 12–14 rounds, depending on the desired sleeve length.
Every third round, work the subtle textured sequence:
1 hdc, 1 front-post dc, 1 hdc.
On the following round, return to ordinary hdc.
Continue until the sleeve reaches your preferred length.
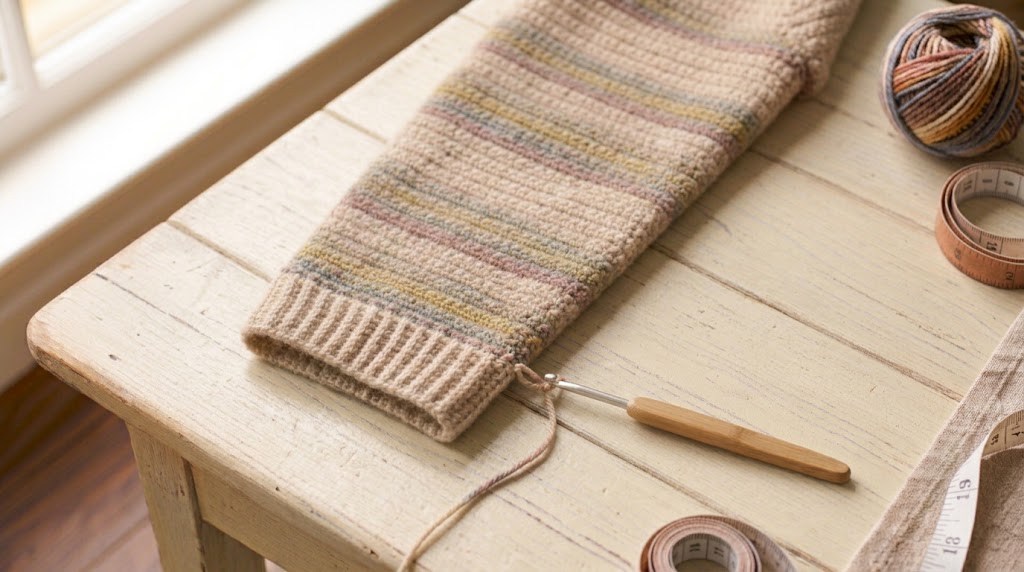
Step 7: Make the Sleeve Cuff
Change to the 4.5 mm hook.
Work 1 round of sc.
For the next rounds, work hdc in the BLO.
Continue for 3 rounds.
The smaller hook and back-loop stitches create a flexible cuff that looks neat without adding too much bulk.
Repeat the complete sleeve process for the second sleeve.
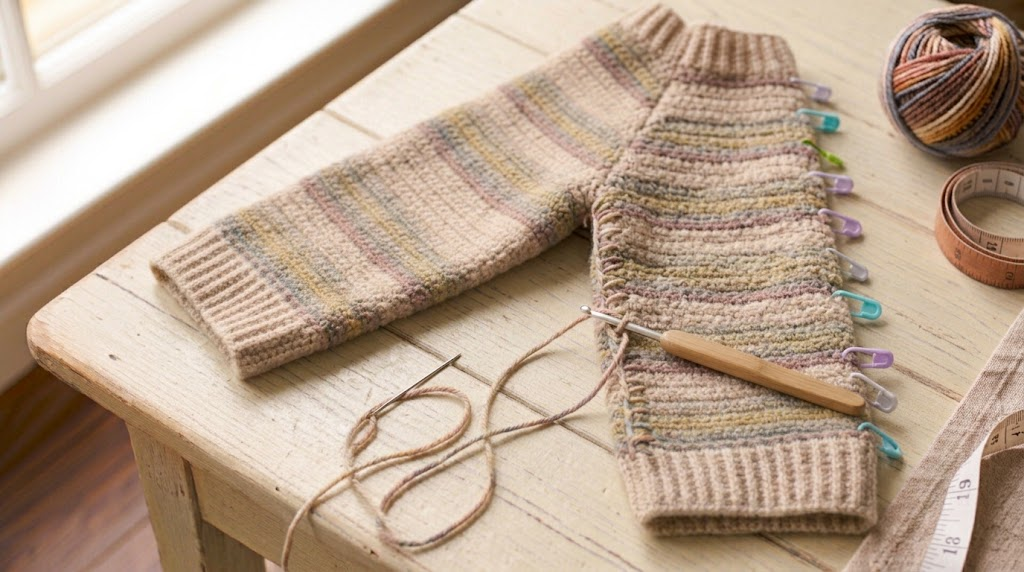
Step 8: Close the Sides
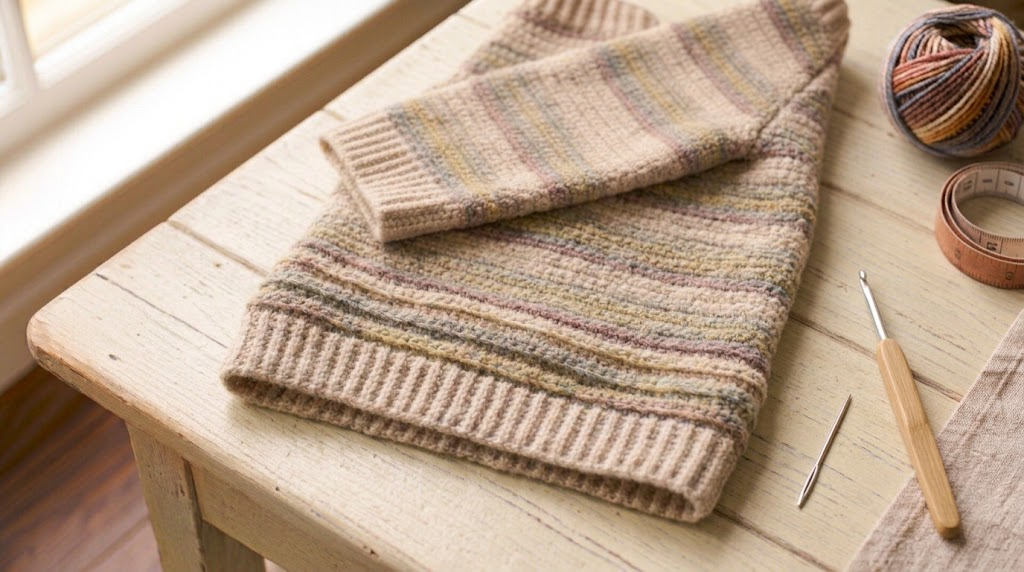
Turn the jumper inside out.
Line up the front and back panels carefully.
Starting at the sleeve cuff, use a whip stitch or mattress stitch to close the sleeve and continue down the side of the jumper.
Repeat on the opposite side.
Before weaving in the ends, turn the jumper right side out and check that both seams are even.
Step 9: Add the Bottom Ribbing
Switch back to the 4.5 mm hook.
Join yarn around the bottom edge.
Work one round of hdc.
For the next two rounds, work hdc in the BLO.
If you want a deeper waistband, add another one or two rounds.
Keep the ribbing relaxed so the bottom edge remains comfortable rather than tight.
Step 10: Add a Simple Button Detail
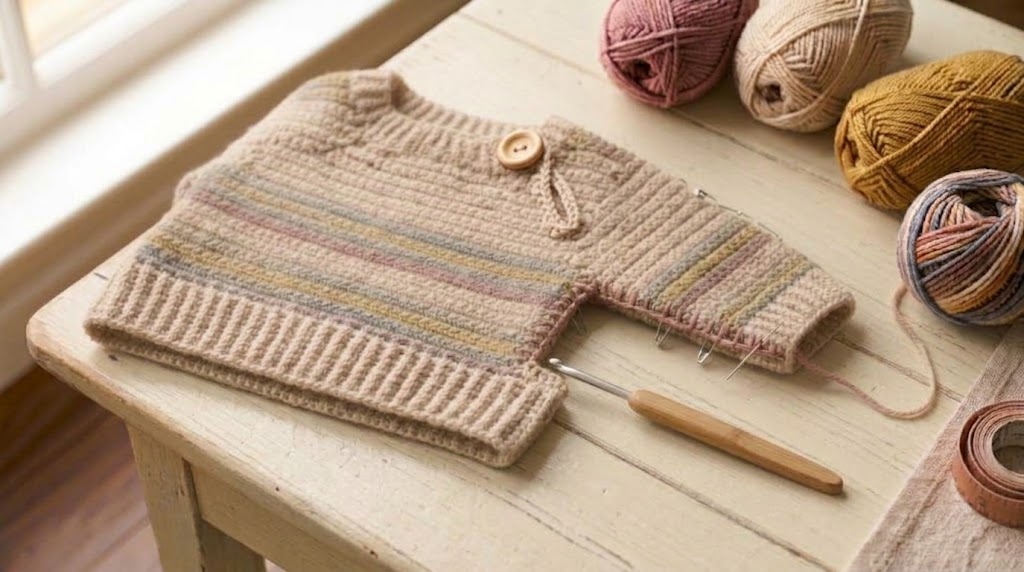
For a decorative closure, sew one baby-safe button near one shoulder.
On the opposite side, make a short chain loop that fits comfortably around the button.
Secure the loop firmly and weave the yarn ends into the fabric.
Because this is baby clothing, make sure the button is attached securely and inspect it regularly for looseness.
Finishing Your Crochet Baby Jumper
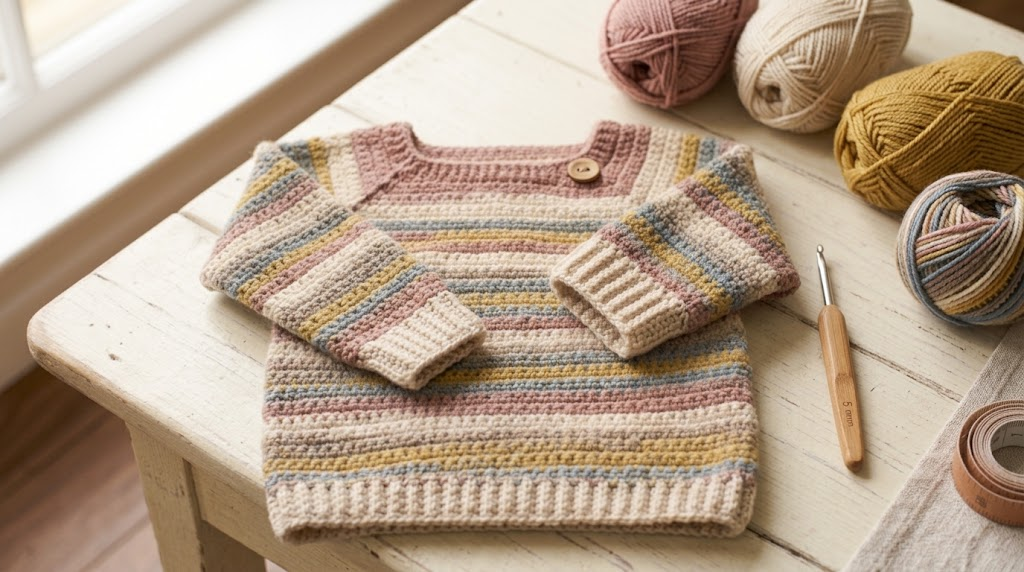
Weave in every remaining yarn tail using your tapestry needle.
Give the jumper a gentle wash according to the yarn manufacturer’s instructions and allow it to dry flat.
I always recommend measuring the finished garment before washing and again afterward. This helps you understand how your particular yarn behaves and whether it stretches or relaxes.
Helpful Amazon Pick #2: Tapestry Needle Set
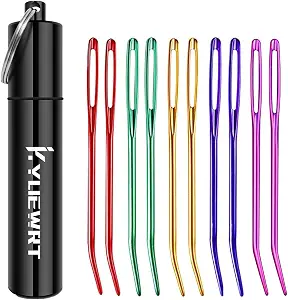
A good tapestry needle is one of those inexpensive crochet tools that makes finishing much easier. Look for a set with blunt tips and large eyes so you can comfortably thread worsted-weight yarn.
I find a small needle set especially useful because having several sizes nearby means I don’t have to stop working to search for the right needle.
Easy Ways to Customize the Jumper
Once you’ve made the basic version, there are several simple ways to personalize it:
- Use two colors for contrasting cuffs.
- Add stripes to the sleeves.
- Make the body slightly longer for a tunic-style jumper.
- Use a contrasting neckline.
- Add a small embroidered initial.
- Replace the button with a simple decorative crochet closure.
For a first baby garment, I recommend making the basic version before experimenting with shaping. It helps you understand how the front, back, sleeves, and ribbing work together.
Final Thoughts
Crocheting a baby jumper may look complicated at first, but breaking it into sections makes the process much easier. Once the front and back panels are finished, the remaining steps are mostly joining, sleeves, ribbing, and finishing.
The most important things I would focus on are soft yarn, correct gauge, comfortable sizing, and secure finishing. Take your time with the neckline and seams, because those small details make a handmade baby jumper look much more polished.
Most importantly, enjoy the process. A handmade jumper doesn’t need complicated stitches to be beautiful. A simple texture, thoughtful color combination, and careful finishing can create a sweet little garment that feels truly special.
