
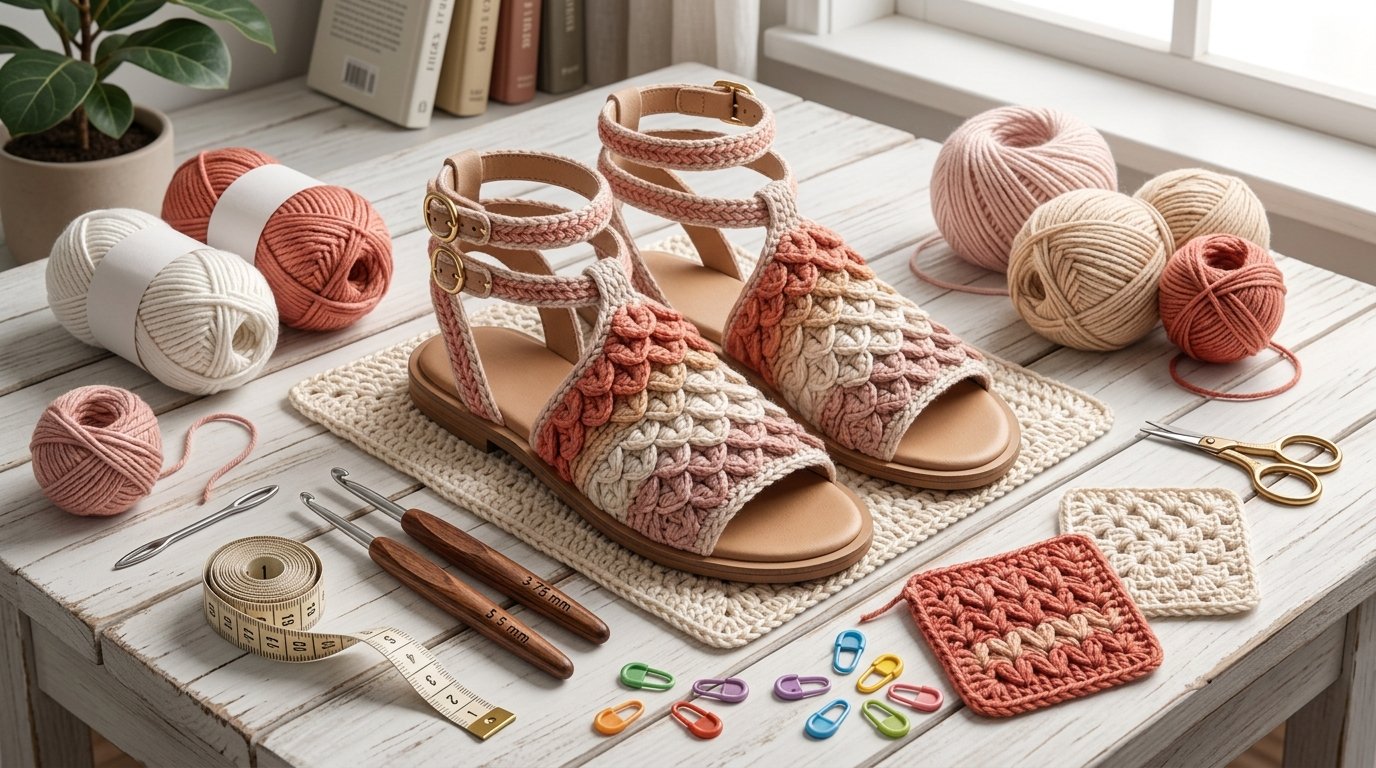
Making Beautiful Crochet Gladiator Sandals with Crocodile Stitch (Free Pattern)
There is something special about making your own crochet footwear. A small ball of yarn can turn into something beautiful, wearable, and completely personal. One of my favorite ideas for a summer crochet project is a pair of crocodile stitch gladiator sandals.
The crocodile stitch gives crochet sandals a layered, textured appearance that looks much more complicated than it actually becomes once you understand the technique. The design is especially pretty when combined with simple straps because the textured toe area becomes the main feature.
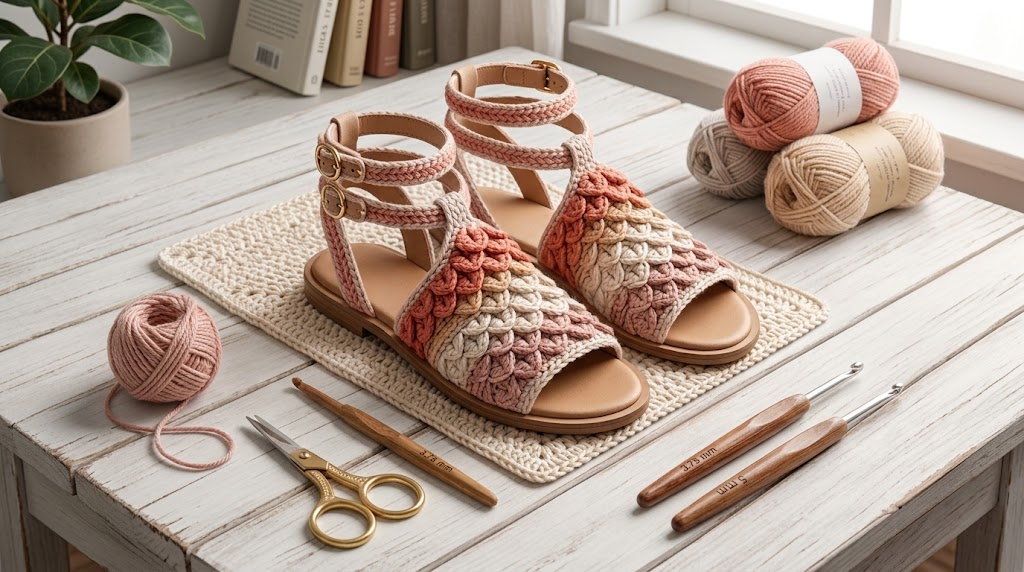
I was inspired by the crocodile-stitch gladiator sandal pattern from Crochet Dreamz, which includes both an indoor crochet-sole version and an outdoor version made with flip-flop soles. The pattern covers US women’s sizes 5–12 and uses F (3.75 mm) and H (5 mm) hooks.
If you are thinking about trying a similar project, these seven tips can make the process easier and help you end up with sandals that look neat, comfortable, and sturdy.
1. Understand the Crocodile Stitch Before Starting
The first thing I would recommend is practicing the crocodile stitch before beginning the actual sandals.
When I first look at a textured stitch, my instinct is usually to start the project immediately. With crocodile stitch, though, spending a little time practicing can save a lot of frustration later.
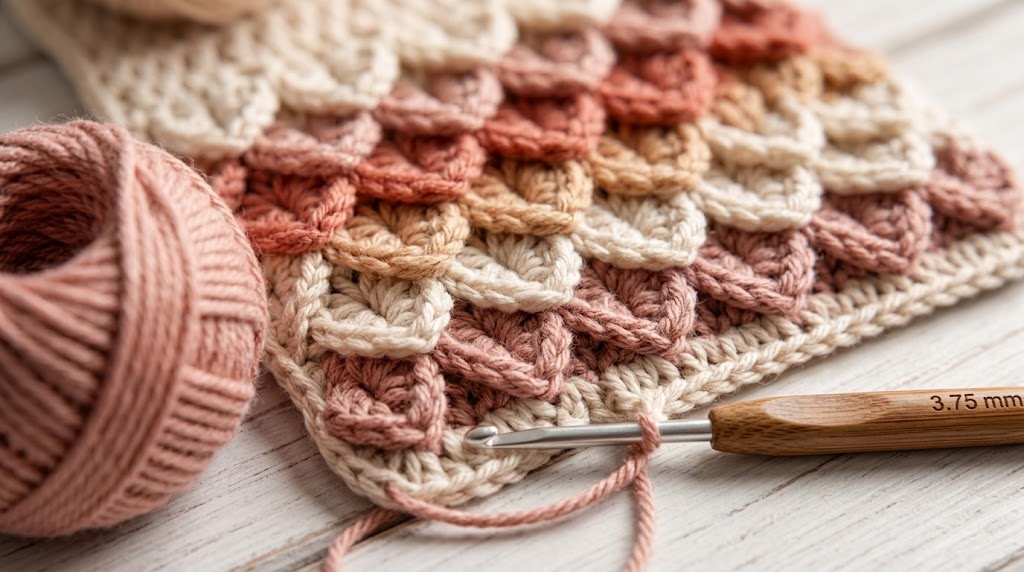
The stitch creates overlapping scale-like sections. These scales are what give the sandals their distinctive look, but they also make your work slightly different from ordinary rows of single or double crochet.
The important thing is not to rush.
Make a small swatch first. Try to keep each scale approximately the same size and pay attention to your tension. If your first few scales look uneven, don’t worry. This is completely normal when learning a new stitch.
I find it much easier to understand the movement of the hook once I have repeated the stitch several times rather than trying to learn it while simultaneously worrying about the size of the sandal.
The original Crochet Dreamz pattern also notes that crocodile stitch can take some practice and includes a step-by-step tutorial.
My tip
Don’t judge your crochet ability by your first crocodile stitch.
Make several repeats. Once your hands begin remembering the movement, the stitch becomes much more natural.
2. Choose Your Yarn Carefully
Yarn choice can make a surprisingly big difference in crochet footwear.
For this style of sandal, you don’t want yarn that makes the crocodile scales so bulky that they lose their shape. At the same time, you need enough structure for the finished sandal to hold its form.
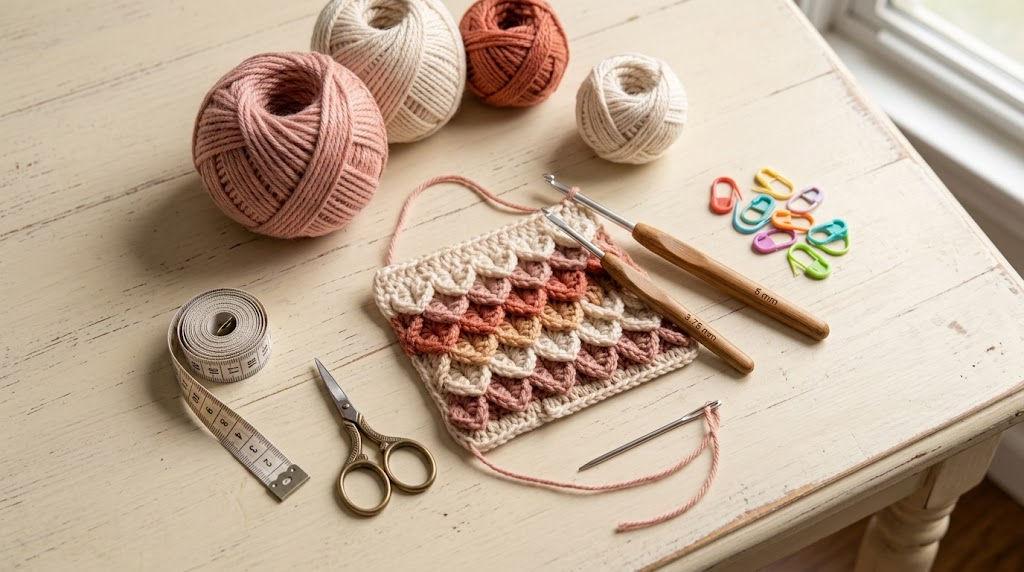
The referenced pattern uses worsted-weight yarn for the indoor soles and DK-weight yarn for the upper. The designer specifically chose a relatively thin DK yarn because thicker yarn could make the crocodile stitches bulky.
That is an important lesson.
If your crocodile stitches look too thick or crowded, the problem may not be your technique. Your yarn may simply be too heavy for the design.
For the upper portion, I would look for a smooth yarn with clearly defined strands. Smooth yarn makes it easier to see your stitches and gives the scales a cleaner appearance.
For colors, you can keep things simple.
Cream, white, beige, dusty pink, coral, teal, mustard, and soft brown can all create beautiful summer looks.
If you’re making sandals as a gift, consider the person’s favorite clothing colors. Crochet footwear becomes much more fun when the finished pair feels customized rather than generic.
3. Use the Correct Crochet Hook Size
Hook size matters even more when you’re making something that needs to fit your feet.
The crocodile-stitch gladiator pattern uses F (3.75 mm) and H (5 mm) hooks, so I would not automatically substitute a much larger or smaller hook simply because it feels more comfortable in your hand.
A hook that is too large can create loose stitches and a floppy upper.
A hook that is too small can make the fabric extremely dense and uncomfortable to work.
For crochet sandals, I like to think about two things:
1. Stitch appearance
Do the crocodile scales look clearly defined?
2. Fabric structure
Does the fabric have enough firmness to support the shape of the sandal?
If you’re building a crochet hook collection, an ergonomic set can be useful because you may need to experiment with tension and hook sizes.
Amazon recommendation #1: Boye Ergonomic Crochet Hook Set
One practical option is the Boye Ergonomic Hook and Yarn Needle Set, which includes seven ergonomic hooks from 3.5 mm through 6.5 mm, along with yarn needles and a storage case. The set includes 3.75 mm and 5 mm hooks, which are particularly relevant to this style of project.
I like this type of set for crocheters who work on different projects because you aren’t buying individual hooks every time your pattern calls for a new size.

Why I would consider it: the soft-grip handles can be more comfortable during longer crochet sessions, and the storage case keeps the hooks together instead of letting them disappear into a craft drawer.
Before buying, always check the current Amazon listing for price, seller, shipping, and availability because those details can change.
4. Pay Attention to the Sole
This is probably the most important part of making crochet footwear.
A beautiful upper doesn’t matter much if the sole is uncomfortable or doesn’t provide enough support.
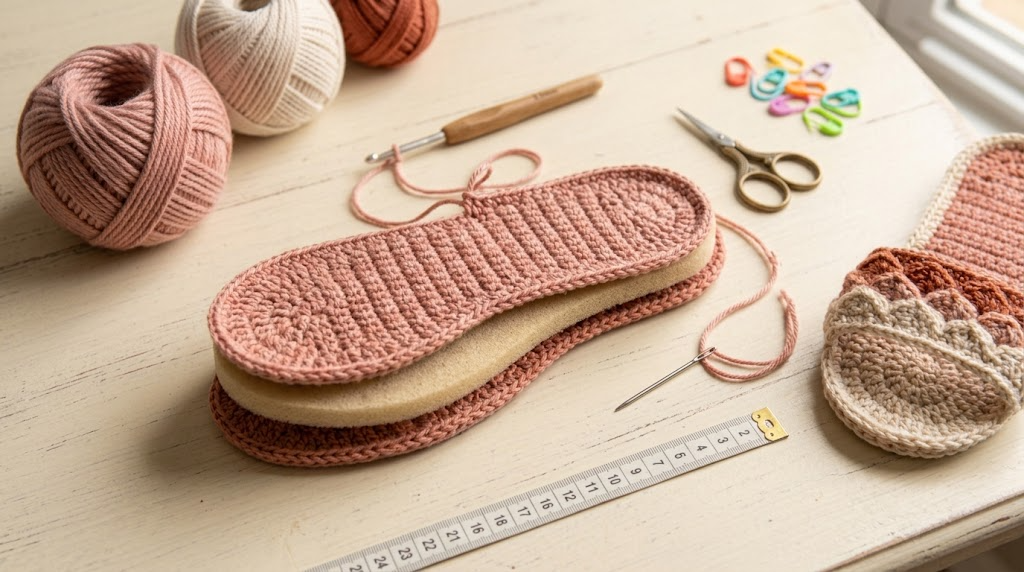
The Crochet Dreamz gladiator design offers an indoor version with crochet soles and a bonus outdoor version using flip-flop soles. The indoor construction uses two layers of crochet sole with quilter’s batting between them to add cushioning and structure.
That construction is interesting because it shows that crochet footwear doesn’t have to be a single thin layer.
For indoor sandals, you can concentrate more on softness and comfort.
For outdoor footwear, you need to think more seriously about the sole.
If you’re making an outdoor version, the original pattern calls for flip-flops, hemp cord, a smaller hook or piercing tool, footwear adhesive, and sewing pins for positioning.
I would also take a few minutes to test the finished sole before wearing it outside.
Walk around indoors first.
Check whether the sole bends naturally. Make sure the straps don’t feel too tight. Look for any loose ends or areas where the upper could pull away from the sole.
And remember: handmade crochet sandals should not automatically be treated like professionally manufactured athletic footwear. They are best suited to the purpose and construction for which you made them.
5. Measure Your Feet Instead of Guessing
One of the easiest mistakes to make with crochet footwear is choosing a size based only on your usual shoe size.
Shoe sizing can vary from one brand to another, so I prefer measuring the actual foot.
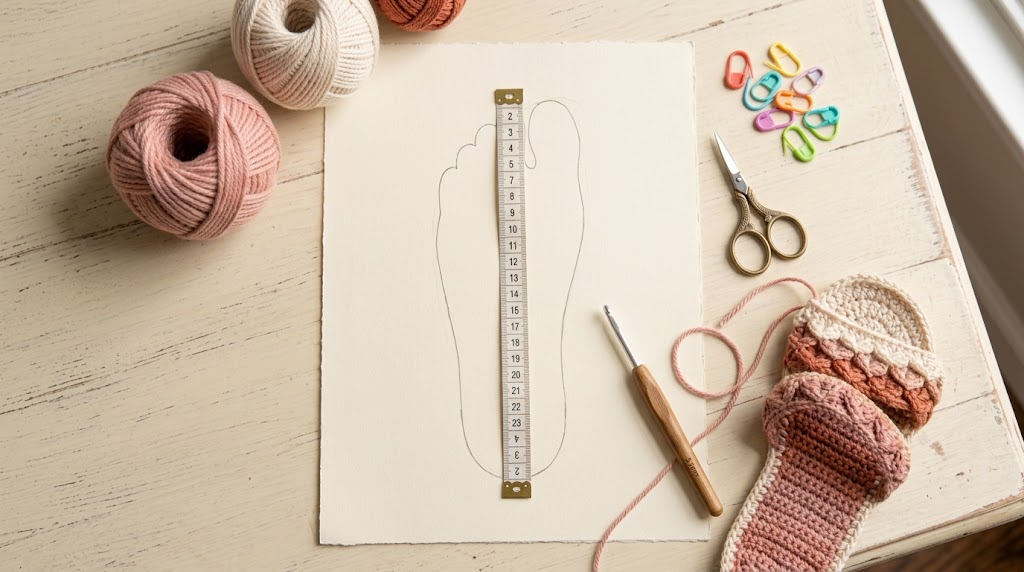
Place your foot on a sheet of paper and mark the heel and longest toe. Then measure the length.
You can also measure the widest part of your foot.
This gives you useful information before you start crocheting.
It’s especially important because crochet fabric can stretch differently depending on the yarn, stitch pattern, and tension.
For a sandal, you want the sole to support your foot without extending excessively beyond it.
You also need to consider where the straps will sit.
A strap that looks perfect on paper may feel uncomfortable if it sits directly against a sensitive part of your foot.
My advice is simple: measure first and adjust carefully rather than trying to force the finished sandal to fit afterward.
6. Don’t Skip the Finishing Work
This is the stage where a handmade project can go from looking homemade to looking beautifully finished.
Once the crochet sections are complete, take your time with the loose ends.
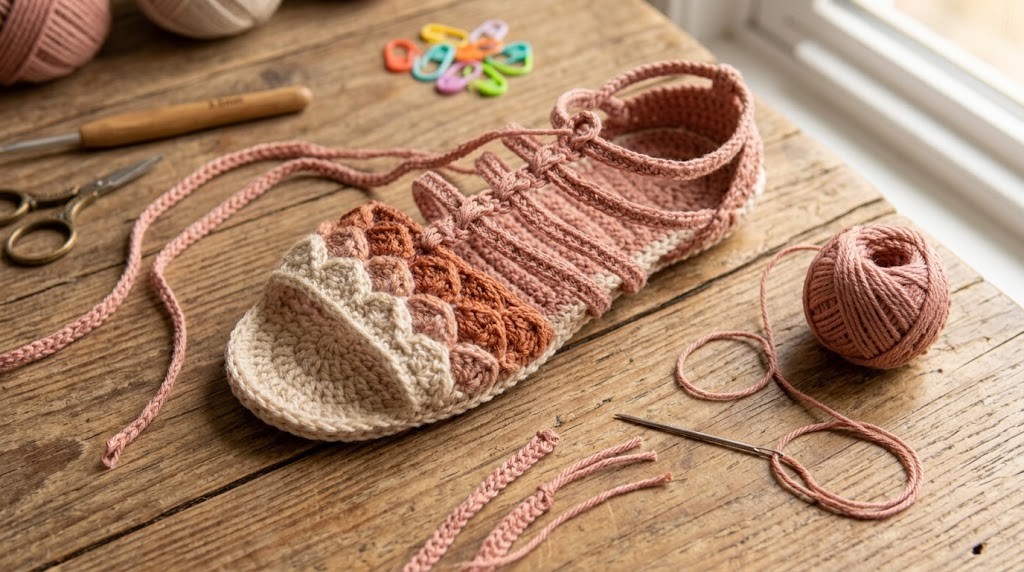
I used to think weaving in ends was just something to finish quickly so I could finally wear the project. With footwear, I’ve learned that finishing is much more important.
Sandals experience movement, pulling, and friction.
Loose yarn tails can become annoying very quickly.
A good yarn needle makes this job much easier.
Amazon recommendation #2: Large-Eye Blunt Yarn Needles
A simple large-eye blunt tapestry needle set is one of those inexpensive crochet tools that I find genuinely useful.
Large-eye needles make it easier to thread yarn, while blunt tips are useful for weaving through crochet stitches without the sharp point of an ordinary sewing needle.

One Amazon option is the ERKOON Large-Eye Blunt Needles set, which comes with multiple stainless-steel blunt needles and a storage bottle. Current listings describe the needles as 2 inches long with large eyes designed to make threading yarn easier.
For a crochet sandal project, I would use a suitable yarn needle to weave in ends and help with sewing crochet sections together.
I particularly like having several needles available because crochet projects often seem to require one at exactly the moment you can’t find the one you were using.
Again, check the current Amazon listing before purchasing because prices and availability can change.
7. Take Your Time With the Straps and Final Assembly
The final assembly is where the personality of your sandals really appears.
This is also where I would slow down.
Before permanently attaching anything, position the straps and look at the sandal from several angles.
Ask yourself:
- Does the strap sit comfortably?
- Is the left sandal shaped like the left foot?
- Is the right sandal shaped like the right foot?
- Are the straps symmetrical?
- Is there enough room for your foot?
- Does the crocodile-stitch section sit where you want it?
The original design specifically shapes the right and left soles differently, just like conventional sandals.
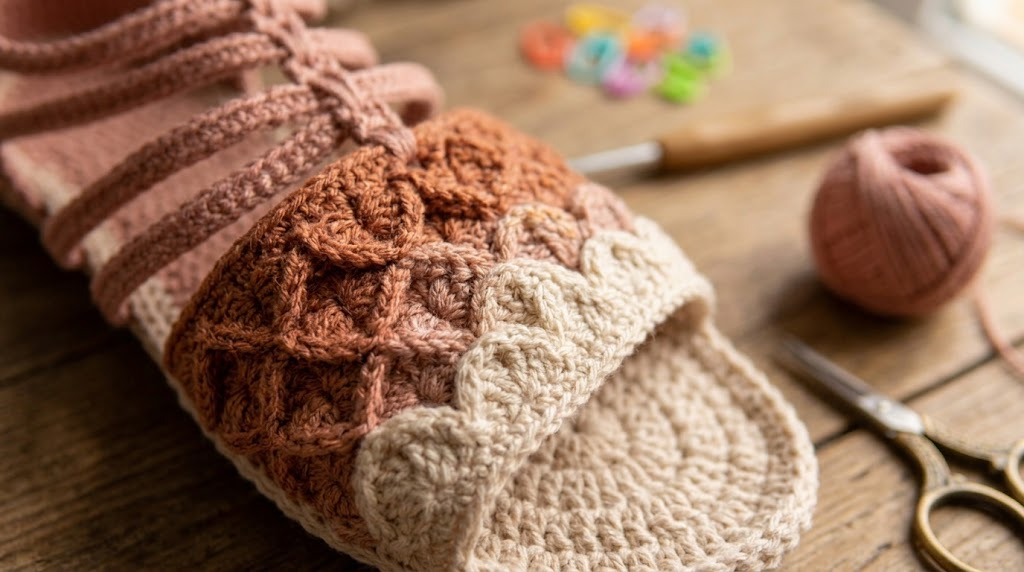
That detail is easy to overlook, but it can make a big difference in the final fit.
I also recommend using pins to hold components in position before sewing.
Step back.
Look at the sandal.
Try positioning it against your foot.
Then sew.
This takes a little longer, but it can prevent you from having to undo several rows later.
Why I Love Crocodile-Stitch Crochet Sandals
What I enjoy most about this project is that it combines a relatively practical item with an interesting crochet technique.
The crocodile stitch gives the sandals a decorative, almost jewelry-like texture. Meanwhile, the simple straps keep the overall design from becoming too busy.
They’re also a fun way to experiment with color.
You could make the crocodile scales one color and the straps another. Or keep everything in one neutral shade for a more minimalist look.
For a boho style, warm beige, cream, rust, and brown would be beautiful.
For something more playful, try coral, pink, turquoise, or sunny yellow.
And if you’re making them as a gift, choosing the recipient’s favorite colors makes the project feel much more personal.
Final Thoughts
Crochet sandals are one of those projects where patience really pays off.
If you’ve never tried crocodile stitch before, I wouldn’t recommend jumping straight into the final sandal without practicing first. Make a small swatch, experiment with your tension, and become comfortable with the stitch.
Then pay attention to yarn weight, hook size, foot measurements, sole construction, and finishing.
The crocodile-stitch gladiator design that inspired this article is particularly interesting because it offers both an indoor crochet-sole version and an outdoor flip-flop version, giving crocheters more than one way to approach handmade footwear.
Most importantly, don’t worry if your first attempt isn’t perfect.
Crochet footwear has several moving parts, and every project teaches you something. You may discover that you prefer a firmer sole, a different strap position, a tighter tension, or a particular yarn.
That’s part of the fun.
And once you finish your first pair, you may find yourself looking at every summer outfit and thinking, “I could crochet sandals to match that.”
Quick Checklist Before You Start
Crochet technique
- Practice the crocodile stitch first.
- Keep your stitch tension consistent.
- Count your stitches carefully.
Materials
- Choose an appropriate DK yarn for the upper.
- Use the hook sizes recommended by your chosen pattern.
- Have a good yarn needle ready.
- Prepare the appropriate sole materials.
Fit
- Measure your actual foot.
- Check both length and width.
- Position straps carefully.
- Test the finished sandal before wearing it outdoors.
Finishing
- Secure all yarn ends.
- Reinforce attachment points.
- Check the sole and straps.
- Make sure the finished sandal feels comfortable.
Affiliate disclosure: Some product recommendations in this article may contain affiliate links. If you purchase through one of these links, I may earn a small commission at no additional cost to you. I only recommend crochet tools that are relevant to the project and that I believe can be useful for crocheters.
