Fall Beanie with Flower Crochet Pattern: A Cozy 5-Step Beginner Guide
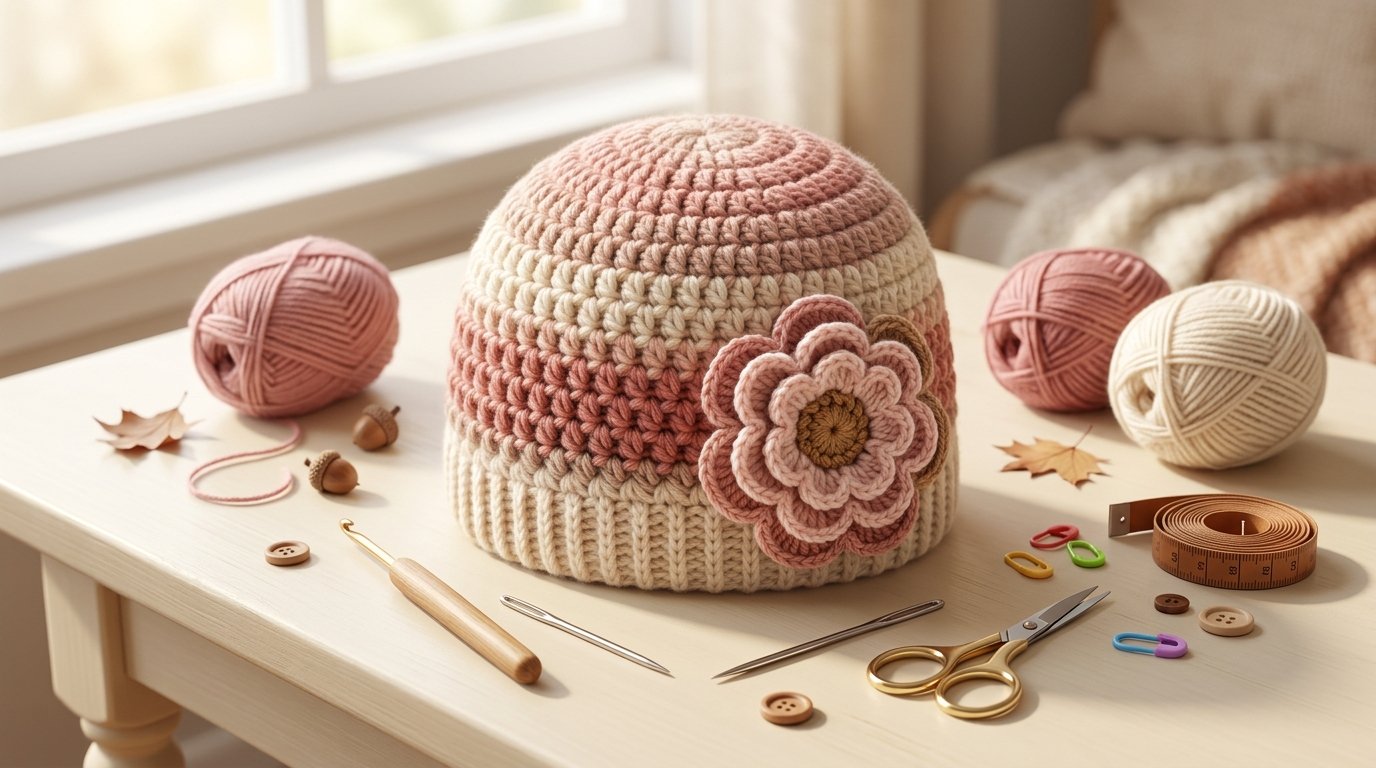
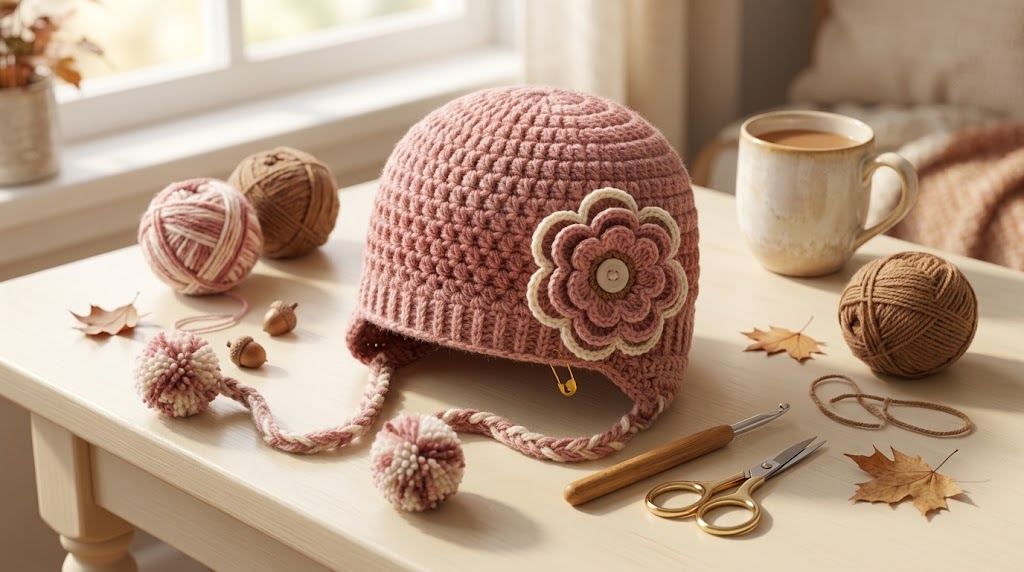
There is something especially satisfying about crocheting a warm beanie when the weather starts to cool down. I love projects that are practical enough to wear but still have a little handmade detail that makes them feel special. That is exactly what makes a fall beanie with a crochet flower such a lovely project.
The design that inspired this tutorial is a textured fall beanie. The original pattern is available in sizes ranging from newborn to adult and uses worsted/Aran weight yarn. It also uses basic stitches such as single crochet, half double crochet, double crochet, and slip stitch, which makes the construction approachable for crocheters who are comfortable with the fundamentals.
What I particularly like about this style is the balance between texture and simplicity. The hat has a lightly lacy appearance rather than being extremely dense, so it works nicely as a transitional fall accessory. The flower adds a feminine decorative touch without requiring a complicated multi-layer embellishment.
In this guide, I’ll walk through the project in five practical stages so you can understand how the hat comes together, choose your materials confidently, and avoid some of the common problems that can make crochet hats frustrating.
Why I Love the Fall Beanie Style
A crochet beanie is one of those projects that looks more complicated than it actually is.
The finished texture can look delicate and detailed, but the original design relies on familiar crochet stitches rather than an unusually complicated stitch technique. The original designer describes the texture as slightly lacy with small gaps, making it suitable for cooler but not extremely cold weather.
I also like the versatility.
You can make the hat in a soft cream shade with a dusty-rose flower, choose chocolate brown with a blush flower for a traditional autumn look, or use completely different colors for something more modern.
Because the original pattern is offered across a broad size range, the style can also work for matching family hats.
What You’ll Need
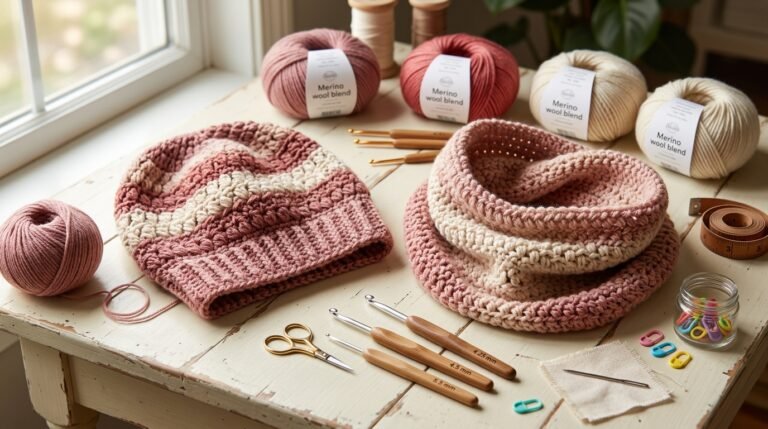
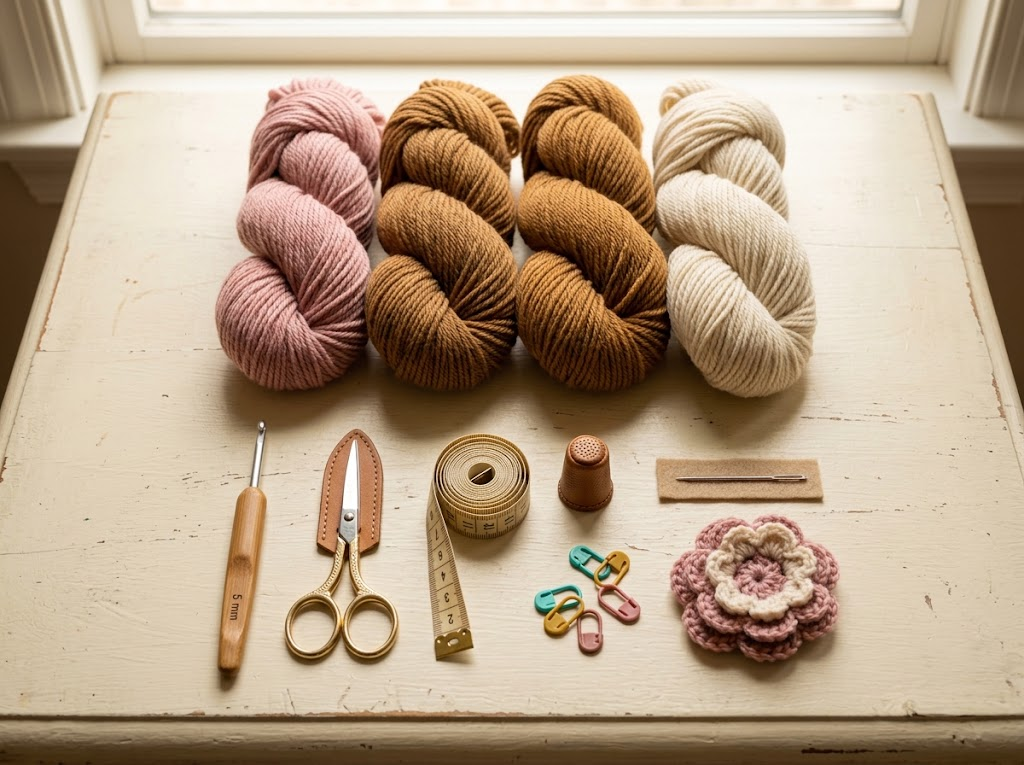
For this style of beanie, gather:
- Worsted-weight/Aran yarn, approximately medium weight
- Crochet hook appropriate for your selected size
- Tapestry needle
- Scissors
- Measuring tape
- Stitch marker
- Small amount of contrasting yarn for the flower
- Optional button or decorative center for the flower
The original Crochet Dreamz design specifies a G/4.25 mm hook for the 6–12-month size and an H/5 mm hook for the other sizes, along with worsted/Aran yarn.
Always check the sizing information in the original pattern before starting, especially when making the hat for a baby or child.
1. Choose Your Yarn and Check Your Gauge
This is the step I would never skip when making a crochet hat.
It can be tempting to grab a hook and start crocheting immediately, especially when the pattern looks simple. But hats depend heavily on circumference. A small difference in tension can turn a comfortable beanie into one that is either too tight or too loose.
For this project, a medium/worsted-weight yarn is the natural starting point because that is the yarn category specified by the original design.
I would choose a yarn with a smooth, consistent texture for the first attempt. This makes it easier to see your stitches while you are learning the texture.
My Color Ideas
For an autumn-inspired palette, try:
- Dusty rose + cream
- Blush pink + warm ivory
- Chocolate brown + pale pink
- Burgundy + cream
- Rust + oatmeal
- Mustard + neutral beige
If you want a softer Pinterest-style aesthetic, blush red, muted pink, cream, and warm ivory work beautifully together.
Gauge Tip
Make a small swatch using the hook and yarn you intend to use.
Your goal is not simply to make a pretty swatch. You want to make sure your stitches have the same general tension as the pattern requires.
If your fabric is much tighter than expected, try a larger hook.
If it is noticeably loose and floppy, try a smaller hook.
For a hat, circumference matters more than almost anything else.
2. Build the Crown
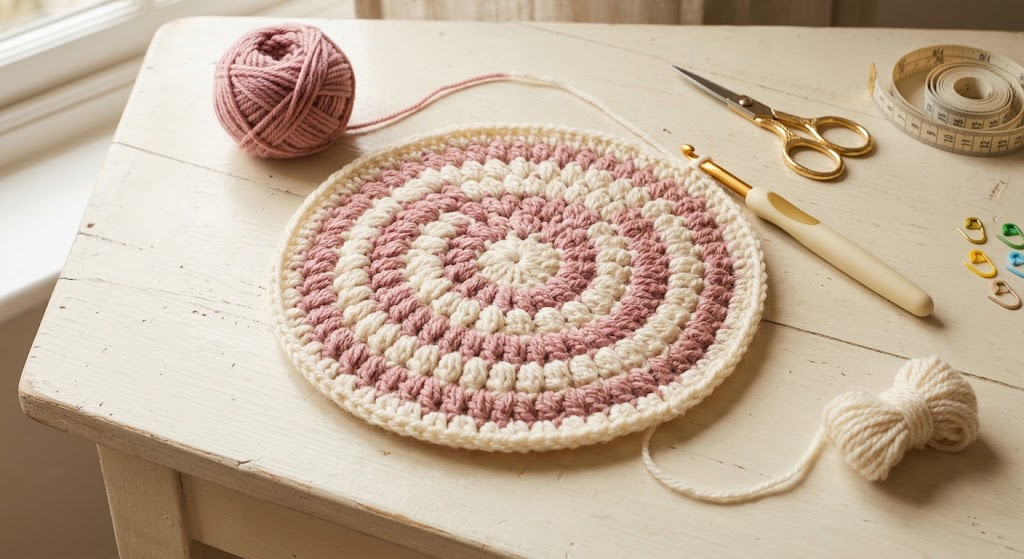
The hat is constructed from the crown downward, so the beginning determines how the rest of the beanie develops.
Start with the size-specific instructions from the original pattern. The crown is where increases are used to gradually expand the work rather than immediately creating a tube.
I recommend putting a stitch marker near the beginning of your round.
This tiny step can save a surprising amount of frustration.
When crocheting in joined rounds, it is easy to lose track of where a round starts, particularly when several basic stitches look similar.
What You Are Watching For
During the crown section, your work should gradually expand.
You don’t want the center to look like a tight little cup, but you also don’t want the crochet circle to become extremely wavy.
If the crown is curling upward too much, your tension or increase placement may need attention.
If the crown is becoming very flat and ruffled, check that you haven’t accidentally added extra increases.
I like to stop periodically and place the developing hat against the intended head size. It is much easier to correct a problem early than to discover it after completing the entire hat.
3. Create the Textured Beanie Body
Once the crown has reached the appropriate size, the project becomes much more relaxing.
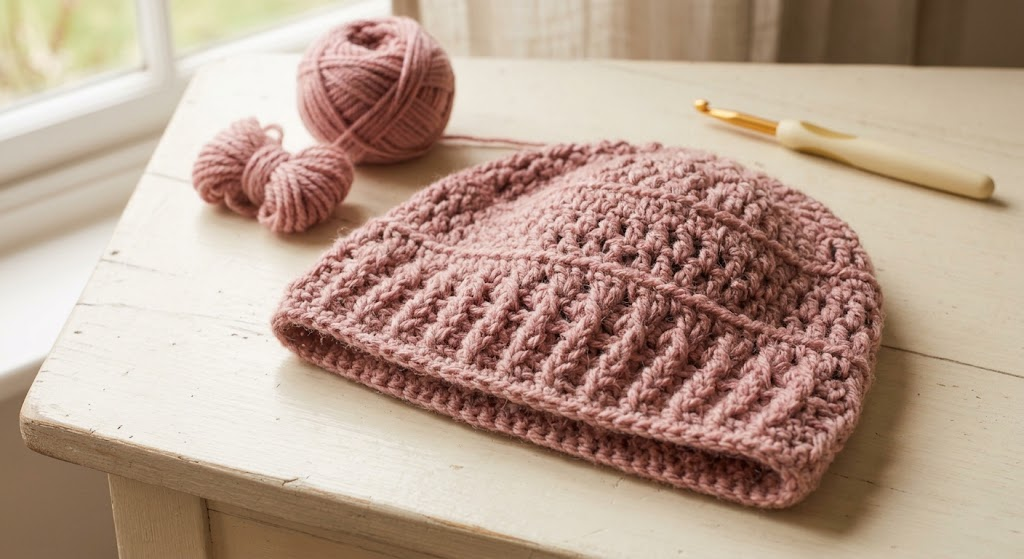
The increase section transitions into the textured body of the beanie. The original design uses a combination of basic stitches, including single crochet, half double crochet, double crochet, and slip stitch.
Rather than thinking about every stitch individually, I find it helpful to think of this section as creating a repeatable fabric.
Keep your tension consistent and continue following the size-specific instructions.
A Beginner Tip That Makes a Big Difference
Don’t pull your slip stitches extremely tight.
Tight joins can make the beginning of each round pull inward and can create a visible seam.
Keep your joining stitches neat but relaxed.
Another helpful habit is to count your stitches at the end of important rounds. If the stitch count is wrong, fix it immediately rather than hoping the mistake will disappear.
It usually won’t.
Check the Length
Try the hat on the intended recipient if possible, or compare it with the measurements provided by the original pattern.
Remember that crochet fabric can have some stretch, so don’t judge the final fit only by laying the hat flat on a table.
The goal is a comfortable fabric that reaches the desired point around the head without becoming excessively long.
4. Finish the Beanie and Add the Flower
After completing the main body, finish the lower edge according to the original size-specific instructions.
The edge should look neat and sit comfortably around the head.
Once the main hat is finished, weave in the yarn ends securely using a tapestry needle.
This is one of those finishing steps that I think deserves patience. A beautiful crochet project can look unfinished if the yarn tails are simply cut short.
Work the needle through several nearby stitches, change direction once or twice, and trim the excess carefully.
Making the Flower
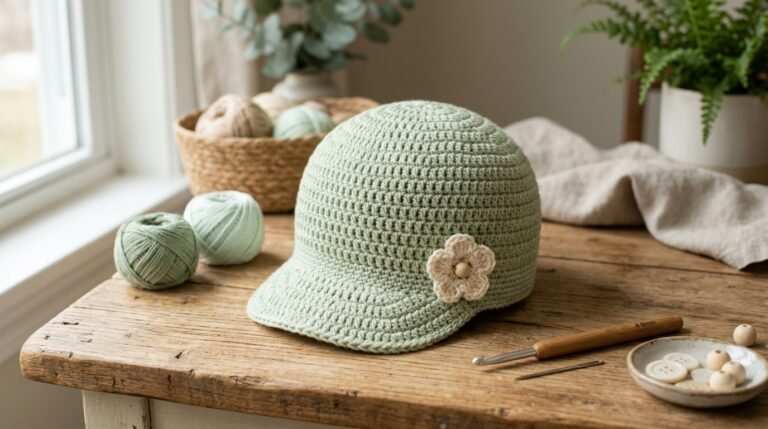
The flower is what gives this beanie its personality.
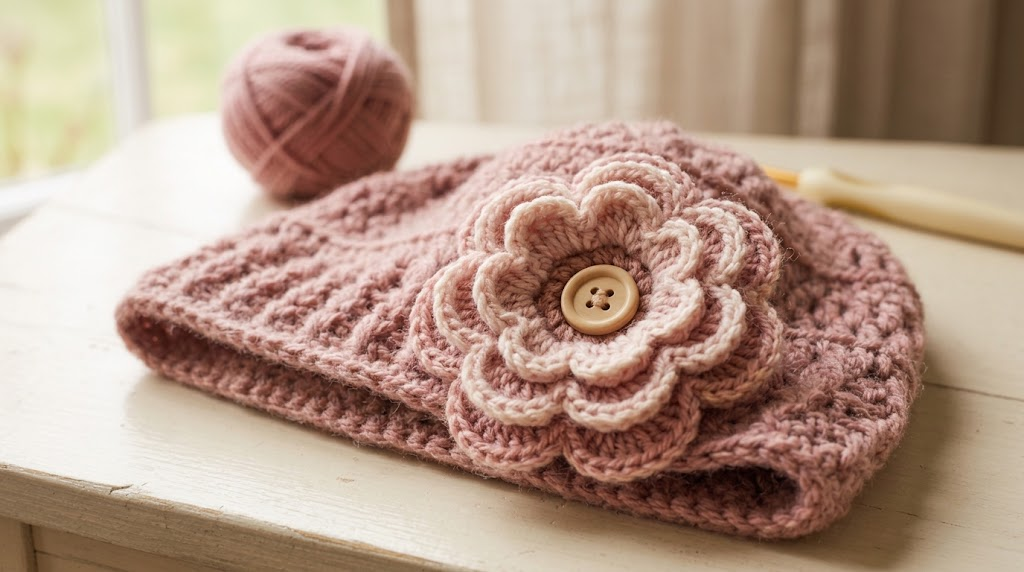
The original design includes a ruffly flower with a single layer of petals. The extra fullness comes from working multiple stitches into the flower’s base, which gives the petals their gathered appearance.
For an original variation rather than copying the exact flower instructions, you can create a simple decorative flower using:
- A small center ring.
- A foundation round of stitches.
- Petal groups worked around that foundation.
- Increased stitch volume within each petal to create a ruffled effect.
- A secure center and yarn tails woven behind the flower.
Once the flower is finished, position it slightly to one side of the beanie.
I personally prefer placing the flower off-center rather than directly in the middle because it gives the hat a more natural boutique-style appearance.
Sew it securely to the hat using matching yarn or a strong sewing thread.
5. Finishing, Fitting, and Styling
This final stage is where a handmade project starts looking polished.
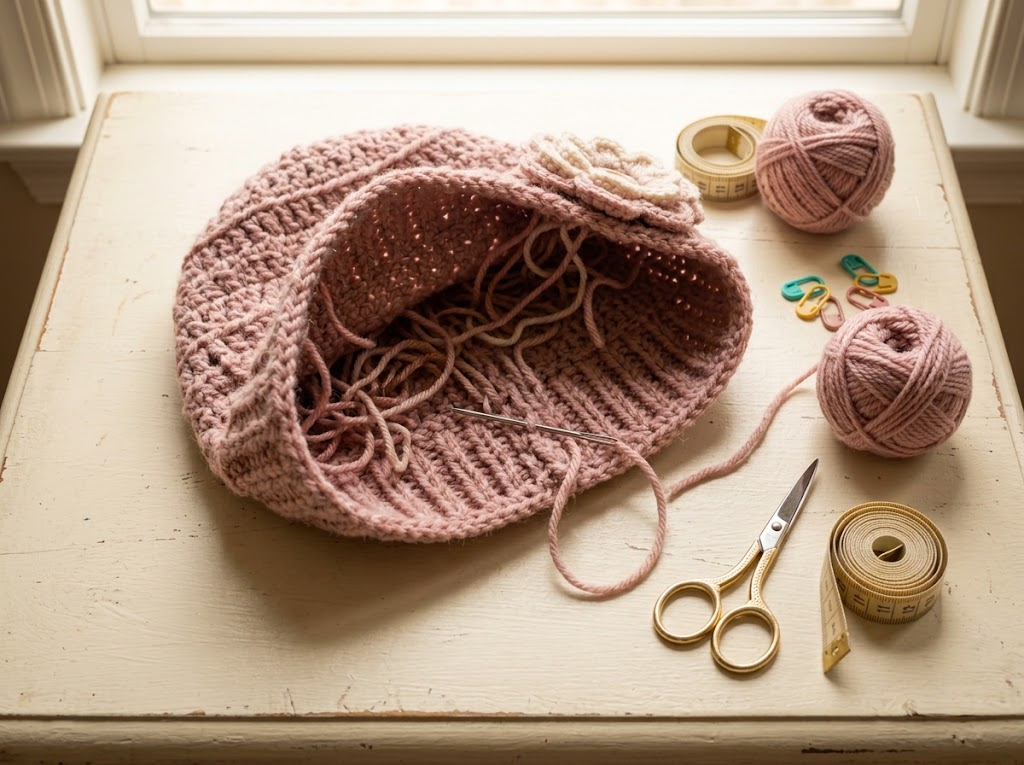
Before wearing the beanie, check:
- Are all yarn ends securely woven in?
- Is the flower firmly attached?
- Does the hat stretch comfortably?
- Is the brim sitting evenly?
- Are there any accidental gaps or loose stitches?
- Does the crown hold its shape?
If the hat looks slightly uneven, don’t panic.
Crochet often looks different while it is lying flat compared with when it is actually worn.
A gentle blocking session can help even out the fabric. Use the method appropriate for your particular yarn rather than applying high heat indiscriminately.
My Favorite Styling Ideas
One of the best things about this design is how easily the colors can change its personality.
For a classic fall look, use:
Brown beanie + blush flower
For a soft feminine style:
Cream beanie + dusty pink flower
For a rustic autumn look:
Rust beanie + cream flower
For something cheerful:
Pink beanie + contrasting blue flower
You can also make the flower in the same color as the hat for a more subtle accessory.
Helpful Crochet Troubleshooting
Why is my hat too small?
The most common reason is tight tension.
Try making a gauge swatch first and compare your fabric. A smaller hook can also produce a tighter fabric, so check the hook size before continuing.
Why is my crown wavy?
Check your increases.
Too many increases can cause the crown to flare outward. Count carefully and compare your progress with the size-specific instructions.
Why does my hat look stiff?
Your tension may be too tight, or your yarn may be producing a denser fabric than expected.
Try relaxing your grip and making a small swatch before changing the entire project.
Why is my flower not standing out?
A contrasting color usually makes the flower much more noticeable.
You can also use a slightly different yarn texture for the flower, provided it still works well with the overall design.
Two Useful Amazon Picks for This Project
I prefer keeping product recommendations limited to items that genuinely solve a problem rather than filling a crochet article with unnecessary shopping links.
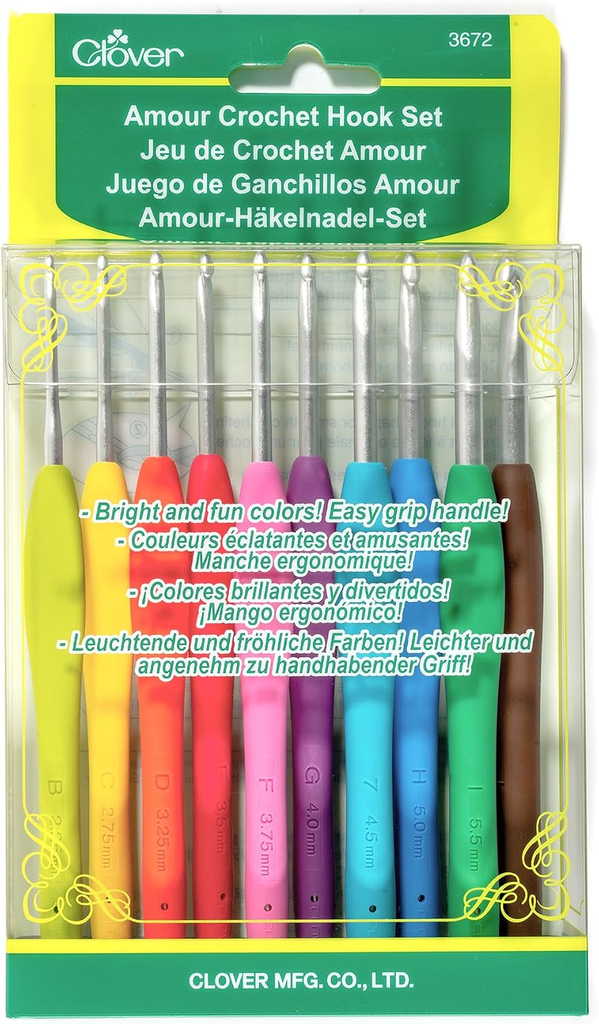
1. Clover Amour Crochet Hook Set
A Clover Amour crochet hook set is useful if you crochet a variety of projects and want several common hook sizes in one collection.
The 10-hook set includes sizes from 2.25 mm through 6 mm, including the 5 mm H hook used by the original design for most sizes. The hooks have aluminum heads and soft elastomer handles, with different handle colors helping you identify sizes quickly.
For this particular project, you would mainly be interested in the 5 mm H hook, and potentially the 4.5 mm or 5.5 mm sizes when experimenting with tension.
One important buying note: check the exact listing before ordering because prices and availability can change, and different Clover sets contain different size ranges.
2. A Good Tapestry Needle Set
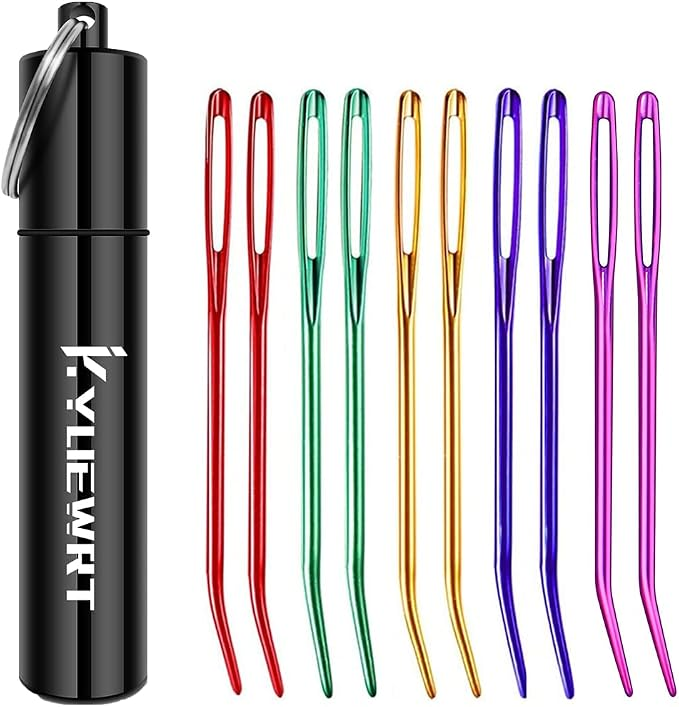
A quality tapestry needle is another small tool that earns its place in a crochet kit.
For this beanie, you’ll need a needle to weave in yarn ends and attach the flower securely. I would look for a set containing blunt-tipped yarn needles with large eyes that accommodate worsted-weight yarn.
This isn’t the sort of purchase where you need an expensive specialty tool. The important features are a comfortable eye, smooth metal, and a blunt enough tip that you can weave through crochet stitches without constantly catching your fingers.
Why I’m Keeping the List to Two Products
You don’t need a drawer full of gadgets to make this beanie.
Yarn, the appropriate hook, scissors, a needle, and basic measuring tools are enough.
I would rather recommend two genuinely useful supplies than turn a simple crochet project into a long shopping list.
Final Thoughts
A fall beanie with a crochet flower is the kind of project I would recommend when you want something that feels handmade without committing to a huge blanket or complicated garment.
The basic construction teaches useful skills: working in rounds, controlling increases, maintaining tension, creating texture, checking fit, and finishing cleanly.
The flower also gives you plenty of creative freedom.
You can keep it soft and neutral, make it colorful and playful, or create a whole matching collection for different members of the family.
The design is especially useful because it provides sizing from newborn through adult and specifies the yarn category and hook sizes needed for the project.
If you’re a beginner, my biggest advice is simple: don’t rush the crown and don’t ignore your gauge.
Those two details have a huge impact on the final fit.
Once the main hat starts taking shape, the project becomes much easier to enjoy. Add your flower, weave in those ends, give the finished piece a gentle finishing treatment, and you’ll have a cozy handmade accessory ready for crisp fall days.
Happy crocheting!