Crochet Visor Beanie for Girls: A Cute and Cozy Handmade Hat
A crochet visor beanie is a lovely combination of a classic hat and a small, stylish brim. It keeps the head comfortably covered while adding a sporty touch that makes the hat stand out from ordinary beanies. Whether you are making a handmade gift for a little girl, preparing for cooler weather, or adding a new project to your crochet collection, this design is a fun option to try.
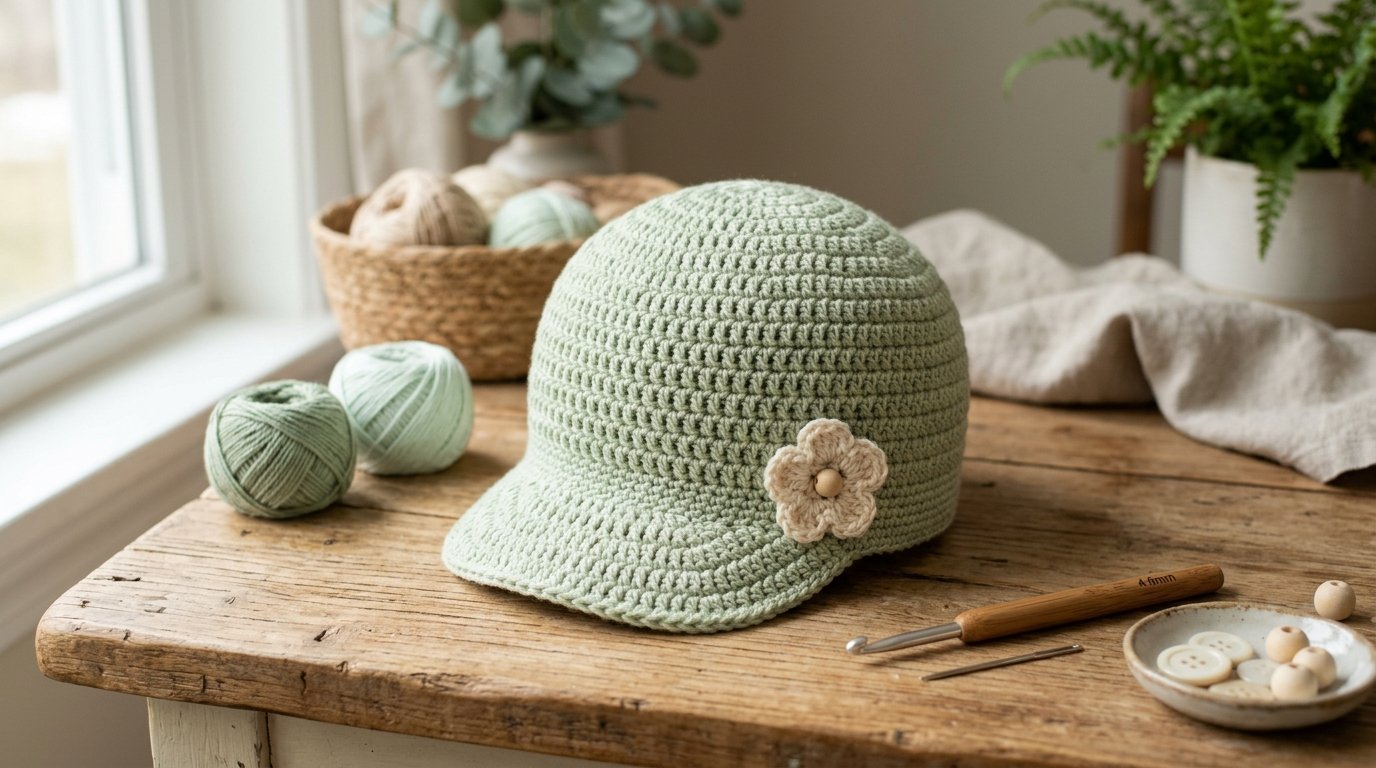
I especially love the versatility of a visor beanie. You can make it in a soft pastel shade, choose a cheerful color for everyday wear, or add a small crochet flower for a decorative finish. A light green version looks fresh, gentle, and beautiful for spring.
In this guide, I will walk you through the materials, basic techniques, sizing tips, and an original beginner-friendly visor beanie pattern. You will also find practical advice for choosing yarn and making the brim hold its shape.
Why You’ll Love This Crochet Visor Beanie
There are several reasons to try a crochet beanie with a visor.
A cute and practical design: The rounded crown gives the hat a traditional beanie shape, while the front brim adds a playful, sporty appearance.
Easy to customize: You can choose almost any color, add a flower, or use a contrasting shade for the visor.
A thoughtful handmade gift: A crocheted hat makes a lovely present for birthdays, holidays, and other special occasions.
Suitable for different skill levels: The main hat uses basic stitches, and the brim introduces simple shaping techniques that beginners can practice.
A useful stash-busting project: Depending on the size and yarn you choose, you may be able to make a small child’s hat with yarn left over from another project.
Materials You’ll Need
Before starting, gather the following supplies:
- Medium-weight worsted yarn in light green or your preferred color.
- A 5 mm crochet hook, with a smaller hook available for a firmer brim if needed.
- A stitch marker to identify the beginning of each round.
- Scissors.
- A tapestry needle for weaving in yarn ends.
- A flexible measuring tape.
- Optional yarn in a contrasting color for a flower or decorative edging.
For a child’s hat, I recommend choosing yarn that feels soft against the skin. Washable acrylic yarn is a practical option because it is generally easy to care for. A soft acrylic blend can also work well.

The exact amount of yarn will depend on the finished size, yarn thickness, and your tension. Check your yarn label and make a small swatch before beginning.
Crochet Abbreviations
This pattern uses standard US crochet terminology.
- ch: Chain
- sl st: Slip stitch
- sc: Single crochet
- hdc: Half double crochet
- inc: Increase by working two stitches into the same stitch
- sc2tog: Single crochet two stitches together
- st(s): Stitch or stitches
- rnd: Round
Before You Begin: Choose the Right Size
Measure around the widest part of the child’s head, just above the eyebrows and ears. Use this measurement to determine the finished hat circumference.
Crochet hats generally need some negative ease, meaning the finished hat is slightly smaller than the head measurement so it stays comfortably in place.
As a starting point, a toddler hat might measure approximately 17–18 inches around, while a larger child’s hat might measure approximately 19–20 inches. These are only general guides; individual head measurements vary.
The instructions below provide a small-child sample. Adjust the crown increases and the number of body rounds to suit the intended wearer.
Easy Crochet Visor Beanie Pattern
This is an original, adaptable pattern for a basic visor beanie. It uses a rounded crown, a simple hat body, and a shaped front visor.
Skill level: Beginner to advanced beginner
Construction: Worked in the round, followed by a visor worked in rows
Stitches used: Half double crochet and single crochet
Step 1: Make the Crown
Begin with a magic ring. If you prefer, chain four and join with a slip stitch to form a ring.
Round 1: Chain 1. Work 8 half double crochet stitches into the ring. Join or continue according to your chosen construction method. Place a stitch marker in the first stitch.
Round 2: Work 2 half double crochet stitches into every stitch around. You should have 16 stitches.
Round 3: Work 1 half double crochet in the next stitch and 2 half double crochet stitches in the following stitch. Repeat around. You should have 24 stitches.
Round 4: Work 1 half double crochet in each of the next 2 stitches, then 2 half double crochet stitches in the following stitch. Repeat around. You should have 32 stitches.
Round 5: Work 1 half double crochet in each of the next 3 stitches, then 2 half double crochet stitches in the following stitch. Repeat around. You should have 40 stitches.

Continue increasing in the same manner until the crown reaches the diameter needed for your chosen size.
Keep the crown flat as it grows. If it starts curling upward too early, check your stitch count and tension.
Step 2: Crochet the Hat Body
Once the crown reaches the desired diameter, stop increasing.
Work one half double crochet stitch into every stitch around. Continue for several rounds until the hat reaches the desired depth.
Try the hat on the intended wearer, if possible, to check its fit. The lower edge should sit comfortably around the head without feeling too tight.
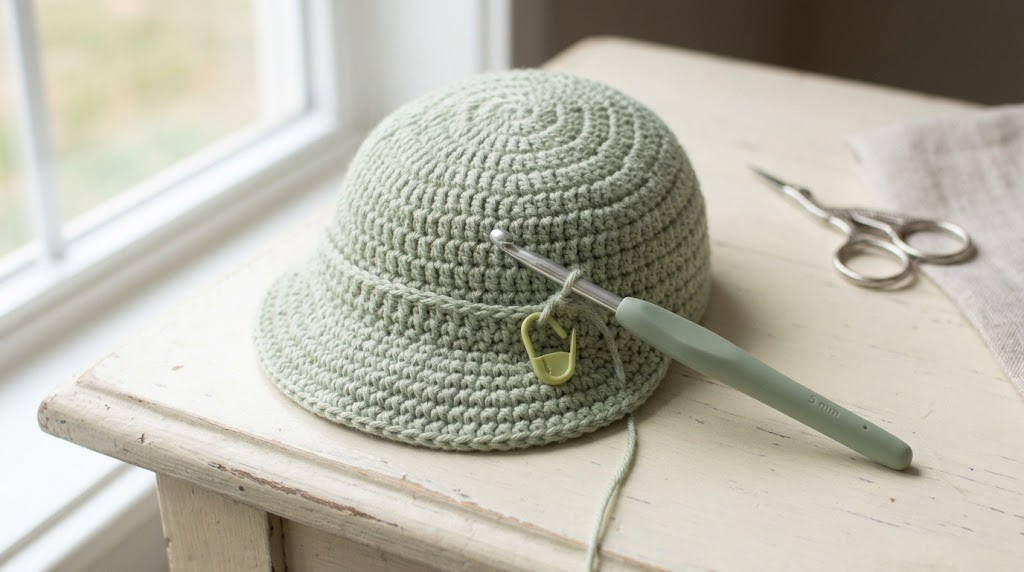
Remember that the final depth also needs to accommodate the decorative brim. Avoid making the hat too long before attaching the visor.
Step 3: Mark the Front of the Hat
Lay the beanie flat and identify the center front.
Use stitch markers to outline the section where you want the visor to sit. For a small child’s hat, you could begin with approximately 18–24 stitches across the front, adjusting the width to suit the hat.
The visor should be centered above the forehead rather than extending too far toward either side.

Step 4: Crochet the Visor
Attach the yarn at one side of the marked front section.
Row 1: Chain 1. Work 1 single crochet into each marked stitch. Turn.
Row 2: Chain 1. Work 1 single crochet into the first stitch, then work 1 single crochet into each stitch across. Turn.
Row 3: Chain 1. Work 1 single crochet into the first stitch, then single crochet two stitches together. Continue single crochet stitches across, working a decrease near the opposite edge. Turn.
Row 4: Repeat Row 3, shaping the outer edges slightly inward.
Row 5: Work single crochet stitches evenly across. Fasten off and weave in the end.
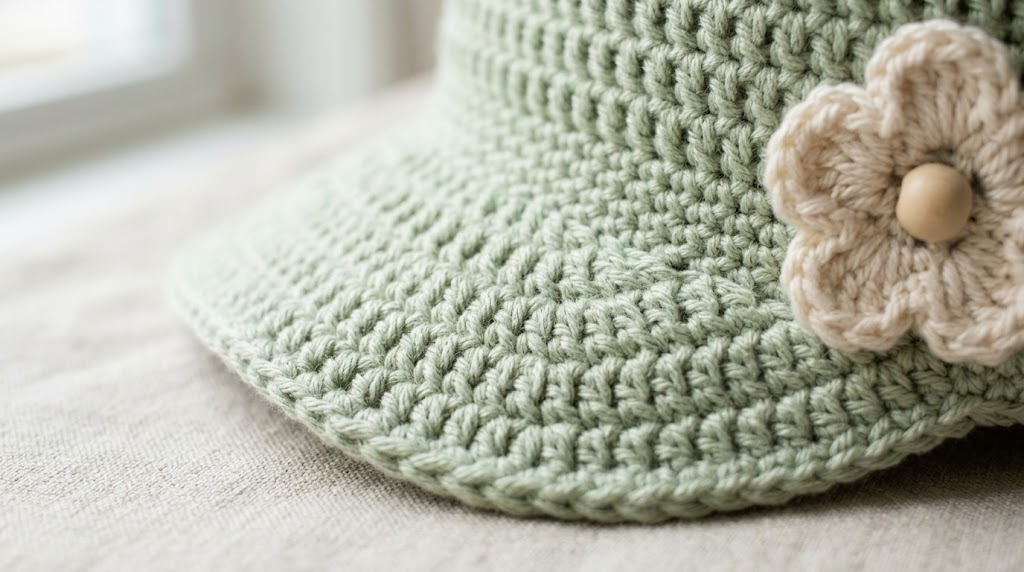
These rows create a small, soft visor rather than a rigid baseball-cap brim. The precise number of rows and decreases will depend on the width of your marked section and the shape you prefer.

For a firmer finish, try a smaller hook and maintain even tension. Avoid making the stitches so tight that the visor curls or becomes uncomfortable.
Step 5: Add a Neat Edging
Attach yarn at one corner of the visor and work single crochet stitches evenly around its outer edge.
Keep the stitches consistent, especially around the curved corners. If the edge becomes wavy, you may have worked too many stitches. If it pulls inward, you may need to add a few stitches.
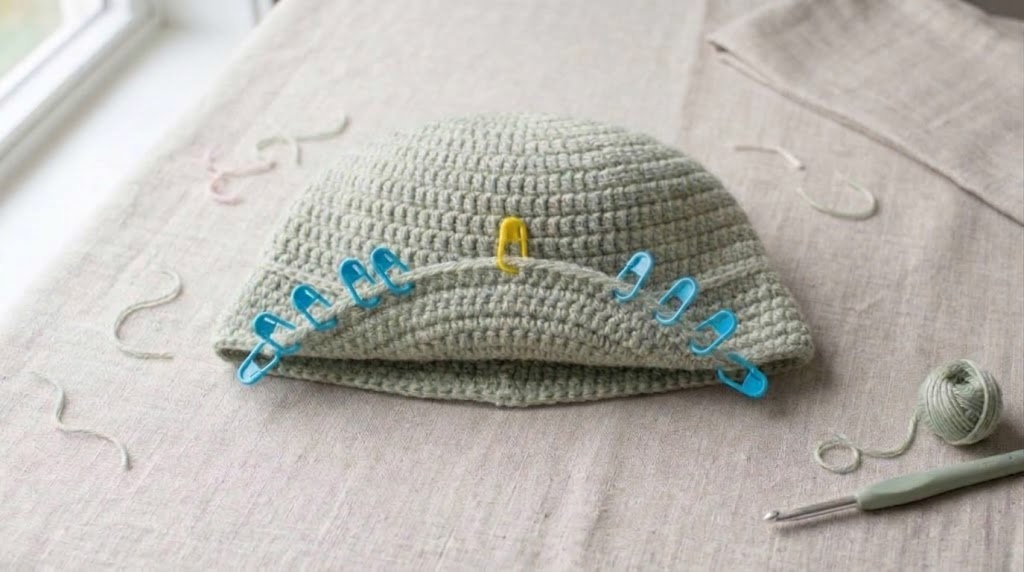
Join neatly and fasten off.
Step 6: Add a Crochet Flower
A small flower can give the beanie a sweet, personalized finish.
Use a contrasting yarn shade, such as cream, white, pale yellow, or soft pink.
Make a small magic ring and work five single crochet stitches into it. Join with a slip stitch. For the next round, create five chain loops spaced around the center. Work a combination of single crochet, half double crochet, and double crochet stitches into each loop to form simple petals.

Fasten off, leaving a tail for sewing. Position the flower on one side of the hat, away from the center of the visor, and sew it securely.
For hats intended for babies or very young children, avoid detachable buttons, beads, and other small embellishments that could become choking hazards.
Two Helpful Amazon Product Recommendations
You do not need expensive supplies to make a beautiful crochet hat. These two product types are useful additions to a beginner’s crochet kit.
1. Medium-Weight Acrylic Yarn
Look for a soft, medium-weight acrylic yarn, such as Red Heart Super Saver. It is a versatile option for practicing stitches, making hats, and experimenting with different colors.
Choose a light green shade for this project and check the yarn label for the recommended hook size and care instructions.

2. Ergonomic Crochet Hook Set
An ergonomic crochet hook set can be useful if you regularly make hats, scarves, and other handmade accessories. The comfortable handles may help you maintain a relaxed grip during longer crochet sessions.
Look for a set that includes a 5 mm hook and clearly marked sizes. Choose a hook that feels comfortable in your hand.

Tips for a Better Crochet Visor Beanie
Check your tension: If the hat feels too tight, try a larger hook. If the stitches are loose and the fabric lacks structure, try a smaller hook.
Use stitch markers: Marking the beginning of each round makes it easier to track increases and avoid mistakes.
Measure as you go: Crochet tension varies from person to person. Measuring the crown and body is more reliable than following a fixed number of rounds for every size.
Keep the visor balanced: Center it carefully and check both sides before finishing the edging.
Choose easy-care yarn: If the hat will be worn regularly, select a yarn with washing instructions that suit the recipient’s needs.
Make a practice sample: If you are new to visor shaping, test the brim with leftover yarn before working on the finished hat.
Frequently Asked Questions
Is a crochet visor beanie suitable for beginners?
Yes. The basic crown and body use simple stitches. The visor requires a little shaping, but stitch markers and careful counting make the process easier.
Which yarn is best for a girl’s visor beanie?
Medium-weight acrylic yarn is a practical choice for a structured, everyday hat. Soft blends may also work. Always consider the recipient’s comfort and the yarn’s care instructions.
Can I make this beanie in different colors?
Absolutely! Light green, lavender, cream, pink, and pale yellow are lovely choices. You can also use a contrasting color for the visor or flower.
How do I make the visor firmer?
Try using a smaller hook for the visor rows and maintaining even tension. A dense single crochet fabric will generally provide more structure than a loose fabric.
Can I sell the finished hats?
That depends on the terms of any specific pattern you follow. For this original adaptable pattern, you should also consider your own local selling requirements and clearly describe the finished product. Never redistribute another designer’s written instructions or photographs without permission.

Final Thoughts
A crochet visor beanie is a charming handmade accessory that combines a classic hat shape with a playful brim. With soft yarn, a comfortable fit, and a little attention to shaping, you can create a design that feels personal and special.
Start with a simple light green version, then experiment with flowers, contrasting colors, or different edging styles. Most importantly, measure carefully and check the fit as you work.
Whether you are making a gift or building your collection of handmade crochet accessories, this project is a lovely way to practice your skills and create something useful.