How to Crochet a Fedora Hat: A Beginner-Friendly Guide to Making a Stylish Crochet Fedora
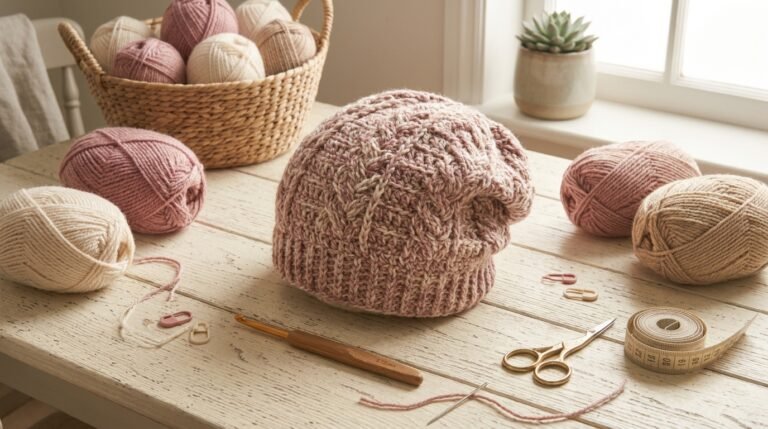
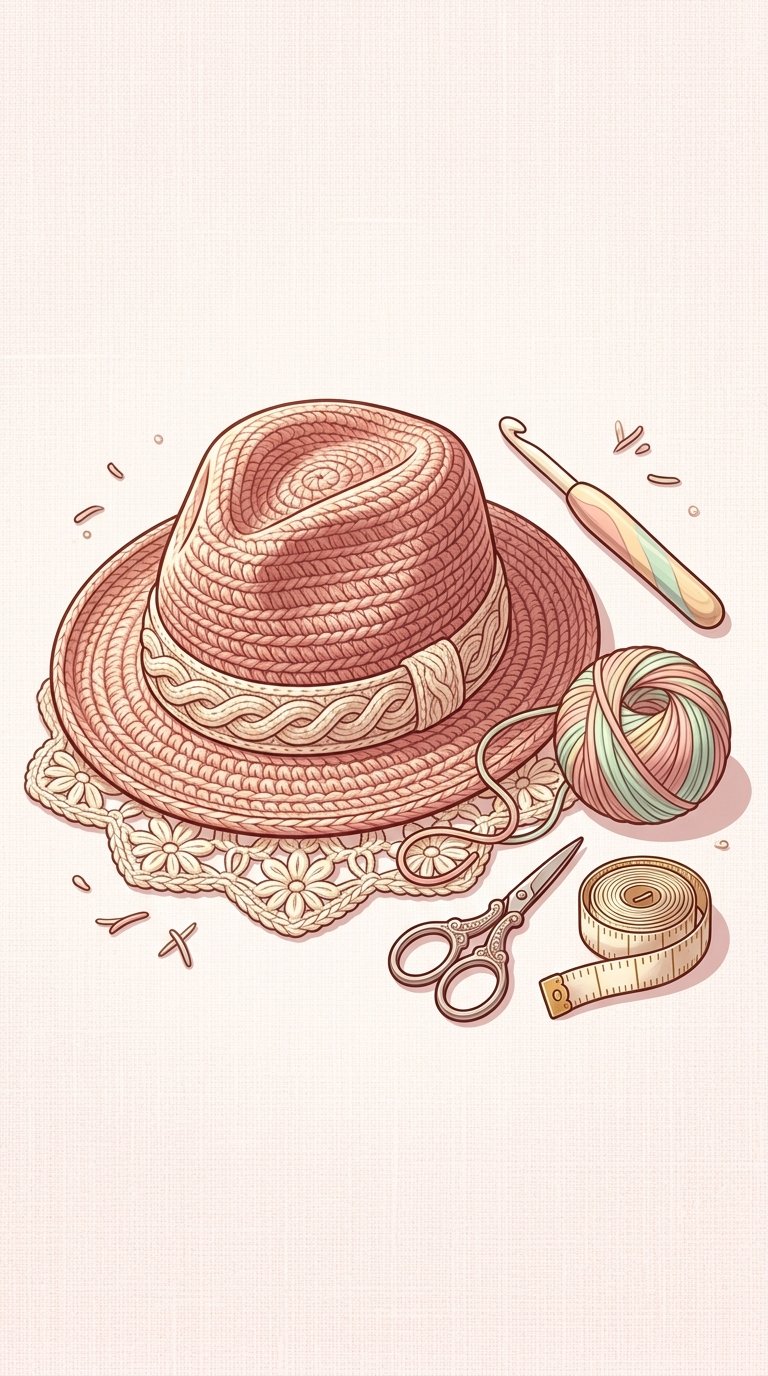
There is something especially satisfying about crocheting a hat that looks like it came from a boutique rather than straight from your craft basket. A crochet fedora is one of those projects that can feel complicated at first, but once you understand how the crown, sides, and brim work together, the construction becomes much easier to follow.
I especially like crochet fedoras because they are more than decorative projects. With the right yarn and a firm stitch, you can create a lightweight hat that is comfortable, stylish, moldable, and useful for sunny days.
The techniques behind this type of hat are also surprisingly approachable. The Make & Do Crew fedora tutorial, for example, uses primarily single crochet and working in the round, making the project much less intimidating than its finished appearance suggests.
1. Choose the Right Yarn Before You Start
The yarn can make or break a crochet fedora.
For a structured hat, I look for yarn that creates a fairly firm fabric without making the finished hat unnecessarily heavy. The original Cleo Fedora tutorial uses Lion Brand Rewind yarn, a tape-style yarn that is described as soft, moldable, durable, and packable. A cotton yarn can also work as a substitute if you can achieve the required gauge.
For beginners, I recommend making a small gauge sample before committing to the entire hat. This gives you a chance to check how tight your stitches are and whether your chosen hook produces the fabric you need.
A common mistake is choosing a yarn simply because the color is beautiful. I have found that the texture and structure matter just as much as the color when making something that needs to hold its shape.
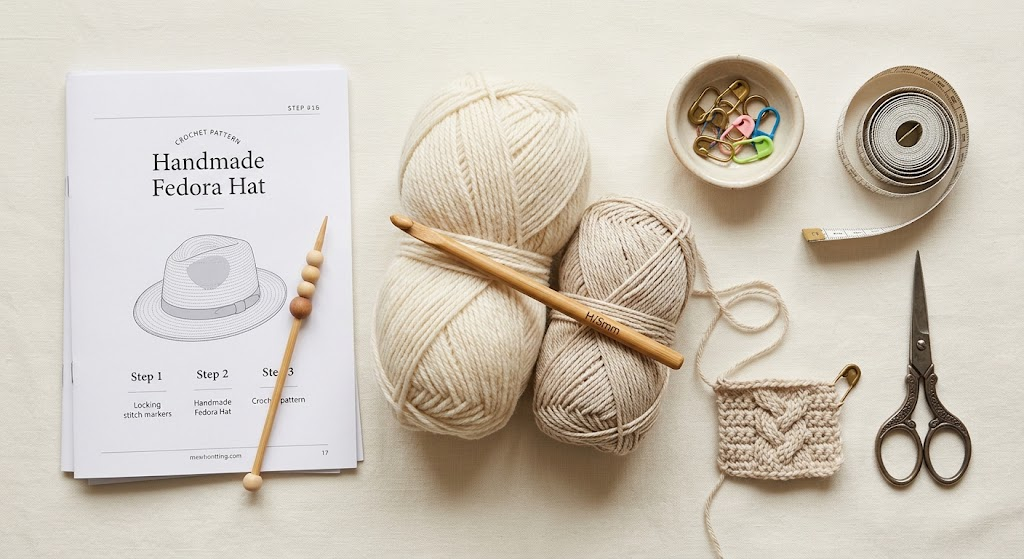
My rule: choose the yarn for the finished fabric first, then choose the color.
What to look for:
- A yarn that isn’t excessively stretchy
- Good stitch definition
- A comfortable texture
- Enough structure for the brim
- A weight compatible with your pattern
If you’re following a specific pattern, always prioritize its recommended yarn weight and gauge rather than guessing.
2. Build the Crown Slowly and Check Your Gauge
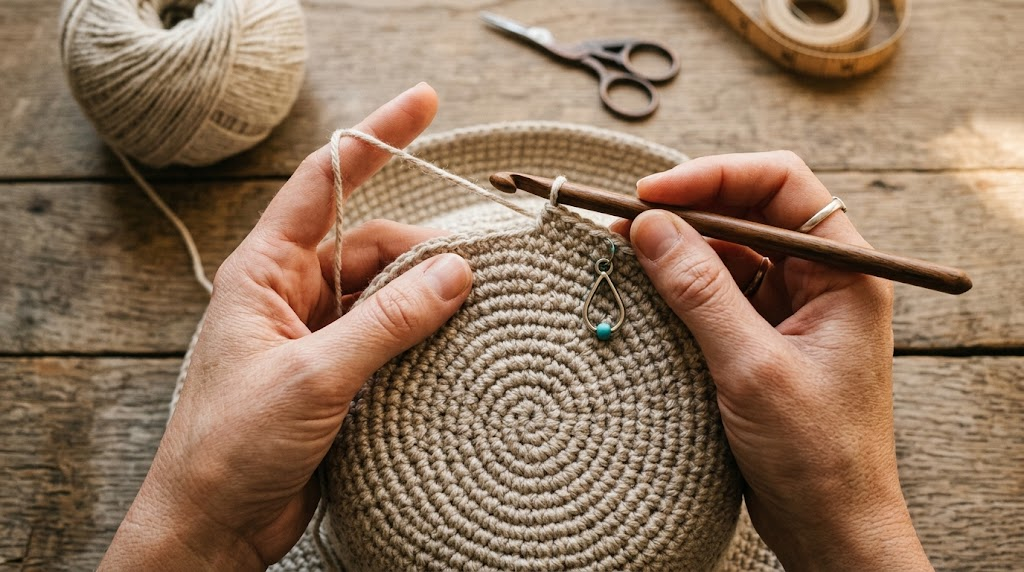
The crown is the circular top portion of the hat. This is where many beginners become frustrated because a small mistake in the increases can eventually make the hat too flat, too deep, or uneven.
The Cleo Fedora construction is worked in the round using single crochet, with increases used to gradually enlarge the crown. Stitch markers are particularly useful because they help identify important points while you’re working.
I recommend stopping every few rounds to check your work rather than waiting until the entire crown is finished.
Look at the circle from above.
Is it lying reasonably flat?
If the edges are curling dramatically, your tension or increase rate may need attention. If the circle is becoming very wavy, you may be adding more stitches than necessary.
This simple visual check can save you from having to undo several rounds later.
A beginner tip
Don’t crochet faster just because the first few rounds seem easy.
A consistent tension is much more valuable than speed when making a structured hat.
3. Shape the Sides and Create a Comfortable Fit
Once the crown reaches the required size, the hat begins to develop its vertical sides.
This is the part I find particularly satisfying because the project suddenly starts looking like an actual hat rather than a flat crochet circle.
At this stage, consistency matters. Try to keep your stitches approximately the same tightness throughout the project. If your tension suddenly becomes loose, the sides may become softer than the crown.
This is also a good time to check the fit.
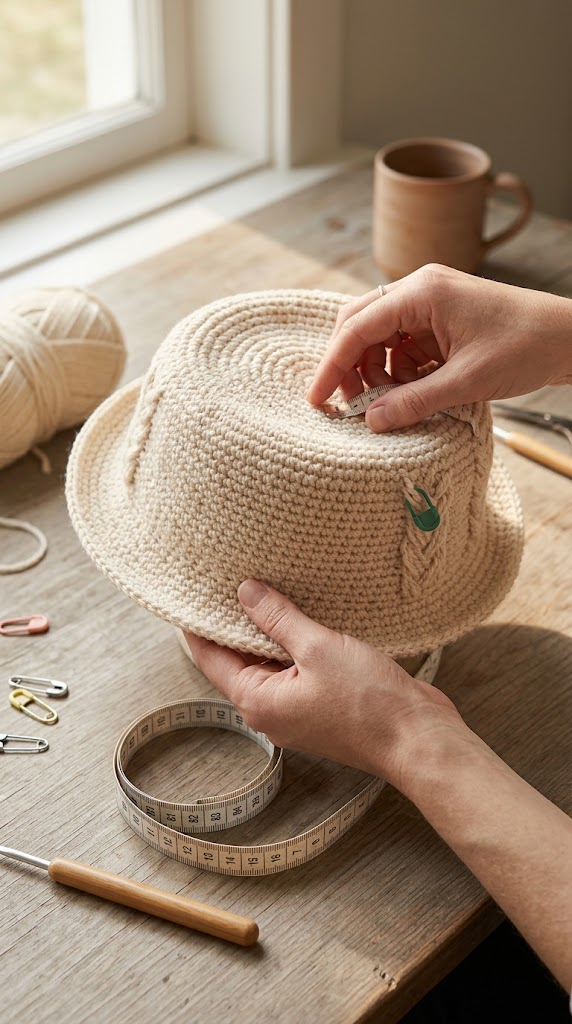
You don’t necessarily need to finish the entire hat before trying it on. Carefully place the unfinished hat on your head and check whether the circumference feels comfortable.
Remember that crochet fabric can have some give, so you don’t want the hat to be extremely loose.
Don’t ignore fit
A beautiful fedora that constantly slips over your eyes isn’t very useful.
Think about:
- Head circumference
- Hat depth
- How much movement you want
- Whether you’ll wear your hair up or down
- Whether the hat is intended for summer or cooler weather
Taking a few minutes to check the fit during construction can make a huge difference to the finished result.
4. Give the Brim Enough Structure
This is where a handmade crochet fedora really comes to life.
A floppy brim can look attractive in some designs, but if you want a classic fedora shape, you usually need some additional structure.
One clever technique demonstrated by Make & Do Crew is adding galvanized wire rope around the brim and crocheting over it. The wire gives the brim additional stability while still allowing you to shape it.
I particularly like this concept because it doesn’t require turning the entire hat into a rigid piece.
Instead, you can bend and shape the brim depending on the look you’re trying to achieve.
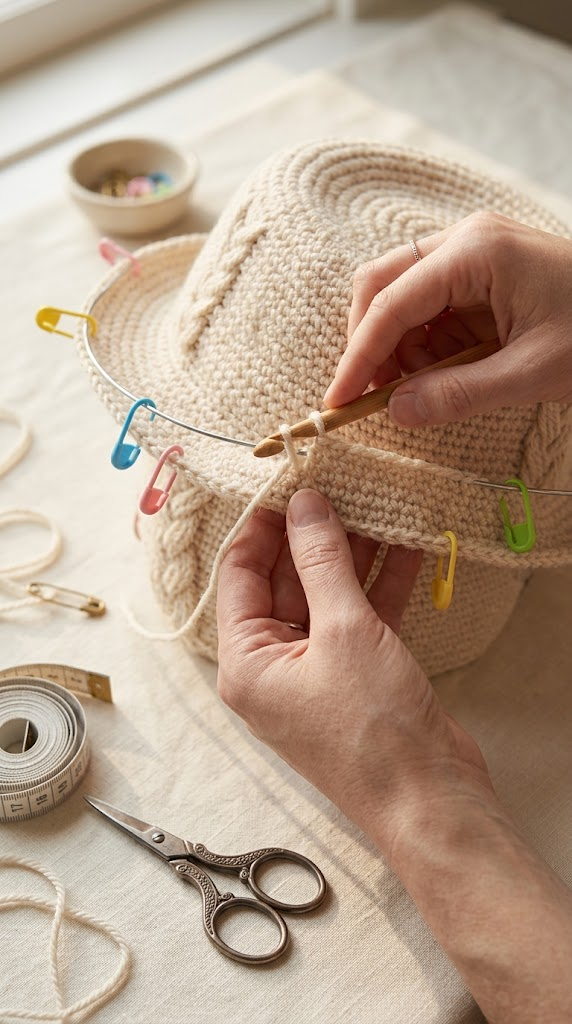
Important: if you use wire or another structural material, make sure the ends are completely secured and enclosed so that they cannot poke through the crochet fabric.
My recommended beginner approach
Don’t add complicated shaping immediately.
First make the brim according to your pattern. Then decide whether it needs extra support.
If you want a softer beach-style hat, you may prefer the natural crochet fabric.
If you want a more traditional fedora silhouette, additional brim support can make a noticeable difference.
5. Finish, Shape and Style Your Fedora
The final stage is where I think handmade hats become especially fun.
After fastening off and weaving in your ends, gently shape the hat rather than forcing it into an extreme form.
For a classic fedora appearance, you can create a subtle indentation at the front of the crown and gently shape the sides of the brim.
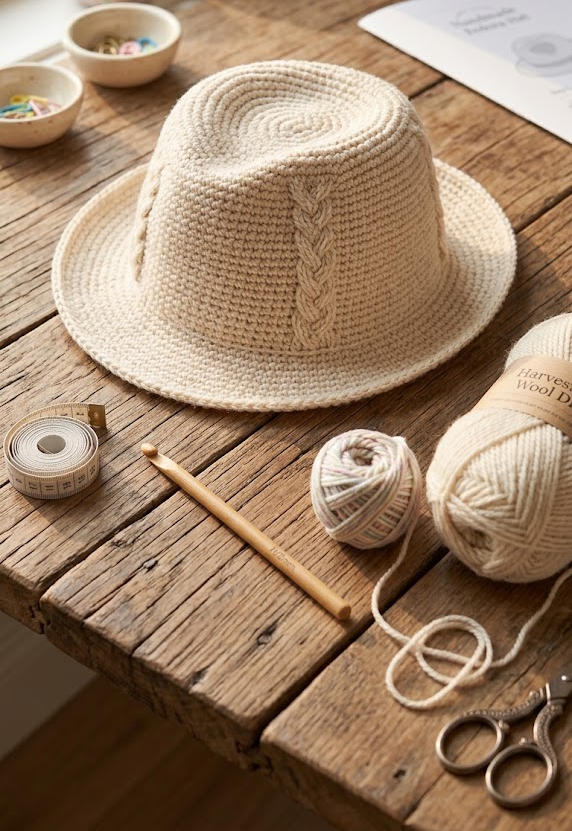
The original Cleo Fedora instructions also suggest decorative options such as a braided yarn accent or a leather chin strap, while the crown can be molded into a traditional V-shaped fedora profile.
I prefer keeping the first version relatively simple. Once you’ve successfully made one hat, you can experiment with:
- Contrasting hat bands
- Leather accents
- Braided yarn
- Wooden beads
- Decorative stitching
- Different brim shapes
- Two-color designs
The beauty of crochet is that small changes can make the same basic construction look completely different.
Two Amazon Products I’d Consider for This Project
If you’re putting together supplies specifically for a crochet fedora, I don’t think you need a huge collection of gadgets. I’d rather spend money on two useful items than fill a craft drawer with tools that rarely get used.
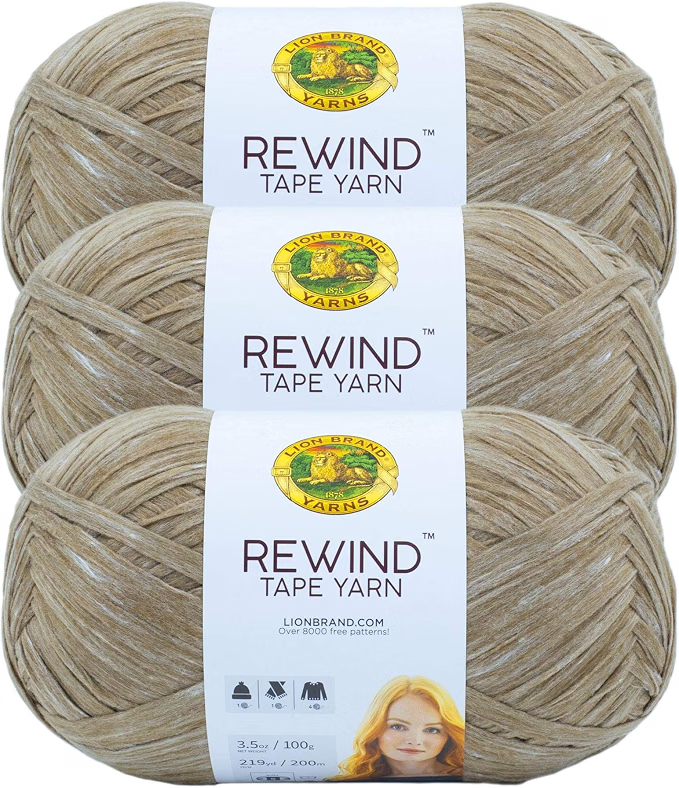
1. Lion Brand Rewind Yarn
This is the first product I’d look at if you’re trying to recreate the soft, packable style of the Cleo Fedora. The original tutorial specifically uses Lion Brand Rewind and describes it as a soft, moldable, durable tape yarn that works particularly well for a crochet sun hat.
What makes it appealing for this project is the combination of softness and structure. The yarn can help create a hat that isn’t as stiff and uncomfortable as some traditional straw-like materials.
Best for: crochet fedoras, summer hats, lightweight accessories and packable projects.
My buying tip: check the yarn weight and your pattern’s gauge before ordering. Don’t buy it solely because it is recommended—your particular pattern and tension still matter.
2. Ergonomic Crochet Hook Set
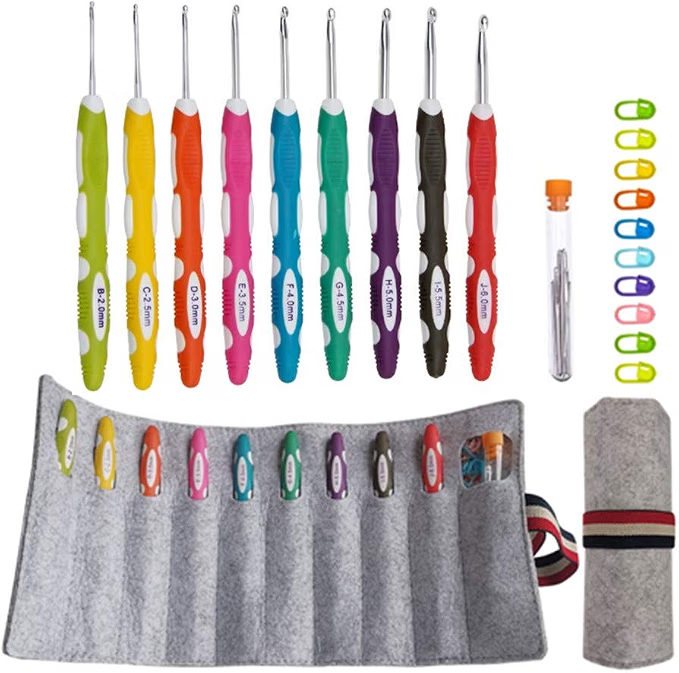
A comfortable crochet hook is another worthwhile investment, particularly because a fedora requires many repeated single-crochet stitches.
An ergonomic hook can be easier to hold during longer sessions than a basic straight metal hook. For this project, make sure the set includes the size required by your chosen pattern rather than assuming that a larger set automatically means it’s better.
Best for: beginners building a crochet toolkit, frequent crocheters and projects involving lots of repeated stitches.
My buying tip: look for comfortable handles and clearly marked millimeter sizes. The hook should feel secure in your hand without requiring you to squeeze it tightly.
Final Thoughts
Crocheting a fedora may look like an advanced project when you first see the finished result, but the basic construction is much more approachable than it appears.
The key is not trying to rush through it.
Start with the right yarn, make a gauge sample, keep your tension consistent, use stitch markers, check the fit as you go, and give the brim enough structure for the style you want.
I also think it’s worth remembering that your first handmade fedora doesn’t have to be perfect. Small variations in tension and shaping are part of what makes handmade crochet special.
Once you understand the basic construction, you can start making the design your own. Change the yarn color, add a contrasting band, reshape the brim, or make matching hats for family members.
And if you’re completely new to crochet, don’t be discouraged by the word “fedora.” The referenced tutorial relies heavily on single crochet and working in the round, which are foundational skills that become much easier with practice.
Affiliate disclosure: This article may contain affiliate links. If you purchase through one of these links, I may earn a small commission at no additional cost to you. I only recommend products that are relevant to the project, and I encourage you to check the current price, availability, reviews, and product specifications before purchasing.