
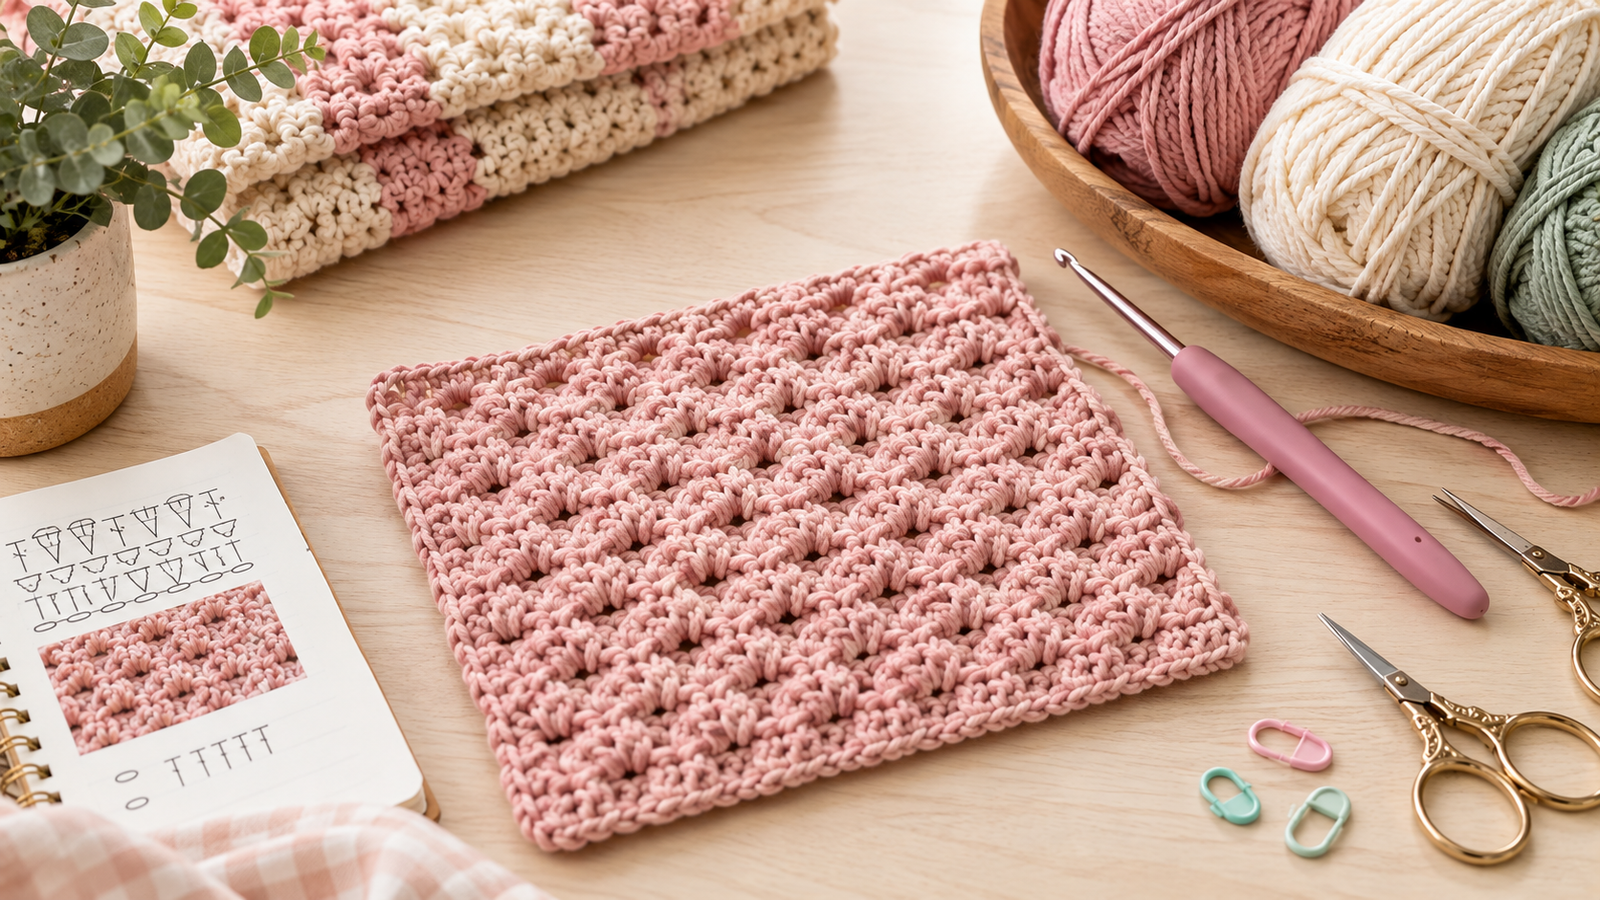
Crochet Crunch Stitch: An Easier Textured Crochet Stitch Tutorial
If you love crochet stitches that look complicated but are actually made from simple techniques, the crochet crunch stitch is one I think you should try. It creates a lovely raised, textured surface without requiring complicated cables, bobbles, or advanced shaping.
What makes this version especially useful is that it simplifies the traditional crunch stitch. Instead of repeatedly working into difficult slip stitches, this modified version uses a combination of single crochet, double crochet, slip stitches, and skipped stitches to create the textured bumps.
I particularly like stitches like this when I want a project to look more detailed without spending hours learning a complicated stitch. Once the repeating rows become familiar, the pattern has a relaxing rhythm.

The original Crochet Dreamz tutorial explains that this easier version was created to avoid working into many of the difficult slip stitches found in a traditional crunch stitch. It also substitutes double crochet for the half double crochet used in the regular version.
In this tutorial, I’ll walk through the stitch step by step, explain what to watch for, and share a few practical tips that can make your first attempt much easier.
1. What Makes the Crochet Crunch Stitch Special?
The first thing I notice about the crunch stitch is its texture.
Instead of producing a completely flat fabric, the alternating rows create small raised areas that catch the light. This gives even a simple yarn color some visual interest.
The stitch can be used for:
- Dishcloths
- Washcloths
- Scarves
- Blankets
- Edges and borders
- Crochet samplers
- Small home-decor projects
- Textured panels on larger projects

The original pattern also suggests using this stitch for edging, stitch samplers, afghans, and dishcloths.
For beginners, I think a small swatch is the best place to start. You can concentrate on the stitch pattern instead of worrying about the size of a whole project.
My first tip: don’t rush the texture
When I work a textured stitch for the first time, I find it tempting to pull every stitch tightly. That usually makes things harder.
For this stitch, relaxed tension is particularly helpful because some of the slip stitches need to remain loose enough to work comfortably.
A slightly relaxed grip also makes it easier to see where the next stitch belongs.
2. Gather Your Crochet Supplies
You don’t need a huge collection of supplies for this project.
Basic materials
You will need:
- Medium-weight yarn
- A crochet hook appropriate for your yarn
- Scissors
- A yarn needle
- Optional stitch markers
- Measuring tape for larger projects
For practicing the stitch, I recommend using a smooth, light-colored yarn. Dark or fuzzy yarn can hide the individual stitches, making it much harder to understand the texture.

I prefer yarn with clearly defined strands because I can see the difference between the taller double crochet stitches and the smaller slip stitches.
Two helpful Amazon tools
1. Clover Amour Ergonomic Crochet Hook Set
An ergonomic hook set can be useful when you’re practicing a stitch with repeated crochet movements. I especially like the idea of having several hook sizes available because yarn thickness and personal tension can affect the finished fabric.
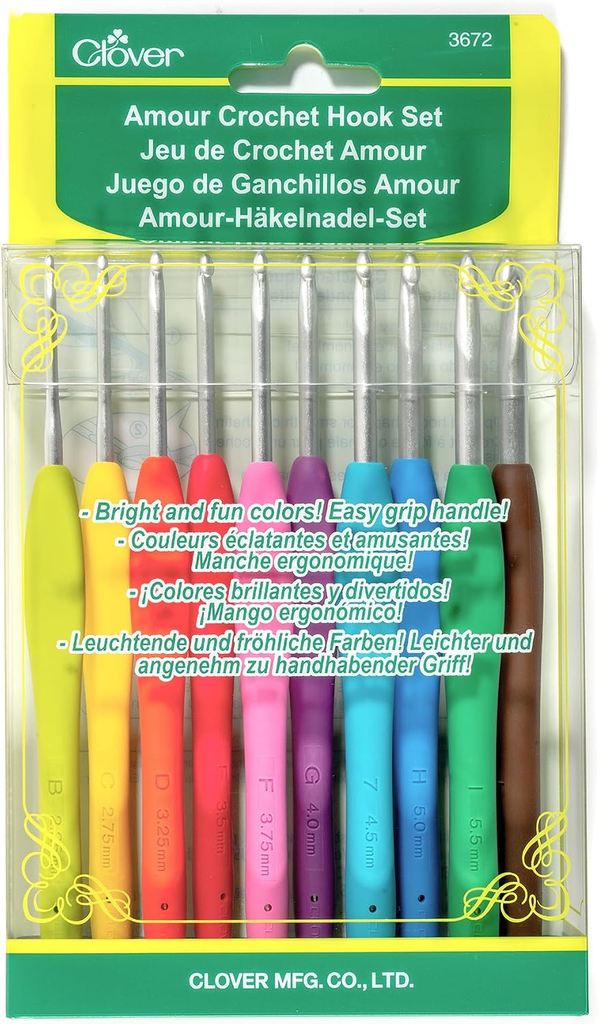
I would choose this type of hook if you regularly crochet for longer periods and want a comfortable grip rather than buying several individual hooks.
2. Locking Stitch Markers

Locking stitch markers are inexpensive but surprisingly useful. I recommend keeping a few nearby when practicing because they can help mark the first or last stitch of a row, especially while you’re learning to recognize the structure of the pattern.
Crochet educators also commonly include locking stitch markers among useful crochet notions.
3. Learn the Abbreviations Before Starting
The pattern uses standard US crochet terminology.
Here are the abbreviations you’ll need:
| Abbreviation | Meaning |
|---|---|
| ch | Chain |
| sc | Single crochet |
| dc | Double crochet |
| sl st | Slip stitch |
| sk | Skip |
If you’re new to crochet patterns, don’t worry about memorizing everything.
The most important thing to understand is the difference between the three main stitches used here.
Single crochet
Single crochet is a short, compact stitch. It helps create the foundation and some of the flatter rows.
Double crochet
Double crochet is taller and creates the raised portions that help form the texture.
Slip stitch
Slip stitches are very short and are mainly used to create the contrast between the taller stitches.
The trick is not to crochet the slip stitches too tightly.
4. Crochet Crunch Stitch: Step-by-Step Pattern
Now let’s make the stitch.
Step 1: Make Your Foundation Chain
Start by chaining an even number of stitches.
For a practice swatch, you could begin with a small even number such as 20 chains.
The exact number isn’t as important when you’re learning. What matters is that your starting chain contains an even number of stitches.
Once you are comfortable with the pattern, you can increase the chain for a larger project.

Row 1
Make 1 single crochet in the second chain from the hook.
Continue making 1 single crochet in each chain across.
At the end of the row, turn your work.
This first row creates a simple single-crochet foundation.
Don’t worry if it doesn’t look textured yet. The raised appearance develops in the following rows.

Step 2: Work the First Textured Row
Chain 1.
The chain 1 does not count as a stitch in this pattern.
Make 1 slip stitch into the same stitch as the chain 1.
Then repeat:
1 double crochet in the next stitch, 1 slip stitch in the next stitch.
Continue this sequence across the row.
When you reach the end, turn your work.
The original tutorial specifically recommends keeping the first and last slip stitches loose.
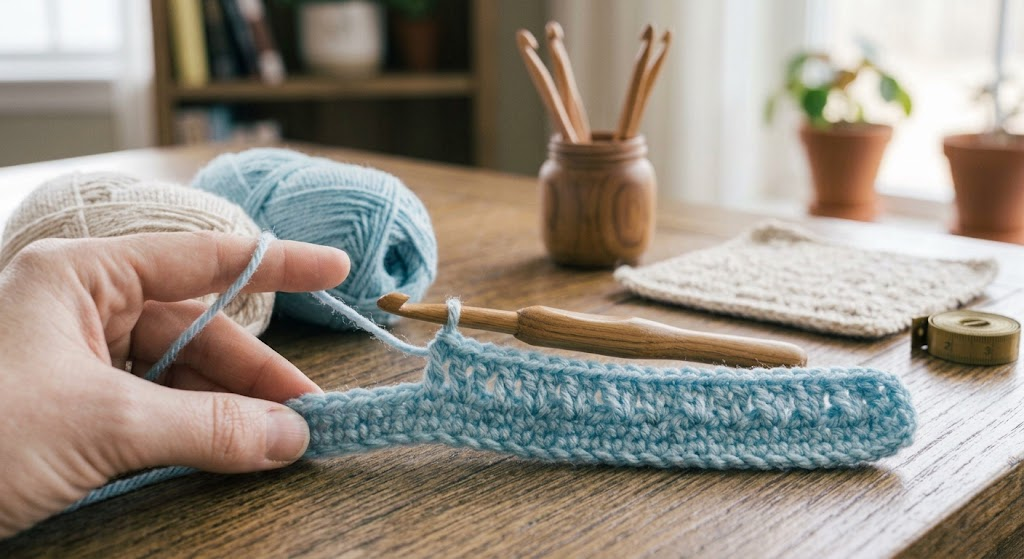
A helpful visual trick
After completing this row, stop for a moment and look at your work.
The larger stitches are your double crochets.
The tiny stitches are the slip stitches.
This distinction becomes very important for the next row.
If you’re confused, don’t immediately pull out the row. Instead, spread the fabric gently with your fingers and look for the taller bumps.
Step 3: Build the Bumps
Chain 1.
Make 1 single crochet in the same stitch as the chain.
Then make 2 single crochets in the next double crochet.
After that, repeat:
Skip the next slip stitch and make 2 single crochets in the next double crochet.
Continue across the row.
Near the end, follow the finishing instructions carefully so the edge remains neat.
The original pattern describes working into the stitches behind the bumps formed by the previous row.

This is the part where the texture really begins to appear.
Don’t accidentally crochet into every stitch
This is one of the easiest mistakes to make.
The slip stitch is skipped in this row.
If you work into it by accident, your stitch count and texture can change.
I recommend looking for the taller double crochet from the previous row and placing your hook there rather than simply inserting the hook into the next visible stitch.
Step 4: Repeat the Textured Row
Chain 1.
Repeat the same stitch sequence used in Row 2:
1 slip stitch in the same stitch as the chain, then alternate 1 double crochet and 1 slip stitch across the row.
Turn your work at the end.
You should begin seeing a repeating textured pattern developing across the fabric.
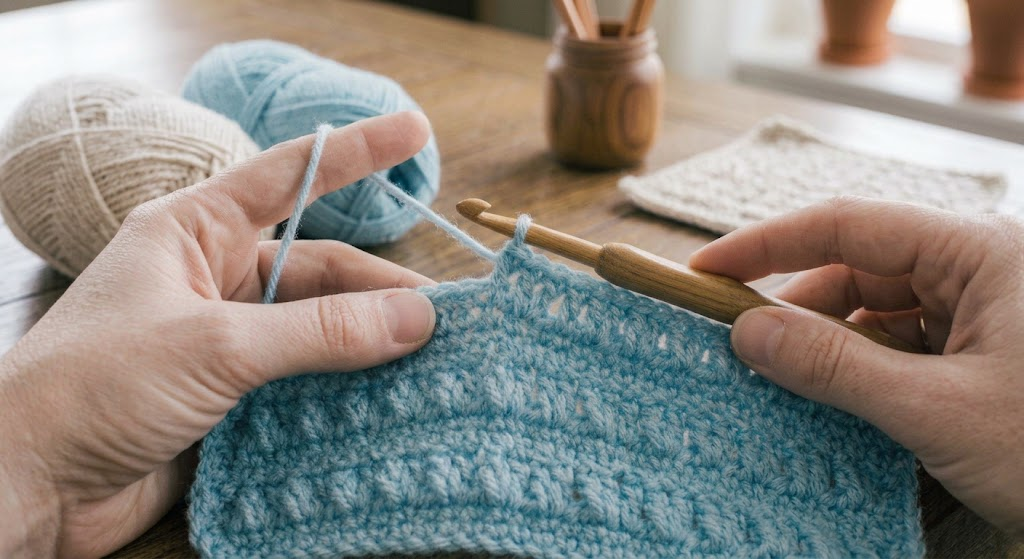
Step 5: Finish the Four-Row Repeat
The fifth row is similar to Row 3 but begins slightly differently.
Chain 1.
Make 1 single crochet in the same stitch as the chain.
Make 1 single crochet in the next double crochet.
Then repeat:
Skip the next slip stitch, make 2 single crochets in the next double crochet.
Continue across the row and finish with the appropriate single crochet at the edge.
Once you finish this row, your basic repeat is complete.
The original instructions then tell you to repeat Rows 2–5 to continue the pattern.

5. My Best Tips for Getting a Beautiful Crunch Stitch
Once you’ve learned the basic sequence, the stitch becomes much easier. These are the things I would pay the most attention to.
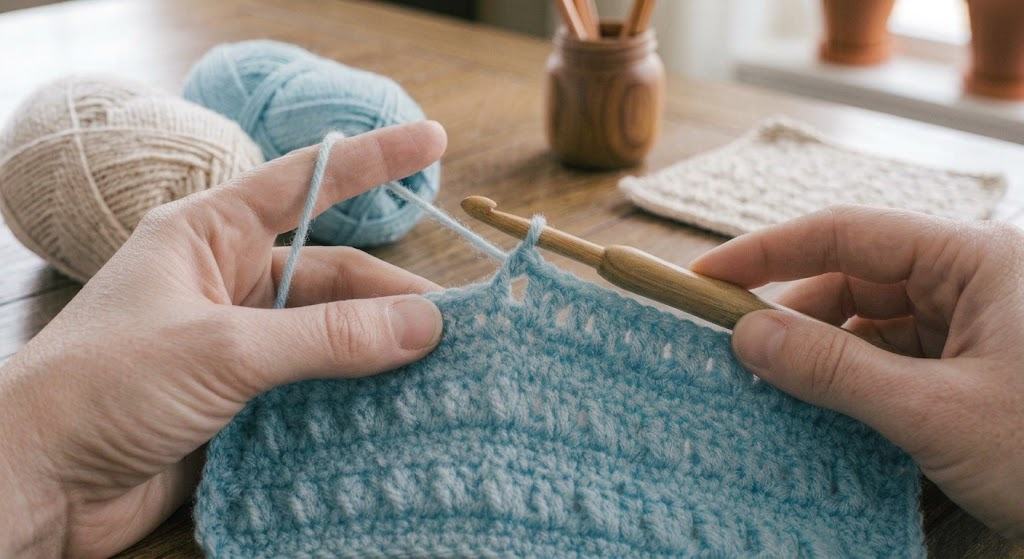
Keep your slip stitches loose
This is probably the most important tip.
Tight slip stitches can make the next row frustrating because there isn’t enough room to insert your hook.
When making a slip stitch, allow the loop on your hook to remain comfortable rather than pulling it extremely tight.
Use a light-colored yarn first
If you’re learning the stitch for the first time, choose cream, white, blush, pale pink, light gray, or another soft color.
You’ll be able to see the individual stitches much more clearly.
Once you’re confident, you can experiment with darker colors and variegated yarn.
Count your stitches
Textured patterns can hide mistakes surprisingly well.
If your row starts with an even number of stitches but suddenly seems too wide or narrow, stop and count.
It is much easier to correct one incorrect row than several rows later.
Pay attention to the double crochets
The double crochets are your landmarks.
Instead of thinking about every stitch individually, look for the taller stitches and use them to guide the next row.
This makes the pattern much less confusing.
Make a small swatch first
I strongly recommend making a practice square before starting a blanket, scarf, or larger project.
A swatch gives you a chance to check:
- Your tension
- Stitch height
- Texture
- Hook size
- Yarn appearance
- Whether you enjoy the stitch
It also lets you see whether you need to loosen your tension.
Common Crochet Crunch Stitch Mistakes
Mistake 1: Making the slip stitches too tight
This is probably the biggest beginner problem.
Fix: Relax your hand and make the slip stitch slightly looser.
Mistake 2: Working into skipped slip stitches
The skipped slip stitch can be easy to miss.
Fix: Find the taller double crochet and work your single crochets into it.
Mistake 3: Losing the edge stitches
The edges can become uneven if the first or last stitch is accidentally skipped.
Fix: Consider placing a locking stitch marker near the edge while you’re learning.
Mistake 4: Using very fuzzy yarn
Fuzzy yarn can make it difficult to see the individual stitch structure.
Fix: Practice with smooth, clearly defined yarn first.
Mistake 5: Changing your tension constantly
If some rows are very tight and others are loose, the texture may look uneven.
Fix: Try to maintain a relaxed, consistent grip.
Why I Like This Easier Crunch Stitch
For me, the biggest advantage is that the stitch looks more complicated than the actual technique.
That’s exactly what I want from a crochet stitch.
I can use basic stitches I already understand, but the finished fabric has enough texture to make a simple project feel special.
The modified version also addresses one of the frustrating parts of the traditional crunch stitch: repeatedly working into slip stitches. The original tutorial explains that this easier variation limits the slip-stitch work and replaces the traditional half double crochet with double crochet.
Once you understand the four-row repeat, you can experiment with different yarn colors and project types.
For a first project, I’d start small. A dishcloth or stitch sampler is a great way to practice before committing to a larger blanket.
Final Thoughts
The crochet crunch stitch is a wonderful example of how a few basic crochet stitches can create a surprisingly rich texture.
If you’re a beginner, don’t feel discouraged if the first few rows look confusing. The stitch becomes much easier once you recognize the taller double crochets and understand which slip stitches should be skipped.
My biggest recommendation is simple: slow down, keep your slip stitches loose, and make a small practice swatch first.
After a few repeats, your hands will start remembering the sequence naturally.
And that’s when this stitch becomes really enjoyable.
For me, that’s one of the best things about crochet—something that initially looks complicated can become almost meditative once the pattern starts to flow.
If you’re building a collection of favorite crochet stitches, this easier crunch stitch is definitely worth adding to your list.

