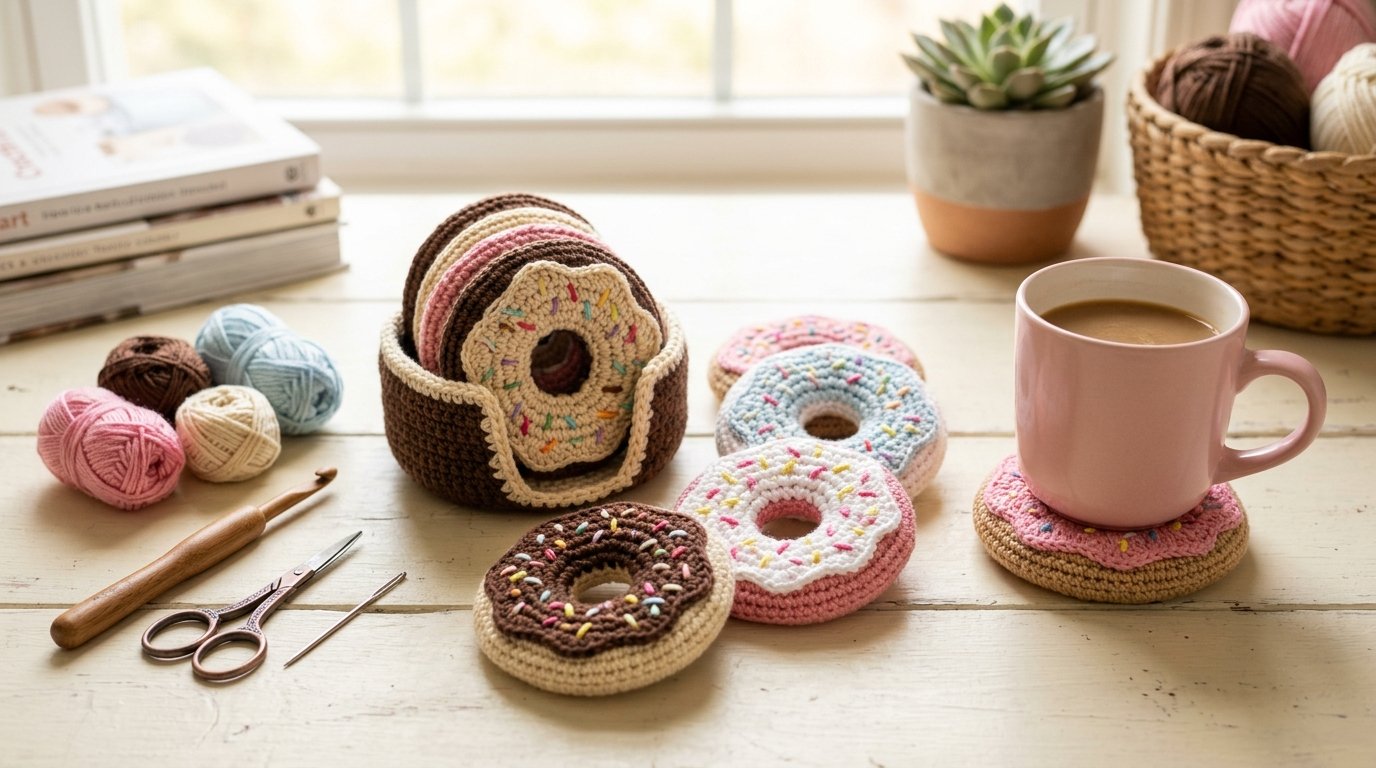
Crochet Doughnut Coasters and Holder: A Sweet and Colorful DIY Project
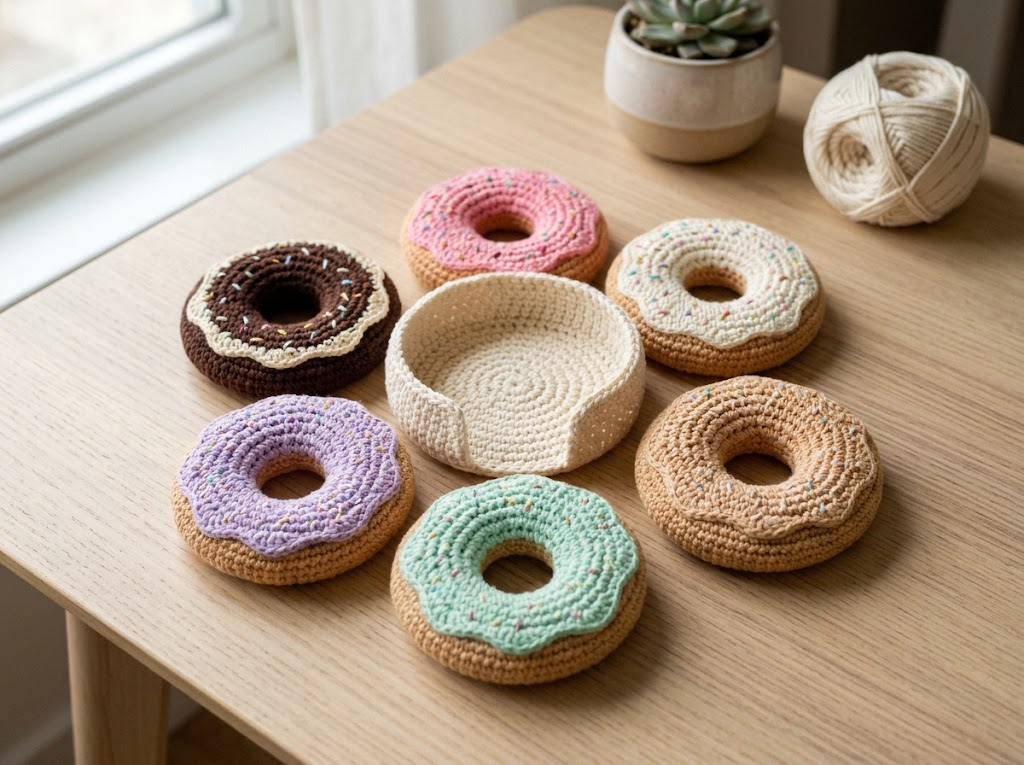
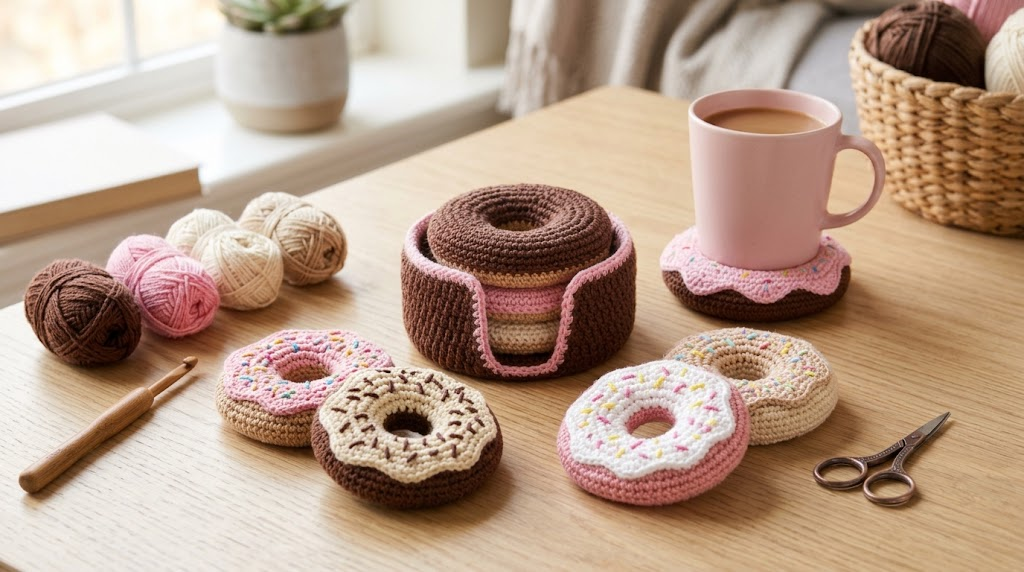
If you love crochet projects that are both adorable and useful, these crochet doughnut coasters deserve a place on your to-make list! Shaped like little doughnuts with colorful icing and sprinkles, they bring a playful touch to your coffee table, kitchen counter, or craft room.
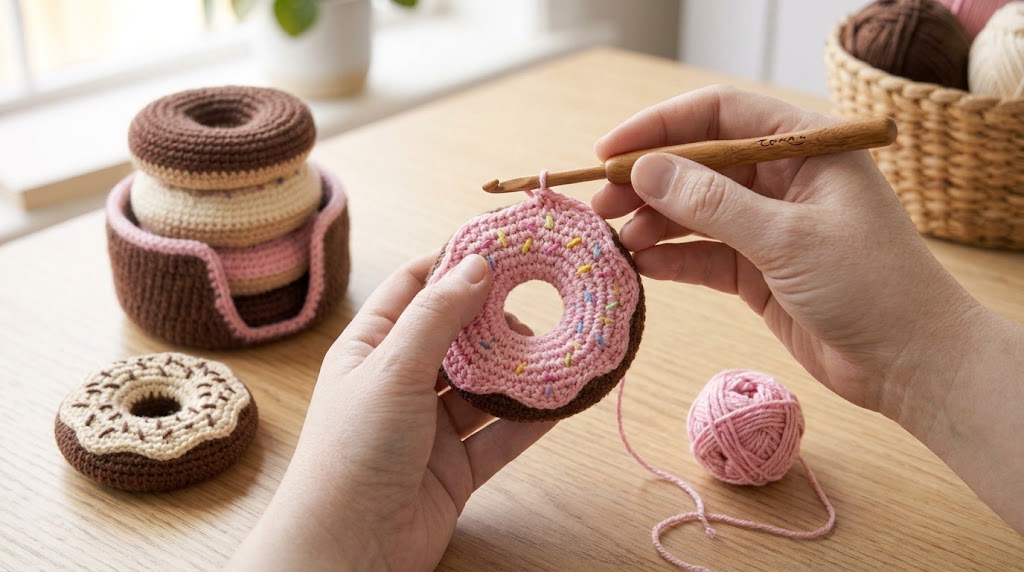
What makes this project especially lovely is that it combines two practical pieces: doughnut-shaped crochet coasters and a matching holder to keep them neatly organized. Instead of leaving your coasters scattered around the house, you can stack them inside their own handmade container.
I love the idea of combining everyday usefulness with creative details. You can experiment with pink frosting, chocolate-brown icing, pastel sprinkles, or even bright blue and yellow combinations to make a set that matches your personality.
In this guide, I’ll walk you through the materials, construction techniques, color choices, finishing details, and useful tips for creating your own crochet doughnut coaster set.
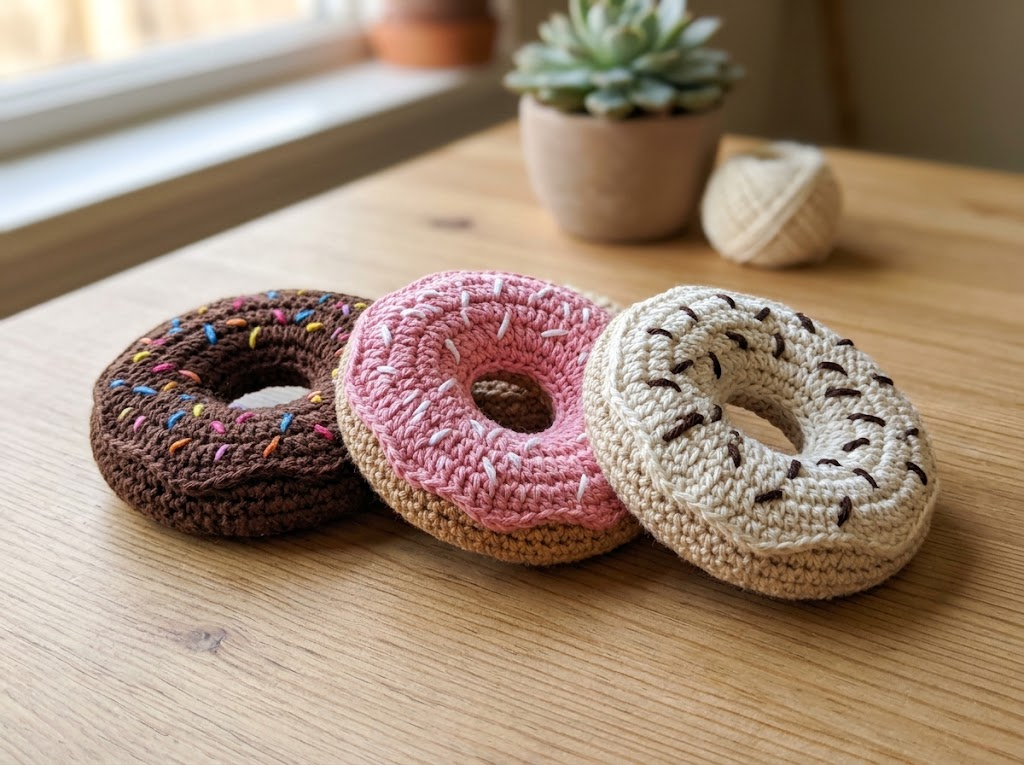
Why You’ll Love These Crochet Doughnut Coasters
Crochet home accessories don’t have to be plain or complicated. Sometimes, a small project with a fun design can make an ordinary room feel more cheerful.
Here are a few reasons to try this doughnut coaster pattern.
1. They Combine Decoration With Everyday Use
These little doughnuts look like colorful treats, but they also serve a practical purpose. Place one beneath your favorite mug to help protect a tabletop from light moisture and minor marks.
Although crochet coasters can absorb small amounts of moisture, they aren’t waterproof. For especially hot drinks or delicate surfaces, additional protection may be necessary.
2. They’re Great for Using Leftover Yarn
You probably don’t need several large skeins of yarn to make a set of small coasters. Leftover brown, cream, pink, yellow, or blue yarn can be useful for creating the doughnut base, icing, and sprinkles.
This makes the project a good option when you want to use up yarn from previous crochet projects.
3. You Can Customize Every Doughnut
The best part is choosing your own colors!
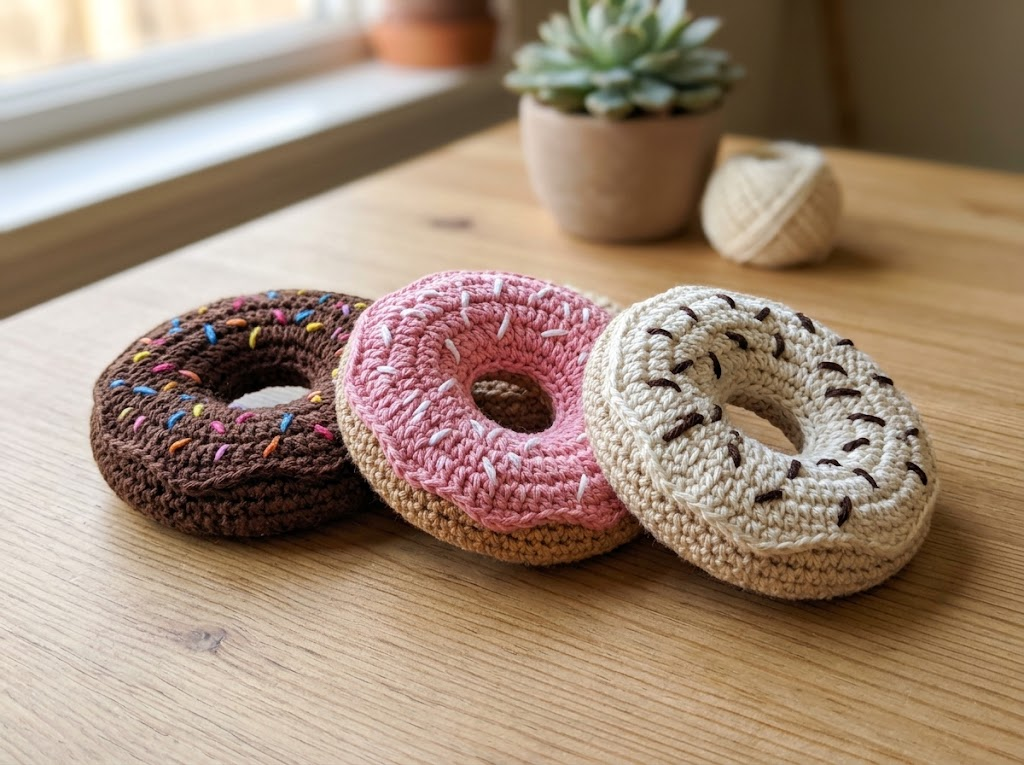
Try chocolate-brown icing with colorful sprinkles, strawberry-pink icing with cream-colored edging, or vanilla-inspired designs with pastel decorations.
You can even make every coaster a different flavor-inspired color while keeping the same overall design.
4. The Matching Holder Keeps Everything Organized
The holder is more than an extra decorative piece. It gives the coasters a convenient place to rest when you’re not using them.
Together, the holder and coasters create a coordinated set that looks lovely on a coffee table, breakfast counter, or open kitchen shelf.
Materials You’ll Need
Before starting, gather your supplies. Having everything ready makes it easier to focus on your stitches and color changes.
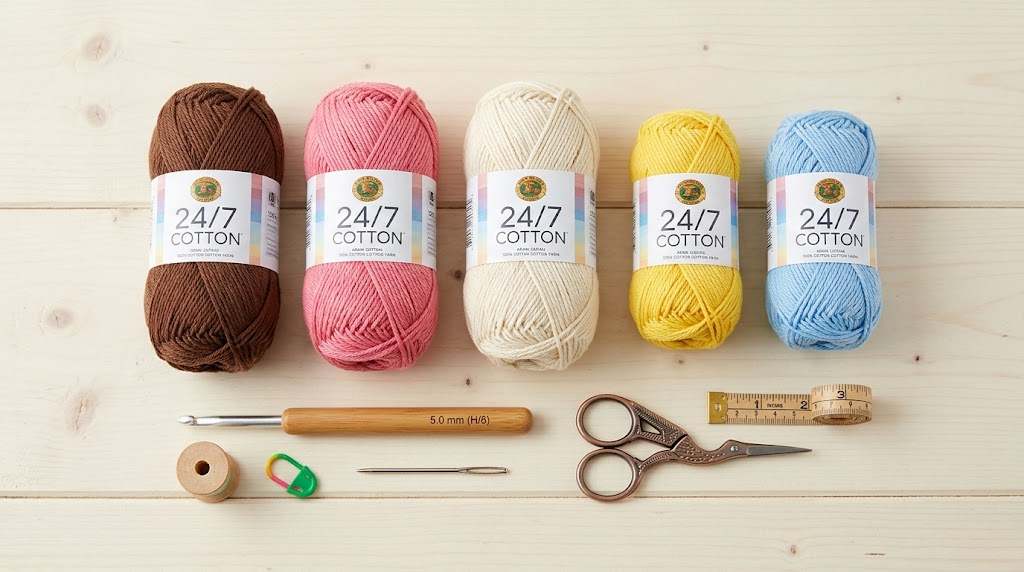
Yarn
Choose medium-weight, worsted-weight yarn for a sturdy fabric.
Cotton yarn is a particularly useful choice for coasters because it is absorbent, durable, and generally holds its shape well.
For a doughnut-inspired color palette, consider:
- Chocolate brown: For the doughnut’s outer section.
- Strawberry pink: For the icing.
- Cream or beige: For a light-colored border.
- Yellow: For a cheerful decorative accent.
- Blue or another bright color: For colorful sprinkles.
You can simplify the palette if you prefer a coordinated set. Brown, pink, and cream alone can create a beautiful result.
Crochet Hook
A 5 mm crochet hook is a useful starting point for medium-weight yarn and is the hook size specified in the original pattern.
However, always check the pattern instructions and your yarn label before beginning. Your individual tension may require an adjustment.
Additional Supplies
You’ll also need:
- Yarn needle for sewing and weaving in ends.
- Scissors for trimming yarn.
- Stitch marker, if you find it helpful when working in rounds.
- Measuring tape for checking the finished size.
These are simple supplies that can be reused for many other crochet projects.
Two Helpful Amazon Products for This Project
You don’t need an expensive collection of supplies to make crochet doughnut coasters. A suitable yarn and a comfortable hook are enough to get started.
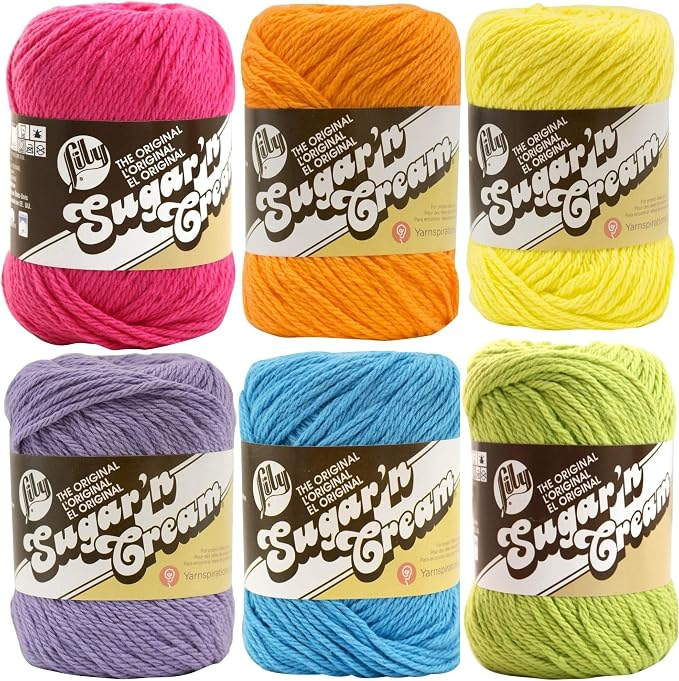
1. Lily Sugar’n Cream Cotton Yarn
Why consider it?
Lily Sugar’n Cream is a cotton yarn option worth considering for kitchen accessories, including coasters and dishcloths.
For doughnut coasters, you could choose brown and cream shades, then add pink or other colors for the icing and sprinkles.
What to consider before buying: Cotton yarn can feel less stretchy than acrylic yarn, so maintaining even tension may take some practice. Check the specific yarn label for its weight and recommended hook size.
2. 5 mm Crochet Hook
Why consider it?
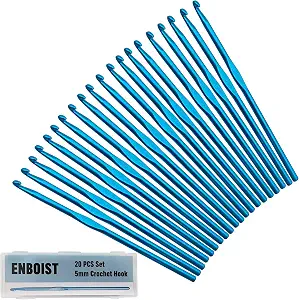
A 5 mm crochet hook is the size specified for the original doughnut coaster project. If you don’t already have one, a comfortable hook is a sensible addition to your crochet supplies.
An ergonomic handle may feel more comfortable during longer sessions, although comfort varies from person to person.
What to consider before buying: Check that the hook is labeled 5 mm. If you’re following a pattern, changing hook sizes can affect the finished dimensions and fabric density.
Understanding the Crochet Doughnut Design
Before making your first coaster, it helps to understand how the different sections fit together.
A doughnut coaster generally has three visual elements:
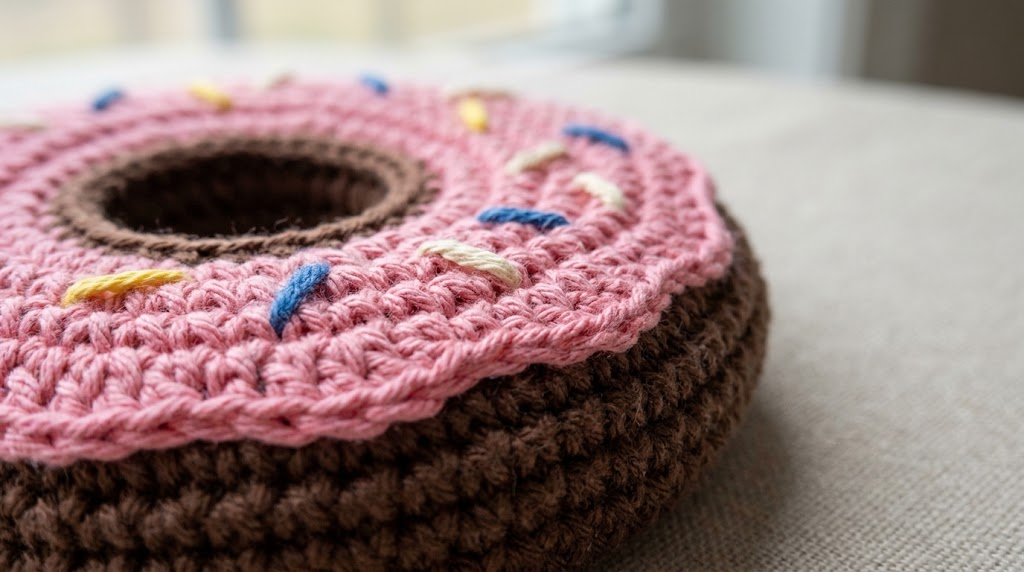
- The center opening: This gives the coaster its recognizable doughnut shape.
- The doughnut and icing sections: Contrasting colors create the appearance of a baked treat topped with frosting.
- The sprinkles: Small embroidered details add color and personality.
The original design uses crochet stitches worked in rounds, with increases to expand the circular shape. The icing and doughnut sections are then combined to create a layered appearance.
The finished coaster is approximately 4.5 inches in diameter according to the original pattern. Your result may differ slightly depending on your tension and yarn.
For the exact stitch counts and construction sequence, follow the complete instructions in the original free pattern linked above.
How to Approach the Doughnut Coaster Step by Step
The following overview explains the construction process and the techniques to pay attention to as you work.
It is a project guide rather than a replacement for the original pattern’s complete round-by-round instructions.
Step 1: Choose Your Doughnut Colors
Start by deciding what kind of doughnut you want to create.
For a classic chocolate doughnut, combine brown yarn with pink icing and colorful sprinkles. For a vanilla-inspired design, use cream or beige with pastel icing.
Lay your yarn colors together before crocheting. This simple step helps you see whether the combination looks balanced.
If you’re making several coasters, plan your color combinations in advance so the finished set feels coordinated.
Step 2: Create the Circular Icing Section
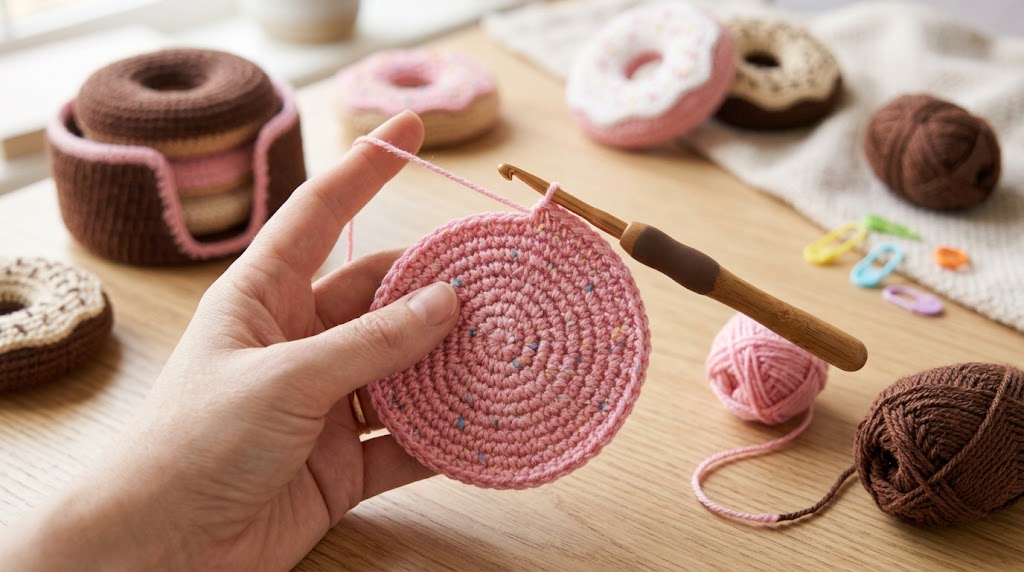
The icing section forms the colorful top of the doughnut.
In the original pattern, this section begins with a chain ring and develops through rounds of single crochet stitches and increases.
When working in the round, pay attention to the joining instructions and the placement of increases. Evenly distributed increases help the fabric expand into a flatter circular shape.
If your circle begins to curl into a bowl, check whether you have enough increases. If the edge becomes wavy, review your stitch counts and tension.
Avoid making adjustments randomly. Small, deliberate corrections are easier to manage than trying to reshape the entire piece later.
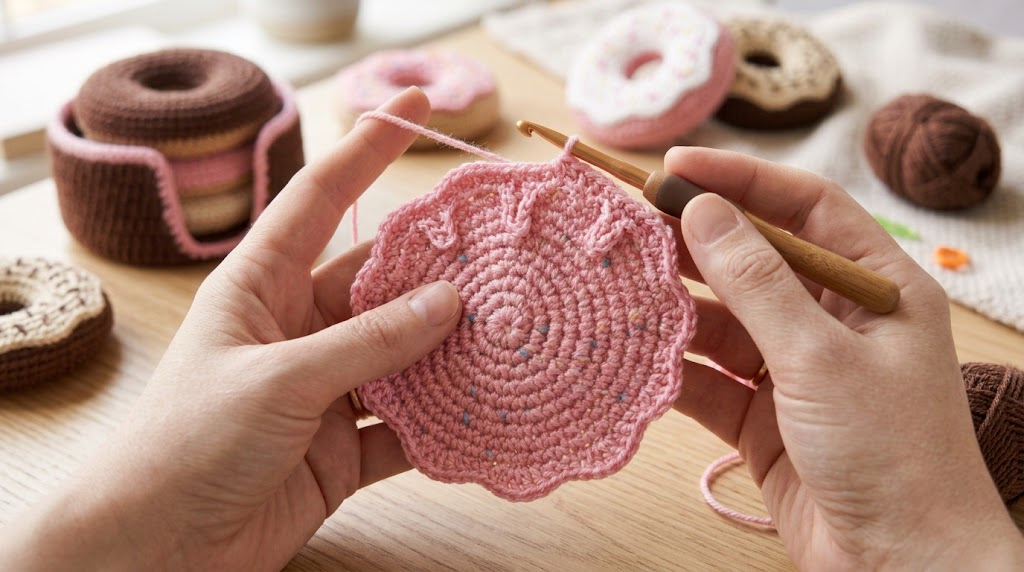
Step 3: Create the Icing’s Decorative Edge
One of the details that makes this design recognizable is the icing edge.
The original pattern uses different stitch heights to produce a decorative outline that resembles icing draping over a doughnut.
Working with half-double crochet, double crochet, and slip stitches can create variation in the edge’s height and shape.
These stitches have different heights, so following the pattern’s sequence matters.
If you’re new to crochet, practice the stitch combination on a small scrap of yarn before using it on your coaster.
Step 4: Add the Contrasting Doughnut Section
Next, the contrasting yarn creates the doughnut portion beneath the icing.
The original design works into the available loops to develop the second section, creating a layered appearance.
Keep the yarn tension consistent as you move around the circle. Tight, uneven stitches can make the coaster curl or distort its shape.
It’s also helpful to count your stitches at the end of each round. This is particularly important when increasing the circle’s circumference.
Step 5: Shape and Finish the Coaster
As the circular sections develop, pay attention to the edges and center opening.
The center should remain open and clearly defined, while the outer edge should sit reasonably flat.
When the crochet work is complete, use the yarn tail and a yarn needle to secure the sections according to the pattern instructions.
Weave in the ends carefully so they don’t work loose during ordinary use.
Step 6: Embroider the Sprinkles
Now comes the fun part!
Use small lengths of contrasting yarn to embroider sprinkle-shaped details across the icing.
Bright yellow, blue, pink, or cream stitches can create the appearance of candy sprinkles.
Keep the embroidered stitches secure without pulling them so tightly that the coaster puckers.
For a consistent look, distribute the sprinkles around the icing rather than clustering them all in one area.
If you’re making a set, you can vary the sprinkle colors on each coaster while keeping the overall design similar.
How to Crochet the Matching Coaster Holder
A matching holder completes the set and provides a convenient place to store the finished coasters.
The original pattern creates the holder as a separate circular piece, then builds upward to form the sides.
Step 1: Work the Circular Base
Begin by following the original pattern’s instructions for the holder’s base.
Like the coaster, the base develops through rounds of crochet stitches and increases.
Check the shape as you work. The base should expand evenly without excessive curling or ruffling.
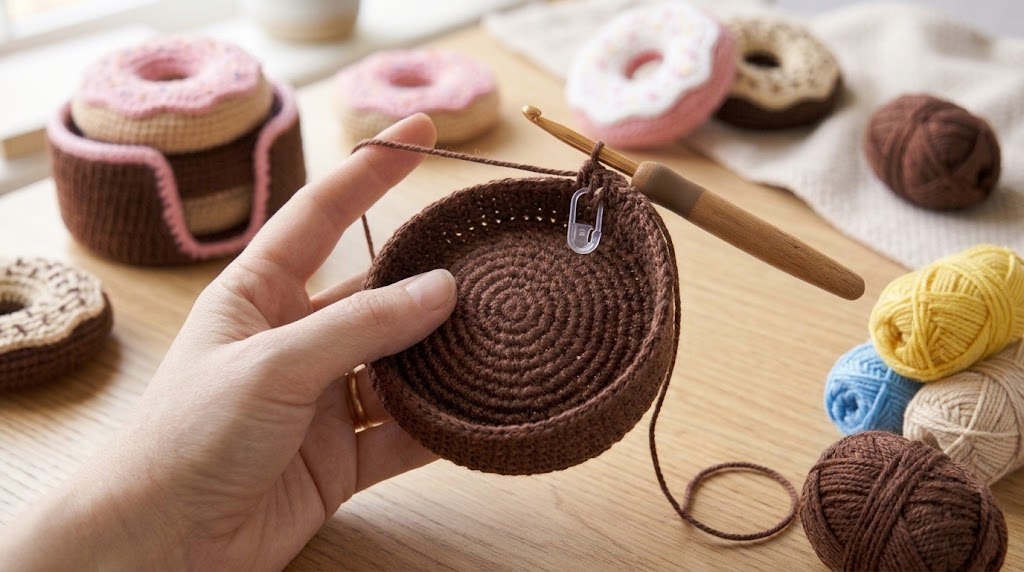
Step 2: Build the Sides
Once the base reaches the required size, the construction changes to form the sides of the holder.
Pay close attention to the pattern’s instructions about which loops to work into. These details help define the transition between the flat base and the upright walls.
Work steadily and check that the sides develop evenly.
Step 3: Strengthen the Holder
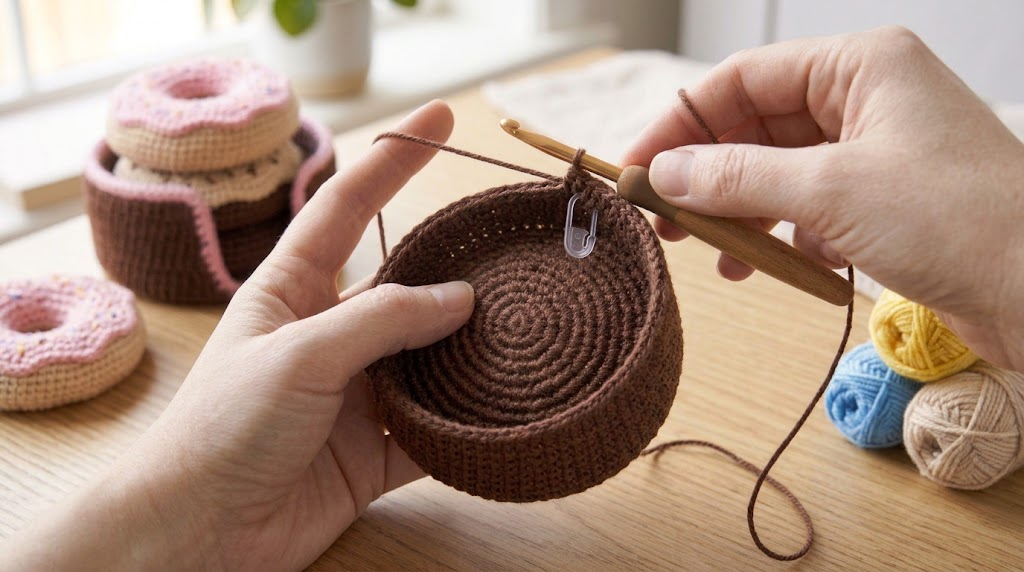
A coaster holder should be sturdy enough to keep its shape while holding the stack of coasters.
The original design combines slip-stitch and single-crochet rounds to create structure.
Avoid pulling your stitches so tightly that inserting and removing the coasters becomes difficult.
Step 4: Finish the Rim
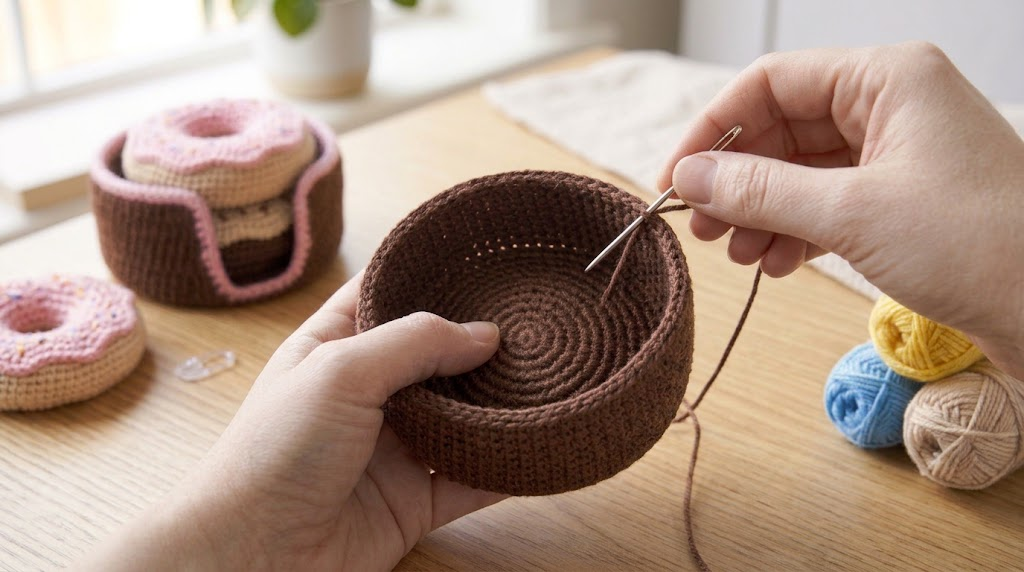
The finishing round gives the holder a neat, defined edge.
Weave in the remaining ends and check the holder’s shape before placing your coasters inside.
The holder should stand comfortably on a flat surface and accommodate the completed coasters without forcing them into the container.
Tips for Getting a Neat, Professional Finish
A few simple habits can make a noticeable difference to the final result.
Check Your Gauge
The original pattern specifies a gauge of 15 single crochet stitches across 4 inches using the recommended hook.
Gauge is worth checking because it affects the size of the finished pieces.
If your stitches are significantly tighter or looser, your coasters may turn out smaller or larger than expected.
Count Your Stitches
Increasing rounds can become confusing if you lose track of the beginning of a round.
Use a stitch marker when necessary and count your stitches before moving to the next round.
This is especially helpful when creating multiple coasters that should be approximately the same size.
Keep the Edges Flat
A coaster that curls at the edges may not sit comfortably beneath a mug.
Check your stitch count and tension if curling appears. Uneven increases can also affect the shape.
Remember that different yarns and crochet styles may produce slightly different results.
Secure Your Embroidery
Loose sprinkles can catch on objects or unravel over time.
Secure the ends of the decorative yarn on the reverse side, taking care not to create bulky knots or pull the surface out of shape.
Follow the Care Instructions
Cotton yarn is often a practical option for coasters, but care requirements depend on the specific yarn.
Check its label before washing. If you wash your finished coasters, reshape them gently and allow them to dry completely before stacking them in the holder.
Creative Ways to Customize Your Doughnut Coasters
Once you understand the basic construction, there are plenty of ways to make the set your own.
Strawberry doughnuts: Combine pink icing with a cream-colored edge and tiny red or white sprinkles.
Chocolate doughnuts: Use dark brown for the icing, with pink, yellow, and blue decorative stitches.
Pastel doughnuts: Try lavender, mint green, pale pink, and cream for a softer look.
Rainbow doughnuts: Give every coaster a different icing color while keeping the doughnut section consistent.
Minimalist doughnuts: Choose two neutral shades and use only a few embroidered sprinkles.
You can also make the holder in a matching neutral color so that the bright coasters become the main attraction.
Are Crochet Doughnut Coasters Good Handmade Gifts?
Yes! Their playful appearance makes them a fun option for birthdays, housewarming gifts, teacher appreciation, and small handmade presents.
You could place a finished set in a gift box with a favorite mug or a bag of coffee. A simple ribbon around the holder can make the presentation feel more special.
They’re also worth considering for craft fairs because they are small, decorative items that can appeal to people looking for something different from traditional home accessories.
If you plan to sell your finished work, calculate the cost of yarn, packaging, and your time before setting a price. Also, make sure you follow the pattern designer’s applicable terms and any rules governing the sale of finished items.
Frequently Asked Questions
Are Crochet Doughnut Coasters Suitable for Beginners?
They can be approachable for crocheters who understand basic stitches and working in rounds. Beginners may need extra practice with increases, joining rounds, and changing between the different sections.
What Yarn Is Best for Crochet Coasters?
Medium-weight cotton yarn is a practical choice because it offers absorbency and a relatively sturdy finish. Check the pattern’s requirements before substituting another yarn.
How Big Are the Finished Doughnut Coasters?
The original pattern lists a finished diameter of approximately 4.5 inches. Your results may vary according to yarn, hook size, and tension.
Can I Use Different Colors?
Absolutely! Brown, pink, cream, yellow, blue, and pastel shades all work well. Choosing a consistent doughnut color with different icing colors is an easy way to create a coordinated set.
Can I Make the Coasters Without the Holder?
Yes. You can make the coasters as individual pieces if you prefer. However, the holder adds a convenient storage solution and gives the set a more complete appearance.
Are Crochet Coasters Waterproof?
No. Crochet coasters can absorb some moisture, but they aren’t waterproof or guaranteed to protect every surface from heat or condensation. Use suitable protection for delicate furniture and very hot drinks.
Final Thoughts
Crochet doughnut coasters are a cheerful way to bring handmade charm into your home. With their circular shapes, colorful icing, and embroidered sprinkles, they turn a simple household accessory into something memorable.
The matching holder is a particularly useful addition because it keeps the set organized when the coasters aren’t in use.
Choose a suitable yarn, take your time with the circular increases, and pay attention to the finishing details. You can then experiment with different colors to create a set that suits your kitchen, coffee corner, or gifting style.