Crochet Octopus Keychain: A Free Pattern Guide for a Cute, Colorful Bag Charm
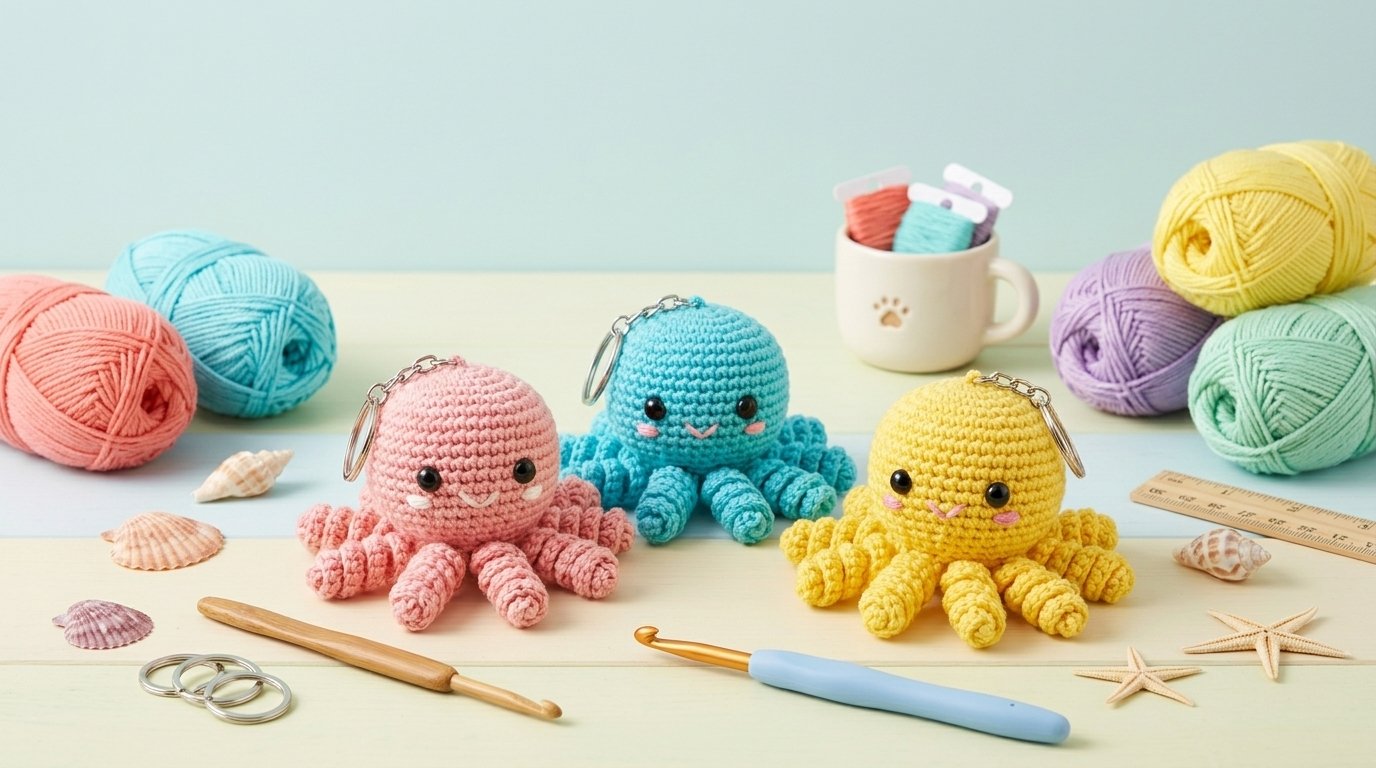
If you love small crochet projects that are cute, practical, and easy to personalize, a crochet octopus keychain is a lovely project to add to your handmade collection. With its round head, curly tentacles, and sweet little face, this tiny sea creature makes an adorable accessory for keys, backpacks, purses, and gift bags.
What I particularly like about this project is how much personality you can create with just a little yarn. A pastel pink octopus looks soft and sweet, while a bright yellow, turquoise, or purple version feels playful and cheerful. You can even make several in different colors to give to friends or sell at craft fairs.
In this guide, I’ll walk you through the materials, basic crochet techniques, construction process, and finishing details that help create a neat-looking octopus. I’ll also share practical supply recommendations and tips for making your finished keychain durable enough for everyday use.
Why Make a Crochet Octopus Keychain?
Small crochet projects are satisfying because you can see your progress without committing to a large blanket or garment. This octopus is also a useful way to practice amigurumi, the Japanese-inspired craft of crocheting small stuffed figures.
Here are a few reasons to try it:
- Beginner-friendly techniques: You’ll practice single crochet, increases, decreases, chains, and slip stitches.
- A quick handmade gift: Its compact size makes it suitable for birthdays, party favors, teacher gifts, and little thank-you presents.
- A colorful stash-buster: You need only a small amount of yarn, so leftover yarn from other projects may be useful if the weight is appropriate.
- Easy customization: Change the yarn color, embroider a smile, or add a tiny bow to create your own style.
- Useful and decorative: Attach it to a backpack, zipper pull, purse, or key ring.
Materials You’ll Need
Before starting, gather your supplies. Using a consistent yarn weight and the recommended hook size will help you achieve a compact, well-shaped octopus.
1. DK-weight cotton yarn
The original pattern calls for size 3 DK-weight cotton yarn. Cotton is a good choice for a small accessory because it gives the stitches clear definition and is available in a wide range of bright colors.
Choose your favorite shade, such as coral pink, lavender, mint green, sunshine yellow, or ocean blue. You’ll also need a small amount of black yarn or embroidery thread for the mouth.
2. A 3 mm crochet hook
A smaller hook helps produce tight stitches, which is important when making stuffed crochet figures. If your stitches are loose, the stuffing may show through the fabric.
3. Polyester fiberfill
Use a small amount of fiberfill to give the head its rounded shape. Add it gradually rather than packing it in all at once.
4. A stitch marker
Because the body is worked in rounds without turning at the end of each round, a stitch marker helps you identify the beginning of each round and keep an accurate stitch count.
5. A tapestry needle and scissors
A blunt tapestry needle helps you weave in yarn ends and secure the finishing stitches.
6. Keychain hardware
You’ll need a metal key ring with a short chain or a suitable bag-charm attachment. Choose sturdy hardware and secure it carefully to the finished crochet piece.

The pattern also uses 6 mm safety eyes. For items intended for young children, embroidered eyes are a safer alternative because small plastic parts can become choking hazards.
Two Helpful Amazon Supplies
You don’t need an expensive crochet kit to make this project. I would prioritize two useful supplies that support the pattern and make finishing easier.
1. DK-weight cotton yarn in assorted colors
A cotton yarn set with several coordinated shades is useful if you plan to make a collection of octopuses. You can create matching pairs, rainbow sets, or seasonal colors without buying a full skein of every shade separately.
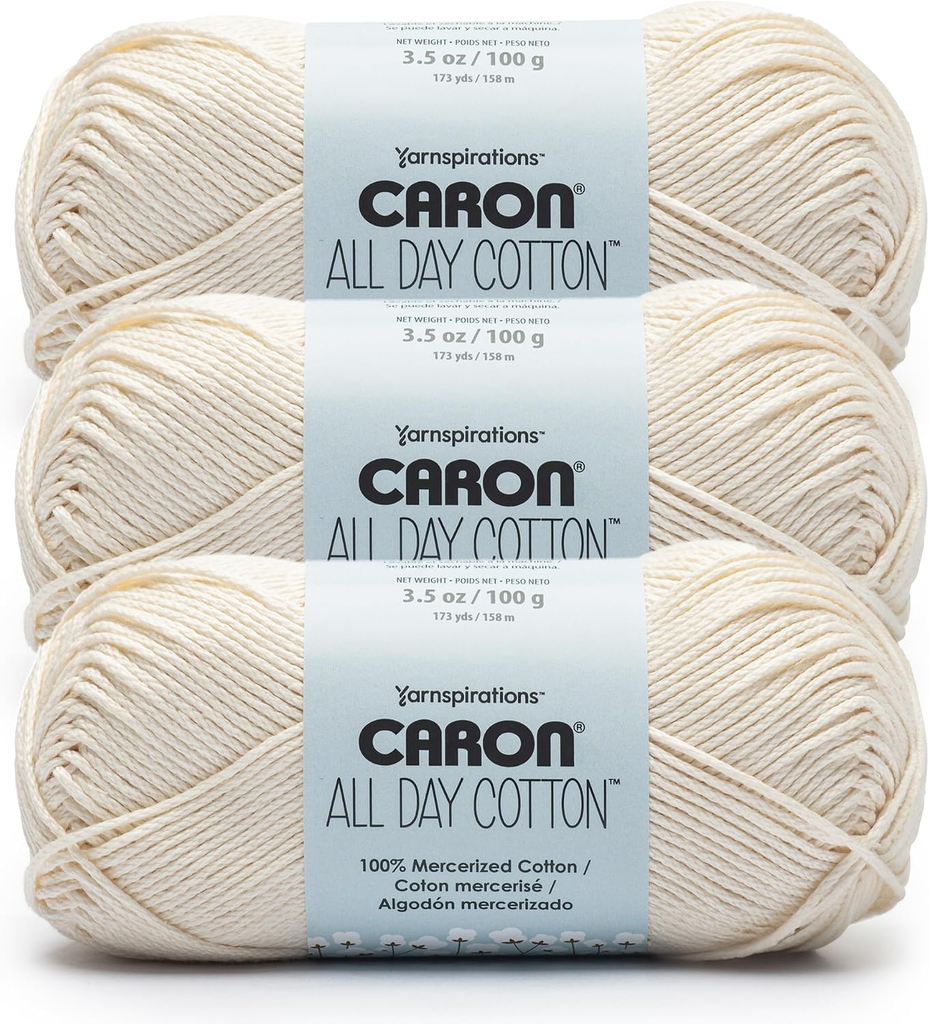
Check the listed yarn weight, fiber content, and quantity before purchasing. The original pattern uses DK cotton, so a similarly weighted yarn is the best starting point.
2. Metal keychain rings with chains
A pack of metal key rings gives you the hardware needed to turn your crochet figures into finished accessories. Look for rings with a securely attached chain and enough room to connect the charm without damaging the stitches.

Choose hardware that feels sturdy and check the connection before using your finished octopus on keys or a frequently handled bag.
How to Crochet the Octopus Keychain
The following steps explain the construction process. For the exact stitch counts and full instructions, follow the original pattern on Crochet Dreamz rather than treating this overview as a replacement.
Step 1: Create the Head
Begin with a magic ring and work single crochet stitches into it. The first few rounds increase the stitch count, allowing the fabric to expand into a rounded shape.
Continue working in the round, keeping your stitches consistent. Place a stitch marker in the first stitch and move it as you progress so you don’t lose track of the round.

Step 2: Shape the Body
After the increase rounds, work several rounds without increasing to create the main section of the head. Then use decreases to narrow the lower part.
Check your stitch count at the end of each round. If your octopus begins to look uneven, check whether you have accidentally skipped or added a stitch.

Step 3: Add the Eyes and Stuffing
Follow the pattern’s placement instructions for the eyes. If you’re making the keychain for an adult, securely installed safety eyes can provide a polished look. For a child-friendly version, embroidered eyes are preferable.
Add a little fiberfill through the opening. Use small amounts at a time to create an even, rounded shape without stretching the stitches.

Step 4: Crochet the Eight Tentacles
This is the detail that makes the octopus so recognizable. The original design leaves unused loops along the bottom of the body so you can crochet the arms directly onto it.
Follow the pattern to work the chains and return stitches that create the eight tentacles. Take your time with the first one, then repeat the same sequence around the base.
Count each completed arm. Consistent tension helps the tentacles look more uniform, while gently shaping them with your fingers gives the finished octopus a playful appearance.

Step 5: Close the Opening
Add a little more stuffing if needed, then use the remaining yarn tail to close the bottom opening as directed. Pull the yarn carefully so the opening closes without gathering the body into an awkward shape.
Secure the yarn and weave the tail inside the figure.

Step 6: Embroider the Smile
Use black embroidery thread or a small strand of black yarn to create a curved mouth beneath the eyes. A simple smile gives the octopus its personality.
Keep the stitches small and secure the ends inside the body. You can make the expression cheerful, surprised, or sleepy depending on the look you want.

Step 7: Attach the Key Ring
Use the designated yarn tail and a tapestry needle to attach the key ring securely to the top of the octopus, following the pattern’s finishing guidance.
Check the attachment gently before using the charm. The hardware should feel secure, and the yarn should not pull loose when the keychain is handled.

Tips for a Neat, Long-Lasting Finish
Keep your stitches tight and even. Small stuffed projects look best when the filling stays hidden behind the crochet fabric.
Avoid overstuffing. Too much fiberfill can stretch the stitches and make the head look uneven.
Count your tentacles. Eight evenly spaced arms give the octopus its familiar shape.
Secure all yarn ends. Loose tails can unravel with repeated handling, so take time to weave them in properly.
Choose colors thoughtfully. Contrasting eyes and a mouth stand out against bright yarn, while pastel shades create a softer look.
Inspect the key ring. Since the charm may be pulled or handled regularly, make sure the metal attachment is secure before use.
Creative Ways to Use Your Finished Octopus
A finished octopus can be more than a keychain. Attach one to a backpack zipper, use it as a small gift topper, or create a matching set in different colors.
For craft fairs, you could display several octopuses together in a rainbow of shades. Keep your materials and finishing consistent so the collection looks professional.
You can also experiment with tiny bows, embroidered cheeks, or contrasting tentacles. Just keep decorative additions securely attached, especially if the finished item may be handled by children.
Final Thoughts
A crochet octopus keychain is a delightful little project that combines simple stitches with plenty of room for creativity. Its small size makes it approachable, and the colorful finished figure works beautifully as a bag charm, personal accessory, or handmade gift.
My recommendation is choose a suitable DK cotton yarn, and focus on even stitches and secure finishing. Once you’ve made one, experimenting with different colors and expressions is an enjoyable way to make each octopus feel unique.