
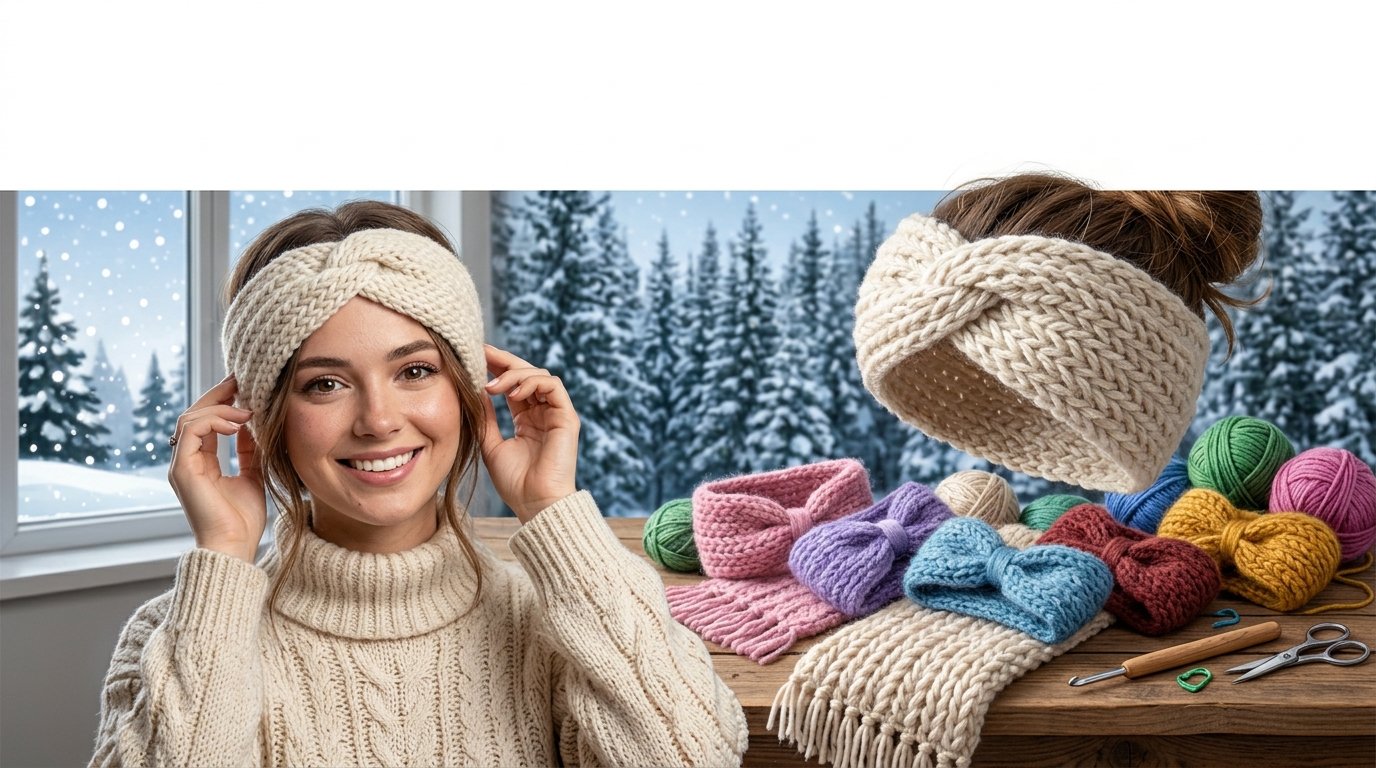
Crochet Winter Headband: A Cozy, Stylish and Easy Handmade Accessory
When the weather turns chilly, I love the idea of having a warm, handmade accessory that is both practical and stylish. A crochet winter headband is a wonderful project for anyone who wants to keep their ears cozy without wearing a full winter hat. It works beautifully with coats, scarves, sweaters, and casual everyday outfits.
What makes this project especially appealing is its lovely texture and comfortable fit. A simple combination of half-double crochet stitches worked through different loops creates a ribbed fabric that stretches gently. With a clever twist at the front, an ordinary strip of crochet becomes a polished winter accessory.
In this guide, I’ll explain the materials you need, how the textured stitches work, how to shape the headband, and how to finish it neatly. I’ll also share practical tips for choosing yarn, adjusting the size, and creating beautiful color combinations.
Why Make a Crochet Winter Headband?
A handmade headband is one of those small projects that can be both useful and enjoyable to create. Unlike a large sweater or blanket, it requires relatively little yarn and has a straightforward construction.
Here are a few reasons to try this project:
- Warm and practical: A wider headband covers your ears while leaving the top of your head uncovered.
- Stylish texture: Alternating crochet loops creates a ribbed appearance that looks attractive in solid colors.
- A thoughtful gift: Handmade headbands make lovely winter gifts for friends and family.
- Beginner-friendly construction: You mainly need to understand chaining, half-double crochet, and sewing the ends together.
- Easy to customize: Choose a neutral shade for everyday wear or a bright color for a cheerful winter accessory.
I particularly like the versatility of this style. You can wear it with your hair down, in a ponytail, or tucked into a winter coat and scarf combination.
Materials You’ll Need
Gathering the right materials before starting helps you work comfortably and achieve a more consistent result.
1. Medium-Weight Yarn
Choose worsted-weight yarn, also known as medium weight or category 4 yarn. A soft acrylic or acrylic-wool blend can work well for a warm winter accessory.
Look for yarn that feels comfortable against your skin. Since the headband sits directly against your forehead and ears, softness matters just as much as appearance.
For a classic winter look, consider cream, burgundy, dusty pink, charcoal gray, or deep purple. If you prefer something colorful, teal, mustard yellow, or lavender can make the finished piece stand out.
2. A 5.5 mm Crochet Hook
A 5.5 mm hook is a useful starting point for a worsted-weight yarn project of this type. However, your tension and yarn thickness may affect the finished size, so check the pattern’s gauge before beginning.
If your fabric feels too stiff, you may need a larger hook. If it looks loose and lacks structure, a smaller hook might help.
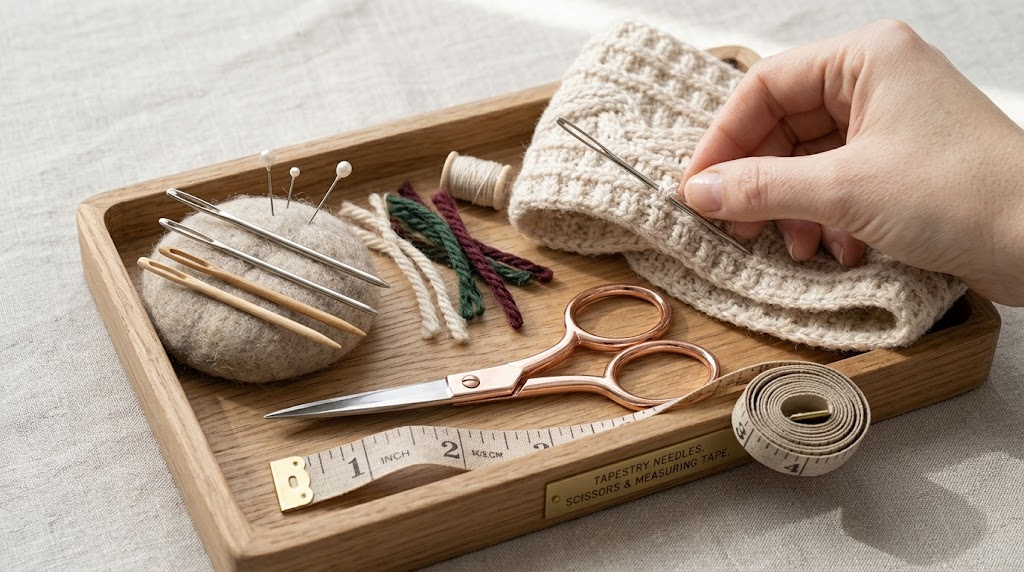
3. A Tapestry Needle
You’ll use a tapestry needle to sew the ends together and weave in loose yarn tails. A blunt needle with a large eye is generally convenient for medium-weight yarn.
4. Scissors and a Measuring Tape
Sharp scissors make clean cuts, while a measuring tape helps you check the length of the headband before joining it.
These simple tools are especially helpful when adjusting the fit for different head sizes.
Two Helpful Amazon Products
You don’t need many supplies for this project. I would focus on yarn that feels comfortable and a hook that makes working the textured stitches easier.
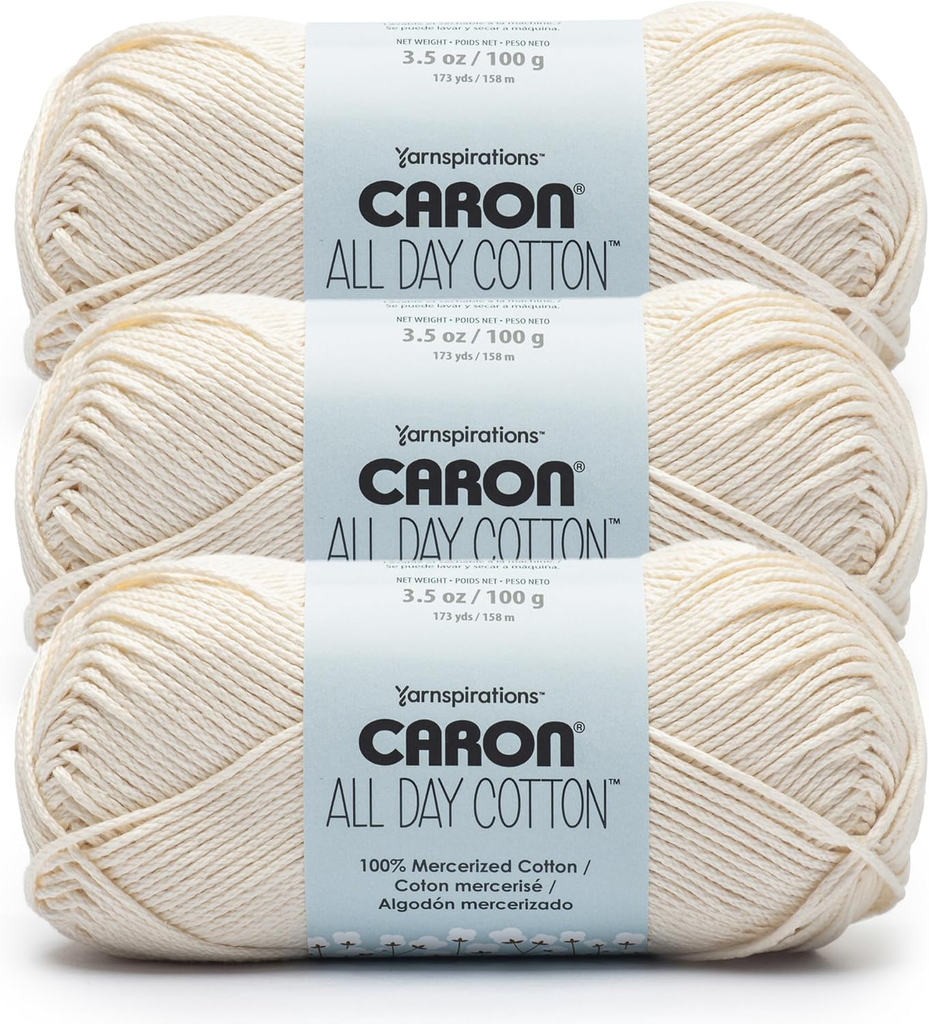
1. Soft worsted-weight yarn
A soft acrylic or acrylic-blend yarn is a practical option for a winter headband. It is available in many colors, and many varieties are easy to care for.
When shopping, check the yarn weight, fiber content, and care label. Choose a shade that complements your winter wardrobe, and make sure you have enough yardage for your intended size.
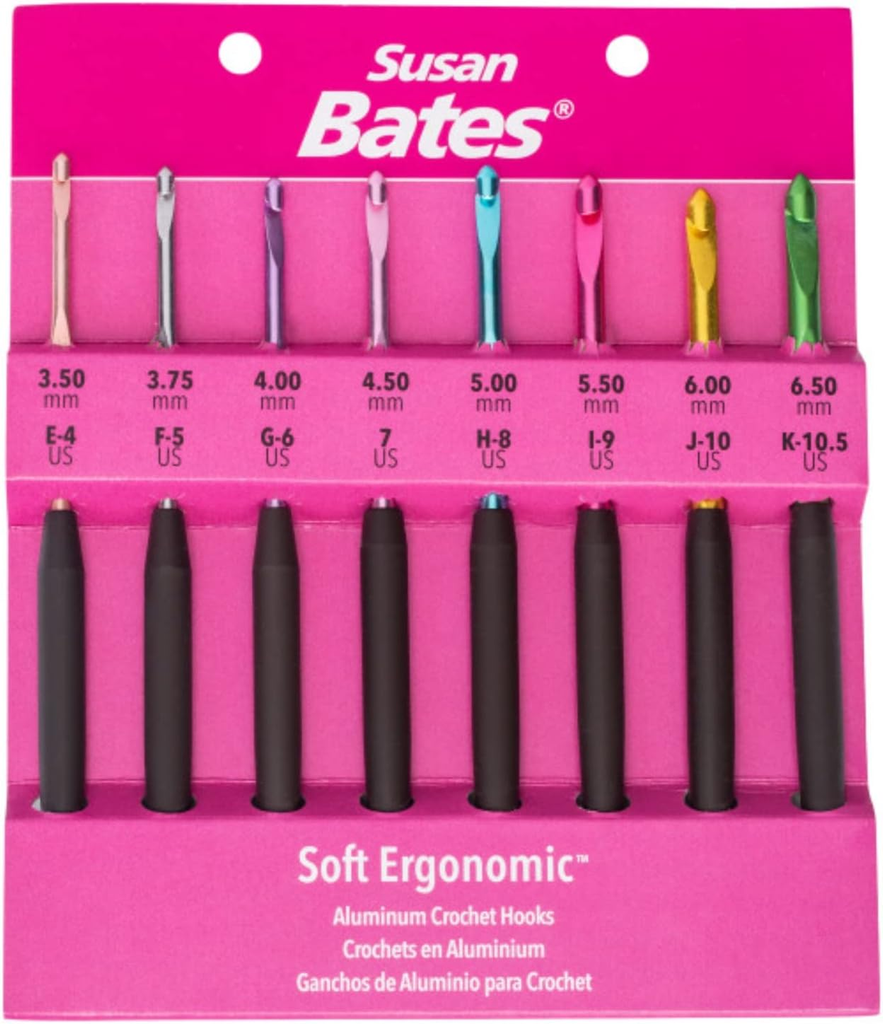
2. An ergonomic 5.5 mm crochet hook
An ergonomic hook with a comfortable handle may make longer crochet sessions easier on your hands. Look for a clearly marked 5.5 mm size and a smooth hook head that moves easily through the yarn.
A comfortable hook is particularly helpful when alternating between front-loop and back-loop stitches because you’ll repeat those movements throughout the project.
Understanding the Textured Crochet Stitch
The texture is what gives this winter headband its distinctive appearance.
The project uses half-double crochet stitches worked alternately through the back loop and front loop. Instead of inserting your hook beneath both top loops of a stitch, you work through just the loop specified in the instructions.
This creates raised ridges and a ribbed fabric with some natural flexibility.
Before starting the full headband, I recommend making a small practice swatch. Work a few rows while alternating the loops, and observe how the texture changes. This quick exercise can help you become comfortable with the technique before you begin the main piece.
Remember that front-loop and back-loop instructions depend on which side of the work you’re facing. Follow the stitch directions carefully, and keep your row count consistent.
How to Crochet the Winter Headband
The following steps explain the construction method. Use the complete pattern instructions for exact stitch counts and measurements.
Step 1: Make the Foundation Chain
Start by making a foundation chain that determines the headband’s width. A wider chain creates a broader band, while a shorter chain produces a narrower one.
For the textured design, the foundation chain is made with an odd number of stitches. Check your intended size before continuing.
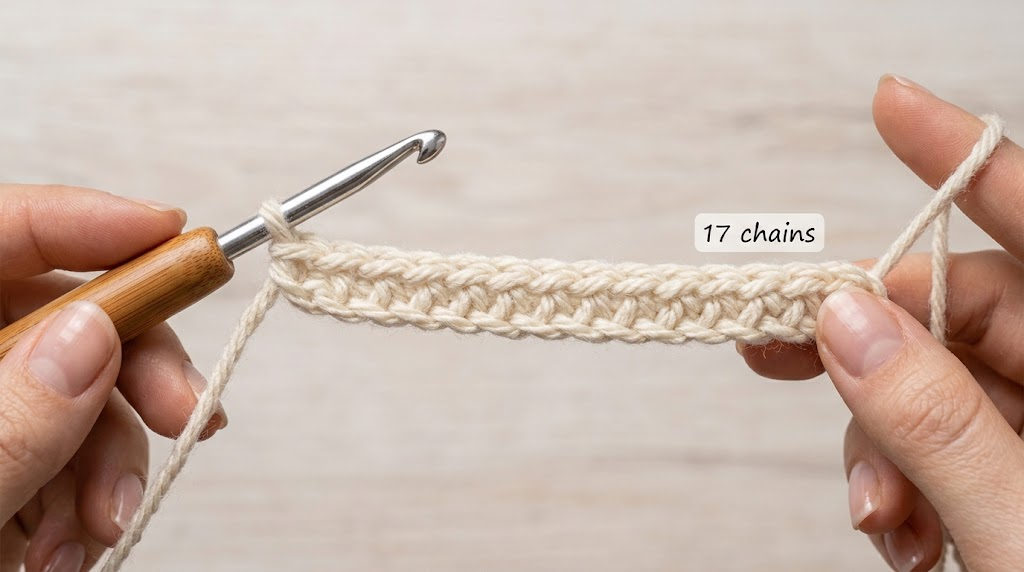
Step 2: Work the First Row
Work half-double crochet stitches across the foundation chain as directed.
Keep your stitches relaxed but consistent. If you crochet too tightly, the fabric may become stiff and uncomfortable. If your stitches are very loose, the ribbing may look less defined.
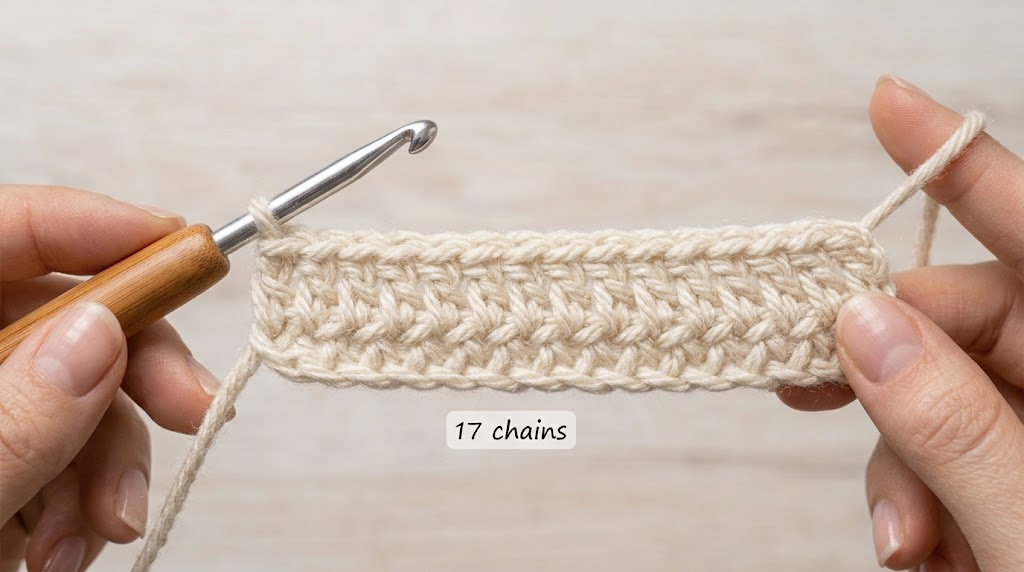
Step 3: Create the Ribbed Texture
Continue working rows of half-double crochet, alternating between the front and back loops according to the pattern.
This is where the headband begins to develop its distinctive texture. You should notice raised lines running across the fabric.
Take a moment to check your work after every few rows. The edges should remain reasonably straight, and the texture should look consistent.
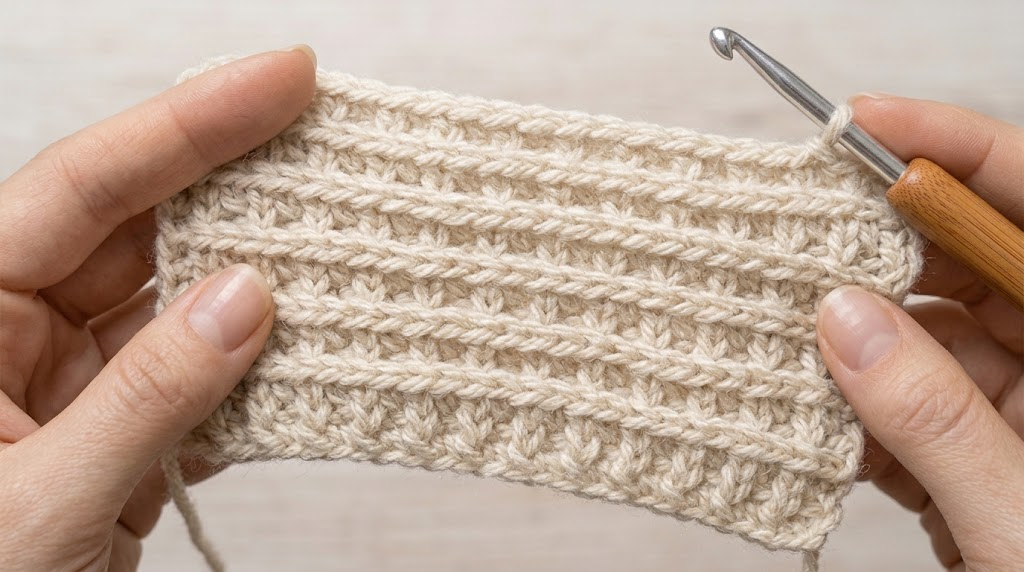
Step 4: Measure the Length
Continue until the strip reaches the required length for your size.
Measuring is important because crochet fabric can stretch when worn. A finished strip that looks slightly shorter than the wearer’s head circumference may fit comfortably, depending on the yarn and stitch pattern.
Avoid guessing based on appearance alone. Measure the strip and compare it with the sizing instructions.
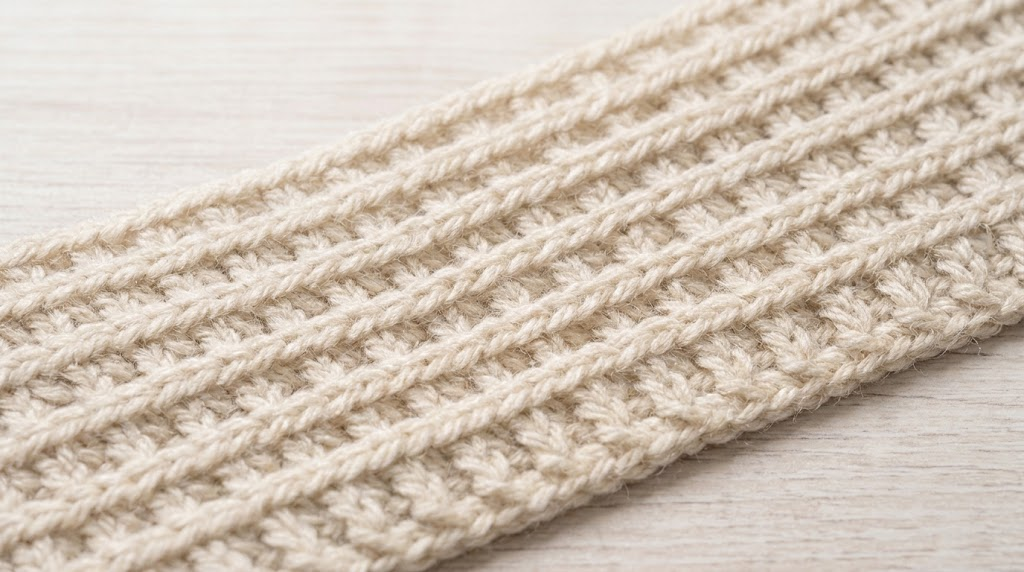
Step 5: Create the Twist
The front twist gives the headband its stylish finish.
Bring the two short ends together and arrange them into the layered fold described in the pattern. The ends should interlock neatly rather than simply overlapping in a flat seam.
Take your time with this step. Before sewing, check the front of the headband to make sure the twist is centered and the layers are arranged correctly.
Step 6: Sew the Ends Together
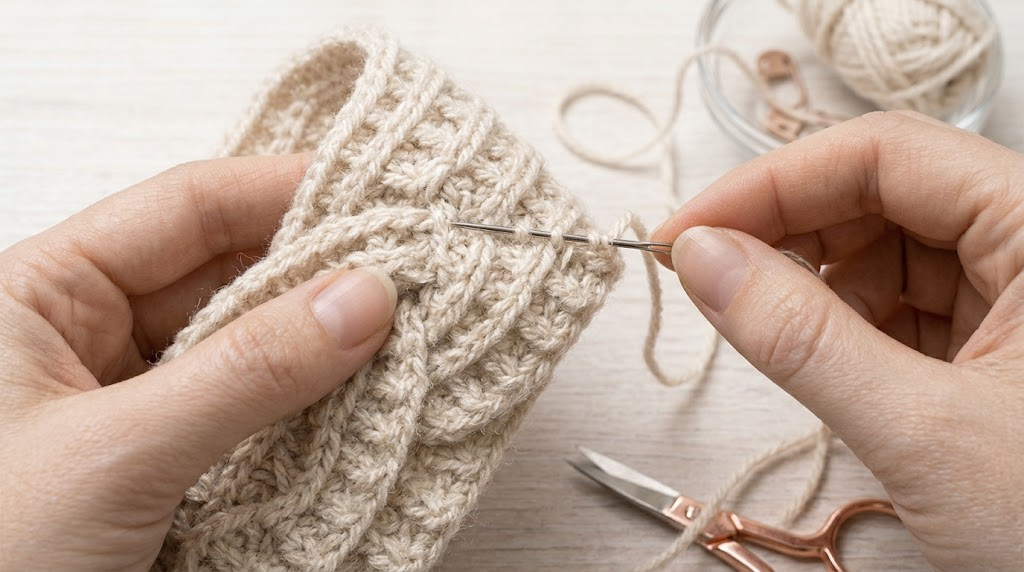
Use your tapestry needle and matching yarn to sew through all the required layers.
Secure the seam with small, even stitches. Avoid pulling too tightly, because this can create a bulky knot or make the join uncomfortable against your skin.
Once the seam is secure, weave in all remaining yarn ends.
Step 7: Check the Fit
Turn the headband right side out and gently shape the twist with your fingers.
Try it on, if possible, to check whether it covers your ears comfortably without slipping or feeling too tight.
If the fabric is excessively loose or tight, review your measurements and gauge before making another version.
Tips for a Better Finish
Check your gauge. Matching the recommended gauge helps you achieve a more predictable size and fabric texture.
Choose soft yarn. Scratchy yarn can make an otherwise beautiful headband uncomfortable to wear.
Keep the seam neat. The twist is the visual centerpiece, so a tidy join makes a noticeable difference.
Avoid excessive stretching. Pulling the strip repeatedly while measuring can distort the fabric.
Experiment with colors. Solid shades emphasize the ribbing, while alternating colors can create a more playful design.
Creative Ways to Style Your Headband
A neutral headband in cream, gray, or brown works well with a classic winter coat. For a brighter look, try mustard yellow, teal, or berry pink.
You can also make matching headbands for family members using different colors. They are useful for handmade gift sets, especially when paired with matching crochet mittens or a scarf.
If you make several for a craft market, consider offering a small selection of sizes and colors. Consistent sizing, secure seams, and clear care instructions help give handmade accessories a professional finish.
Final Thoughts
A crochet winter headband is a rewarding project that combines warmth, texture, and personal style. With medium-weight yarn, a suitable crochet hook, and a little patience, you can create a comfortable accessory that complements your winter wardrobe.
Pay attention to the alternating loop stitches, measure carefully, and take your time when forming the twist. These details help transform a simple crochet strip into a polished finished piece.
Choose a color you love, prepare your supplies, and enjoy the process of creating something useful with your own hands. Whether you make one for yourself or give it to someone special, a handmade winter headband is a lovely way to bring a little extra warmth to the colder months.