Easy Crochet Bee Keychain Pattern: A Beginner Guide
If you are looking for a small crochet project that is quick, cute, and actually useful, this crochet bee keychain is a great place to start. I especially like tiny amigurumi projects because they do not require a huge amount of yarn, and you can usually finish one in a short crafting session.
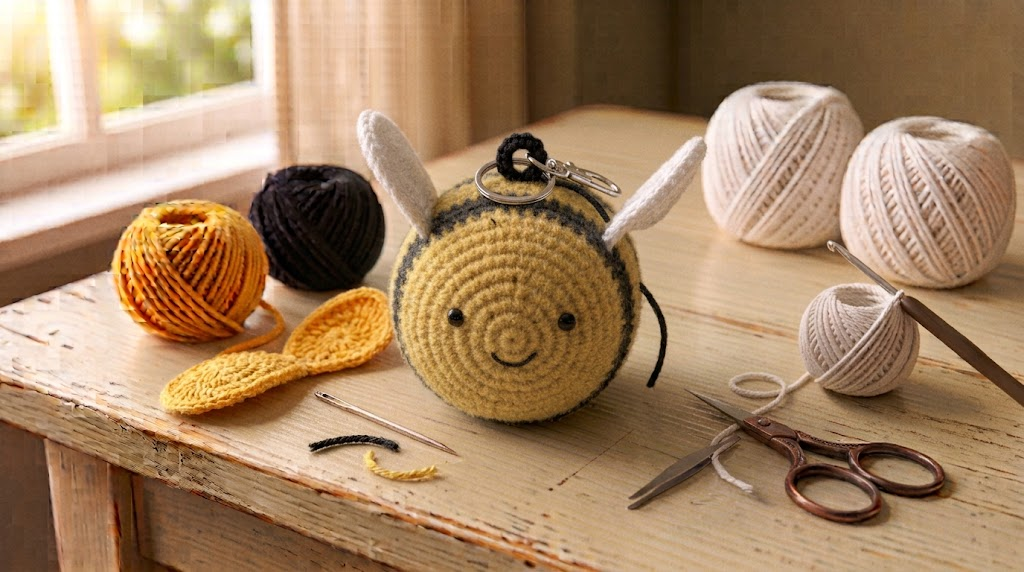
This bee has a simple round body, black-and-yellow stripes, tiny wings, and a secure keychain loop. The pattern uses basic crochet stitches, so it is suitable for beginners who are comfortable working in the round.
I also love this project for handmade gifts and craft fairs. A finished bee can be attached to keys, backpacks, crochet bags, pencil cases, or zipper pulls.
The pattern below is an original crochet bee keychain design, written as a fresh step-by-step pattern rather than reproducing the linked source pattern.
Why Make a Crochet Bee Keychain?
Small crochet accessories are wonderful stash-busting projects. You only need a small amount of yellow, black, and white yarn, which makes this a great way to use leftover yarn from larger projects.
I also find that small amigurumi projects are useful for practicing tension. Because the body is worked in rounds, you get experience with increases, decreases, stitch counting, and shaping without committing to a large project.
For a beginner, that makes this little bee more than just a cute decoration—it is also a useful practice project.
Materials You’ll Need
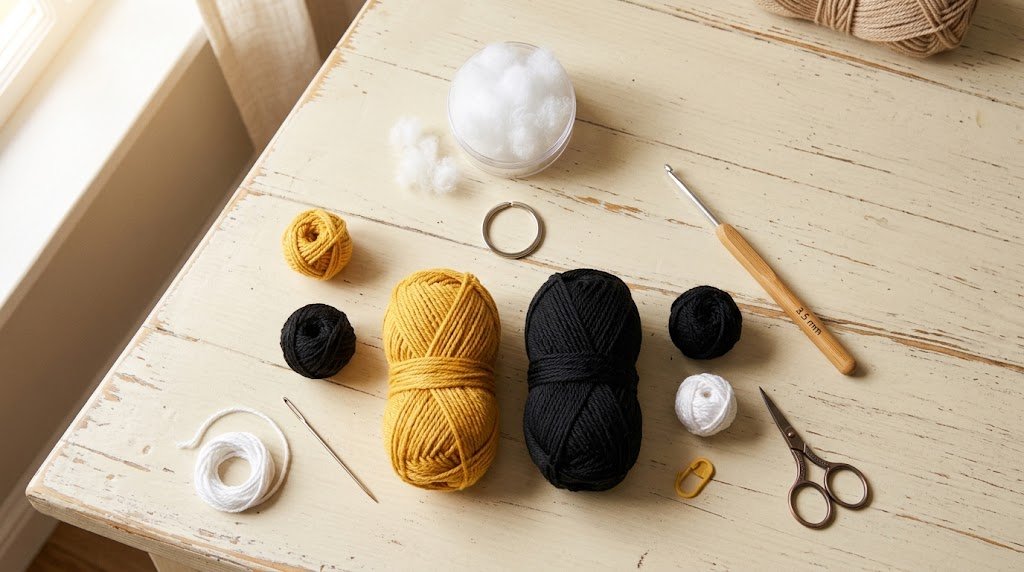
- Small amount of yellow yarn
- Small amount of black yarn
- Small amount of white yarn
- 3–3.5 mm crochet hook
- Small amount of polyester fiberfill
- Tapestry needle
- Stitch marker
- Scissors
- Small keychain ring or lobster clasp
- Optional: two small black safety eyes
My 2 Helpful Amazon Picks
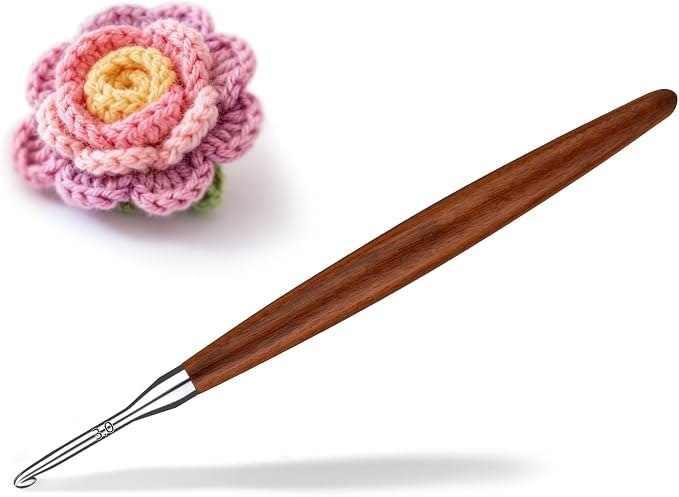
1. Ergonomic 3–3.5 mm Crochet Hook
For small amigurumi, I prefer a hook that feels comfortable in my hand because the stitches are compact and repetitive. An ergonomic handle can make longer crochet sessions more comfortable.
When shopping on Amazon, look for an ergonomic 3 mm or 3.5 mm crochet hook with a smooth metal or polished hook head.
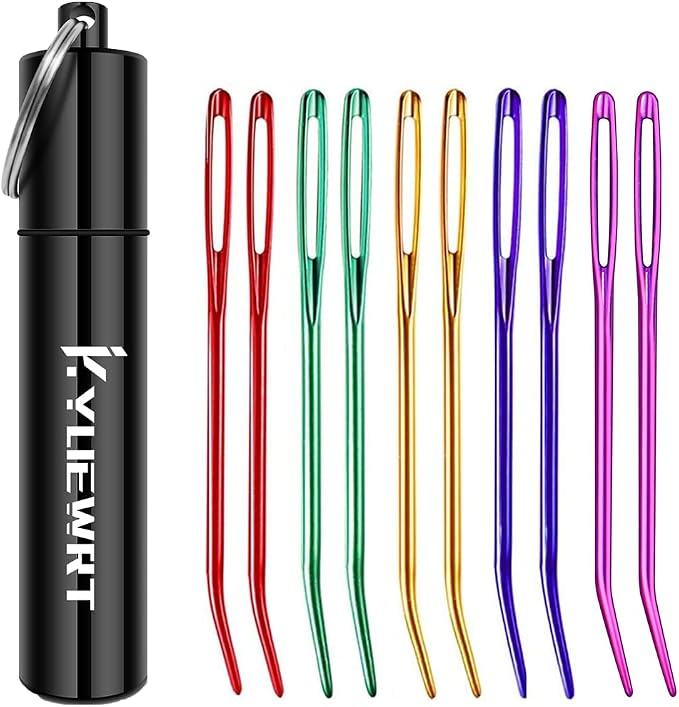
2. Small Blunt-Tip Tapestry Needles
A large-eye tapestry needle is extremely useful for amigurumi. It makes it easier to sew the wings onto the body and weave in the yarn ends securely.
On Amazon, search for “blunt tip tapestry needles large eye crochet.”
Always check the current listing, seller, and delivery information before ordering because Amazon availability varies by location.
Crochet Bee Keychain Pattern
Finished Size
Using the suggested yarn and hook, the finished bee should be approximately 2.5–3 inches long, excluding the keychain hardware.
Your final size may vary depending on yarn thickness and tension.
Abbreviations
US crochet terms:
- MR – magic ring
- sc – single crochet
- inc – increase
- dec – decrease
- sl st – slip stitch
- ch – chain
- st – stitch
- FO – fasten off
- rep – repeat
Step 1: Start the Bee’s Body
Begin with yellow yarn.
Round 1
Make a magic ring.
Work 6 sc into the ring.
Pull the center closed.
Place a stitch marker in the first stitch.
Total: 6 stitches
Round 2
Work 2 sc in every stitch around.
You will have:
6 increases = 12 stitches
Round 3
Repeat:
1 sc, inc
around the entire round.
Total: 18 stitches
Round 4
Repeat:
2 sc, inc
around.
Total: 24 stitches
At this stage, your piece should look like a small shallow circle.
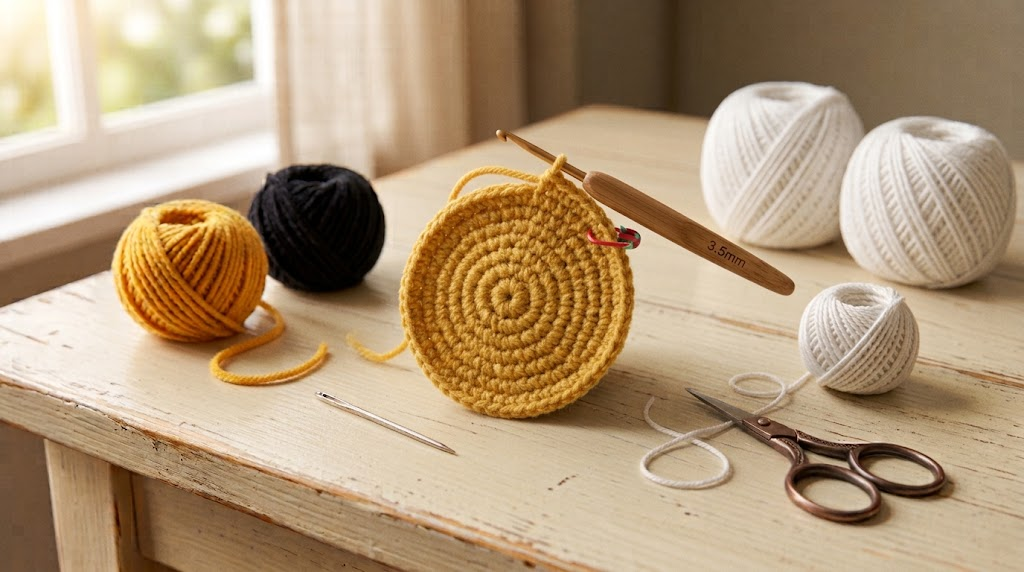
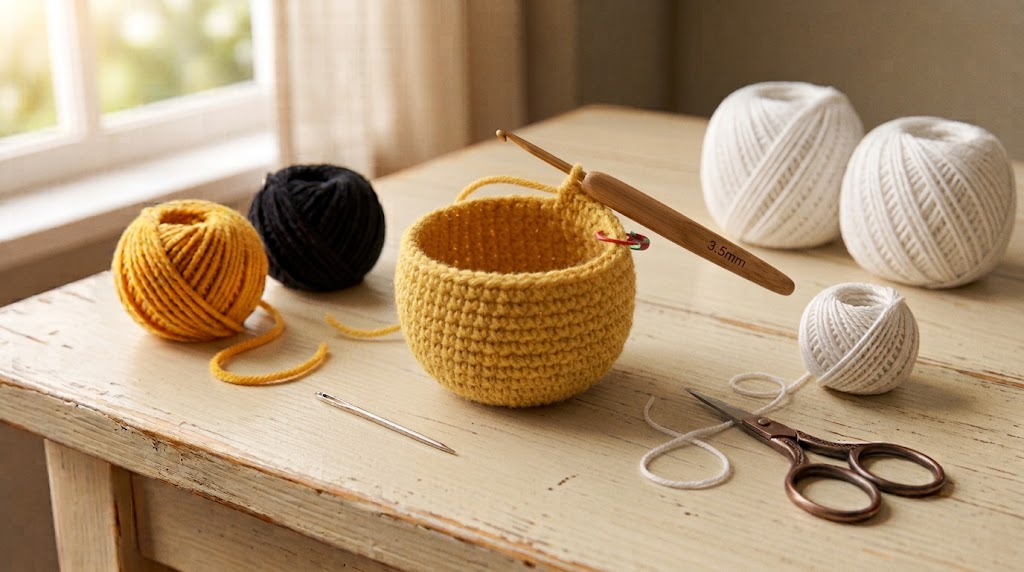
Step 2: Build the Yellow Section
Round 5
Work 1 sc in each stitch around.
24 stitches
Round 6
Repeat the same:
1 sc in each stitch around
Keep your tension even.
The body will begin to curve naturally as you continue working in rounds.
Step 3: Add the First Black Stripe
Switch to black yarn at the end of Round 6.
Round 7
Work 1 sc in every stitch around.
24 stitches
Round 8
Continue with black yarn.
Work 1 sc in every stitch around.
24 stitches
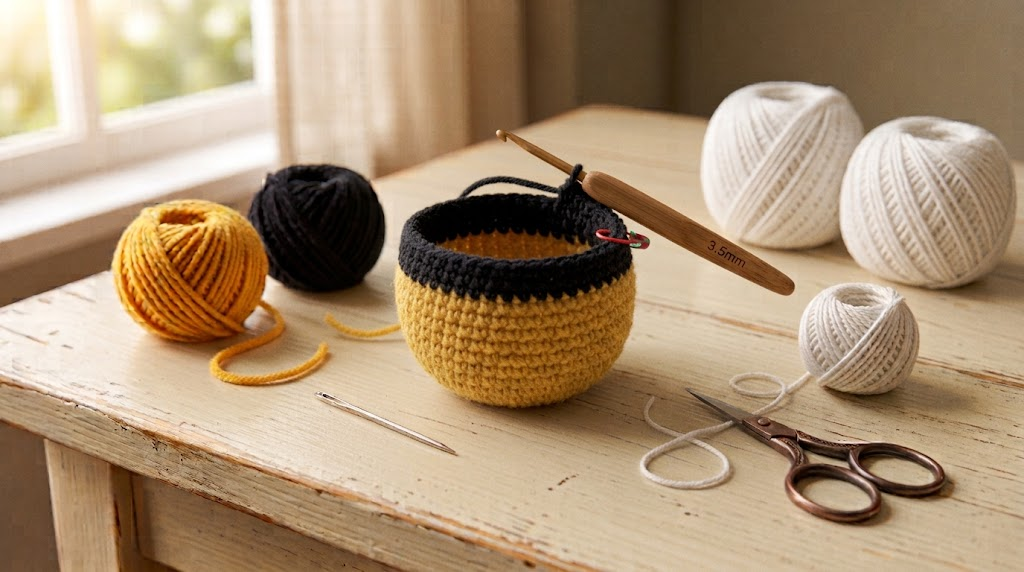
This creates the first dark stripe around the bee.
Step 4: Return to Yellow
Change back to yellow yarn.
Round 9
Work 1 sc in every stitch around.
24 stitches
Round 10
Again, work:
1 sc in every stitch
around.
24 stitches
You should now clearly see the yellow-black-yellow color pattern.
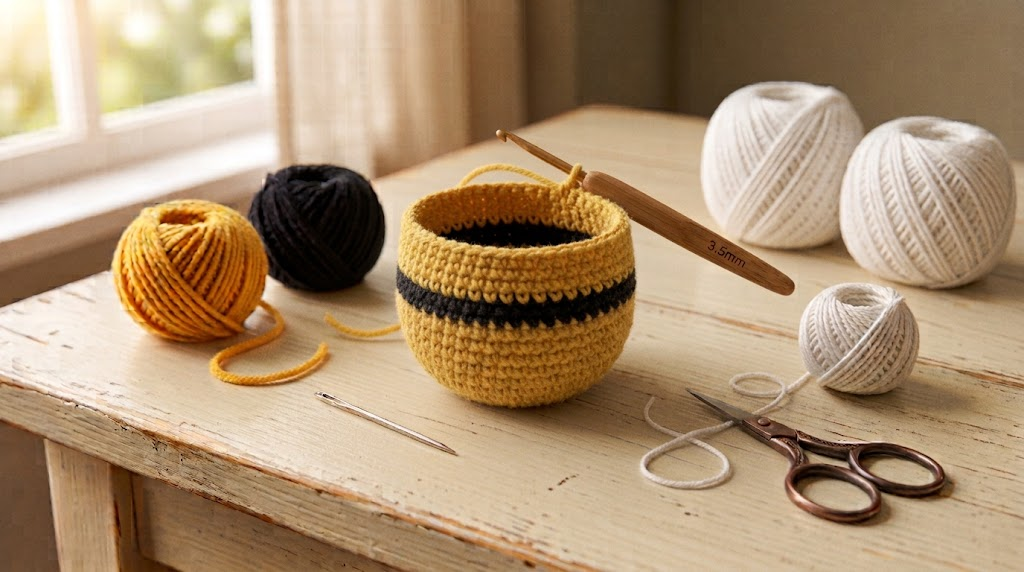
Step 5: Add the Second Black Stripe
Change to black yarn.
Round 11
Work 1 sc in each stitch around.
Round 12
Work 1 sc in each stitch around.
Keep the body firmly stuffed as you go, but don’t overfill it.
The stuffing should make the bee firm while still allowing the stitches to remain smooth.
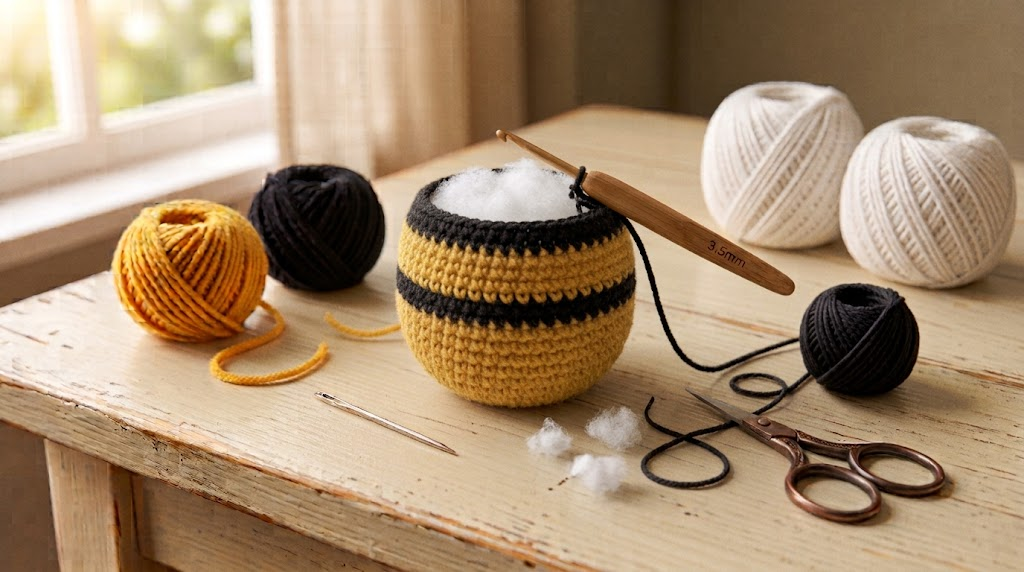
Step 6: Shape the Head
Switch back to yellow yarn.
Round 13
Work:
2 sc, dec
around.
You should have approximately 18 stitches.
Round 14
Work:
1 sc, dec
around.
You should have approximately 12 stitches.
Pause here and add a little more stuffing if necessary.
I recommend checking the shape before closing the opening because adding stuffing becomes much harder after the final rounds.
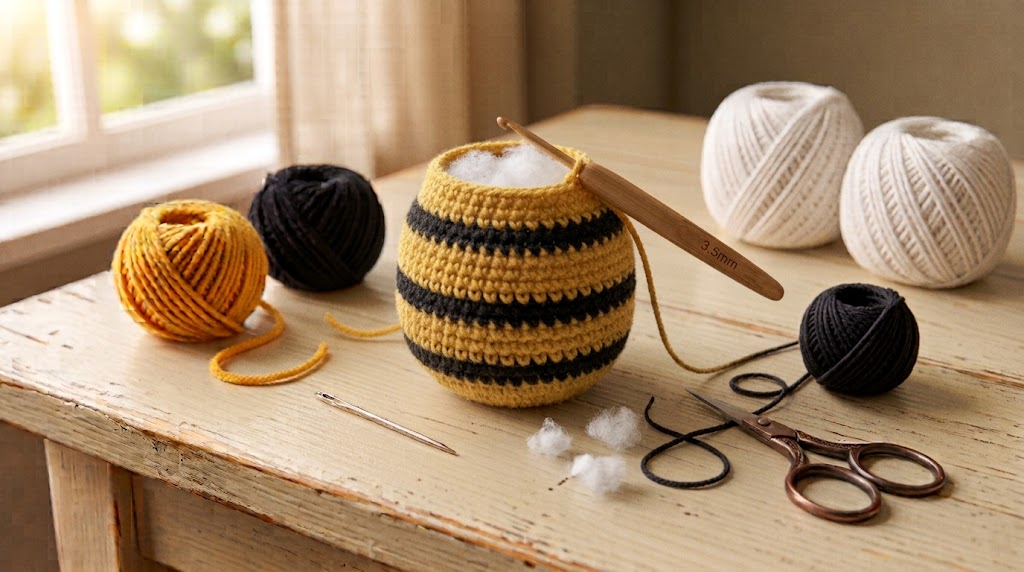
Step 7: Close the Body
Round 15
Work dec around.
Continue until the opening becomes small.
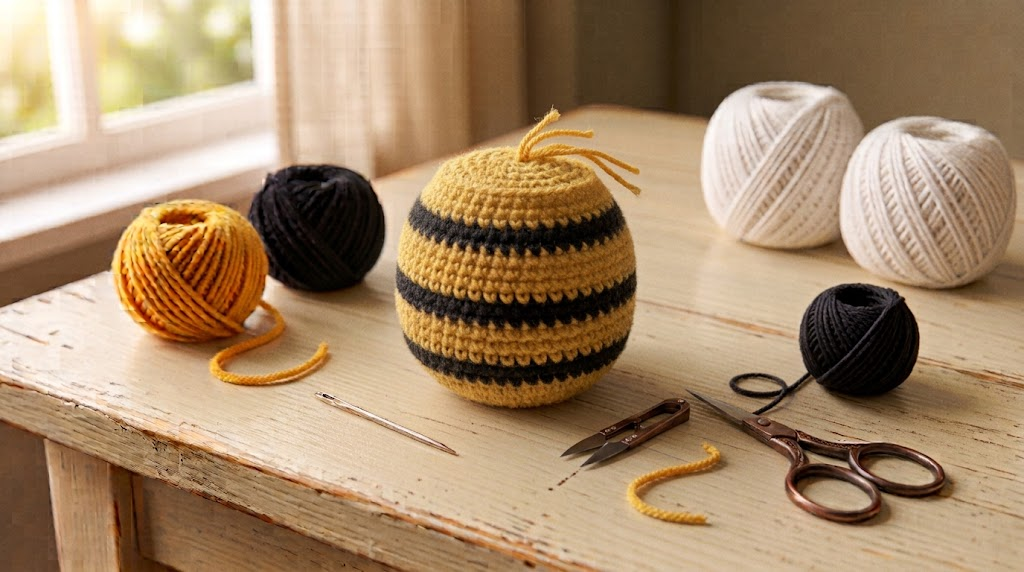
Cut the yarn, leaving a long tail.
Thread the tail through your tapestry needle and weave it through the remaining stitches.
Pull gently to close.
Insert the needle through the body and bring it out a short distance away.
Pull gently and trim the remaining yarn.
Your bee body is now complete.
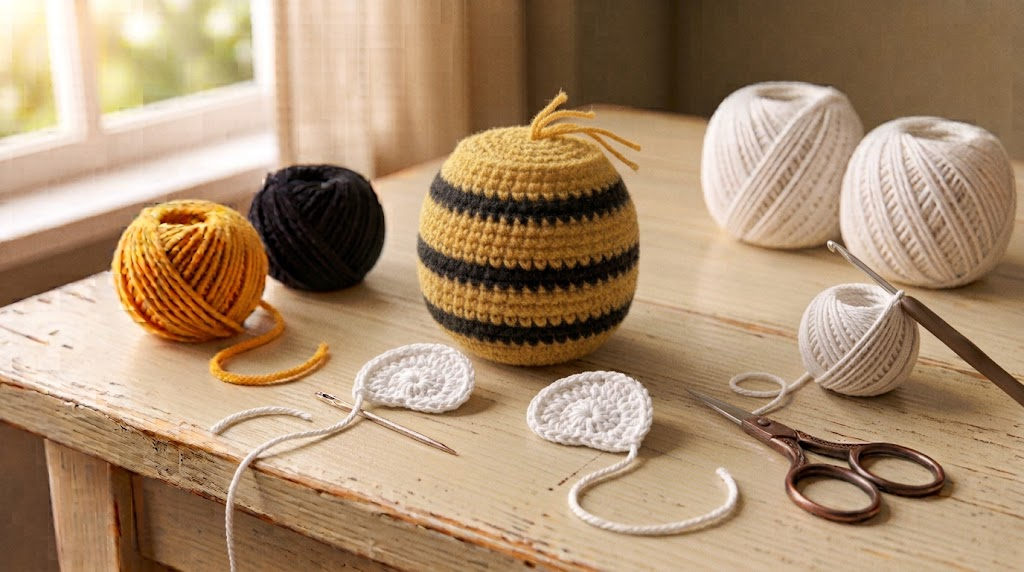
Step 8: Make the Wings
The wings are intentionally simple.
Using white yarn:
Wing 1
Make a magic ring.
Work:
ch 2, 2 dc, ch 2, sl st
into the ring.
Pull the ring closed.
Fasten off, leaving a sewing tail.
Wing 2
Repeat the same steps for the second wing.
Don’t worry if the wings aren’t perfectly identical. Handmade crochet naturally has tiny variations, and that is part of its charm.
Step 9: Attach the Wings
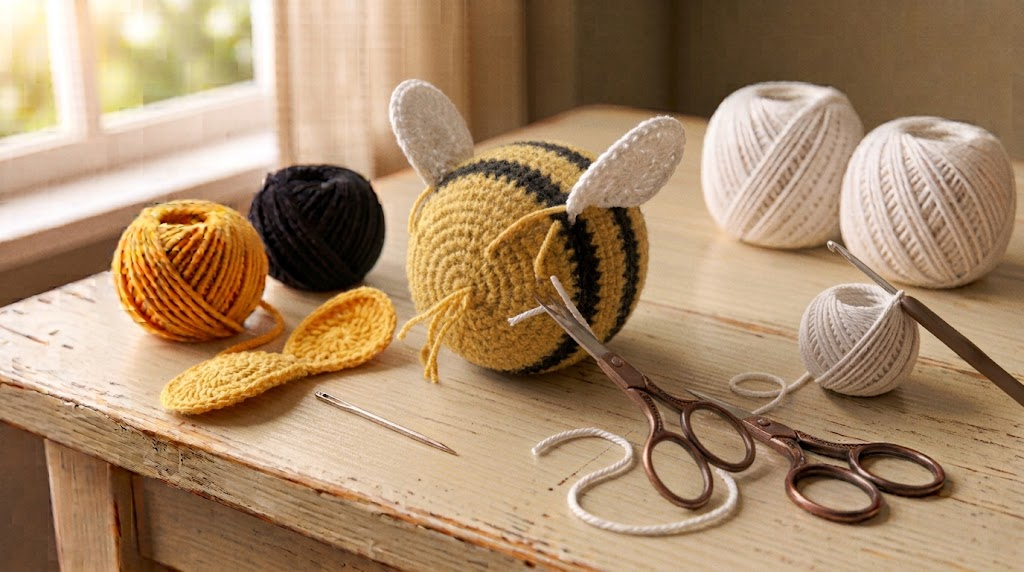
Place the wings on the upper sides of the bee’s body.
Use the yarn tails and your tapestry needle to sew them securely into place.
I recommend stitching through several points of each wing rather than attaching it at only one point.
This helps prevent the wings from flopping around when the keychain is used.
Weave in the ends carefully.
Step 10: Add the Face
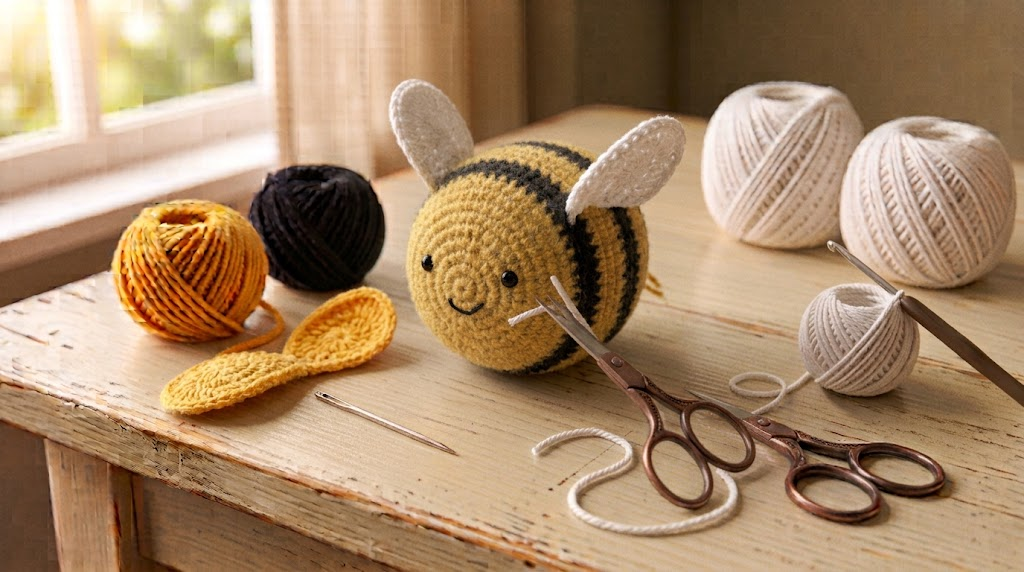
You have two options.
For a traditional amigurumi look, you can use two small safety eyes.
Alternatively, embroider the eyes with black yarn.
For a keychain that may be handled frequently, embroidered facial details are a simple option because they eliminate small detachable pieces.
Add two tiny black eyes near the upper yellow section.
You can also add a tiny embroidered smile if you want a friendlier expression.
Step 11: Attach the Keychain Hardware
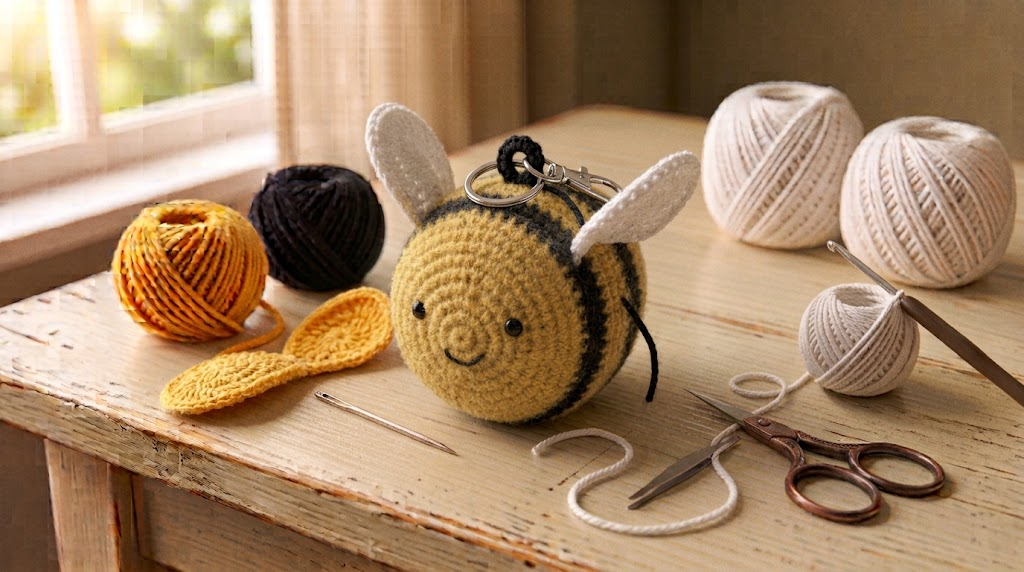
Take your keychain ring or lobster clasp.
At the top center of the bee, use black or yellow yarn to create a small attachment loop.
A simple method is to insert your tapestry needle through the top of the body, create a sturdy loop, and secure it with several tight stitches.
Attach the metal keychain hardware through this loop.
Before using the keychain, gently pull the hardware in different directions to make sure the attachment is secure.
This is particularly important because keychains experience much more movement than decorative amigurumi.
Step 12: Final Finishing
Give the bee a quick inspection.
Check:
- Both wings are firmly attached.
- The eyes are secure.
- The body is properly closed.
- No stuffing is visible.
- Yarn ends are woven in.
- The keychain loop is firmly attached.
Trim any remaining yarn tails.
Your little crochet bee is ready!
Helpful Tips for Better Results
Keep Your Stitches Tight
Amigurumi generally looks best when the stitches are fairly tight. If you can easily see large gaps between stitches, try using a smaller hook.
Use a Stitch Marker
I strongly recommend using a stitch marker when working in continuous rounds. It makes it much easier to identify the beginning of each round and helps prevent accidental increases or decreases.
Don’t Overstuff
It is tempting to pack a tiny bee with lots of stuffing, but too much filling can stretch the stitches.
Add small amounts gradually and shape the body with your fingers.
Make Different Bee Colors
Once you understand the basic construction, you can experiment with the stripes.
Try:
- Mustard yellow + black
- Golden yellow + charcoal
- Pale yellow + black
- Orange + black
You can even make a whole collection of mini bees in different color combinations.
Final Thoughts
I love small crochet projects like this because they give you the satisfaction of finishing something handmade without needing several days of work.
This crochet bee keychain is especially useful for leftover yarn, beginner amigurumi practice, handmade gifts, and craft-fair products.
Once you’ve made the first bee, the construction becomes much easier to repeat. You can change the colors, add different facial expressions, experiment with wing shapes, or make the body slightly larger for a plush bee.
Most importantly, take your time with the finishing. A few extra minutes spent securing the wings, face, and keychain loop can make a big difference in how durable the finished piece feels.