Dreamy Crochet Baby Blanket with Little Clouds: Free Pattern
A handmade baby blanket is more than a cozy crochet project. It can become a treasured keepsake, a thoughtful baby-shower gift, or a beautiful addition to a nursery. For this design, I’m combining soft sky blue, warm sunshine yellow, and creamy white to create a cheerful blanket decorated with adorable crochet cloud shapes.
This pattern uses a simple textured stitch, making it approachable for beginners who already know how to chain and work basic crochet stitches. The cloud appliqués add a playful touch without making the blanket too complicated.
I especially like this color combination because it feels peaceful and bright at the same time. The blue resembles a clear morning sky, the yellow adds a little sunshine, and the white clouds bring everything together.
What Makes This Crochet Baby Blanket Special?
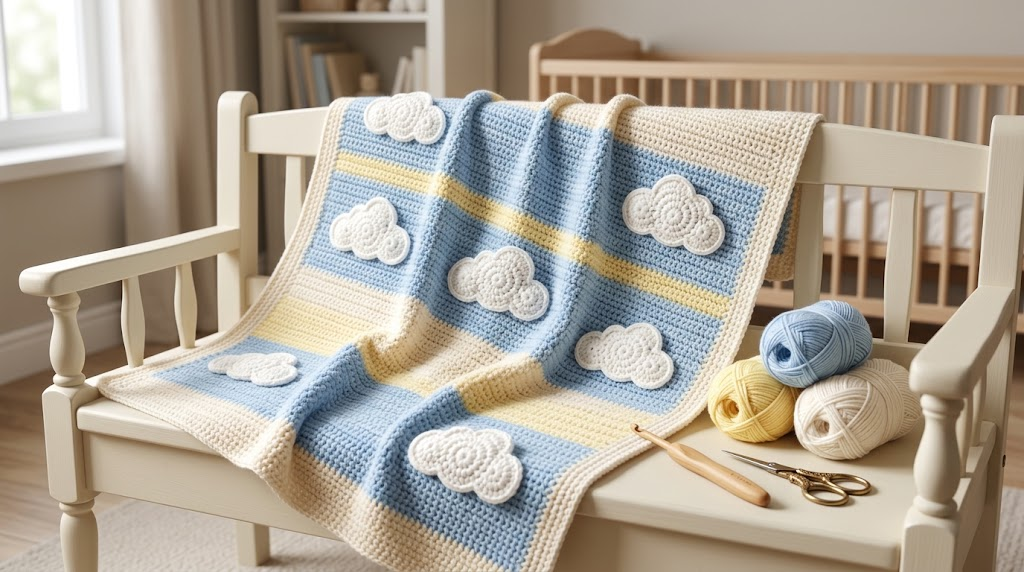
The blanket features alternating blue, yellow, and white stripes, a softly textured surface, and small white cloud appliqués. You can arrange the clouds evenly across the blanket or place a few near the corners for a more minimal design.
The stitch pattern creates a lovely texture while keeping the design simple enough for everyday use. You can also customize the size and colors to match a nursery, making this a flexible project for different occasions.
Skill level: Beginner-friendly
Suggested finished size: Approximately 30 × 36 inches
Construction: Flat crochet rows, a simple border, and separately crocheted cloud appliqués
Materials You Will Need
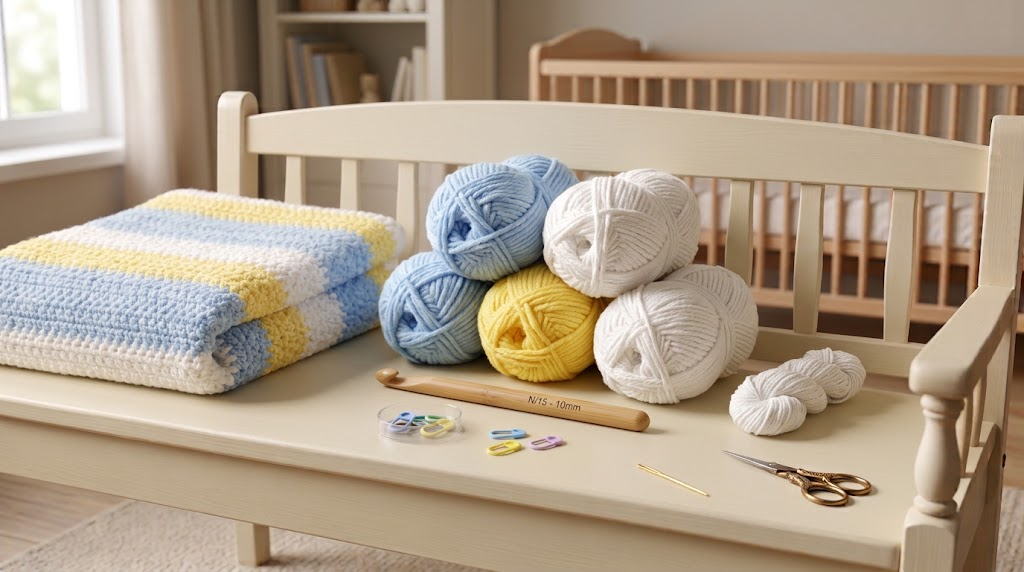
- Super bulky, baby-friendly yarn in sky blue, sunshine yellow, and white
- A crochet hook suitable for your selected yarn
- Tapestry needle for weaving in ends
- Scissors
- Stitch markers, if needed
- A small amount of white yarn for the clouds
Choose yarn that feels soft against the skin and is suitable for baby items. Check the yarn label for washing instructions and follow the manufacturer’s recommendations.
Two Helpful Amazon Product Recommendations
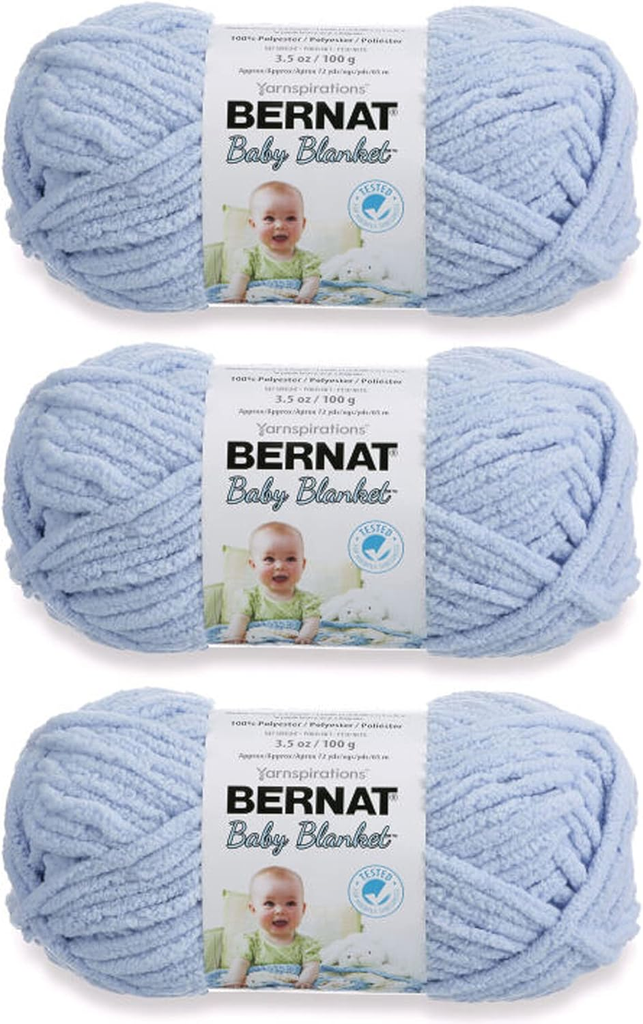
1. Bernat Baby Blanket Yarn
Bernat Baby Blanket Yarn is a useful option for creating a plush, cozy blanket with a substantial texture. Its bulky construction can also help a blanket grow more quickly than one made with fine yarn. Look for coordinating blue, yellow, and white shades, and check the yardage before purchasing enough skeins for your project.
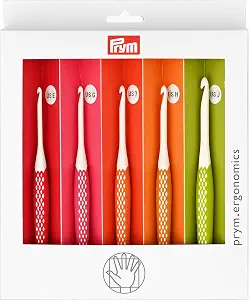
2. An ergonomic crochet hook set
A comfortable crochet hook can make longer crafting sessions easier, especially when working with thick yarn. An ergonomic handle may feel more comfortable in your hand than a slim metal handle, although the best choice depends on your grip and crocheting style. Choose a hook size recommended on your yarn label, then check your stitches before beginning the blanket.
Crochet Abbreviations
This pattern uses US crochet terminology.
- ch: Chain
- sc: Single crochet
- dc: Double crochet
- sk: Skip
- sl st: Slip stitch
- st(s): Stitch(es)
Free Crochet Baby Blanket Pattern
Step 1: Make the Foundation Chain
Using sky-blue yarn, chain 64 stitches for a starting blanket width of approximately 30 inches, depending on your yarn and tension.
For a wider or narrower blanket, adjust the foundation chain in multiples of two, then add two chains for the turning and edge structure. Your actual width will depend on your hook, yarn, and individual tension, so measure your foundation before continuing.
Row 1: Work one single crochet and one double crochet into the second chain from your hook. Skip the next chain, then work one single crochet and one double crochet into the following chain. Repeat this sequence across the row, ending with a single crochet in the final chain.
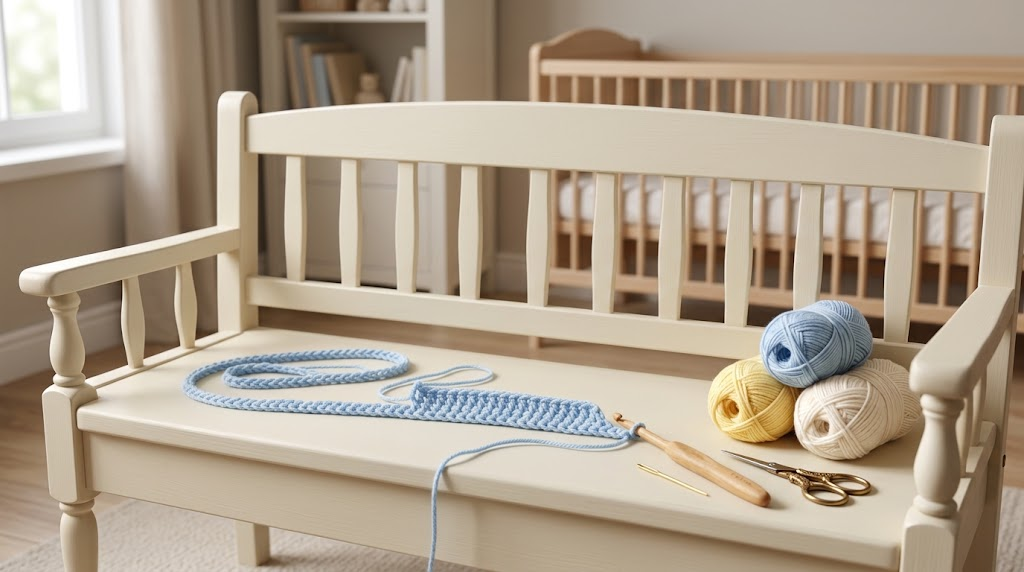
This creates a simple alternating texture that is easy to recognize as you work.
Step 2: Build the Textured Rows
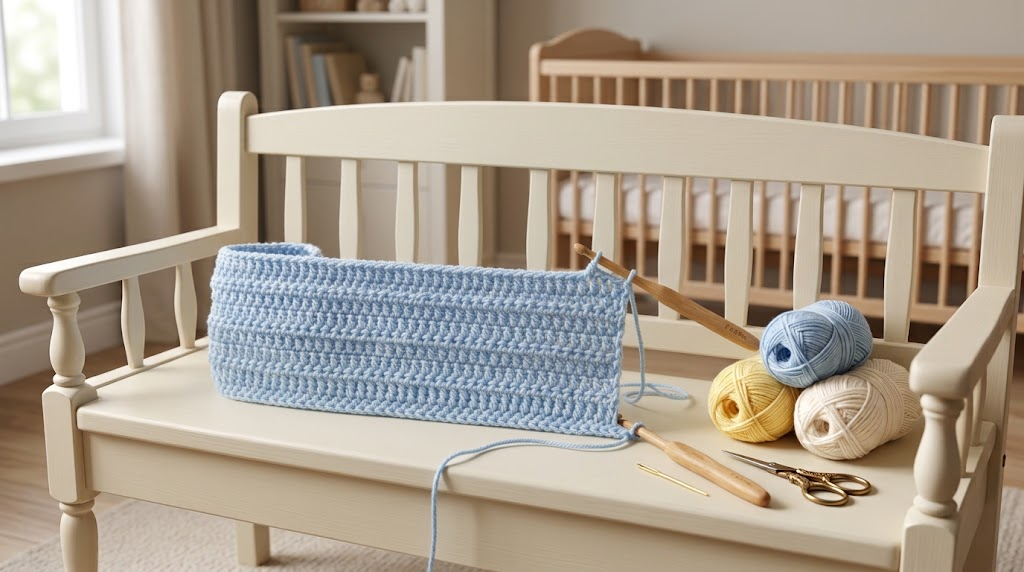
Row 2: Chain one. Work one single crochet and one double crochet into the first stitch. Skip the next stitch, then work one single crochet and one double crochet into the following stitch. Repeat across the row, finishing with a single crochet in the last stitch. Turn.
Repeat Row 2 until you have completed four rows in sky blue.
Keep your stitches relaxed and consistent. Thick yarn can make individual stitches harder to see, so pause occasionally to check that you have not accidentally skipped an extra stitch.
Step 3: Add Sunshine and Cloud-Colored Stripes
Continue using the same stitch pattern throughout the blanket.
- Rows 5–8: Sunshine yellow.
- Rows 9–12: White.
- Rows 13–16: Sky blue.
- Rows 17–20: Sunshine yellow.
- Rows 21–24: White.
Continue repeating these four-row color blocks until the blanket reaches your desired length, finishing with a white section if you want the clouds to blend naturally into the overall design.
Join the new color during the final pull-through of the last stitch in the previous color. Leave a yarn tail long enough to weave in securely. Avoid pulling carried yarn tightly along the edge, as this can make the blanket bunch up.
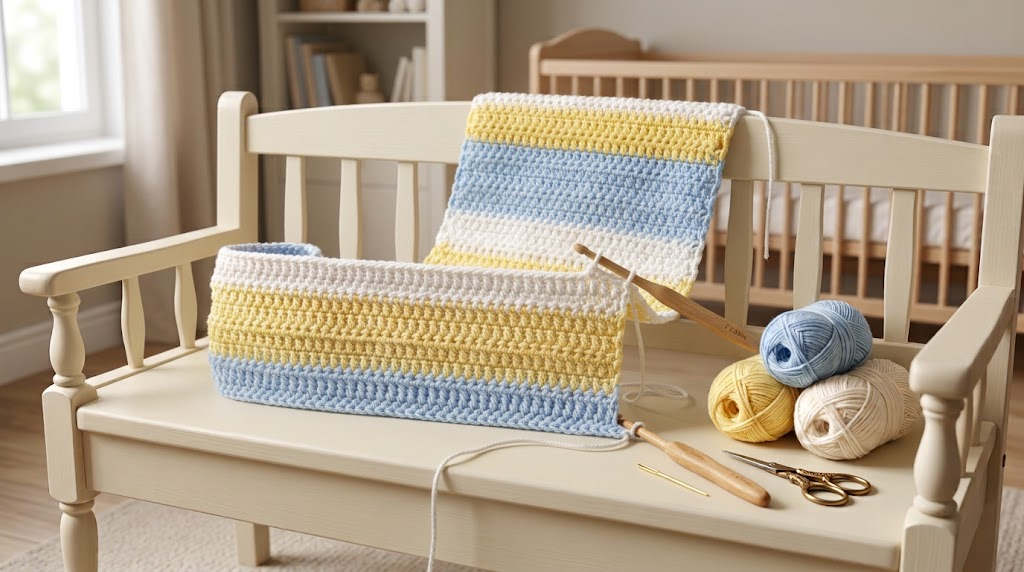
Helpful tip: Lay the blanket flat every few color changes. If the edges begin to curve inward, check your stitch count and make sure your turning chains are not being mistaken for extra stitches.
Step 4: Crochet a Simple Border
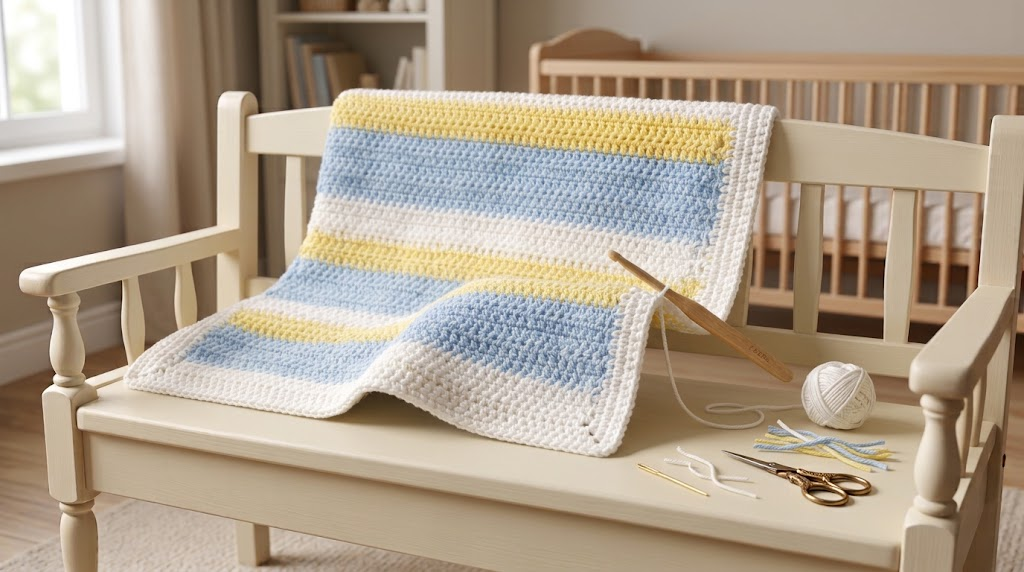
A neat border gives the blanket a finished appearance and helps frame the stripes.
With white yarn, attach the yarn at a corner and chain one. Work single crochet stitches evenly along the edge. At each corner, work three single crochet stitches into the same corner space to help the border turn smoothly.
Continue around all four sides. Join with a slip stitch to the first single crochet and fasten off.
If the border ripples, you may have worked too many stitches along the row ends. If it pulls inward, add a few more stitches where needed.
How to Crochet the Little Cloud Appliqués
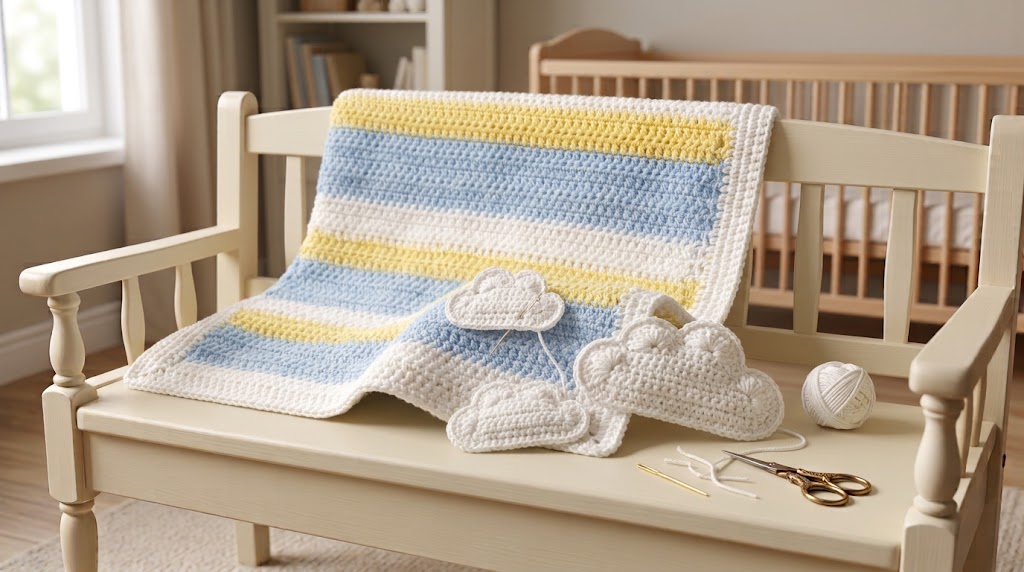
The clouds are the most charming part of this design. Make several small white clouds and attach them after the blanket is finished.
Step 5: Make Each Cloud
Using white yarn, chain 9.
Row 1: Work one single crochet in the second chain from the hook and in each remaining chain. You should have 8 single crochet stitches. Turn.
Row 2: Chain one and work one single crochet in each stitch across. Turn.
Now create the rounded cloud bumps along the upper edge. Slip stitch along the side to reach the top edge, then work a small group of stitches into selected edge stitches to create three rounded humps. For each hump, try working two half-double crochets and one double crochet into the same stitch, followed by a slip stitch in the next stitch. Repeat the rounded shape as space allows.
Fasten off and use your yarn tail to smooth the outline. The exact shape can vary slightly, which gives handmade clouds their sweet, individual character.
Make four to six clouds in different sizes if you like. Before attaching them, arrange them on the blanket to decide where they look best.
Use a tapestry needle and matching white yarn to sew each cloud securely onto the blanket. Weave in all ends carefully and trim the excess yarn.
Finishing and Baby-Safety Tips
Before using or gifting your blanket, check every seam, border, and appliqué. Secure loose ends and ensure the cloud decorations cannot easily detach. Avoid buttons, beads, plastic eyes, or other small embellishments.
Wash and dry the finished blanket according to the yarn label. A gentle wash can help remove dust from the crafting process and prepare the blanket for its new home.
For safe sleep, keep loose blankets out of an infant’s sleep space. This handmade blanket is better suited to supervised cuddling, stroller outings, or nursery decoration, following applicable baby-safety guidance.
Final Thoughts
This yellow-and-blue crochet baby blanket combines a straightforward stitch pattern with cheerful stripes and adorable cloud appliqués. You can personalize it with more clouds, a wider border, or a different arrangement of colors without changing the basic construction.
Take your time, count your stitches, and enjoy watching the little details come together. Whether you make it for your own family or as a handmade gift, the result can be a lovely keepsake filled with warmth, color, and care.