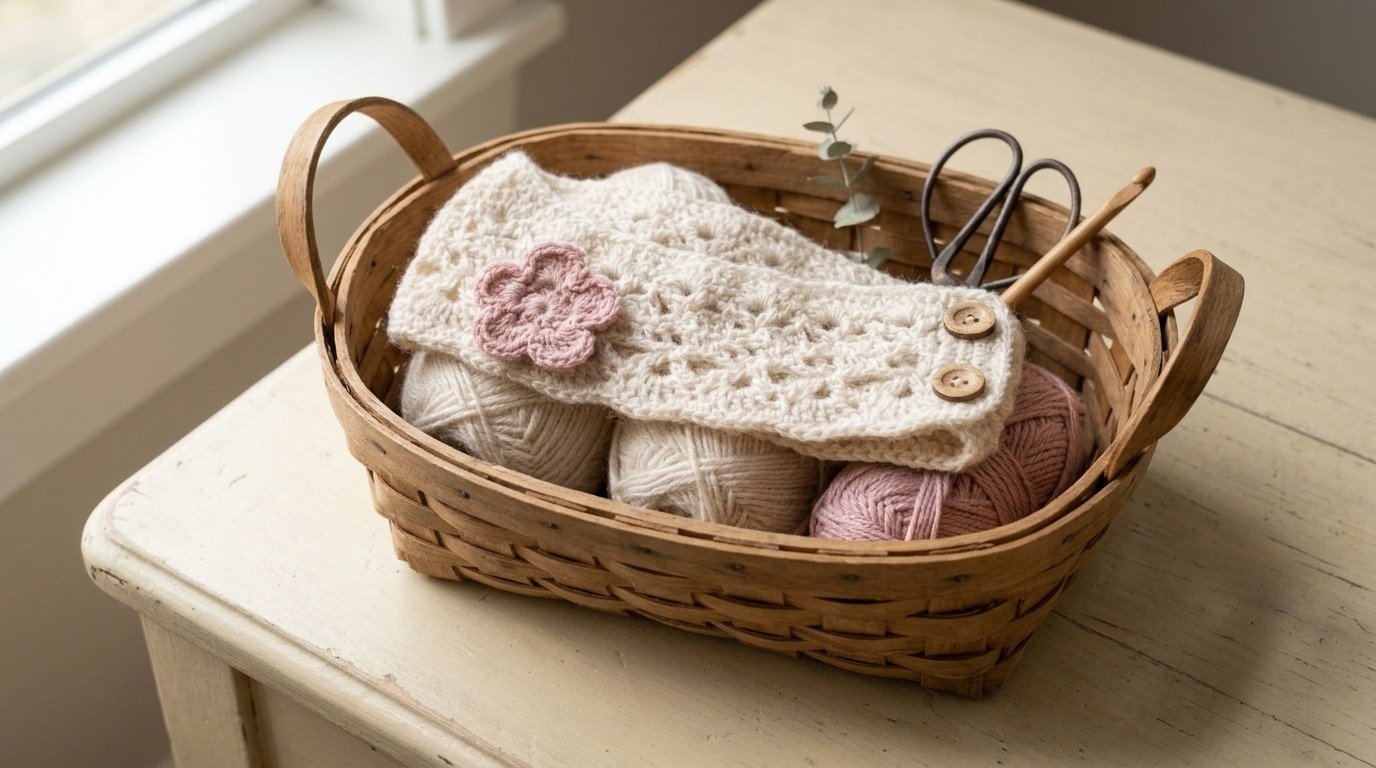
Lacy Crochet Ear Warmer Pattern – A Beautiful Handmade Headband with a Delicate Flower
Table of Contents
- Why You’ll Love This Lacy Ear Warmer
- Materials and Supplies
- Understanding the Crochet Stitches
- Original Lacy Ear Warmer Crochet Pattern
- Step 1: Create the Foundation Chain
- Step 2: Work the Decorative Lace Row
- Step 3: Build the Lacy Texture
- Step 4: Create the Button Closure
- Step 5: Crochet a Beautiful Flower
- Step 6: Attach the Flower and Finish
- Choosing the Right Size
- Two Helpful Amazon Tools
- Helpful Tips for Getting the Best Results
- Beautiful Color Combinations to Try
- How to Care for Your Handmade Ear Warmer
- Frequently Asked Questions
Crochet Accessories • Free Crochet Pattern • Beginner-Friendly Project
A handmade crochet ear warmer is one of those little accessories that can make a simple winter outfit look beautiful. It keeps your ears comfortable, adds a lovely handmade touch to your style, and is small enough to finish without committing to a large crochet project.
In this tutorial, I’m sharing an original lacy crochet ear warmer design with a delicate openwork texture, a pretty flower embellishment, and an adjustable button closure. The combination gives the headband a feminine, slightly vintage appearance while keeping it practical for everyday wear.
You can make it in a soft cream, dusty pink, warm beige, lavender, or any color that complements your wardrobe. It also makes a thoughtful handmade gift for birthdays, Mother’s Day, or the holiday season.
Why You’ll Love This Lacy Ear Warmer
There are plenty of crochet headband designs available, but a lacy ear warmer has a special charm.
- Beautiful openwork texture: The delicate stitches create an elegant appearance without making the headband overly complicated.
- Adjustable fit: Button closures allow you to change the fit instead of relying on one fixed circumference.
- Lovely flower detail: A small crocheted flower adds a decorative finish.
- Beginner-friendly techniques: The project uses familiar crochet stitches and simple construction.
- Small yarn requirement: It is a useful project for leftover worsted-weight yarn.
- Easy to personalize: Change the flower color, add a small button, or use a different yarn shade to create your own version.
Materials and Supplies
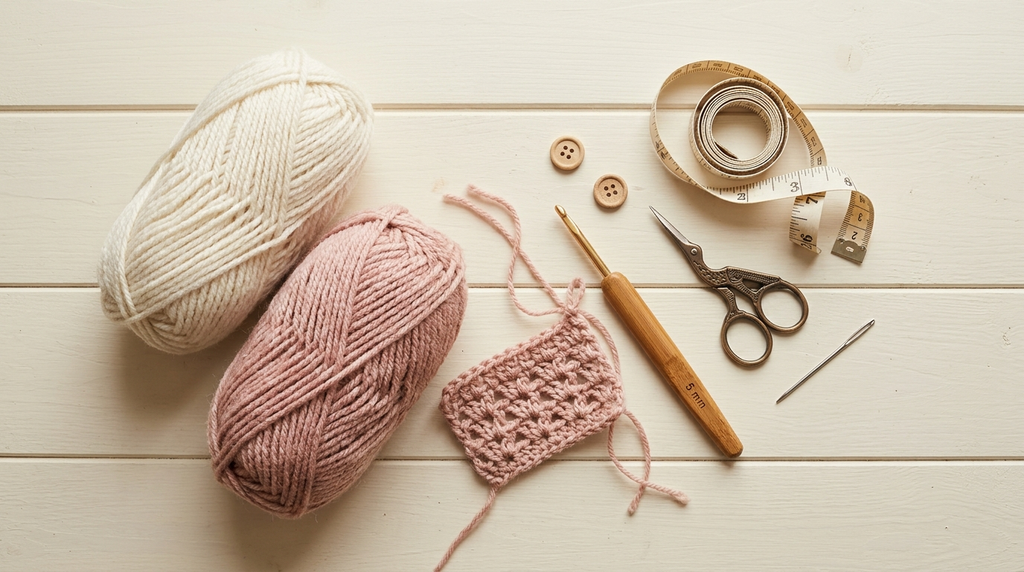
Before beginning, gather your materials. Choosing a soft yarn is particularly important because the finished ear warmer will sit directly against your forehead and ears.
| Material | Recommendation |
|---|---|
| Yarn | Medium worsted-weight yarn (#4) |
| Crochet hook | 5 mm (H-8) |
| Yarn needle | For sewing and finishing |
| Scissors | Sharp yarn scissors |
| Buttons | 2 small, flat buttons |
| Measuring tape | For checking head circumference |
| Stitch markers | Optional, for keeping track of stitches |
Yarn selection: I recommend a smooth acrylic yarn or a soft acrylic-wool blend. It should feel comfortable against the skin and have enough flexibility to sit securely without feeling tight.
For a delicate appearance, choose a light shade such as ivory, blush pink, cream, or pale peach. Darker shades such as burgundy, forest green, and chocolate brown create a richer winter look.
Understanding the Crochet Stitches
This design uses basic stitches arranged to create an airy, decorative fabric.
Abbreviations (US crochet terms):
- CH – Chain
- SC – Single crochet
- DC – Double crochet
- SL ST – Slip stitch
- SK – Skip
- ST – Stitch
- SP – Space
- REP – Repeat
- FO – Fasten off
Special stitch:
Openwork V-stitch: Work 1 DC, CH 1, and 1 DC into the same stitch or space. This creates a small V-shaped opening.
The spaces between these stitches give the ear warmer its lacy appearance.
Original Lacy Ear Warmer Crochet Pattern
Free pattern
Easy skill level
This version is designed as an adjustable women’s ear warmer with a decorative flower. It uses a simple mesh-style stitch repeat and a button fastening, so you can customize the length for a comfortable fit.
Pattern details
- Skill level: Easy
- Crochet terminology: US terms
- Yarn weight: Worsted (#4)
- Hook: 5 mm
- Approximate finished width: 3.5 inches
- Approximate finished length: 19–21 inches before fastening
- Construction: Flat rectangle with button closure
- Design detail: Openwork texture and separate flower
Step 1: Create the Foundation Chain
Start with your chosen yarn and 5 mm crochet hook.
- Make a slip knot.
- Chain 17.
- Insert your hook into the second chain from the hook.
- Work 1 SC.
- Chain 1, skip the next chain, and work 1 SC into the following chain.
- Continue repeating this sequence across the foundation chain.
You should have a neat row of single crochet stitches separated by small chain spaces.
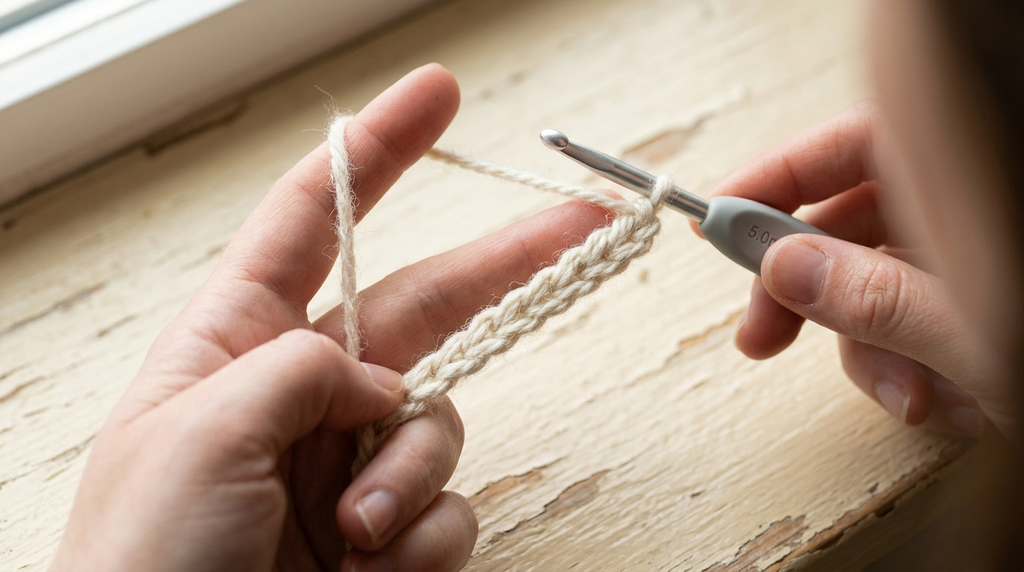
The chain spaces will create the openwork texture in the finished headband.
Step 2: Work the Decorative Lace Row
Chain 3 and turn your work.
- Work 1 DC into the first SC.
- Chain 1.
- Work 1 SC into the next chain space.
- Chain 1.
- Work 1 DC into the next SC.
- Repeat the sequence across the row.
Keep your stitches relaxed. If you crochet too tightly, the lace openings may become difficult to see.
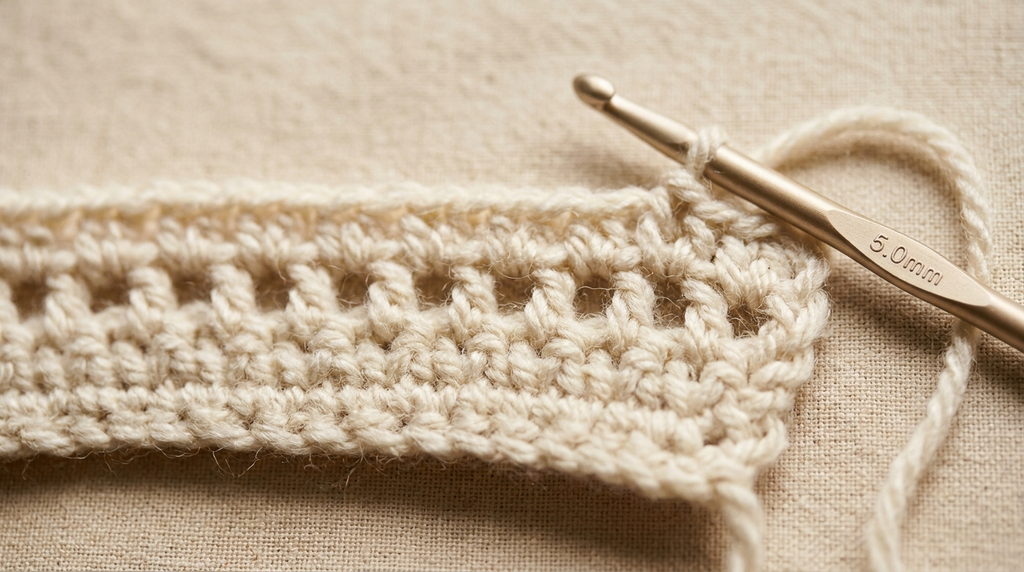
At the end of the row, check that your edges remain reasonably straight.
Step 3: Build the Lacy Texture
Chain 1 and turn.
- Work 1 SC into the first DC.
- Chain 1.
- Work 1 SC into the next chain space.
- Chain 1.
- Work 1 SC into the next DC.
- Continue across the row.
Repeat Steps 2 and 3 until your work reaches approximately 19 inches.
For a smaller head, begin checking the length around 18 inches. For a larger adult fit, you may need approximately 20–21 inches.
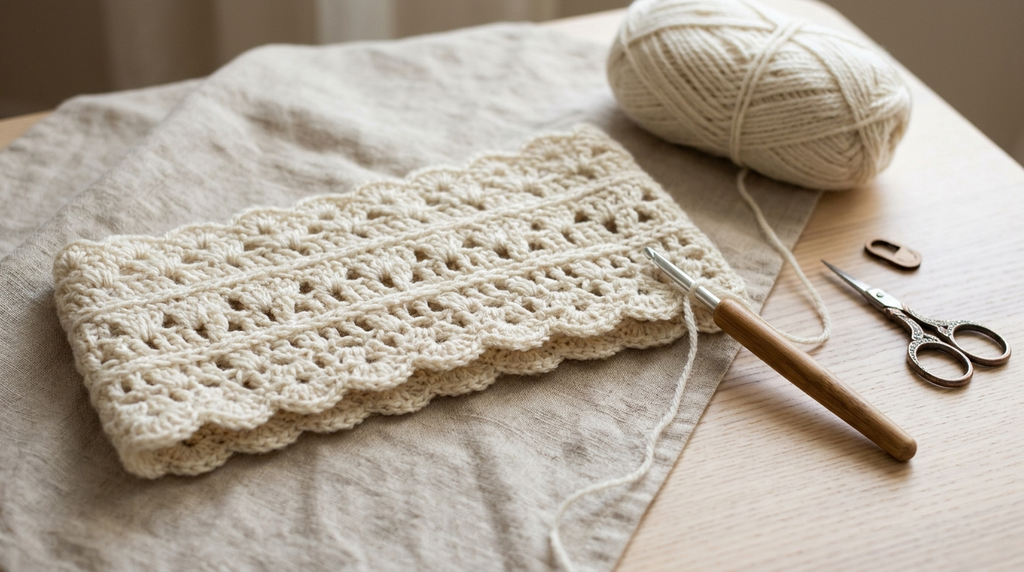
The final length depends on your yarn, tension, and the amount of overlap you want for the buttons.
My fitting tip: Don’t rely entirely on a standard measurement. Wrap the band gently around the head and check that it stays comfortable without pulling tightly behind the ears.
Step 4: Create the Button Closure
The adjustable closure makes this design especially useful for gifting.
At one short end of the rectangle:
- Fasten off the yarn and weave in the loose end.
- Position two small buttons along the edge, with one near the upper side and another near the lower side.
- Sew the buttons securely using matching thread or yarn.
At the opposite short end, create two small crochet loops.
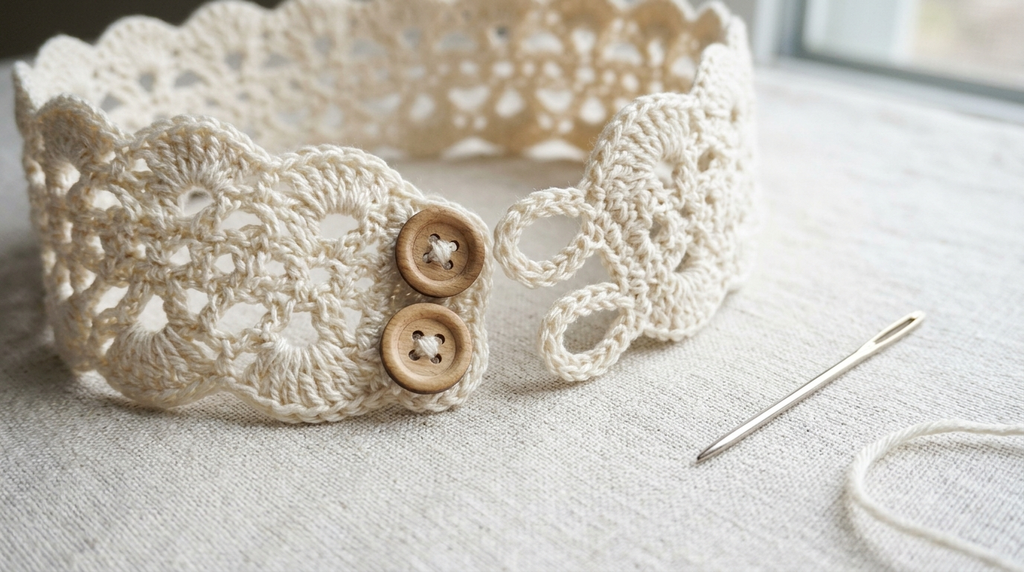
For each loop:
- Attach yarn at the appropriate edge.
- Chain 6.
- Slip stitch back into the starting point.
- Check that the loop fits comfortably over your chosen button.
- Repeat for the second button loop.
Adjust the chain length if your buttons are larger or smaller.
Make sure the buttons are firmly attached and the loops are secure before wearing the finished accessory.
Step 5: Crochet a Beautiful Flower
A little flower makes the ear warmer look more decorative without adding much weight.
Use a contrasting yarn shade if you want the flower to stand out.
Flower instructions:
- Make a magic ring.
- Chain 2.
- Work 2 DC into the ring.
- Chain 2.
- Slip stitch into the ring to complete the first petal.
- Repeat the same sequence four more times.
- Pull the magic ring closed.
- Slip stitch to secure the final petal.
- Fasten off, leaving a long tail for sewing.
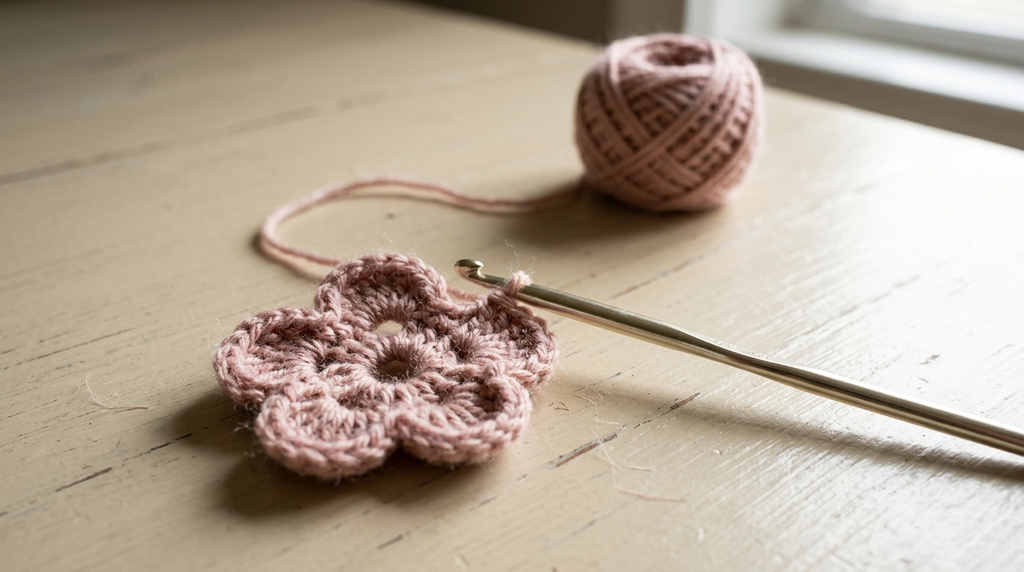
You should now have a small flower with five rounded petals.
Gently arrange the petals with your fingers so that they spread evenly.
For a fuller flower, you can use a slightly thicker yarn or add a small decorative button to the center.
Step 6: Attach the Flower and Finish
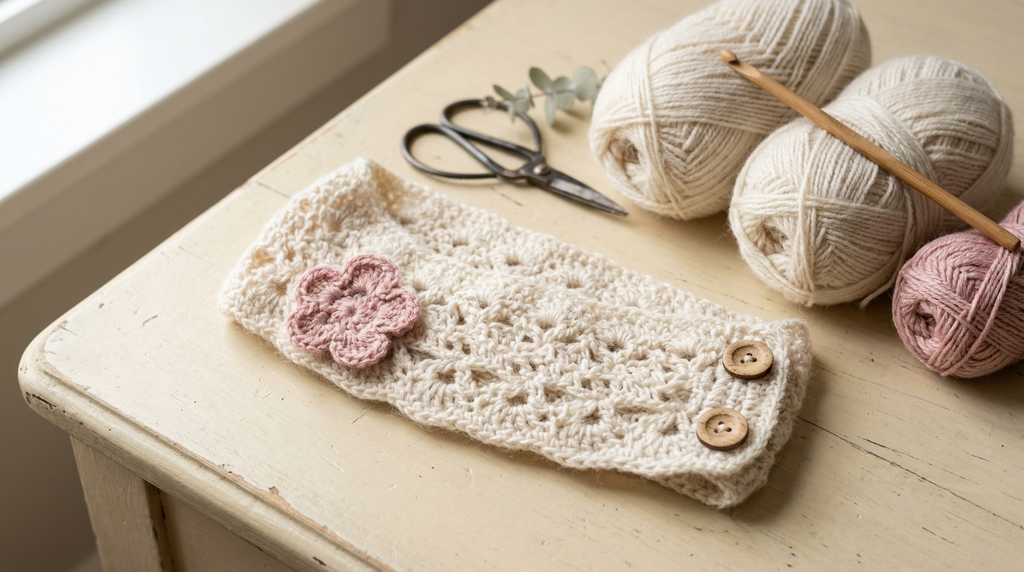
Place the flower near one side of the ear warmer, preferably slightly above the center.
Use the yarn tail and a yarn needle to sew it securely onto the lacy fabric.
Avoid pulling the stitches too tightly because this can distort the openwork underneath.
Next:
- Weave in all remaining yarn ends.
- Check the button loops.
- Make sure both buttons are firmly attached.
- Gently stretch the band to check its flexibility.
- Lay the finished piece flat and arrange the flower petals.
Your lacy crochet ear warmer is now ready!
Choosing the Right Size for a Comfortable Fit
A beautiful crochet accessory should also be comfortable to wear. Before finishing the project, measure the intended wearer’s head circumference.
| Size | Approximate head circumference |
|---|---|
| Small adult | 20–21 inches |
| Medium adult | 21–22 inches |
| Large adult | 22–23 inches |
These are general fitting references, not guaranteed finished measurements. The adjustable button closure allows you to accommodate some variation.
If you are making this for someone else, the best option is to measure their head before deciding on the finished length.
Two Helpful Amazon Tools for This Project
You don’t need an expensive collection of crochet supplies to make this ear warmer. However, a comfortable hook and a good finishing needle can make the process easier.
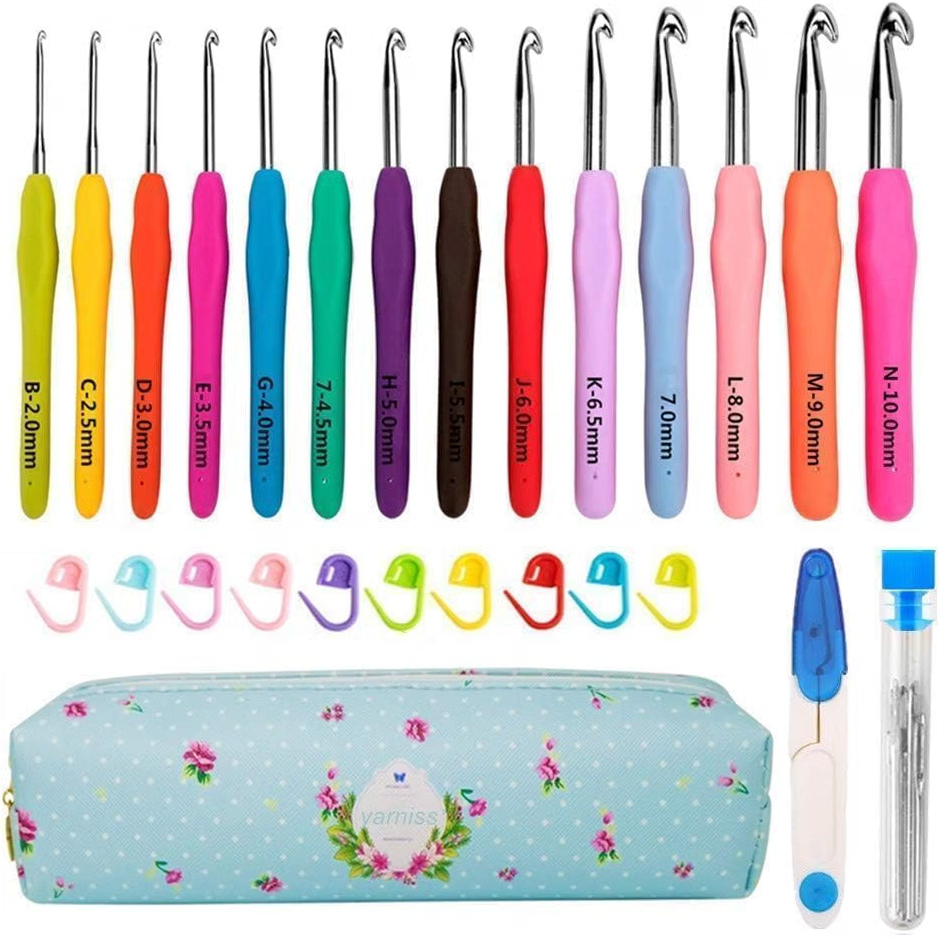
1. Clover Amour 5 mm Crochet Hook
A comfortable ergonomic hook is helpful when working several rows of lace stitches. The soft handle can make longer crochet sessions more comfortable.
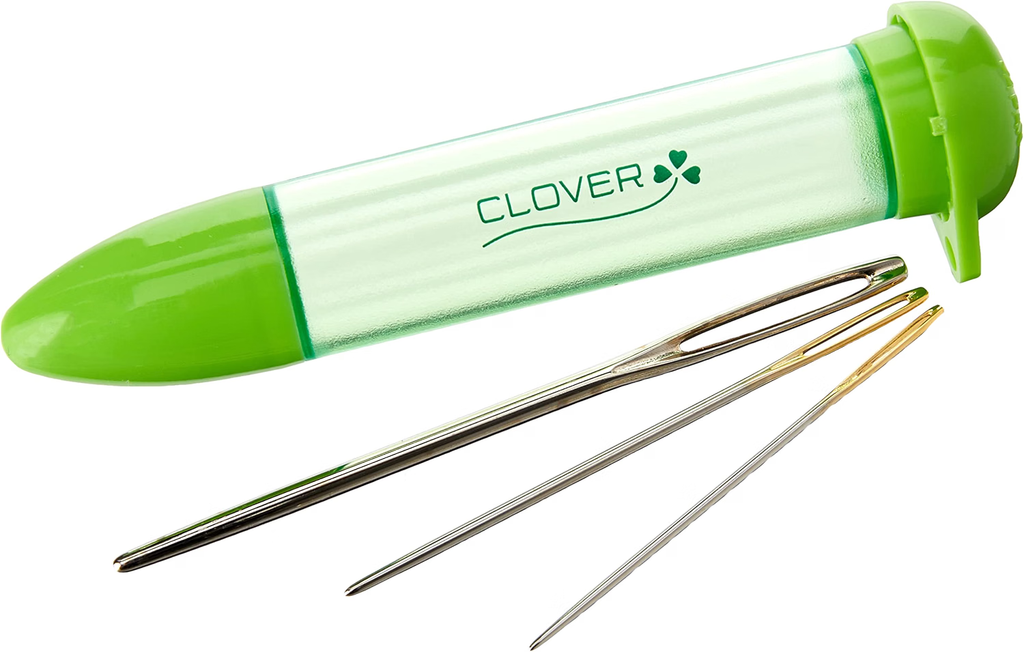
2. Boye Yarn Needles
A blunt tapestry needle is useful for weaving in loose ends and attaching the flower. It also helps create neat finishing stitches without splitting the yarn unnecessarily.
Helpful Tips for Getting the Best Results
Even though this is a relatively small project, a few details can make a big difference in the finished appearance.
1. Keep your tension consistent. The lace pattern looks best when the chain spaces are even. If some spaces are noticeably tighter than others, the fabric may look uneven.
2. Choose a smooth yarn. Very fuzzy yarn can hide the decorative openings. A smooth worsted-weight yarn makes it easier to see the stitch pattern.
3. Check the fit before adding the flower. Fasten the buttons and try the band on before sewing on the embellishment. This allows you to position the flower exactly where you want it.
4. Avoid oversized buttons. Large, heavy buttons can pull on the delicate fabric. Small, lightweight buttons are generally a better choice.
5. Don’t stretch the finished band excessively. A comfortable fit is more important than making the headband extremely tight.
Beautiful Color Combinations to Try
One of my favorite things about crochet accessories is how easily you can change their appearance with different colors.
Soft ivory
Elegant, neutral, and suitable for everyday outfits.
Dusty pink
A delicate feminine look for handmade gifts.
Soft lavender
A gentle pastel shade with a romantic feel.
Warm beige
A natural shade that pairs beautifully with winter clothing.
You can also make the flower in a contrasting color. For example, a cream headband with a blush flower creates a lovely combination.
How to Care for Your Handmade Ear Warmer
Taking care of handmade crochet accessories helps them maintain their shape and appearance.
- Always check the yarn label before washing.
- Use cool or lukewarm water when handwashing.
- Choose a gentle detergent suitable for the yarn fibre.
- Avoid twisting or squeezing the fabric.
- Press excess water out using a clean towel.
- Reshape the ear warmer and allow it to dry flat.
Avoid hanging a wet crochet ear warmer because its weight can stretch the stitches.
If you use wool yarn, follow the manufacturer’s washing instructions carefully. Some wool fibres require special care to prevent shrinking or felting.
Frequently Asked Questions
1. Is this lacy crochet ear warmer suitable for beginners?
Yes. The pattern uses basic crochet stitches, including single crochet, double crochet, and chains. Beginners who understand these stitches should be able to follow the instructions.
2. How much yarn do I need?
Approximately 80–100 yards of medium-weight yarn is a reasonable starting estimate for an adult-sized version, including a small flower. Actual consumption depends on your tension, width, and yarn thickness.
3. Can I make this ear warmer without buttons?
Yes. You can replace the button fastening with a simple sewn seam. However, the adjustable button closure makes it easier to change the fit.
4. Can I use a different crochet hook size?
Yes, but remember that changing the hook size changes the fabric density and finished measurements. A smaller hook creates a firmer fabric, while a larger hook creates more open stitches.
5. Can I make this design for children?
Yes. Reduce the finished length according to the child’s head measurement. Make sure the buttons and flower are securely attached, and avoid small detachable decorations for young children.
6. How long does it take to crochet?
The time depends on your experience and working speed. An experienced crocheter may complete it in an evening, while a beginner may prefer to work over two or more sessions.
7. Can I sell finished ear warmers made from this tutorial?
You can make and sell your own finished handmade items. If you sell them, describe them honestly as handmade and use your own photographs. Do not resell or redistribute someone else’s copyrighted pattern.