Crochet Baby Boy Bib Pattern with Cute Train and Car Appliqués
Baby Crochet • Crochet Bib Tutorial • Handmade Baby Gifts
A handmade crochet baby bib is a practical little project that can also become a beautiful keepsake. When I think about handmade baby gifts, I love projects that combine everyday usefulness with a little creativity. A crochet bib decorated with tiny cars, a colorful train, and miniature trees is a lovely way to do exactly that.
What makes this project especially enjoyable is that you can crochet the bib base first and then work on the decorations separately. This gives you the freedom to arrange the cars, train, and trees in your own way.
In this tutorial, I’ll explain the materials, construction, stitch techniques, and an original beginner-friendly bib variation with decorative appliqués. I’ll also share practical finishing and baby-safety advice so your handmade project is both attractive and thoughtfully made.
Table of Contents
- Why a Handmade Crochet Bib Makes a Special Gift
- What Makes This Transportation-Themed Bib Unique
- Materials for a Neat and Comfortable Finish
- Crochet Terms and Important Pattern Notes
- Understanding the Bib Construction
- Step-by-Step Crochet Baby Bib Instructions
- Preparing the Foundation
- Building the Bib Body
- Shaping the Upper Section
- Making the Shoulder Straps
- Adding the Decorative Border
- Creating the Train and Car Appliqués
- Making the Tiny Trees
- Arranging and Attaching the Decorations
- Choosing the Best Yarn and Colors
- Two Useful Crochet Supplies from Amazon
- Tips for a Professional-Looking Finish
- Baby Bib Care and Safety
- Frequently Asked Questions
- Final Thoughts
Why a Handmade Crochet Bib Makes a Special Gift
Baby gifts are even more meaningful when they are handmade. A crochet bib can be customized to match a nursery theme, a baby’s clothing, or the personal style of the family.
Here are a few reasons this project is worth trying:
- Personalized appearance: Choose colors and appliqués that suit the baby’s nursery or wardrobe.
- Creative decoration: Small vehicles and trees make the design more playful.
- A manageable project: The bib is much smaller than a blanket or sweater.
- A useful handmade present: It can be included in a baby shower gift basket.
- Scrap-yarn friendly: The small decorations are ideal for using leftover yarn.
One thing I particularly appreciate about this construction is that the main fabric and decorations are made separately. You can experiment with different arrangements before deciding on the final design.
What Makes This Transportation-Themed Bib Unique?
The main attraction is the combination of a simple bib shape and colorful miniature decorations.
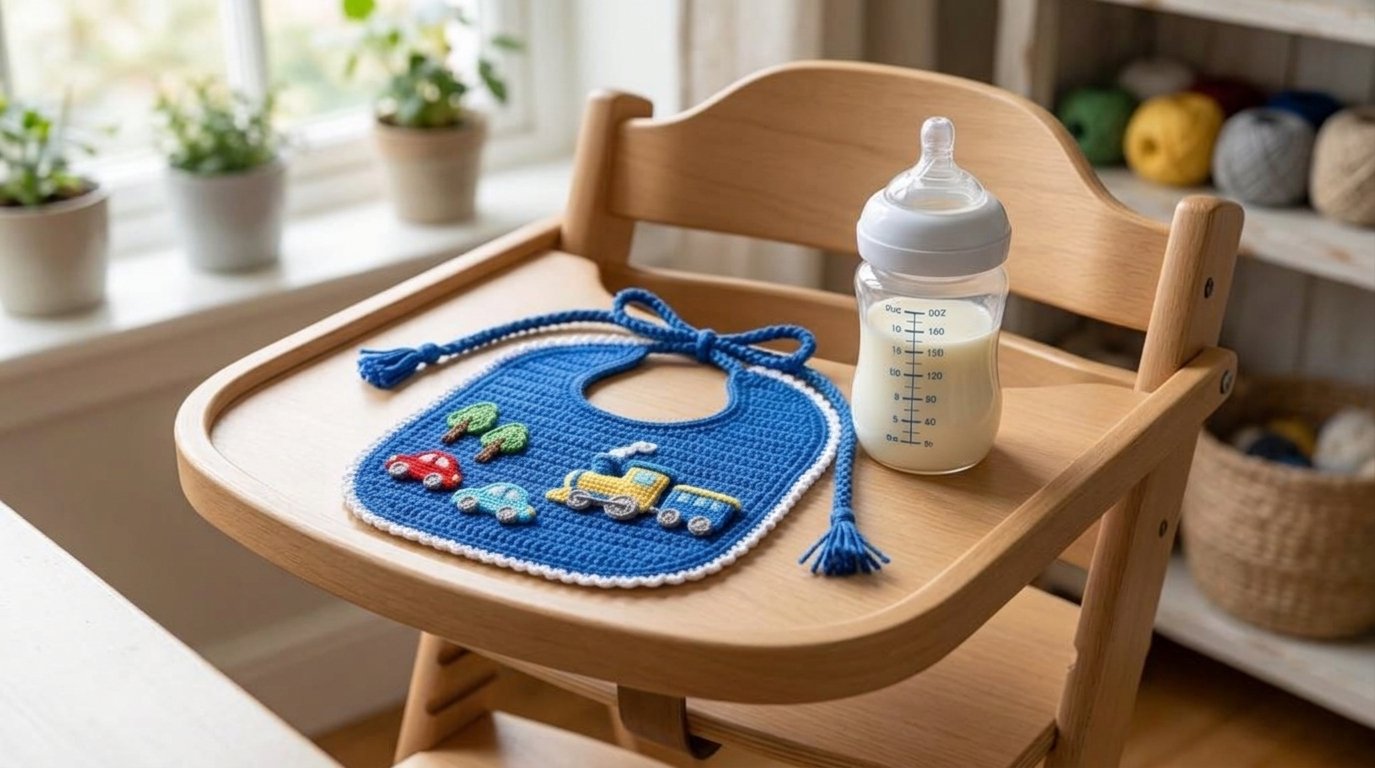
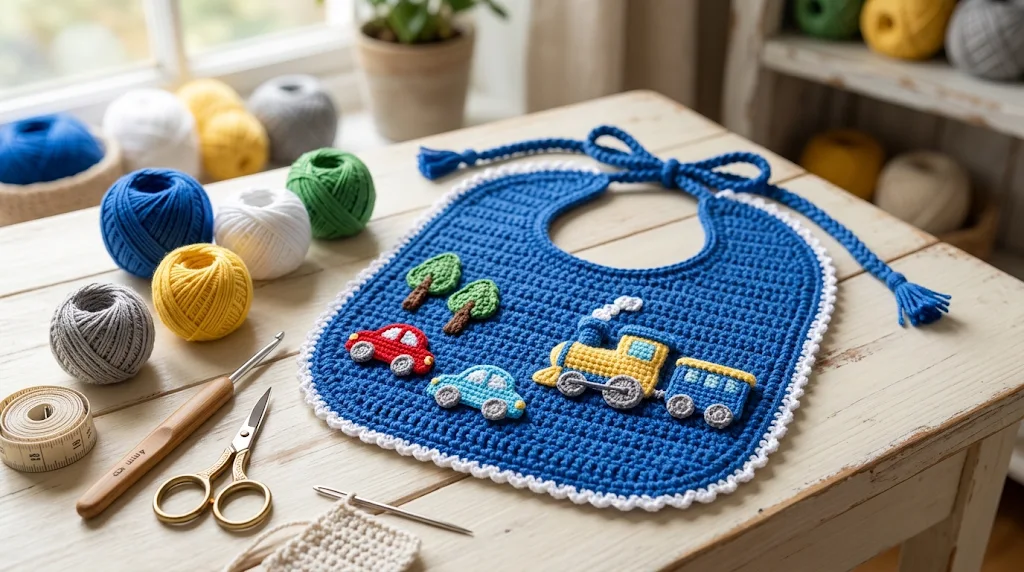
Imagine a soft blue bib with a little train near the bottom, two tiny cars traveling across the middle, and green trees placed around the scene.
The transportation theme works especially well with these colors:
- Sky blue for the main bib.
- Navy blue for vehicle details.
- Gray for wheels and train tracks.
- White for windows and highlights.
- Yellow for headlights.
- Green for miniature trees.
You can also change the design to include a single car, a tractor, a little airplane, or a boat.
Materials for a Neat and Comfortable Finish
Before starting, collect your yarn and crochet supplies. Using smooth yarn and appropriately sized hooks will help you create clear stitches and neat decorative shapes.
| Material | Suggested choice |
|---|---|
| Main yarn | Soft cotton or cotton-blend yarn |
| Main hook | 5 mm |
| Appliqué hook | 3.75 mm |
| Contrast yarn | Small amounts of gray, white, yellow, navy and green |
| Yarn needle | Blunt tapestry needle |
| Scissors | Small sharp scissors |
| Measuring tape | For checking dimensions |
| Stitch markers | Optional |
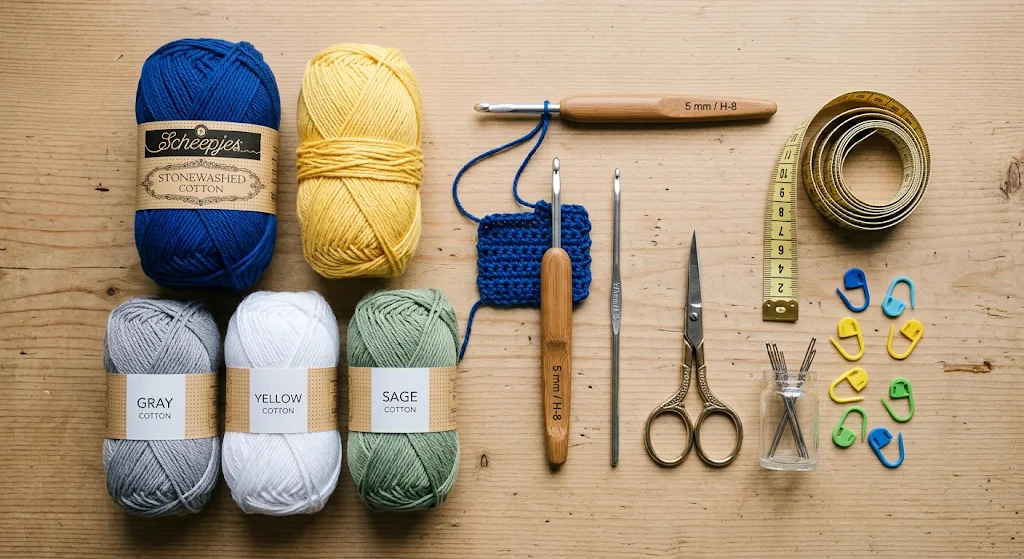
Important yarn advice: Cotton is generally a good choice for a bib because it is washable and absorbs moisture better than many acrylic yarns. Choose a smooth, soft yarn that is suitable for frequent washing.
Crochet Terms and Important Pattern Notes
This tutorial uses US crochet terminology.
| Abbreviation | Meaning |
|---|---|
| CH | Chain |
| SC | Single crochet |
| DC | Double crochet |
| SL ST | Slip stitch |
| ST | Stitch |
| SK | Skip |
| REP | Repeat |
| FO | Fasten off |
Skill level: Advanced beginner
Construction: Worked flat in rows, with separately crocheted decorations.
Suggested finished size: Approximately 8.5 inches wide and 10 inches long, depending on tension and adjustments.
The stitch counts below describe an original simplified bib variation, not an exact reproduction of another designer’s paid pattern.
Step-by-Step Crochet Baby Bib Instructions
Original crochet variation
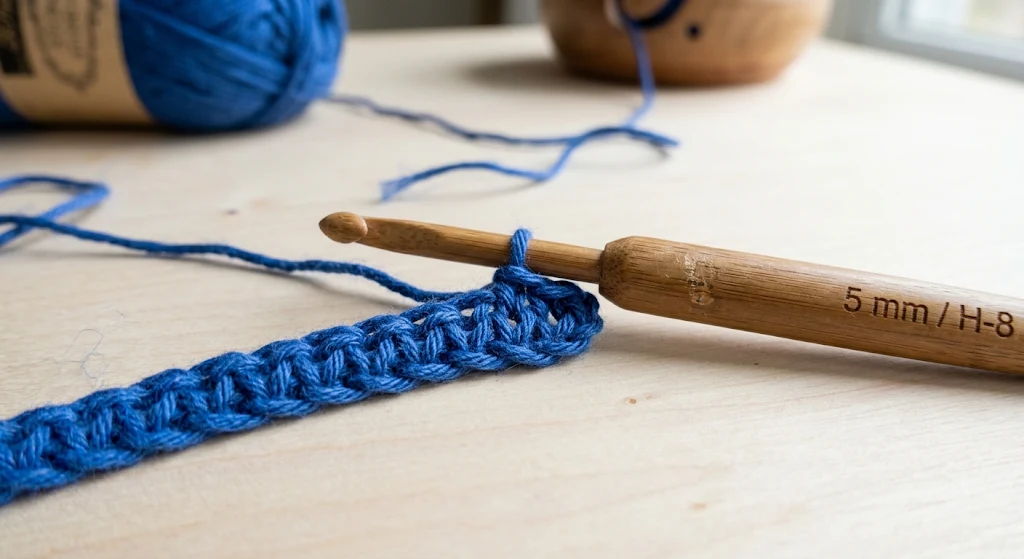
Step 1: Prepare the Foundation
Begin with your main blue yarn and a 5 mm crochet hook.
- Make a slip knot.
- Chain 31.
- Insert the hook into the second chain from the hook.
- Work 1 SC in each chain across.
- You should have 30 single crochet stitches.
Chain 1 and turn at the end of the row.
Step 2: Build the Main Bib Body
Continue working in single crochet rows.
- Chain 1.
- Work 1 SC into each stitch across.
- Chain 1 and turn.
- Repeat until you have approximately 20 rows.
The fabric should form a neat rectangle.
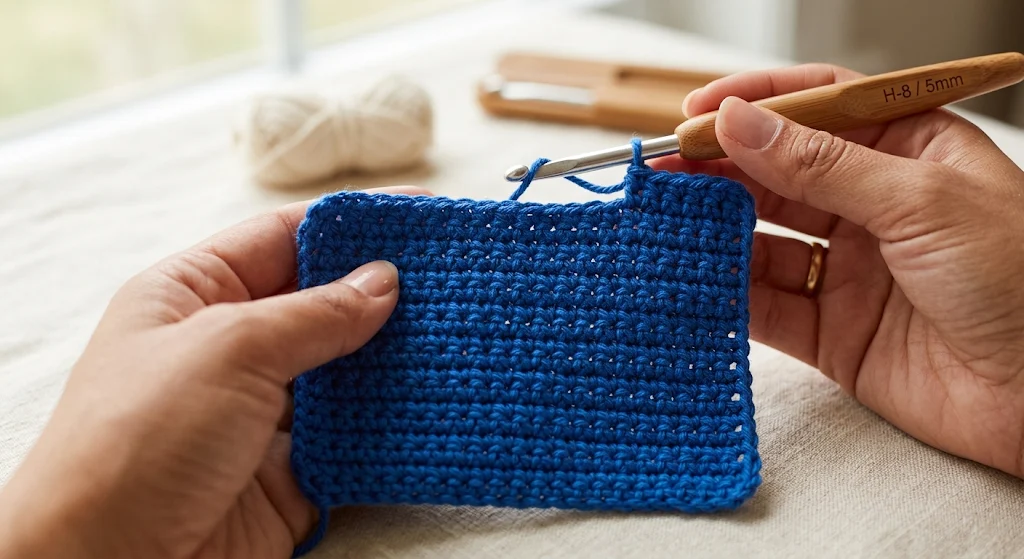
Keep your tension consistent. A firm but flexible fabric is preferable to a very loose fabric because it gives the bib a more stable shape.
Step 3: Shape the Upper Section
Now begin narrowing the bib slightly to create the upper chest and neck area.
For the next four rows:
- Chain 1 and turn.
- Work a slip stitch into the first stitch.
- Work SC across until one stitch remains.
- Skip the final stitch.
- Repeat this decrease on each row.
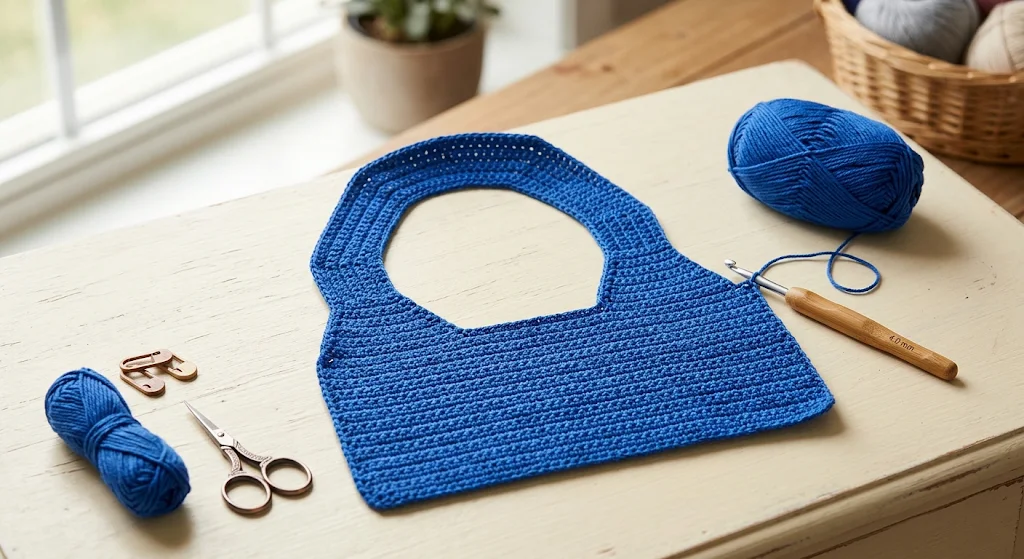
You will gradually reduce the width of the upper section.
Check that both edges remain symmetrical.
Step 4: Crochet the Shoulder Straps
Divide the remaining stitches into two equal sections.
Work one side first:
- Attach the yarn at one outer edge.
- Work SC across approximately half of the remaining stitches.
- Chain 1 and turn.
- Continue working SC rows until the strap measures approximately 3 inches.
Fasten off.
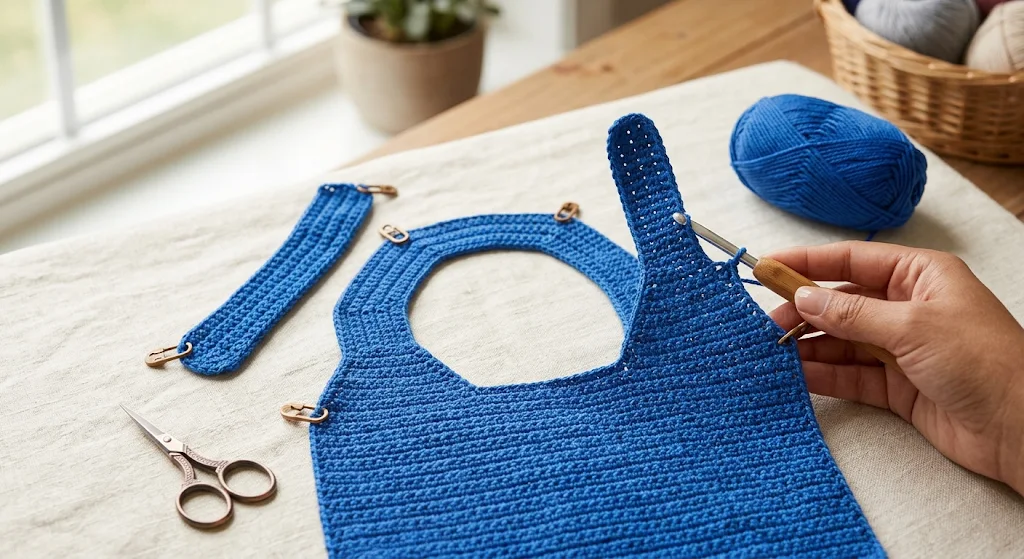
Repeat the same process for the opposite side.
The two straps should be similar in width and length.
Join their ends at the back using a secure, flat seam to create a continuous neck opening. Check the opening carefully against the intended wearer’s measurements. It must not be tight or restrictive.
Step 5: Add a Decorative Border
A simple border gives the bib a more finished appearance.
Using your main blue yarn:
- Attach yarn at one lower corner.
- Work SC evenly around the outer edge.
- Place 2 SC in each corner to help the fabric turn smoothly.
- Continue around the entire bib.
- Join with a SL ST.
- Fasten off and weave in the yarn ends.
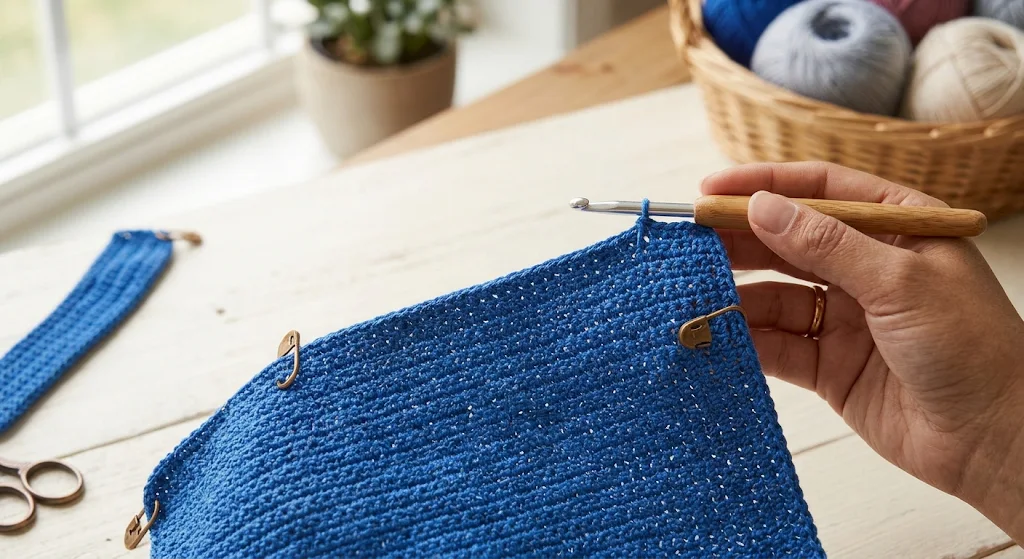
Avoid adding an overly thick border because the bib should remain comfortable and flexible.
Step 6: Crochet the Miniature Train
The train is the main decorative feature of this transportation-themed design.
Use blue, gray, yellow, and white yarn with your smaller 3.75 mm hook.
Train engine:
- Chain 11 using blue yarn.
- Work SC across the chain.
- Chain 1 and turn.
- Work 5 additional rows of SC.
- Fasten off.
This creates a small rectangular base for the train engine.
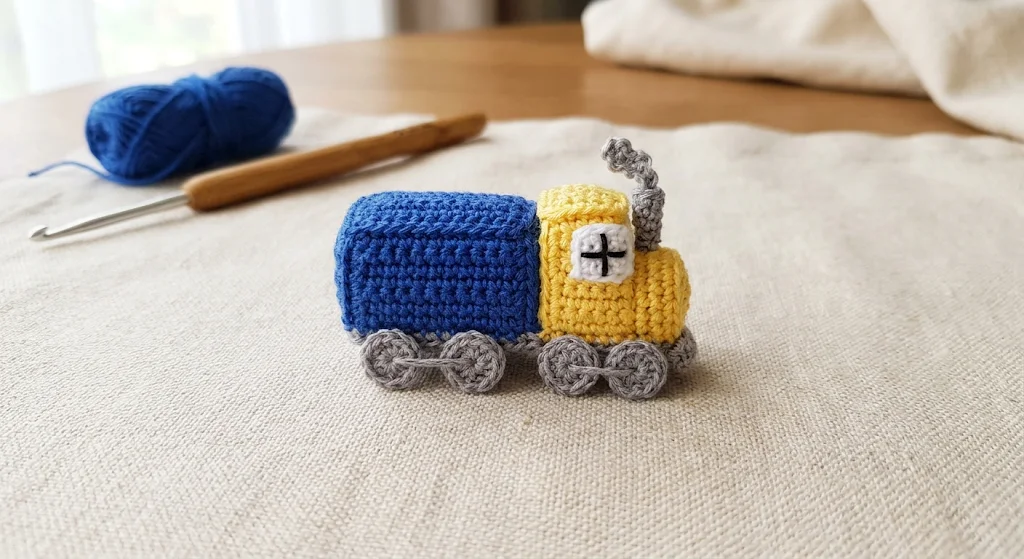
For the upper cabin, make a smaller rectangle:
- Chain 6.
- Work 5 SC.
- Chain 1 and turn.
- Work 3 rows.
- Fasten off.
Sew the smaller rectangle onto one end of the larger piece.
Add a small white window using a few carefully worked surface stitches.
Train wheels:
Make two small circles using gray yarn.
- Create a magic ring.
- Work 6 SC into the ring.
- Pull the ring closed.
- Join with a slip stitch.
- Fasten off.
Sew the wheels along the bottom of the train.
Step 7: Make the Miniature Cars
The cars can be made in different colors to create a playful scene.
For each car:
- Chain 9 using your chosen yarn color.
- Work 8 SC across.
- Chain 1 and turn.
- Work 3 additional rows.
- Fasten off.
For the top section, make a small rectangle using a contrasting color.
Chain 5 and work 4 SC across for 2 rows.
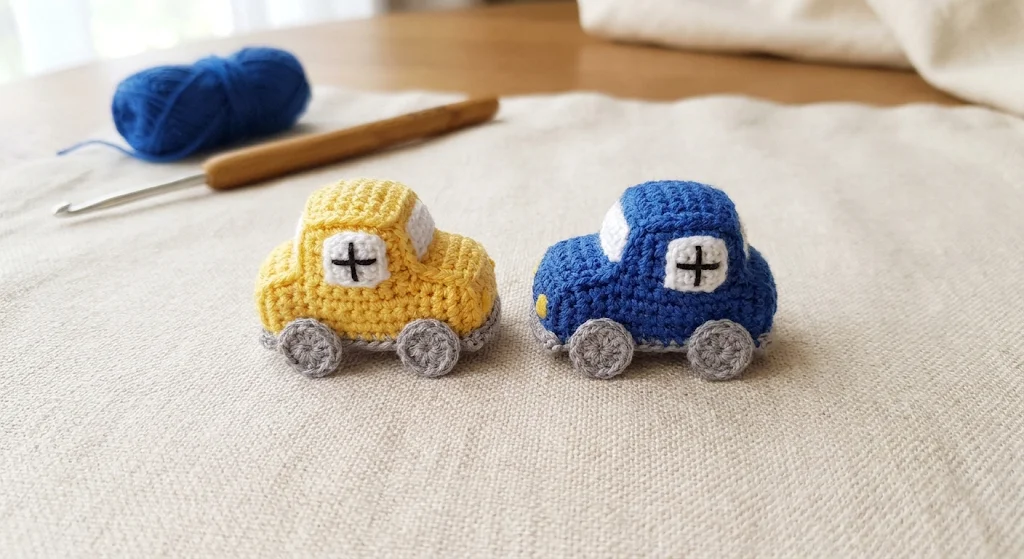
Sew this piece onto the upper middle of the car body.
Make two small gray wheel circles using the same method as the train wheels.
Repeat with another color to create a second car.
You can use sky blue for one car and yellow for another. These shades stand out beautifully against a navy or royal-blue bib.
Step 8: Crochet the Little Trees
Miniature trees add a lovely finishing detail to the transportation theme.
Using green yarn:
- Make a magic ring.
- Work 6 SC into the ring.
- Pull closed.
- Join with a slip stitch.
- Chain 1 and turn.
- Work 2 SC into each stitch to create a slightly wider section.
- Fasten off.
For the tree trunk, attach brown yarn at the bottom and work a short row of SC.
Make two or three trees in slightly different green shades if you want a more colorful scene.
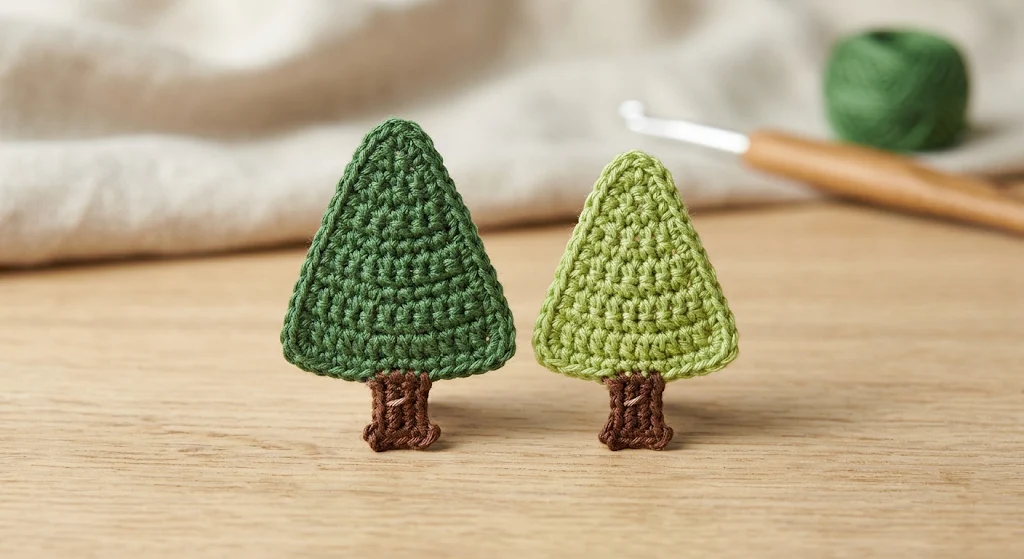
Keep the trees relatively small so that they complement the vehicles rather than overpowering them.
Step 9: Arrange the Appliqués
Before attaching anything, place all your decorative pieces on the bib.
A balanced layout could look like this:
- Train near the bottom left.
- One car near the center.
- Second car near the upper right.
- Small trees placed between the vehicles.
Take a moment to check the spacing. The decorations should be evenly distributed, with enough blue fabric visible around each piece.
For a bib intended for actual baby use, decorative appliqués and their attachment can introduce choking hazards. A safer option is to omit detachable decorations entirely and reserve elaborate appliqué versions for supervised photography or keepsake display.
Step 10: Complete the Finishing
Weave in the loose yarn ends and check the seams.
Look carefully for:
- Uneven stitches.
- Loose yarn tails.
- Open seams.
- Areas where appliqués may lift.
- Rough edges that could irritate the skin.
If this is intended as a decorative keepsake, arrange the train and cars neatly and block the bib gently according to the yarn manufacturer’s instructions.
Choosing the Best Yarn and Colors
The yarn you choose affects the softness, shape, and washing performance of the finished bib.
For the main fabric, I would choose a smooth cotton yarn. It has good stitch definition and is generally more practical for washable accessories than fuzzy novelty yarn.
Here are some color combinations worth exploring:
Royal blue theme
Yellow, gray and white decorations.
Navy and yellow
A classic transportation palette.
Baby blue
Soft white and gray details.
Blue and beige
A warm, neutral handmade look.
Two Useful Amazon Supplies for This Project
I would keep the shopping list simple. These two supplies are useful for both the bib and its small decorative details.
1. Caron All Day Cotton Yarn
A 100% mercerized cotton yarn is a useful option for a bib because it provides clear stitch definition and is suitable for washable crochet projects. Check the yarn label for care instructions and softness.
2. FIVEIZERO Stitch Markers and Blunt Needles Set
A combination set of stitch markers and blunt needles can help with keeping track of rows and finishing crochet seams. The needles are particularly useful when weaving in yarn ends.
onal-Looking Finish
A few small details can make your finished crochet bib look much neater.
Keep the base fabric firm. Avoid very loose stitches because they can make the bib lose its shape.
Use a smaller hook for small details. A smaller hook helps create compact decorative pieces with better stitch definition.
Plan the arrangement first. Don’t immediately sew the appliqués onto the bib. Arrange them first and check the overall balance.
Match your finishing yarn. Use matching yarn when sewing pieces together so that the joining stitches are less noticeable.
Wash-test your yarn. Before making several bibs, test a small swatch to see how the yarn behaves after washing.
Baby Bib Care and Safety
Since this is a baby accessory, safety deserves special attention.
- Use yarn that is suitable for frequent washing.
- Avoid beads, buttons, plastic eyes, and detachable decorations.
- Inspect seams and attachments regularly.
- Never leave a baby unattended while wearing a bib.
- Remove the bib immediately after feeding.
- Never allow a baby to sleep while wearing a bib.
- Check the neck opening carefully to avoid tightness or entanglement.
For an everyday feeding bib, a commercially manufactured baby-safe fastening system and appropriate product safety testing are preferable. A handmade crochet bib should not be assumed to be a certified feeding product simply because it is made from cotton.
Frequently Asked Questions
1. Is this crochet baby bib suitable for beginners?
It is suitable for advanced beginners who understand single crochet, chains, decreases, and basic finishing. The miniature appliqués require a little more patience.
2. Which yarn is best for a crochet baby bib?
Soft cotton or a suitable cotton blend is a good starting point. It provides clear stitch definition and can be easier to wash than delicate novelty yarn.
3. Can I change the train and car colors?
Absolutely! You can use red, yellow, green, navy, or any combination you prefer. Using contrasting shades makes the decorations more visible.
4. Can I make this bib larger?
Yes. You can increase the foundation chain and add more rows to the body. Remember to adjust the upper shaping and neck opening as well.
5. Can I use leftover yarn for the appliqués?
Yes. Small decorations are an excellent way to use leftover yarn. Just make sure the yarns are compatible in thickness and care requirements.
6. How much yarn will I need?
The main bib will generally require more yarn than the decorations. Around 80–100 yards is a reasonable planning estimate for a small bib, with additional scraps for the appliqués. Actual usage depends on yarn weight, size, and tension.
7. Can I make this as a baby shower gift?
Yes. It can make a lovely decorative addition to a baby shower gift basket. For an everyday feeding gift, consider pairing it with a commercially made, safety-tested bib.
Final Thoughts
A transportation-themed crochet baby bib is a fun way to combine basic crochet techniques with colorful handmade decorations. The little train, cars, and trees give the design a playful personality, while the simple bib base keeps the project manageable.
I love the creative possibilities of this idea. You can experiment with different vehicle colors, make several matching designs, or create a whole transportation-themed baby gift collection.
Take your time with the small details, choose comfortable yarn, and enjoy the process of creating something special.