Zebra Beanie Crochet Pattern for Boys: A Fun and Adorable Animal Hat
If you love making cute crochet hats for children, an animal-themed beanie is a project worth adding to your collection. I especially love crochet designs that combine practical winter accessories with playful details. A zebra beanie does exactly that!
With its classic black and white color combination, adorable zebra ears, and fluffy-looking mane, this hat has a fun personality that makes it stand out from ordinary winter beanies.
What makes this design especially interesting is the combination of a striped hat, decorative ears, and an optional bow. The black and white zebra appearance creates a recognizable animal-inspired look, while the additional details make the finished hat extra special.
In this guide, I will discuss the materials, color combinations, sizing, preparation, crochet techniques, finishing tips, and ways to make your zebra beanie look neat and professional.
What Makes This Zebra Crochet Beanie Special?
The first thing I notice about this design is its playful appearance.
Instead of being a simple striped beanie, it has additional decorative features that create the look of a little zebra.
The main features include:
- Classic black and white color combination.
- Decorative zebra ears.
- A playful mane or fringe detail.
- An optional bow for a different style.
- Multiple sizing options.
The original design includes sizes ranging from newborn to women, making it a versatile project for different ages.
I particularly like the fact that the design includes instructions for attaching the ears and adding the decorative fur. These details help transform a regular crochet hat into a fun animal-inspired accessory.
The pattern is written using Standard American Crochet Terms.
It also includes a bow, with an alternative method for creating the decorative polka dots without using buttons.
Materials Needed for a Zebra Beanie
Before beginning, I recommend organizing all your materials. Having the correct yarn and hooks nearby makes the process easier and helps you avoid unnecessary interruptions.
1. Black Worsted-Weight Yarn
Black yarn is one of the main colors in this project.
It creates the dark zebra stripes and helps define the animal-inspired appearance.
Choose a yarn with a smooth texture and consistent thickness. A good-quality worsted-weight acrylic yarn is a practical option for children’s accessories because it is generally easy to care for.
2. White Worsted-Weight Yarn
White yarn creates the contrasting sections of the zebra pattern.
The contrast between black and white is what gives the hat its recognizable zebra appearance.
I recommend choosing a clean white shade rather than a very yellow-toned cream if you want a traditional zebra look.
3. Black Decorative Yarn
The mane is an important finishing detail.
A suitable black novelty or textured yarn can create a fluffy appearance. If you prefer a simpler finish, regular black yarn can also be considered, provided you follow the pattern’s instructions.
Check the texture carefully before using novelty yarn, especially for children’s accessories.
4. Crochet Hooks
The pattern specifies different hooks for the main hat and decorative ears:
- H hook: 5 mm for the main hat.
- F hook: 3.75 mm for the ears.
- G hook: 4.25 mm for the main hat in the 6–12-month size.
Always follow the hook sizes specified for the size you are making.
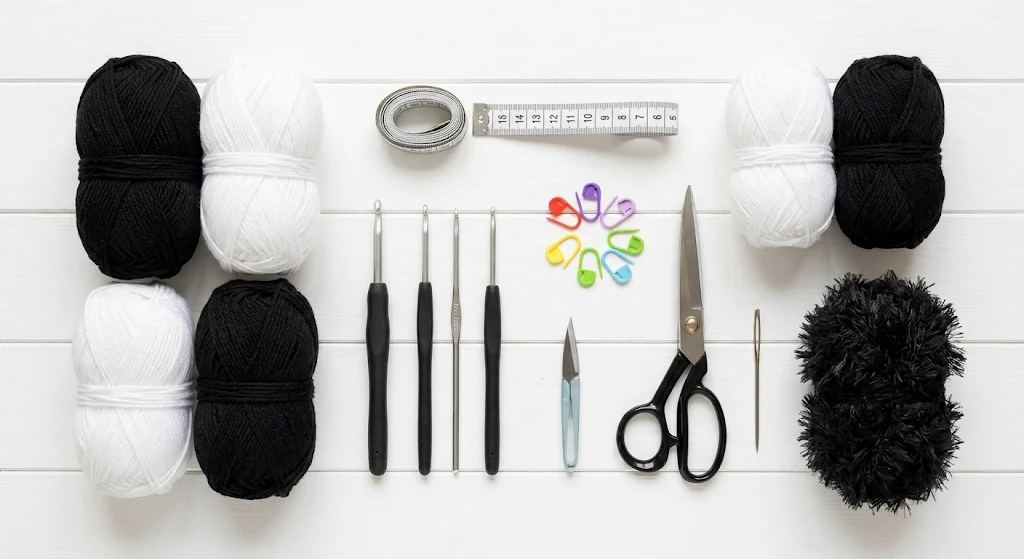
5. Additional Crochet Supplies
Keep these accessories nearby:
- Yarn needle.
- Measuring tape.
- Stitch markers.
- Scissors.
- Stitch counter.
- Optional decorative materials for the bow.
These tools help with shaping, measuring, and finishing the hat.
My Two Recommended Amazon Products
For this project, I would focus on two useful supplies: a reliable worsted-weight yarn and a comfortable crochet hook set.
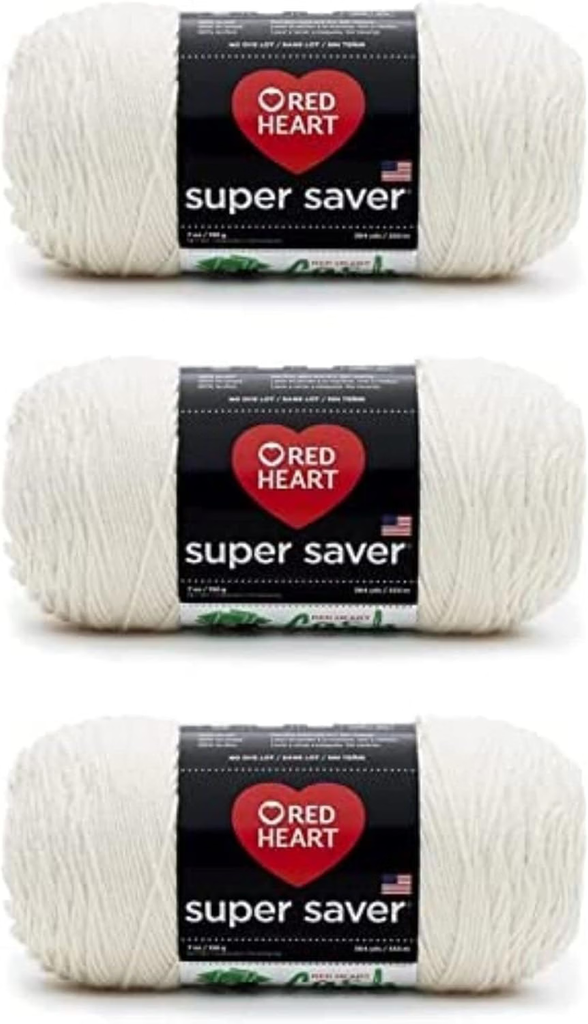
1. Red Heart Super Saver Yarn
Red Heart Super Saver is a useful option to consider for the main zebra beanie.
It is a worsted-weight acrylic yarn, making it suitable to investigate for projects that require medium-weight yarn.
I would choose black and white skeins to maintain the traditional zebra appearance.
Why consider this yarn?
- Worsted-weight yarn.
- Available in black and white color options.
- Useful for crochet hats and accessories.
- Practical for a range of everyday craft projects.
2. Boye Ergonomic Crochet Hook Set
A comfortable hook can make a difference when working on a project with several decorative pieces.
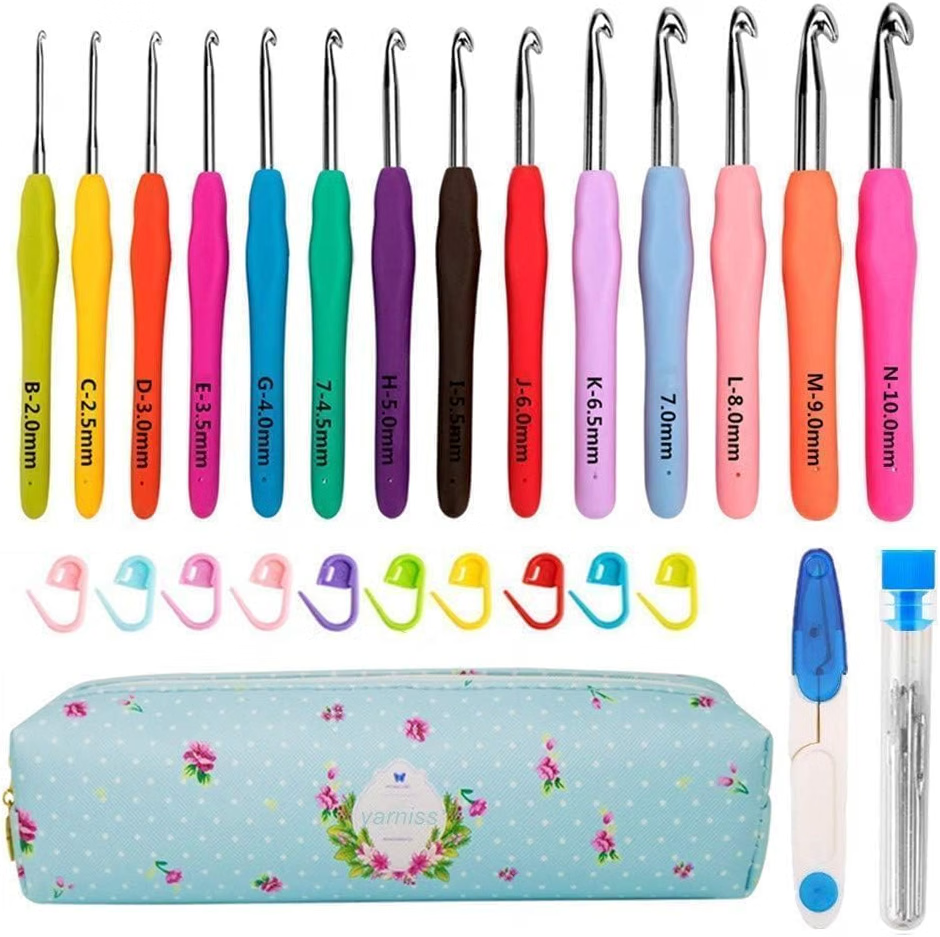
The Boye ergonomic crochet hook range is worth considering if you prefer handles designed for a more comfortable grip.
A multi-size set is particularly useful for crocheters who make hats, blankets, baby accessories, and other handmade items.
Why consider it?
- Multiple hook sizes.
- Useful for different crochet projects.
- Comfortable handle options.
- Convenient for keeping crochet tools organized.
Choosing the Best Zebra Color Combination
Traditional black and white is my favorite choice for this design because it creates the most recognizable zebra appearance.
However, you can experiment with other shades if you want a slightly different look.
Classic Black and White
This is the traditional zebra combination.
Use black for the darker sections and white for the contrasting stripes. Keep the ears and mane in black to complete the animal-inspired appearance.
Black, White, and Gray
Adding soft gray creates a slightly softer color palette.
This can be a nice option if you want a less dramatic contrast while maintaining the zebra theme.
Black and White With a Blue Accent
A small amount of blue can make the design more playful.
You could use blue for an optional decorative detail while keeping the main hat black and white.
Black and White With a Pink Bow
For a girl-inspired variation, a pink bow creates a lovely contrast.
The original design includes a bow, so this is a natural way to personalize the finished accessory.
My recommendation is to keep the main zebra colors consistent and use accent colors sparingly.
Step-by-Step Preparation for Making the Zebra Beanie
The original purchased pattern provides the complete instructions for creating the hat. The following steps are a preparation and project workflow guide rather than replacement crochet instructions.
Step 1: Choose Your Hat Size
Start by deciding who will wear the finished beanie.
The original design includes sizes from newborn to women.
Measure the head circumference whenever possible and compare it with the size information in the purchased pattern.
Do not rely only on age because children’s head sizes can vary.
Step 2: Prepare Your Yarn
Select your black and white worsted-weight yarn.
Wind each color into a manageable ball so it does not tangle during crocheting.
If you are using novelty yarn for the mane, keep it separate from your main yarn.
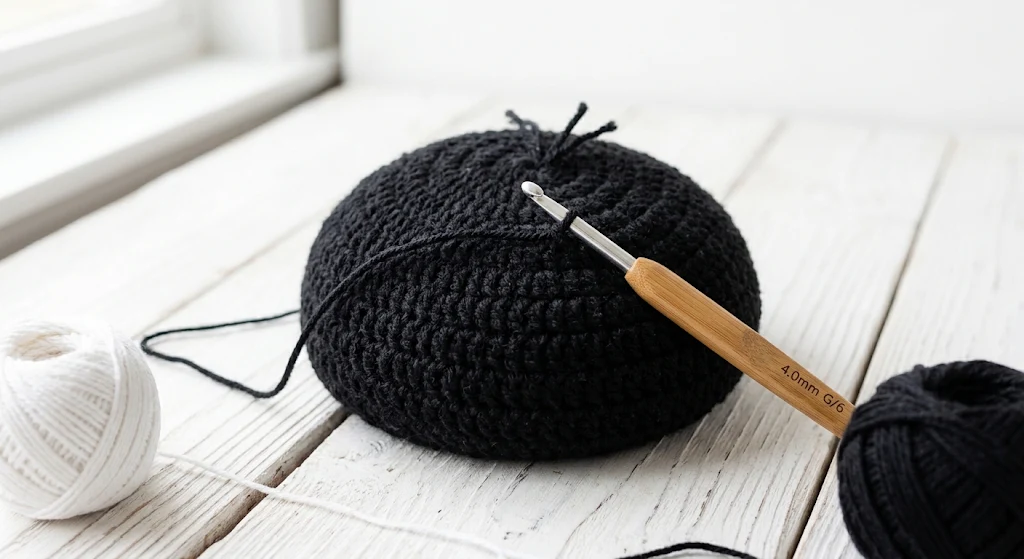
Check the labels to make sure the yarn weights are suitable for the pattern.
Step 3: Prepare Your Crochet Hooks
Set aside the required hooks before beginning.
The main hat and ears use different hook sizes, so keeping them organized will make switching between sections easier.
Check the size markings on each hook.
Step 4: Check Your Gauge
Gauge is important because you want the finished beanie to fit comfortably.
Make a gauge swatch using the recommended yarn and hook.
If your stitches are too tight or loose, adjust your hook size and check again.
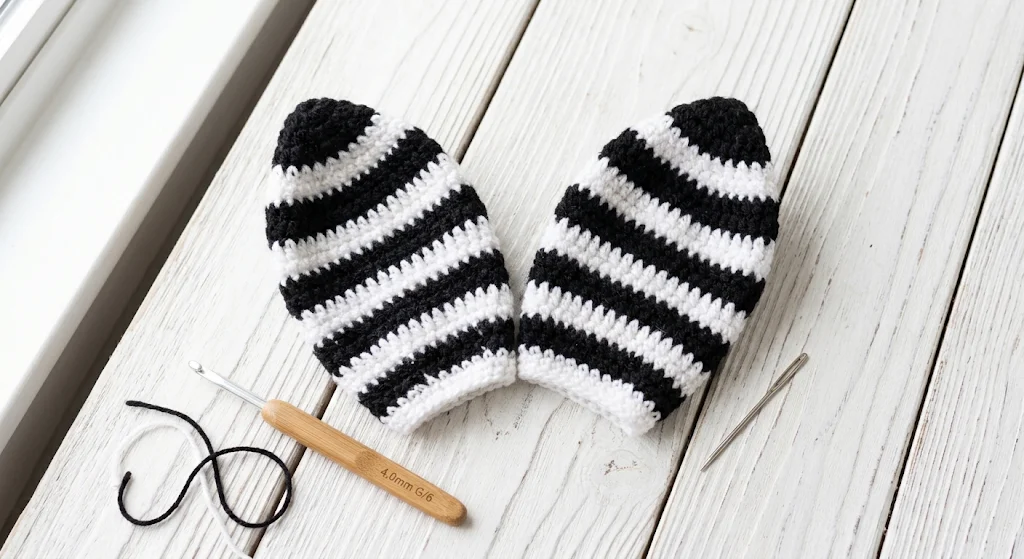
Step 5: Crochet the Main Beanie
Follow the purchased pattern to create the main hat.
Pay attention to the color changes and stitch counts.
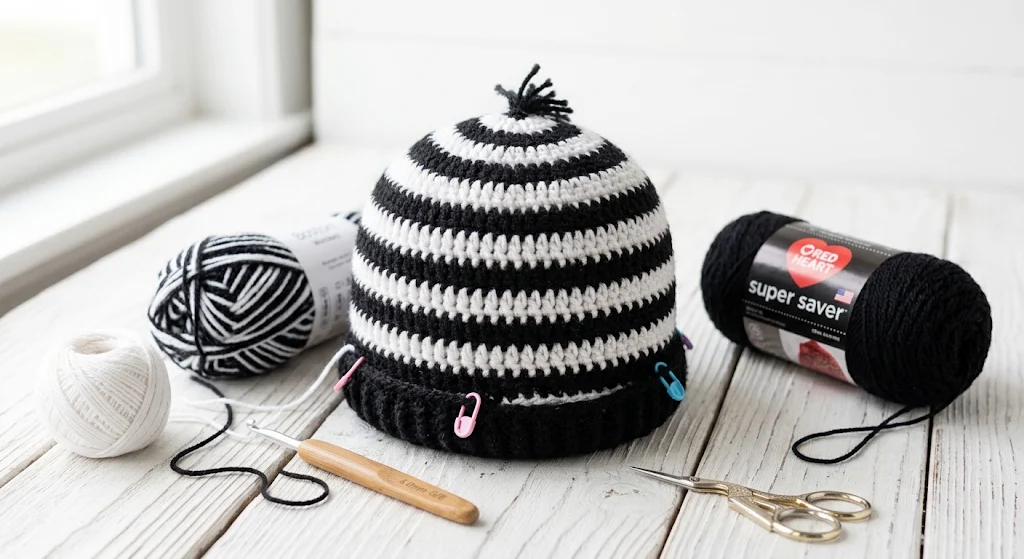
Try to keep your tension consistent so the black and white sections look even.
Step 6: Make the Zebra Ears
The ears are one of the most recognizable details of this design.
Follow the pattern’s separate instructions for creating the ears in the required sizes.
Make sure both ears have a similar shape and size before attaching them.
Step 7: Prepare the Mane
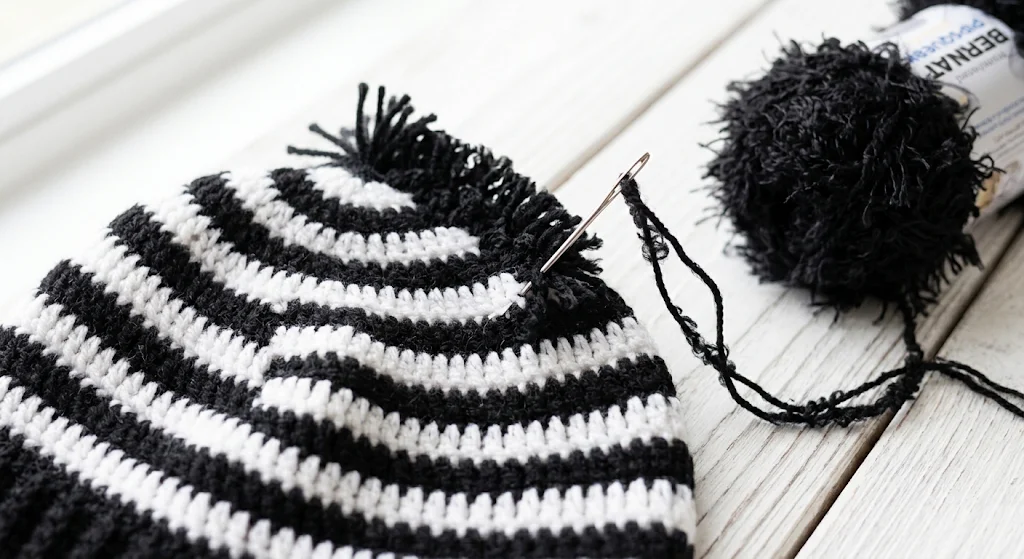
The mane adds a playful animal-inspired finish.
Follow the original pattern’s instructions for attaching the decorative fringe or fur.
If you are using novelty yarn, check that it is securely attached and does not shed excessively.
Step 8: Add the Optional Bow
If you want a girl-inspired version, prepare the decorative bow.
The original design includes a bow and offers an alternative to using buttons for the polka-dot details.
For children’s accessories, I would prioritize securely attached details and avoid small detachable pieces, especially on baby hats.
Step 9: Assemble and Finish
Position the ears according to the pattern and secure them carefully.
Weave in loose yarn ends and check the finished hat for uneven edges or loose decorative pieces.
Take a moment to compare both ears and make sure the overall design looks balanced.
How to Get Neat Black and White Stripes
The striped appearance is one of the most important features of a zebra beanie.
Uneven color changes can make the finished hat look untidy, so I recommend paying attention to the following details.
Keep your yarn organized. Separate the black and white yarn balls to reduce tangling.
Maintain consistent tension. Try to keep your stitches the same size throughout the hat.
Follow the color instructions. Do not guess where to change colors. Follow the purchased pattern carefully.
Check the back of your work. Keep the yarn joins and carried strands tidy according to the pattern method.
Count your stitches. Incorrect stitch counts can affect the shape and fit of the beanie.
Tips for Attaching Zebra Ears and Mane
The ears and mane give this project its character, so finishing them carefully is important.
First, make both ears as evenly as possible. Compare their dimensions before attaching them.
Next, use the placement guidance in the original instructions to position them correctly.
When attaching the mane, make sure the yarn is secured properly. Check for loose strands and remove any excessive shedding.
For baby and toddler versions, avoid buttons, loose accessories, and small detachable embellishments. Decorative pieces should be securely constructed, and the hat should always be used with appropriate supervision.
How to Make a Comfortable Crochet Beanie
A cute appearance is important, but comfort should come first.
Here are some tips I recommend considering:
- Choose a soft yarn suitable for the intended wearer.
- Check the finished circumference.
- Avoid overly tight stitches.
- Make sure the ears do not create uncomfortable pressure.
- Inspect the inside of the hat for scratchy yarn ends.
- Follow the yarn’s care instructions.
For younger children, make sure the beanie does not cover their eyes or interfere with normal movement.
Common Mistakes to Avoid
A few small mistakes can affect the finished appearance.
Choosing the wrong yarn weight: Use the yarn weight specified in the pattern.
Ignoring gauge: Incorrect gauge can result in a hat that is too tight or too loose.
Uneven ears: Compare the ears before attaching them.
Loose mane strands: Secure the decorative fringe carefully.
Incorrect sizing: Measure head circumference rather than relying entirely on age.
Poor finishing: Weave in yarn ends and check the inside of the beanie.
How to Style and Photograph Your Zebra Beanie
Once your beanie is complete, you can create beautiful photographs for your crochet blog or Pinterest account.
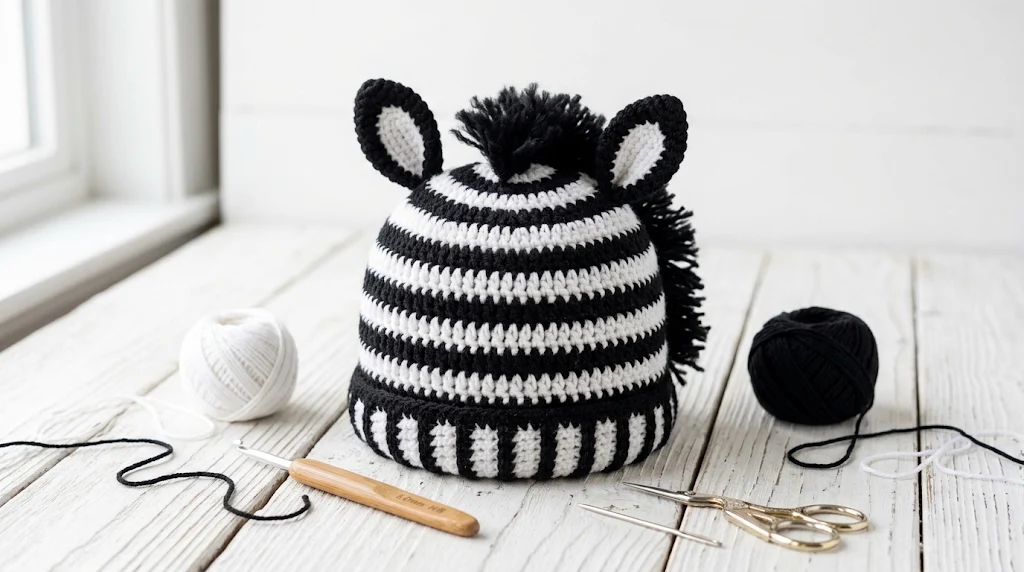
I would use a clean white background with black and white yarn balls arranged nearby.
Place the finished hat in the center so the stripes, ears, and mane are clearly visible.
For close-up photography, focus on the texture of the stitches and the decorative details.
You can also create separate images showing the main hat, ears, mane, and optional bow.
These photographs make it easier for readers to understand the construction and appreciate the handmade details.
Frequently Asked Questions
1. What yarn is used for the zebra beanie?
The pattern calls for worsted-weight yarn in black and white, with suitable decorative yarn for the mane if desired.
2. What crochet hook sizes are required?
The listed hooks are H (5 mm) for the main hat, F (3.75 mm) for the ears, and G (4.25 mm) for the main hat in the 6–12-month size.
3. What sizes are available?
The pattern includes sizes from newborn to women.
4. Can I make the zebra hat for girls?
Yes. The design includes an optional bow for a different style.
5. Is the zebra beanie suitable for beginners?
A crocheter who understands basic stitches and color changes may enjoy the project. Beginners should take extra care with the separate ears and mane details.
6. Can I make this hat without buttons?
Yes. The original pattern describes an alternative way to sew the decorative polka dots rather than using buttons.
7. Can I sell the finished zebra beanie?
Check the designer’s finished-item permissions and give any required credit. Never copy, redistribute, or resell the original pattern itself.
Final Thoughts
The zebra beanie is a fun project for anyone who enjoys creating playful crochet accessories for children.
I particularly like the contrast between the black and white stripes and the little decorative ears. The mane adds another interesting detail, while the optional bow makes it possible to create a different style.
Whether you are making one for a child, preparing a handmade gift, or creating something special for your crochet collection, this animal-inspired beanie is a lovely project to explore.
My biggest advice is to focus on the correct size, consistent stitches, neat color changes, and secure finishing.
With a little patience and careful attention to detail, you can create a charming zebra-inspired hat that looks both playful and beautifully handmade.
Happy crocheting!