Taylor Newsboy Hat Crochet Pattern: A Stylish, Beginner-Friendly Hat for Every Age
There are some crochet projects that are fun to make once and then forget about. And then there are patterns that make me want to reach for my yarn again because I can imagine so many different versions.
The Taylor Newsboy Hat is one of those patterns.
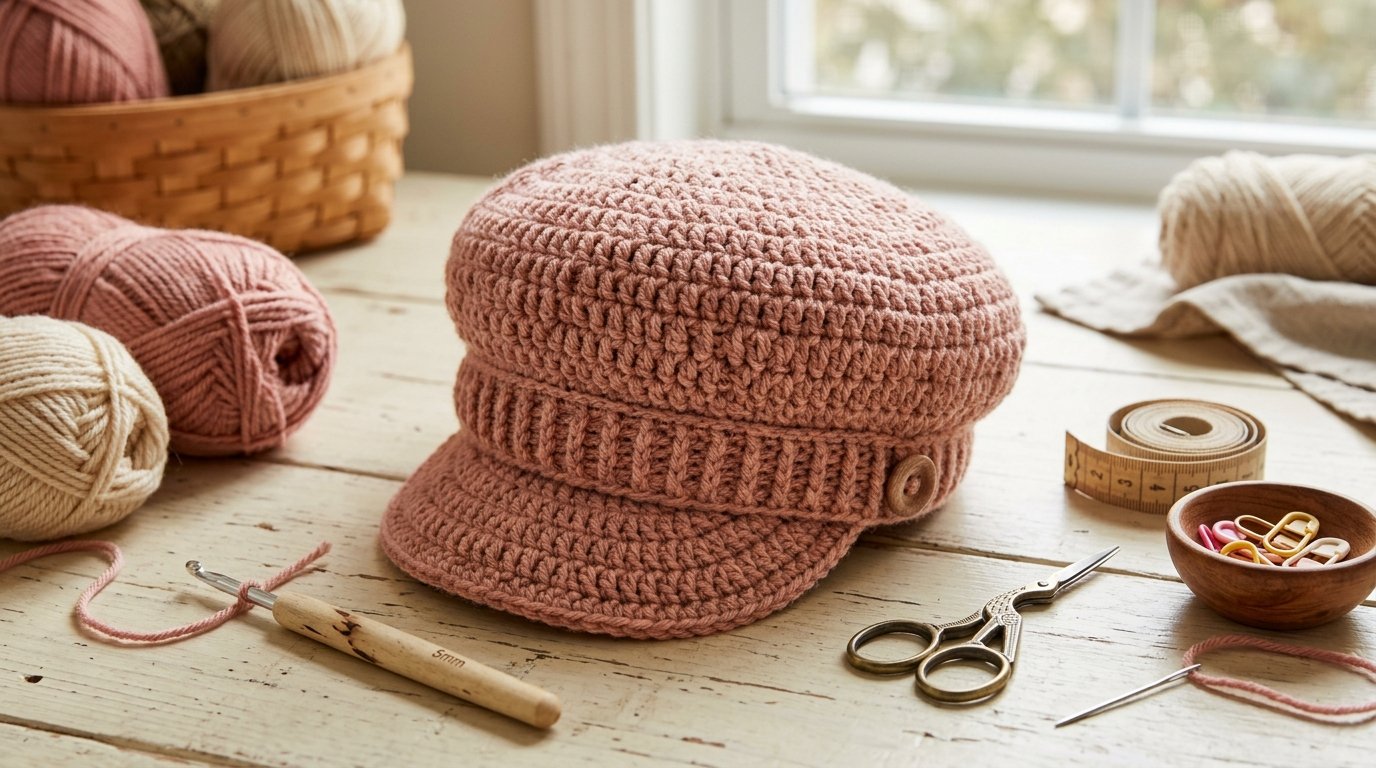
I love the classic newsboy shape because it feels a little more polished than an ordinary crochet beanie while still being comfortable and practical. What makes this particular design especially interesting is its versatility. The original pattern is written for sizes ranging from newborn to woman, so the same general style can become a sweet baby accessory, a child’s everyday hat, or a stylish adult piece. It can also be made in one, two, or three colors and customized with details such as a bow, pom-pom, or flower.
If you have been looking for a crochet newsboy hat pattern with a little texture and personality, this is definitely a style worth exploring.
What Makes a Crochet Newsboy Hat Special?
A newsboy hat has a different personality from a traditional beanie.
Instead of simply following the shape of the head, the crown and brim create a more structured silhouette. That small difference can completely change the finished look.
When I crochet hats, I always think about three things: shape, texture, and fit. A hat can have beautiful stitches, but if the shape is too loose or the brim doesn’t sit properly, the finished piece won’t have the look I imagined.
That’s one reason I like the newsboy style.
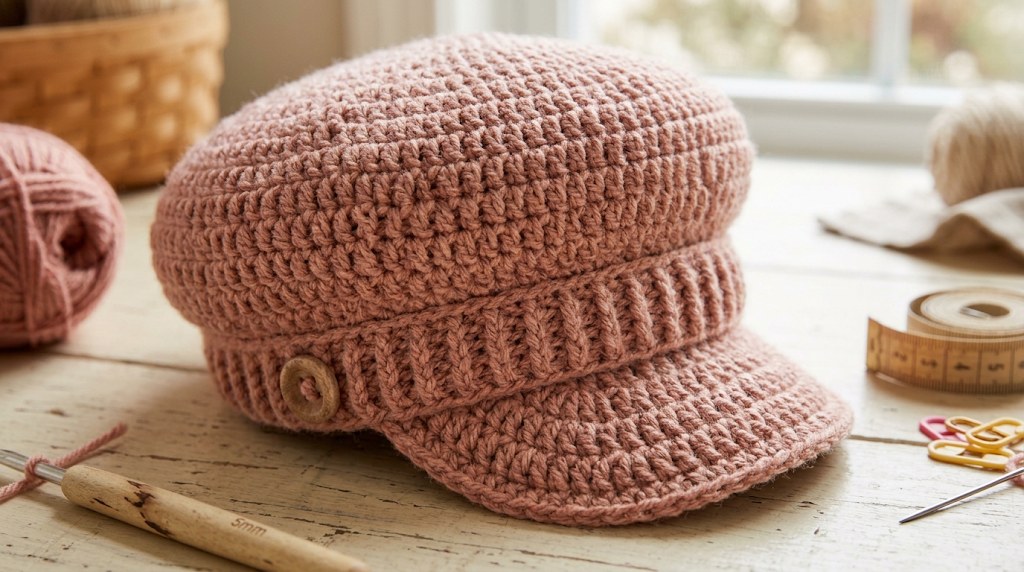
The Taylor design has a slight slouch without becoming excessively oversized, giving it a relaxed appearance while maintaining its recognizable newsboy shape. The pattern also uses front-post double crochet, which adds raised texture to the fabric.
That texture is particularly attractive when you use a solid color because the stitches become the main design feature.
Pattern Details at a Glance
Before starting any crochet pattern, I like to understand the basic requirements first.
Here are the important details for this design:
- Pattern type: Crochet newsboy hat
- Style: Unisex
- Recommended yarn: Worsted-weight yarn
- Recommended hook: H/5 mm crochet hook
- Technique: Front-post double crochet
- Sizes: Newborn through woman
- Customization: Bow and pom-pom options are included
- Pattern language: Standard American crochet terminology
The original designer also notes that the pattern includes a picture tutorial for the front-post double crochet technique, which is helpful if this stitch is new to you.
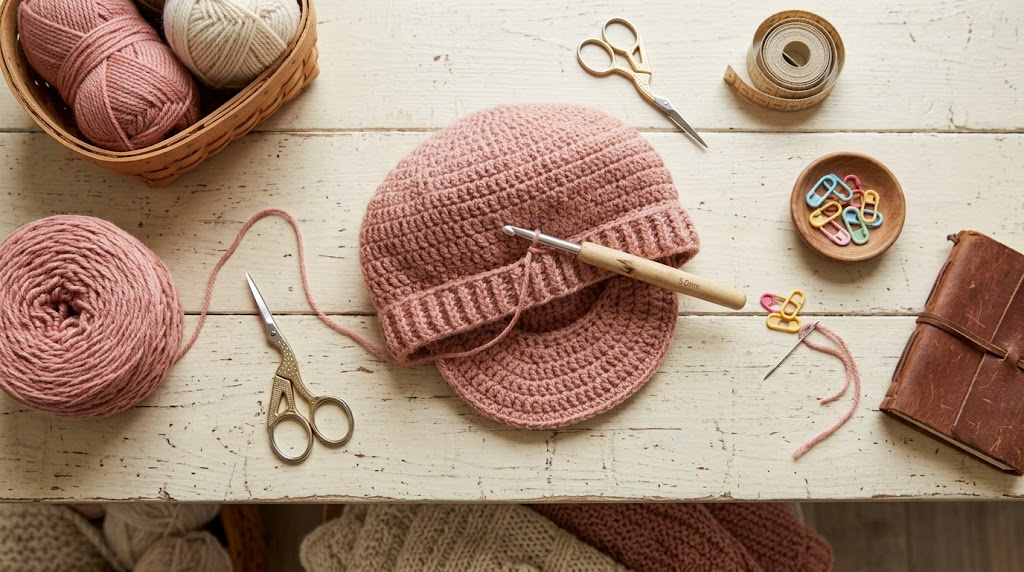
Understanding Front-Post Double Crochet
If you have never worked a front-post double crochet, don’t let the name intimidate you.
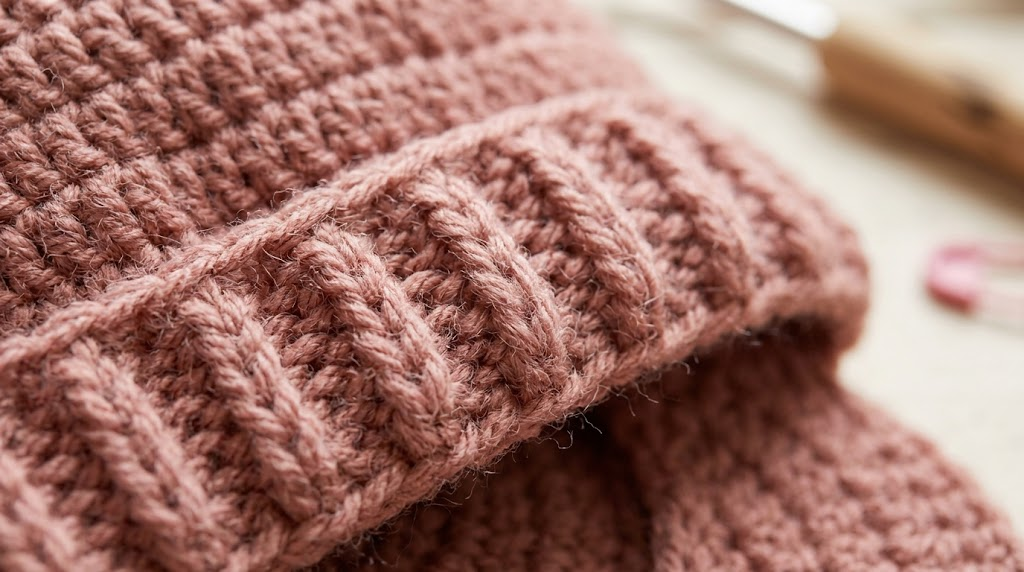
An FPDC is simply a way of working a double crochet around the post of an existing stitch rather than through the normal top loops.
The result is a raised stitch that sits toward the front of the fabric.
I think of it as a texture-building stitch. Instead of making the entire fabric flat, you’re creating areas that stand slightly forward.
This makes FPDC particularly useful for:
- Ribbing
- Cables
- Textured hats
- Sweaters
- Scarves
- Decorative crochet accessories
For this newsboy hat, the raised texture helps give the finished piece more visual interest.
A Simple Way to Practice FPDC
Before beginning your actual hat, I recommend making a small practice swatch.
Start with a foundation chain and work a row of double crochet. On the next row, practice inserting your hook around the post of the stitch from front to back and then back toward the front.
The goal is not to make the perfect swatch immediately.
Instead, concentrate on keeping your stitches approximately the same height and tension.
Once your FPDC stitches begin looking like raised vertical lines, you’ll have a much better understanding of the technique.
And remember: if your first few stitches look uneven, that’s completely normal.
Choosing the Right Yarn
The original pattern calls for worsted-weight yarn.
Worsted yarn is a particularly useful choice for hats because it provides enough body for the fabric without making the finished accessory unnecessarily heavy.
For a classic newsboy hat, I would look for yarn that:
- Has consistent thickness
- Feels comfortable against the skin
- Holds its shape reasonably well
- Has good stitch definition
- Isn’t excessively fuzzy
If you’re making a hat for a baby or child, softness becomes even more important.
For an adult fashion hat, you can experiment with stronger colors and slightly more dramatic combinations.
One Color, Two Colors, or Three?
This is one of my favorite things about this style.
You don’t have to make every version look the same.
A single-color hat gives you a clean and classic appearance. This is particularly nice when the stitch texture is the star of the design.
A two-color version can make the brim or textured sections stand out.
And a three-color version can become much more playful.
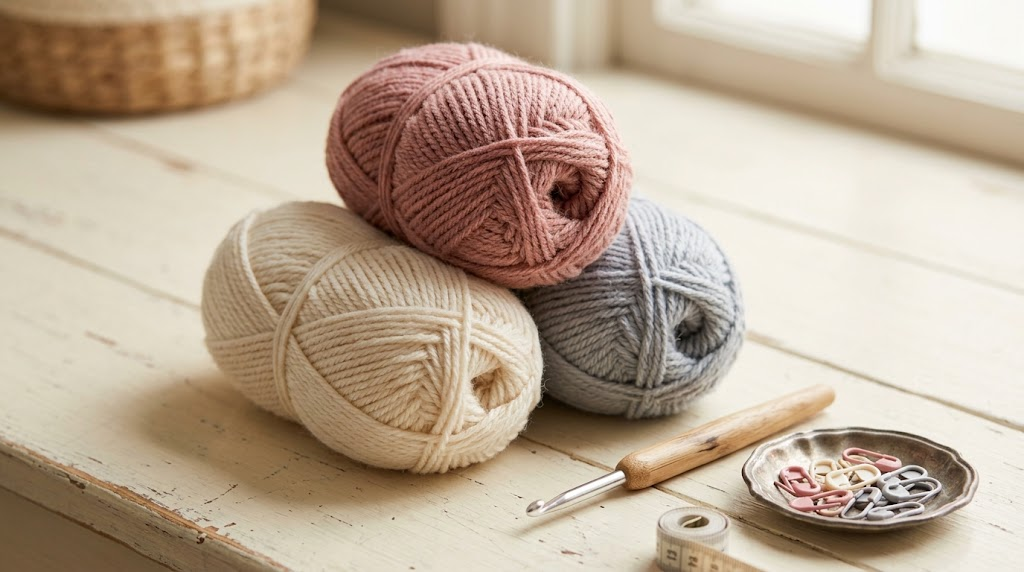
Some combinations I would try include:
Soft and classic
- Cream
- Beige
- Dusty rose
Modern
- Charcoal
- Ivory
- Burgundy
Baby-inspired
- Blush pink
- Cream
- Soft gray
Bold
- Mustard
- Forest green
- Deep brown
The original pattern itself demonstrates the versatility of using different color combinations.
Getting the Right Hat Size
This is probably the most important part of making any crochet hat.
Don’t rely only on age when choosing a size.
Head sizes can vary considerably between people of the same age, so measuring the recipient’s head is a much safer approach whenever possible.
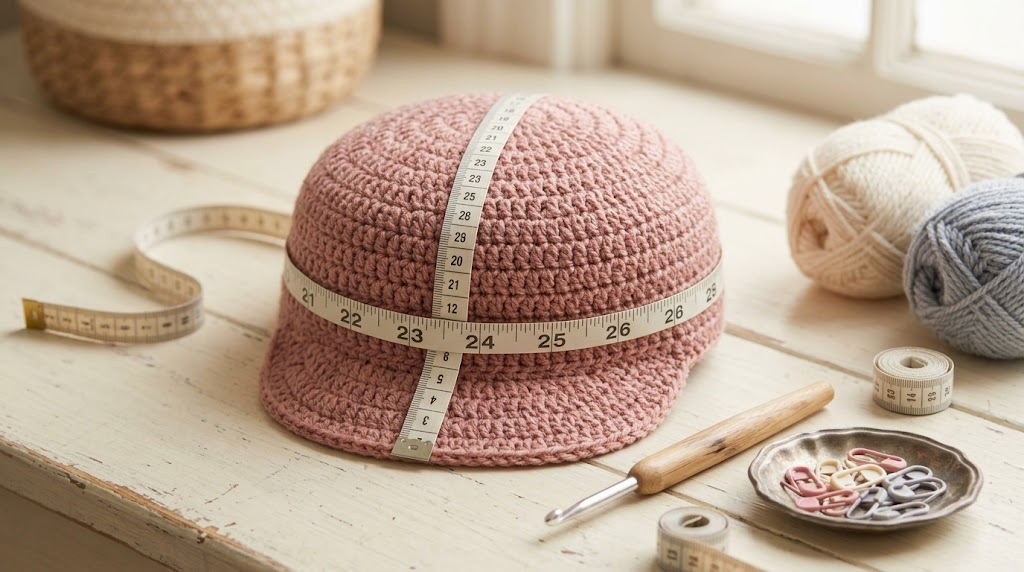
I usually recommend measuring around the widest part of the head, keeping the measuring tape comfortably snug rather than pulling it tightly.
Also remember that crochet fabric has some stretch.
A hat that looks slightly smaller when lying flat may fit perfectly once placed on the head.
On the other hand, if your finished hat is noticeably larger than expected, don’t assume blocking or washing will magically fix it.
Your gauge matters.
Why Gauge Matters So Much
Gauge is one of those crochet words beginners sometimes want to skip.
I understand the temptation.
You want to start crocheting—not spend time making a tiny square.
But hats are one project where gauge can make a major difference.
If your stitches are tighter than the designer’s gauge, your hat may turn out smaller.
If your stitches are looser, it may become larger.
Hook size, yarn thickness, crochet tension, and even the way you hold your yarn can affect the finished measurements.
The original Taylor Newsboy Hat pattern specifies a 5 mm hook with worsted-weight yarn, but if your personal tension differs from the designer’s, your gauge may still vary.
That’s why I prefer checking measurements rather than blindly assuming that using the same hook size guarantees the same result.
My Two Useful Amazon Tool Picks
You don’t need a huge collection of crochet gadgets to make a newsboy hat.
In fact, I prefer keeping the tool list simple.
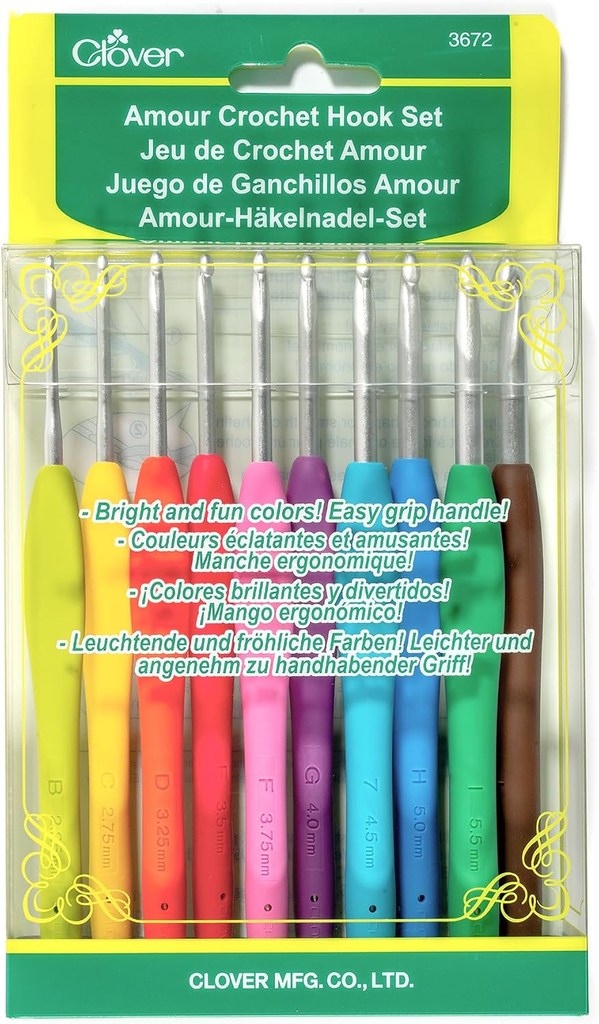
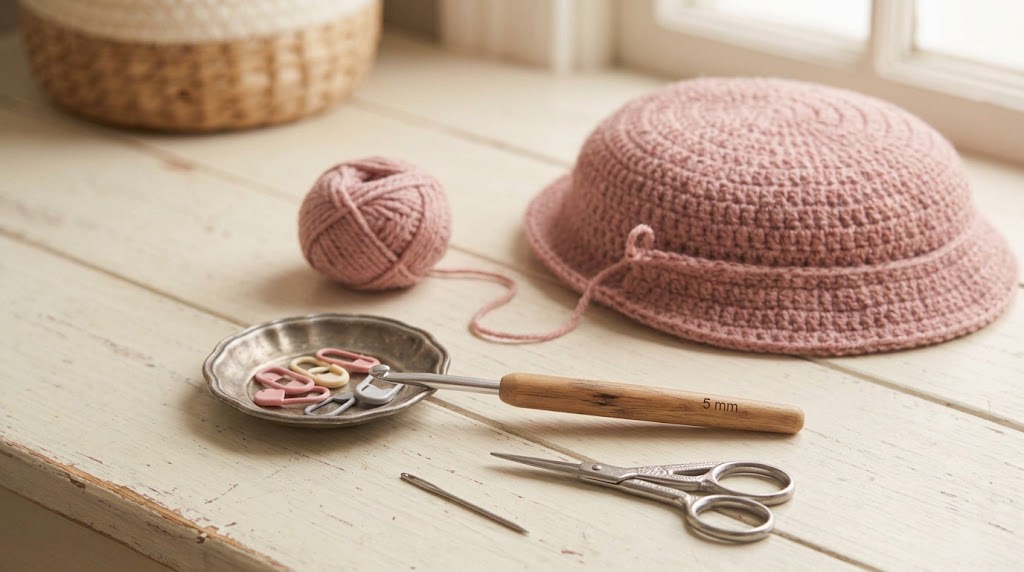
1. Clover Amour Crochet Hook, 5.0 mm
A comfortable crochet hook is one of the few tools I consider genuinely worthwhile for a project like this.
Because the pattern calls for a 5 mm hook, a good-quality 5 mm hook is the logical place to start.
I particularly like the idea of an ergonomic handle for projects involving repeated stitches because it gives me a more comfortable grip than a very thin metal handle.
Why I would choose it:
- Comfortable ergonomic-style handle
- Easy-to-identify hook size
- Useful for many worsted-weight crochet projects
- Suitable for beginners as well as experienced crocheters
- A 5 mm size directly matches the recommended hook size for this pattern
Important: Your gauge should determine whether you ultimately stay with 5 mm or adjust your hook size.
2. Clover Locking Stitch Markers
The second tool I would keep nearby is a set of locking stitch markers.
They’re inexpensive, small, and surprisingly useful.
I use stitch markers whenever I need to keep track of the beginning of a round, identify a particular stitch, or temporarily mark a location while shaping a project.
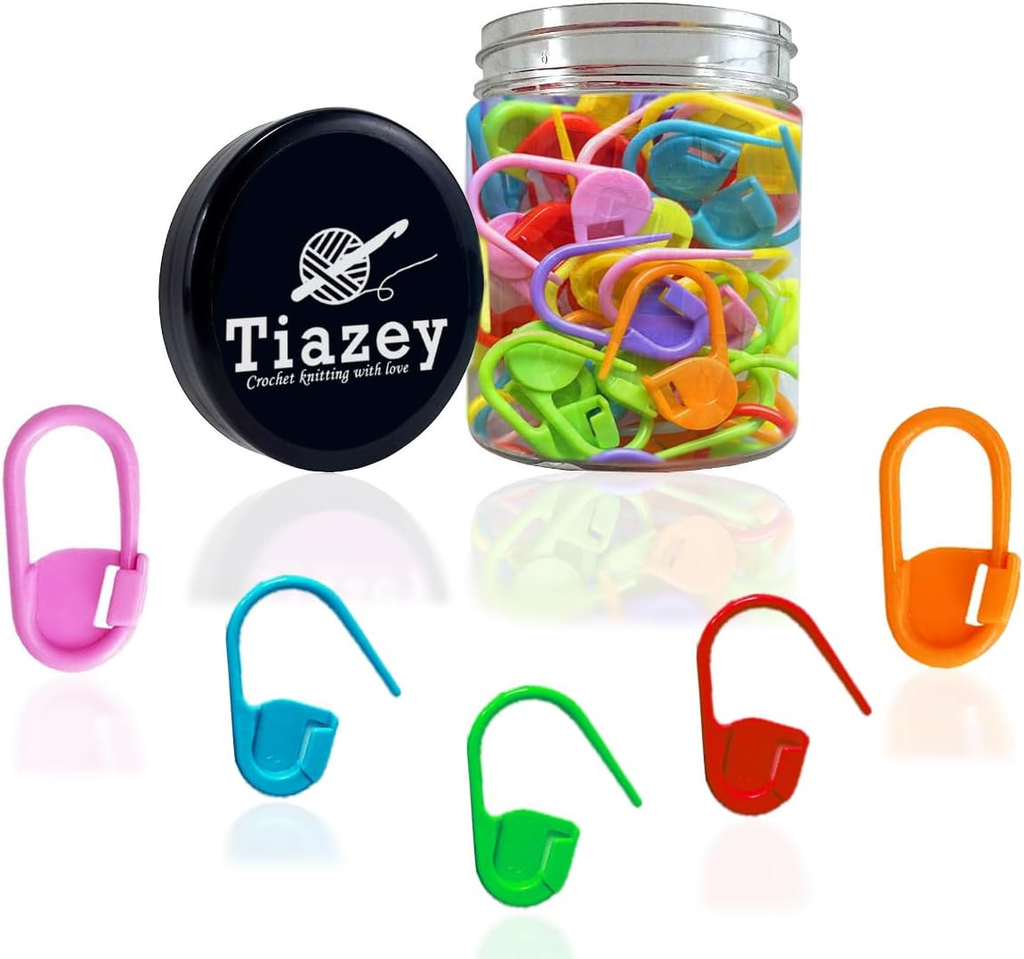
For a hat, this can save you from repeatedly counting your stitches.
Why I recommend them:
- Easy to move from stitch to stitch
- Helpful when working in rounds
- Useful for marking increases or decreases
- Reusable for almost any crochet project
- Particularly helpful when you’re still learning to read your stitches
These are the kinds of crochet supplies I prefer recommending because they have a practical purpose rather than simply adding more items to your craft collection.
Adding the Bow or Pom-Pom
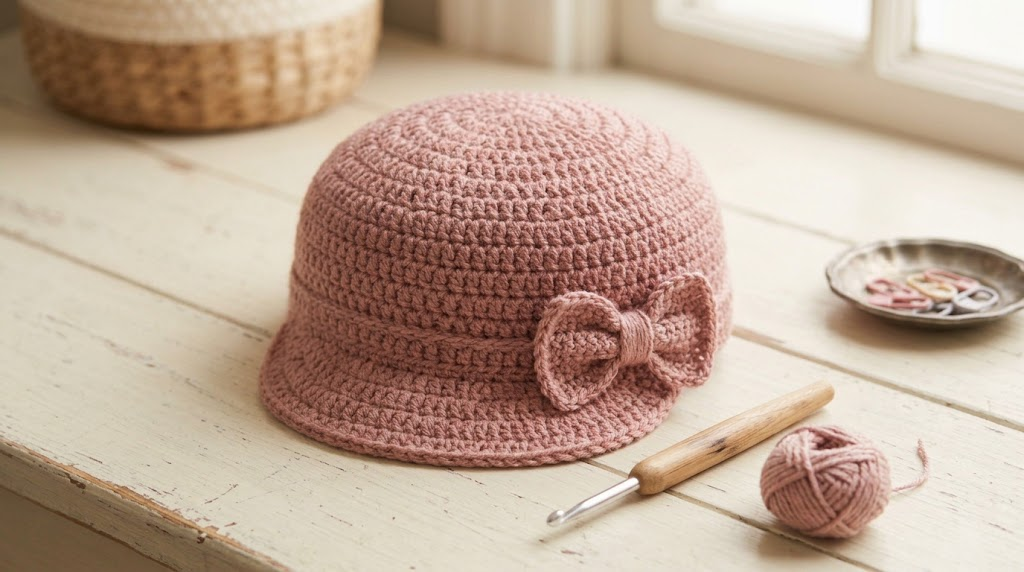
One of the nicest details about the Taylor Newsboy Hat is that the pattern includes options for a bow and pom-pom.
This gives you an easy way to personalize the finished hat.
For a baby or toddler hat, a small decorative detail can make the design especially cute.
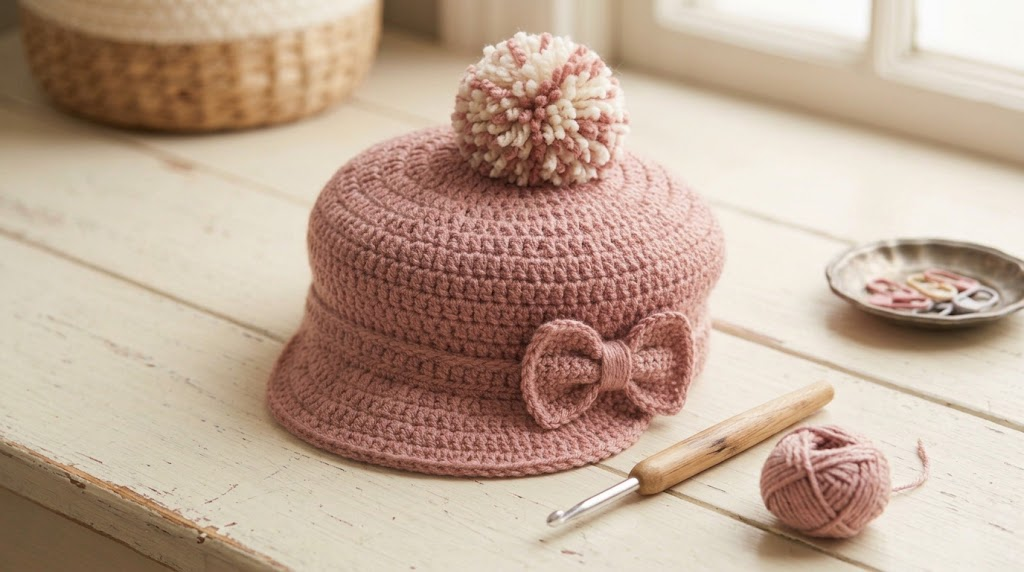
For an adult version, I might keep the decoration subtle.
You can also think about matching the embellishment to the yarn.
For example, a cream hat with a dusty-rose bow can look soft and feminine, while a charcoal hat with a matching pom-pom can have a more understated winter style.
The important thing is not to let the decoration overwhelm the hat itself.
How I Would Approach the Project
If I were starting this hat for the first time, I wouldn’t rush directly into the main project.
I’d work through the process in this order:
Step 1: Choose Your Yarn
Select a worsted-weight yarn with good stitch definition.
For your first attempt, I recommend using a solid color.
It makes it easier to see your FPDC stitches.
Step 2: Make a Gauge Swatch
Use the recommended 5 mm hook as your starting point.
Check your stitch and row gauge.
If your fabric is too tight, try a slightly larger hook.
If it is too loose, try a smaller hook.
Step 3: Practice FPDC
If the stitch is new to you, practice before starting the hat.
Once the motion feels natural, the actual project becomes much less intimidating.
Step 4: Select the Correct Size
Measure the intended recipient’s head whenever possible.
Compare your measurements with the pattern’s sizing information.
Step 5: Follow the Pattern Carefully
The original pattern is written in Standard American terminology and includes the FPDC technique.
I recommend reading through the instructions before beginning rather than trying to understand each step for the first time while crocheting.
Step 6: Check the Shape as You Go
Don’t wait until the final round to discover that something isn’t fitting correctly.
Try the hat on, or compare it with your measurements during the project.
Step 7: Add Your Finishing Detail
Once the main hat is complete, decide whether you want a bow, pom-pom, flower, or a clean finish without additional decoration.
Common Problems and How I Handle Them
My hat is too tight.
Check your gauge first.
If your stitches are smaller than expected, try going up a hook size.
My hat is too loose.
The opposite may be happening.
Check whether your gauge is looser than the pattern recommendation.
My FPDC stitches look uneven.
Don’t worry.
This often improves with practice.
Try maintaining a consistent yarn tension and make sure you’re inserting your hook around the correct post.
The hat doesn’t look like a newsboy hat.
Pay attention to the shaping and brim.
The proportions are important. A newsboy hat needs enough structure to distinguish it from an ordinary slouchy beanie.
My colors don’t look right together.
Take a photograph of your yarns in natural light.
Sometimes colors that look great separately don’t work together.
A photo can make the contrast easier to judge.
Is This Pattern Good for Beginners?
I would describe it as beginner-friendly with one technique that may require practice.
If you’re completely new to crochet, the FPDC stitch may be the part that slows you down.
But that doesn’t mean you need to avoid the pattern.
If you already know basic crochet stitches such as chains and double crochet, learning one additional stitch technique is a manageable challenge.
The original pattern also provides a picture tutorial for FPDC, which can make the technique easier to understand.
For an absolute beginner, I would practice FPDC on a small swatch first.
Styling Ideas for Your Finished Hat
A handmade newsboy hat can be surprisingly versatile.
For everyday wear, pair a neutral hat with a simple sweater or cardigan.
For children, try brighter colors and a small pom-pom.
For a vintage-inspired look, choose muted colors such as cream, dusty rose, olive, brown, or burgundy.
You can even make matching hats for family members using different colors.
Because the pattern covers newborn through adult sizing, it lends itself nicely to coordinated family projects.
Final Thoughts
The Taylor Newsboy Hat is the kind of crochet project I appreciate because it combines practicality with personality.
It isn’t simply another basic beanie.
The newsboy silhouette gives it a recognizable shape, while the front-post double crochet adds texture without requiring an extremely complicated stitch pattern.
I also love the creative possibilities.
You can make it in one color for a timeless look, experiment with multiple colors, or personalize it with a bow or pom-pom. The pattern’s wide size range also makes it possible to create versions for babies, children, and adults.
If you’re planning to make one, my biggest advice is simple: take your time with gauge and practice the FPDC stitch before starting the main hat.
A few extra minutes of preparation can make the entire project much more enjoyable.
And once you understand the basic technique, you may find yourself looking at other crochet projects and thinking, “I could add that texture there too.”
That’s one of my favorite things about crochet—the best part isn’t only finishing one project. It’s learning a technique that opens the door to dozens of new ideas.