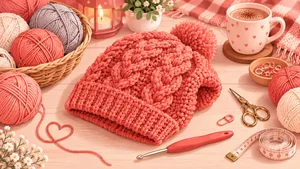
5 Crochet Slouch Hat Ideas
5 Crochet Slouch Hat Ideas I’d Try for a Cozy Handmade Look
There is something special about crocheting a hat that you can actually wear when you finish it. A slouch hat is one of my favorite projects for that reason: it is practical, beginner-friendly enough to be approachable, but it can still look surprisingly detailed and stylish.
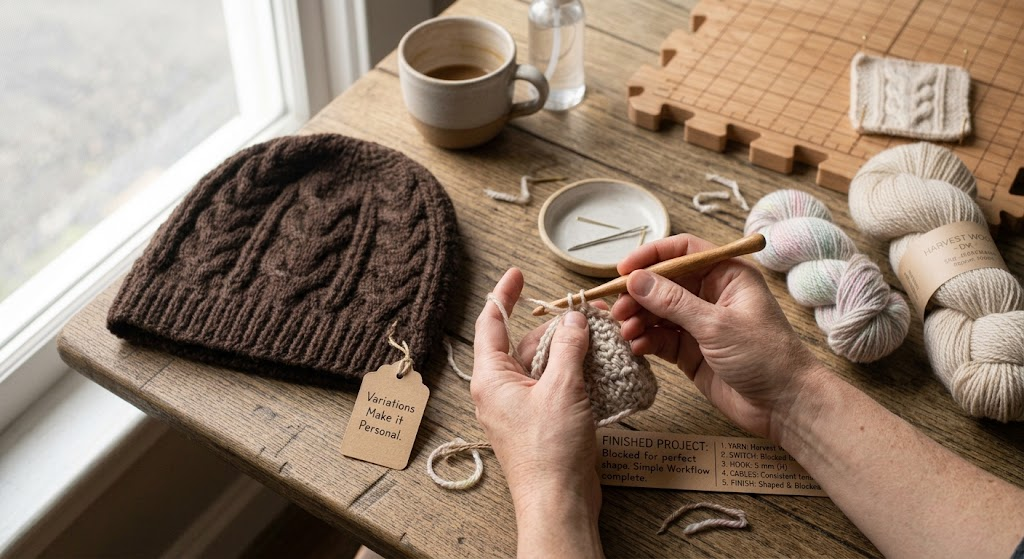
When I came across the Cabled Slouch Hat, also called the Dream Weaver Slouch, what caught my attention was the texture. Instead of relying on color changes or complicated decoration, the design gets much of its character from the cable pattern itself. The original pattern is worked from the bottom upward, uses a 5 mm H crochet hook and DK-weight yarn, and includes several sizes ranging from baby through adult.
If you’re looking for inspiration for your next handmade hat, here are five ideas I would put on my crochet project list.
1. Start With a Classic Cabled Slouch Hat
The first idea is the obvious one, but it is also one of the most rewarding: a classic cabled slouch hat.
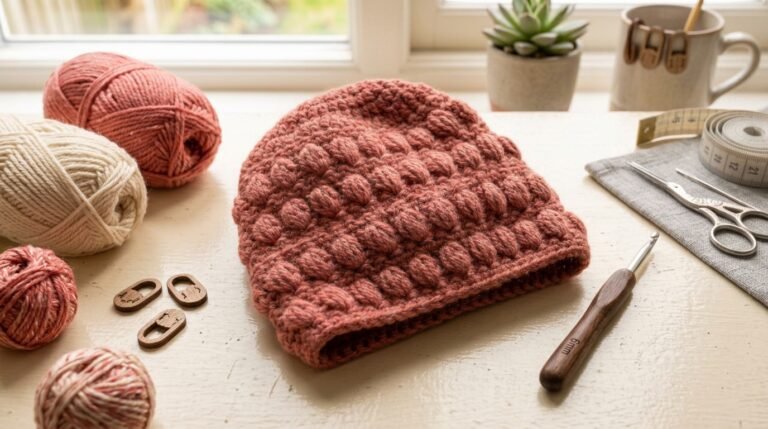
I particularly like textured crochet hats because they don’t need much else to look finished. A simple neutral shade can make the cables stand out beautifully, while a stronger color can give the same pattern a more playful personality.
The Dream Weaver design is especially interesting because the cable texture becomes the main feature of the hat. According to the original pattern, it was designed as a winter accessory and uses DK-weight yarn.
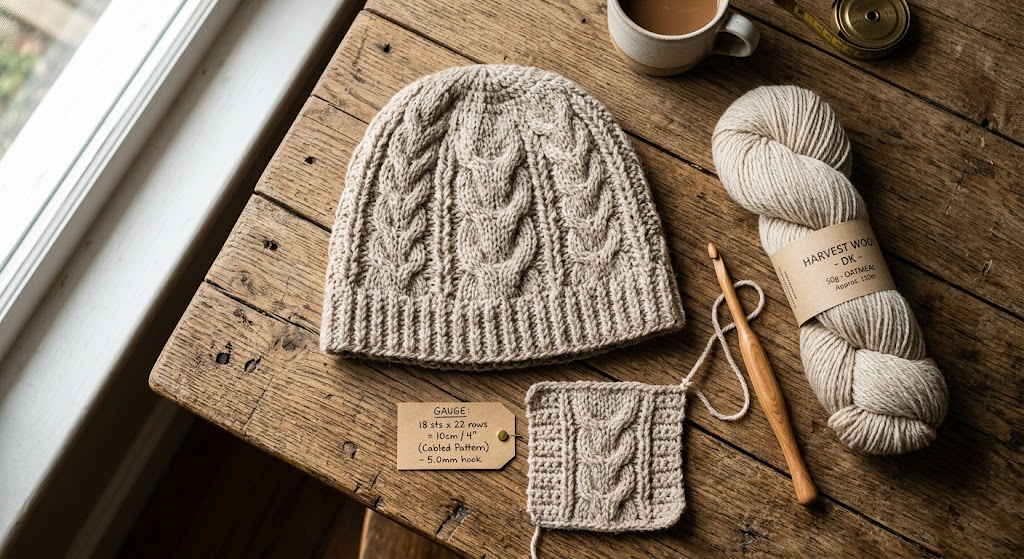
If you’re recreating the general look, I would pay close attention to your tension. Cable stitches can look very different when your stitches are loose compared with when they’re tight.
My tip is simple: make a small swatch before committing to the entire hat.
It takes a few extra minutes, but it can save you from discovering halfway through the project that your hat is turning out much larger or smaller than expected.
2. Experiment With Color Instead of Changing the Pattern
You don’t always need a different pattern to create a completely different-looking hat.
One of my favorite ways to personalize a textured crochet project is to change the color.
The original Dream Weaver pattern was made using Deborah Norville Everyday Baby Yarn in Coral and Fog Gray, according to the designer.
That gives you a great starting point, but I would not feel limited to those shades.
Try:
- Dusty rose for a soft feminine look
- Cream for a classic winter accessory
- Chocolate brown for a warm autumn style
- Sage green for a modern handmade look
- Burgundy for a richer winter appearance
- Light gray for a minimalist wardrobe
- Mustard yellow if you want something more cheerful
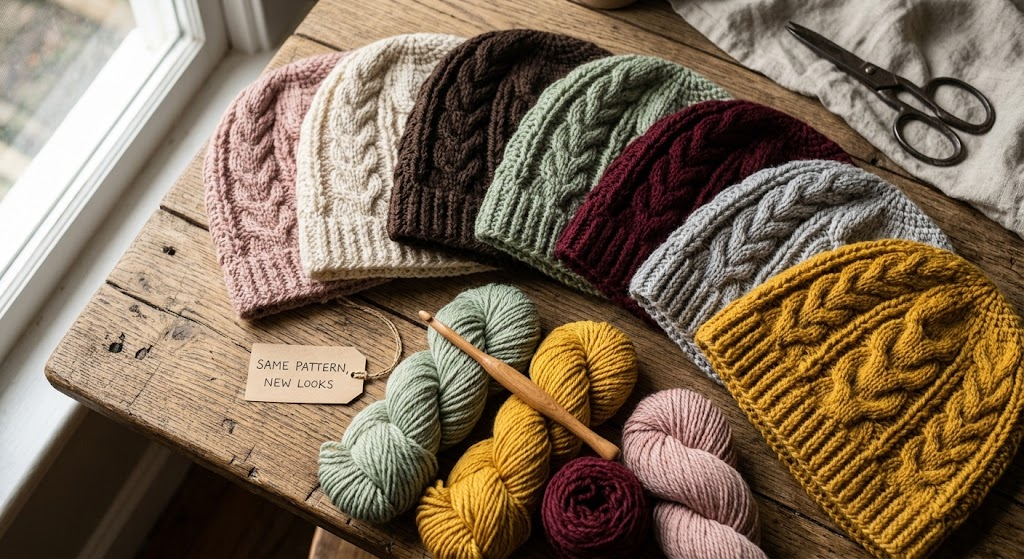
The beauty of a cabled hat is that the texture remains visible even when you use a single color.
If you’re making several hats as gifts, you can even use exactly the same design but choose a different color for each person. That makes every finished piece feel individual without requiring you to learn another pattern.
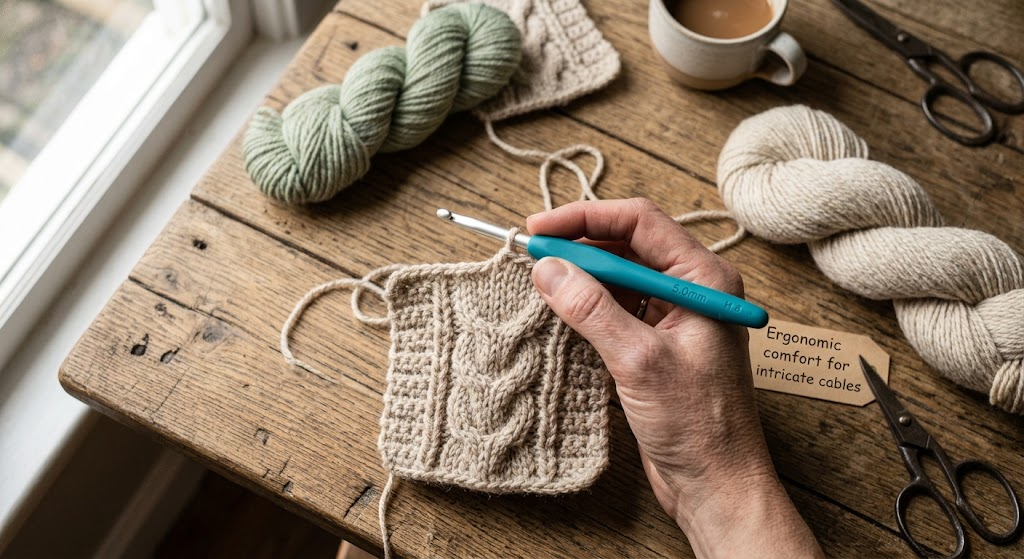
3. Use an Ergonomic Crochet Hook for More Comfortable Stitching
A textured hat can involve a lot of repetitive stitching, so your crochet hook matters more than you might expect.
For a pattern calling for a 5 mm hook, I’d look for an ergonomic handle rather than choosing a hook based only on appearance. A comfortable grip can make long crochet sessions much easier on your fingers and hand.
One option worth considering is the Clover Amour crochet hook range. It is popular among crocheters because the handles are designed with comfort and grip in mind.
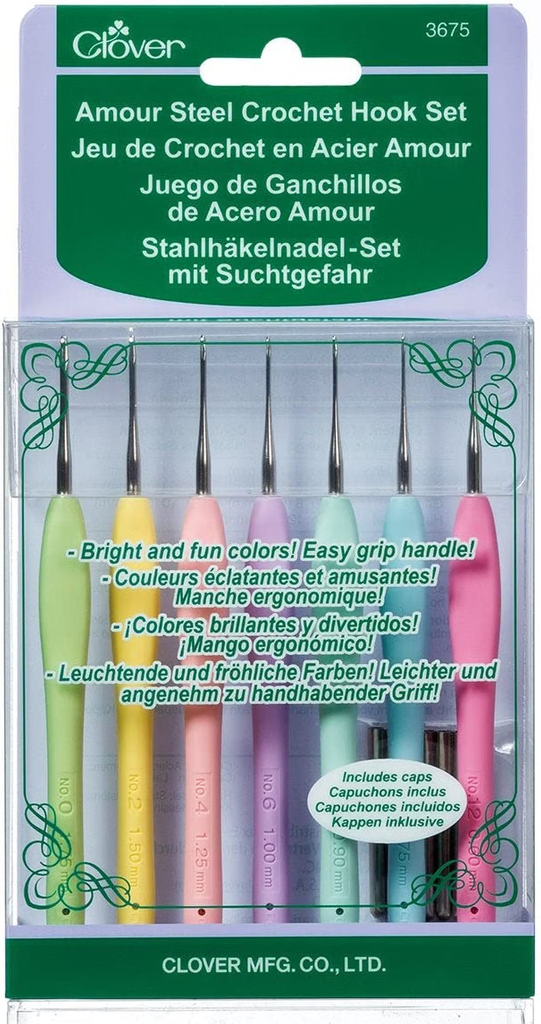
Why I would consider it: the shaped handle gives you something more substantial to hold than a basic slim metal hook. That can be particularly useful when you’re working through textured stitches where you need a little more control.
What I would watch for: don’t automatically buy a large set if you only need one hook. The Dream Weaver pattern specifically calls for a 5 mm H hook, so a crocheter making this particular project may only need the appropriate size rather than an entire collection.
That is the kind of purchase I prefer: buy the tool that solves your actual problem rather than filling your craft basket with equipment you may never use.
4. Make the Hat Smaller, Larger or More Slouchy
One thing I really like about a slouch hat is that you can adjust the overall personality of the finished piece.
The original Dream Weaver pattern includes sizes from baby through adult, including toddler, child, pre-teen/small woman and large woman sizing.
That makes it a useful project for family members of different ages.
But fit is not just about age.
Head circumference, yarn choice and crochet tension can all affect the final result. If you want a more relaxed slouch, you may prefer a slightly longer body before beginning the crown shaping. If you prefer a closer fit, you will want to pay closer attention to sizing and gauge.
I would always measure the intended wearer’s head when possible instead of assuming that an age-based size will be perfect.
And remember: crochet is flexible.
Don’t be afraid to make a sample, measure it and adjust your approach before investing hours into the finished hat.
5. Block and Shape the Finished Hat for a More Polished Look
This is the step I think many newer crocheters overlook: finishing.
You can spend hours creating beautiful cables, but the final shape can still look uneven straight off the hook.
Blocking can help you present the stitches more clearly and encourage the finished piece to settle into a more attractive shape.
For crocheters who regularly make hats, scarves, squares and other projects, a reusable crochet blocking mat and pin set can be a useful addition to the craft space.
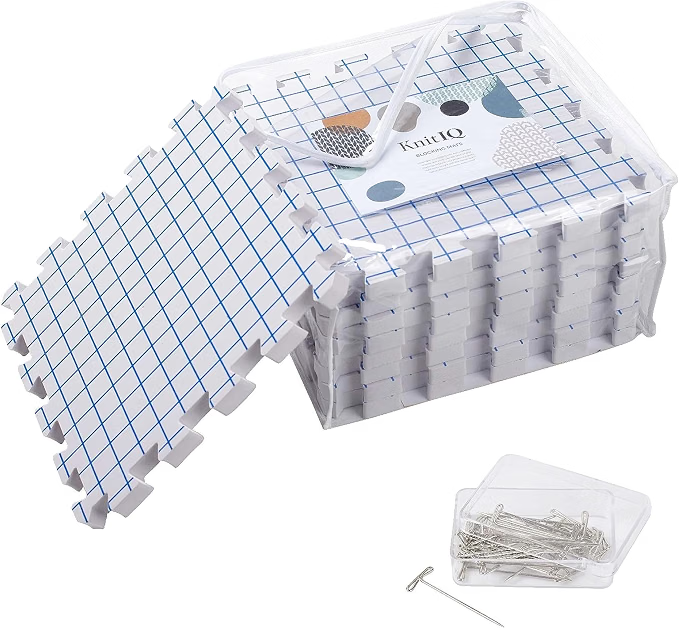
Why I like the idea: rather than trying to shape a finished project on a towel or random household surface, dedicated blocking mats give you a structured surface with measurements that can make shaping more predictable.
For a slouch hat, you don’t necessarily need to aggressively stretch the piece. The goal is to encourage the stitches and overall shape to look neat while preserving the relaxed character of the hat.
Always check the yarn’s care instructions before using water or heat. Different fibers react differently, so there isn’t one blocking method that works perfectly for every yarn.
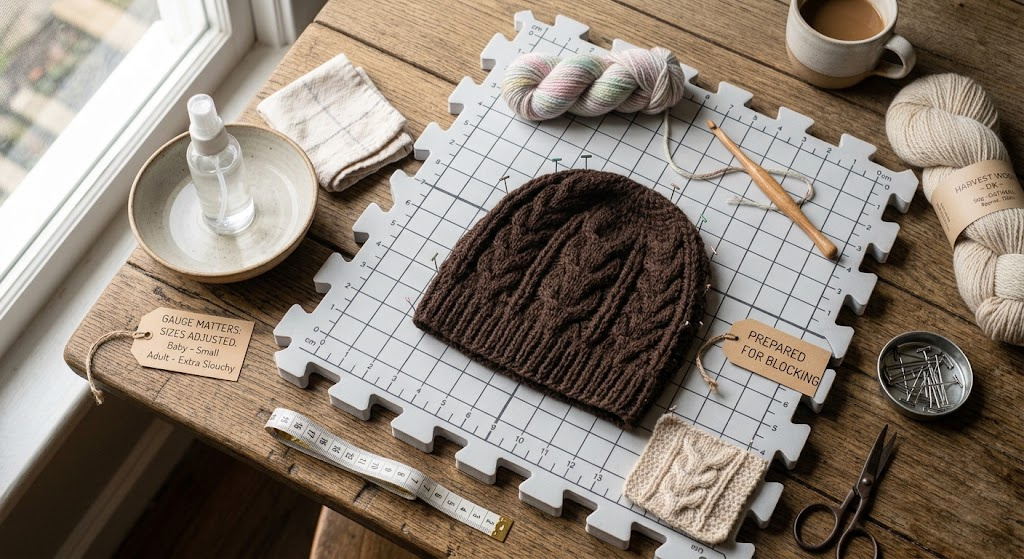
This is also why I consider blocking equipment an optional investment rather than a must-have purchase for someone making their first hat.
My Simple Workflow for Making a Cabled Slouch Hat
If I were planning this project from scratch, I’d keep the process uncomplicated.
First, choose the yarn.
The original pattern uses DK-weight (#3) yarn.
Next, make a gauge swatch.
This gives you a much better idea of how your stitches behave before you start the actual hat.
Then, choose the correct hook.
The original pattern specifies a 5 mm H hook.
After that, concentrate on the cable texture.
Don’t rush through textured sections. Consistent tension is more important than speed.
Finally, shape and finish the hat carefully.
Weave in your ends securely, gently shape the finished piece and block it if appropriate for your yarn.
The original pattern is worked bottom-up, with decreases at the top to create the crown shape.
That construction is useful to understand because it explains why the hat gradually becomes narrower toward the top rather than simply ending with a flat circle.
Final Thoughts
A cabled slouch hat is one of those crochet projects that looks more complicated than it needs to be.
The texture makes it feel special, but you don’t need a huge collection of decorative elements to make the finished hat attractive. Choose a yarn you enjoy working with, take your time with tension, and don’t underestimate the importance of finishing.
And when it comes to buying crochet supplies, I think the best approach is to purchase only the tools that genuinely make your project easier. For this type of project, an ergonomic hook can improve the crocheting experience, while blocking equipment becomes more valuable if you plan to make many finished crochet pieces.
Most importantly, enjoy the process. A handmade hat doesn’t need to look factory-perfect. Those little variations are part of what makes handmade crochet feel personal.