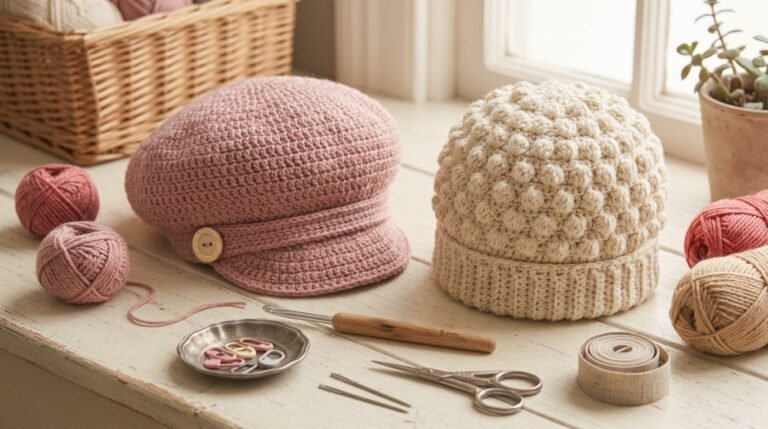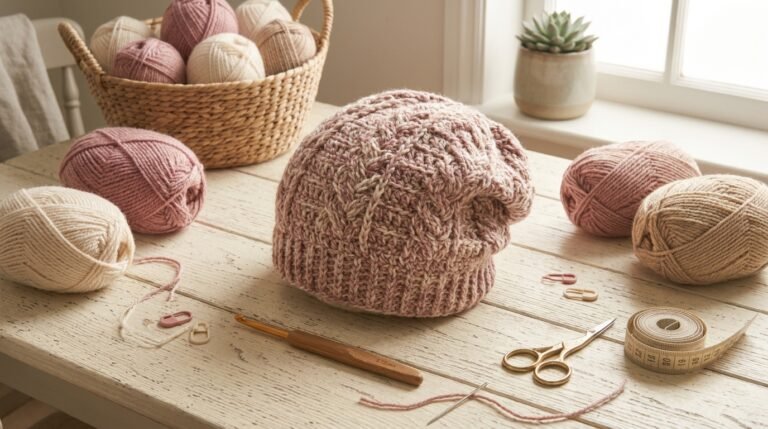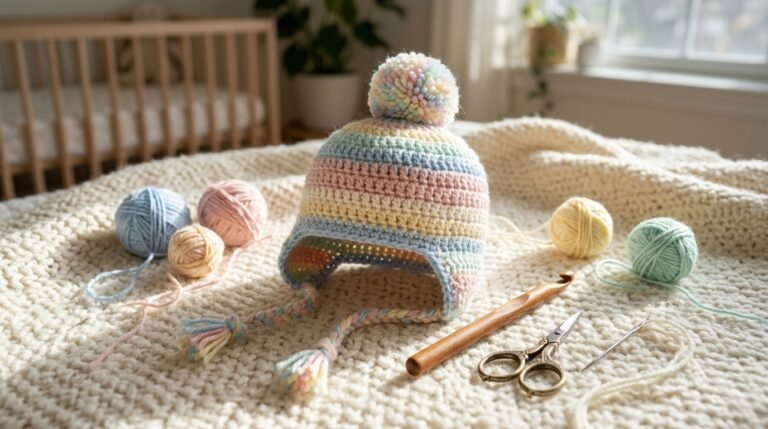
Fruit Loop Beanie Crochet Pattern: A Colorful and Playful Handmade Hat
If you love colorful crochet projects, a fruit loop beanie is a fun way to bring bright colors and handmade charm into your wardrobe. Inspired by the cheerful colors of fruit cereal, this playful crochet hat combines a comfortable beanie shape with colorful details that make it stand out. It is a lovely project for anyone who enjoys experimenting with yarn colors and creating unique accessories.
I particularly like the idea of using fruit-inspired shades such as strawberry pink, lemon yellow, orange, lime green, and blueberry blue. Together, these colors create a lively design that looks adorable on children and can also be adapted for adults.
In this guide, I will walk you through an original fruit-inspired beanie pattern, from choosing your yarn to shaping the crown and adding colorful decorations. I will also share practical tips for achieving a comfortable fit and choosing crochet supplies that make the project easier.
Whether you are making a handmade gift, preparing accessories for a craft fair, or simply looking for your next crochet project, this colorful beanie is a wonderful option.
Why You’ll Love This Fruit Loop Beanie
There are plenty of reasons to add a colorful crochet beanie to your handmade collection.
- Bright and cheerful colors: Combine several fruit-inspired shades for a playful appearance.
- Beginner-friendly stitches: The basic hat uses familiar crochet stitches and simple increases.
- Customizable design: Make the hat in one main color or decorate it with colorful crochet circles.
- A thoughtful handmade gift: A personalized beanie makes a lovely birthday or holiday present.
- Great for using leftover yarn: Small amounts of different colors are useful for making decorative accents.
The best part is that you can change the colors to suit different seasons and personal preferences. Pastel shades create a softer look, while bright pink, orange, yellow, green, and blue produce a more energetic design.
Materials You’ll Need
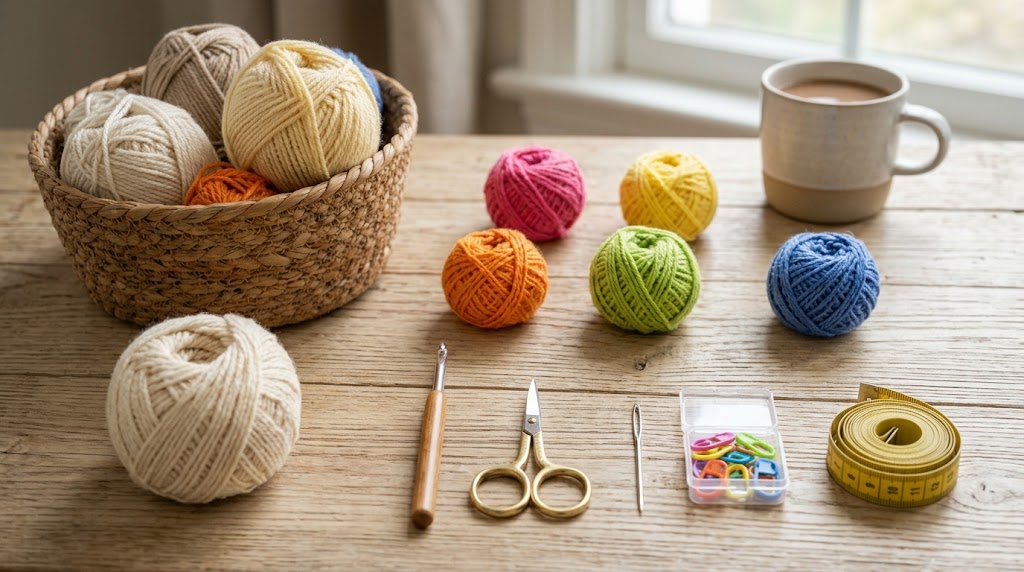
Before beginning, gather these supplies:
- Medium-weight acrylic yarn in a main color.
- Small amounts of pink, yellow, orange, green, and blue yarn.
- A 5 mm crochet hook, adjusted to suit your yarn and tension.
- Scissors.
- A tapestry needle for weaving in ends.
- Stitch markers.
- A measuring tape.
For a child’s beanie, choose yarn that feels soft against the skin and is easy to wash. Medium-weight acrylic yarn is a practical option because it comes in many colors and is generally easy to care for.
Check the yarn label for its recommended hook size. Making a small gauge swatch before starting will help you estimate the finished size more accurately.
Crochet Abbreviations
This pattern uses standard US crochet terminology.
- ch: Chain
- sl st: Slip stitch
- sc: Single crochet
- hdc: Half double crochet
- inc: Increase by working two stitches into one stitch
- st(s): Stitch or stitches
- rnd: Round
Fruit Loop Beanie Crochet Pattern
Skill level: Beginner to advanced beginner
Construction: Worked in the round
Design: Rounded beanie with colorful crochet accents
Suggested colors: Pink, yellow, orange, green, blue, and cream
This is an original, adaptable pattern for a fruit-inspired beanie. The finished size depends on your yarn, hook, tension, and number of rounds, so measure as you work.
Step 1: Create the Crown
Choose your main yarn color. Cream, white, or pale pink makes a lovely background for bright fruit-inspired decorations.
Begin with a magic ring. Alternatively, chain four and join with a slip stitch to form a ring.
Round 1: Chain 1 and work 8 half double crochet stitches into the ring. Join with a slip stitch if working joined rounds.
Round 2: Chain 1 and work 2 half double crochet stitches into every stitch around. You should have 16 stitches.
Round 3: Work 1 half double crochet in the first stitch, then 2 half double crochet stitches in the next stitch. Repeat around for 24 stitches.
Round 4: Work 1 half double crochet in each of the next 2 stitches, then 2 half double crochet stitches in the following stitch. Repeat around for 32 stitches.
Round 5: Work 1 half double crochet in each of the next 3 stitches, then 2 half double crochet stitches in the following stitch. Repeat around for 40 stitches.
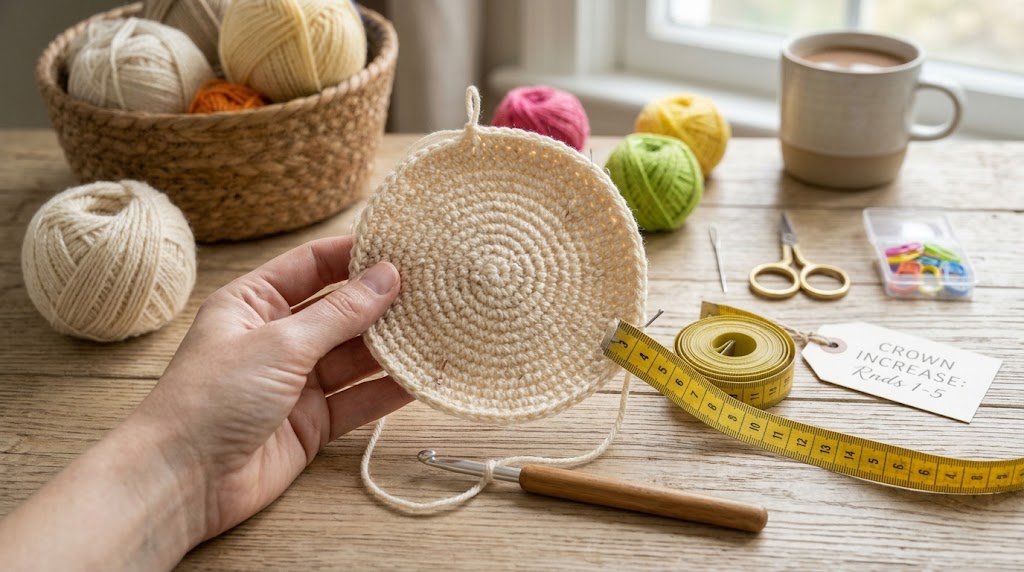
Continue increasing in the same manner until the crown reaches the diameter required for your chosen size.
Keep the crown flat as you work. If it begins curling too early, check your stitch count and tension.
Step 2: Work the Beanie Body
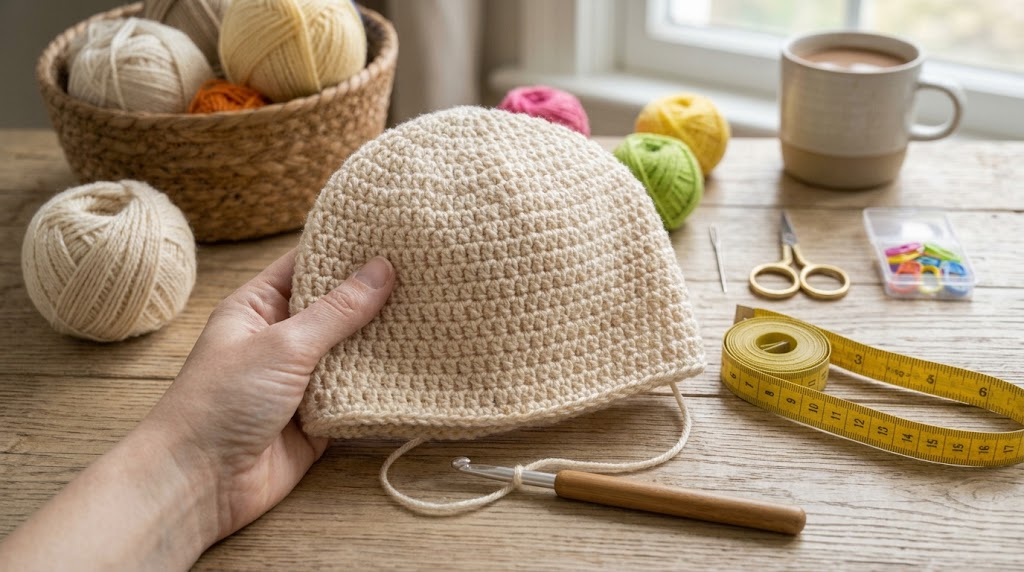
Once the crown reaches the desired diameter, stop increasing.
Work half double crochet stitches evenly around, placing one stitch in each stitch from the previous round.
Continue working rounds until the hat reaches the desired depth. Measure the beanie and compare it with the intended wearer’s head measurements.
For a colorful fruit loop design, I recommend keeping the main body relatively simple. A solid background makes the bright decorations easier to see.
Step 3: Make Colorful Fruit Loops
Now comes the fun part!
Use small amounts of pink, orange, yellow, green, and blue yarn to create little crochet circles.
For each circle, begin with a magic ring and work 6 single crochet stitches into it. Pull the ring closed and join with a slip stitch.
Second round: Work 2 single crochet stitches into each stitch around, giving you 12 stitches.
Fasten off, leaving a yarn tail for sewing.
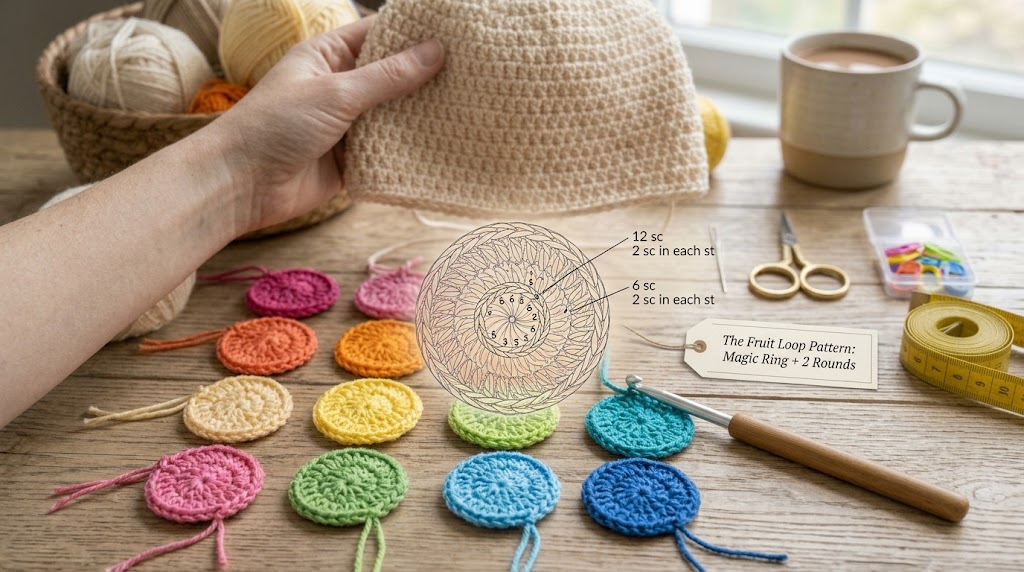
Make several circles in different colors. You can create more if you want a densely decorated hat or use fewer for a minimalist design.
Arrange the circles around the beanie before attaching them. Spacing them evenly helps the finished design look balanced.
Step 4: Attach the Colorful Decorations
Use a tapestry needle and the yarn tails to sew each circle securely onto the hat.
Distribute the colors around the body, alternating pink, orange, yellow, green, and blue.
Keep the decorations flat against the hat rather than allowing their edges to curl.
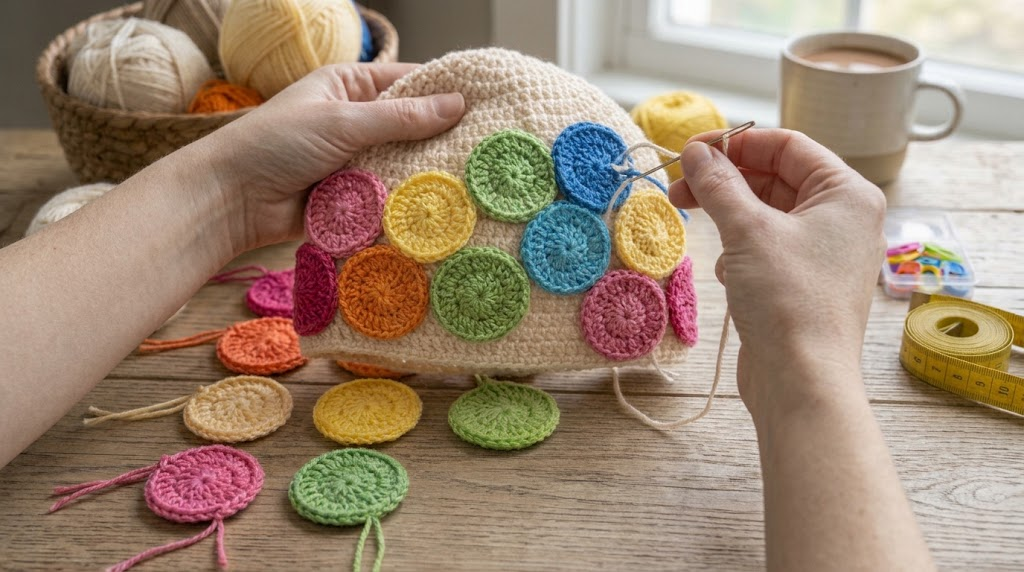
If you are making the beanie for a young child, sew the decorations securely and avoid small detachable embellishments that could pose a choking hazard.
Step 5: Add a Neat Bottom Edge
Attach the main yarn color to the lower edge of the beanie.
Work one round of single crochet stitches evenly around the opening. Join with a slip stitch.
For a firmer edge, you can work additional rounds of single crochet or add a simple ribbed band using back-loop-only stitches.
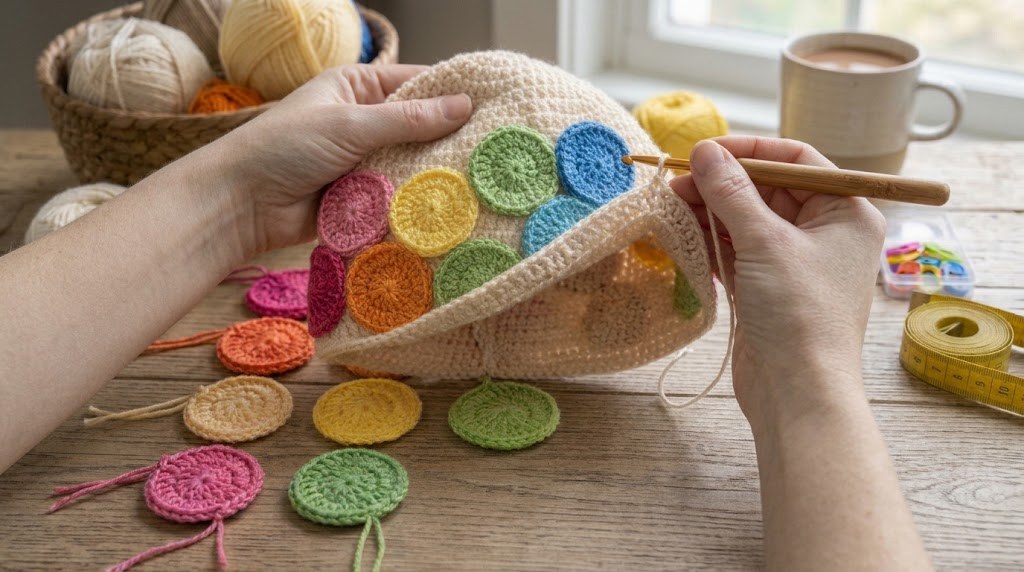
Check the fit before fastening off. The bottom edge should stay comfortably in place without feeling too tight.
Finally, weave in all loose ends and inspect the finished hat for gaps or unsecured decorations.
Two Helpful Amazon Product Recommendations
The right supplies can make a colorful crochet project easier to manage. Here are two useful options to consider.
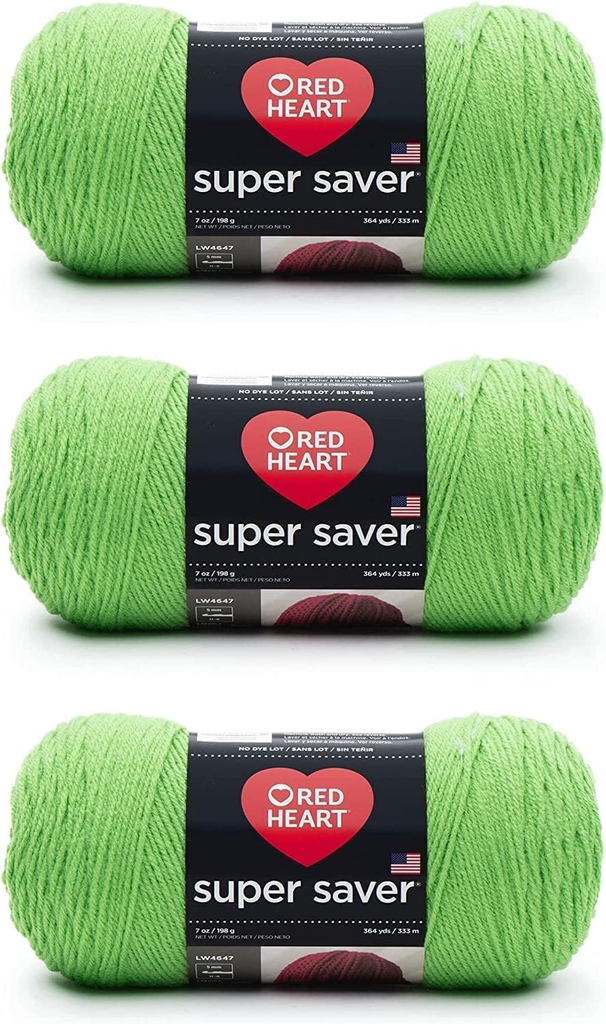
1. Red Heart Super Saver Yarn
A medium-weight acrylic yarn, such as Red Heart Super Saver, is a practical choice for a colorful beanie. It is available in a wide variety of shades, making it easier to choose fruit-inspired colors without purchasing a different type of yarn for each decoration.
I recommend checking the listed shade names, yarn weight, and washing instructions before ordering. Choose a softer option if the hat will be worn directly against sensitive skin.
2. Ergonomic Crochet Hook Set
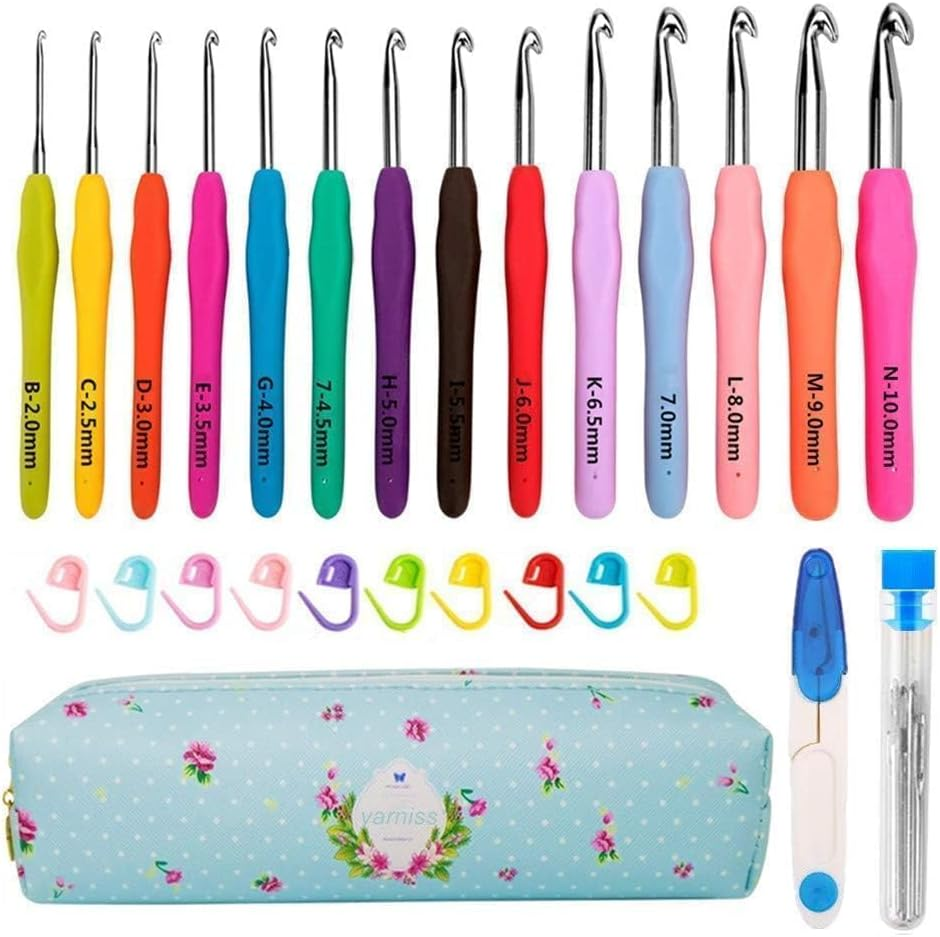
An ergonomic crochet hook set is useful if you regularly make hats, scarves, blankets, and other crochet accessories.
Look for a set that includes a 5 mm hook and clearly marked sizes. A comfortable handle may make longer crochet sessions easier, although the best handle depends on your personal preference.
Tips for Making Your Beanie Look Professional
Choose a coordinated palette. Bright fruit colors look best when they complement the main hat color. Cream and pale pink both provide a lovely background.
Keep your stitches consistent. Even stitches help the crown and body maintain a neat shape.
Check the size regularly. Head measurements are more reliable than using a fixed number of rounds for every size.
Arrange decorations before sewing. Lay out all the circles first so you can adjust the spacing and color balance.
Weave in ends carefully. Loose ends can affect the appearance and durability of the finished hat.
Wash according to the yarn label. Follow the manufacturer’s care instructions to help preserve the shape and colors.
Frequently Asked Questions
Is this fruit loop beanie suitable for beginners?
Yes. The basic hat uses half double crochet stitches and simple increases. The colorful circles are also beginner-friendly, although attaching several decorations takes a little patience.
Can I make this beanie in adult sizes?
Yes. Measure the intended wearer’s head and adjust the crown diameter and body depth. You may need additional stitches and rounds for a larger size.
Which colors work best?
Pink, orange, yellow, green, and blue create the classic fruit-inspired look. You can also try pastel colors for a softer design.
Can I sell finished fruit loop beanies?
You can generally sell your own finished handmade items, subject to applicable laws and any pattern-specific terms. Make sure you have permission to use any third-party designs, photographs, or written instructions you reproduce.
Final Thoughts
A fruit loop beanie is a cheerful way to combine basic crochet techniques with colorful creativity. The simple hat construction makes it a useful project for practicing your stitches, while the decorative circles let you experiment with different color combinations.
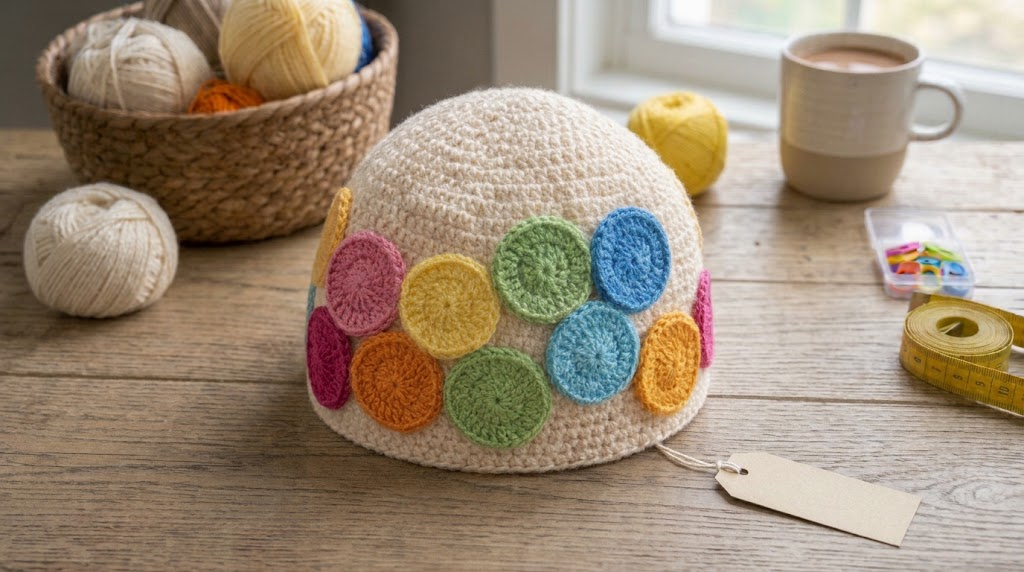
Start with a comfortable base color, add a few bright fruit-inspired accents, and adjust the measurements to achieve a good fit. With careful finishing and securely attached decorations, you can create a playful handmade accessory for yourself or someone special.