5 Helpful Steps for Making a Beautiful Puff Stitch Slouchy Beanie (Free Pattern)
There is something special about a handmade crochet beanie. It is warm, practical, and has that personal touch that you simply do not get from a mass-produced hat. One of my favorite styles to make is a puff stitch slouchy beanie because the texture makes a simple hat look much more interesting.
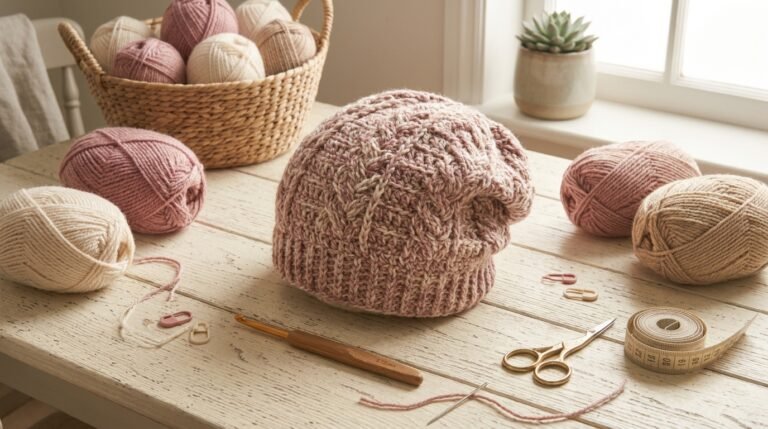
The Winter Blossom Slouch Crochet Pattern is a lovely example of this style. The original pattern offers both a regular beanie and a slouch version, and it is written in standard American crochet terms. It also includes four sizes, ranging from babies through women. The pattern calls for worsted-weight yarn and 5.5 mm and 6 mm hooks.
What I particularly like about this type of project is that the puff texture gives the hat a soft, dimensional appearance without making the finished fabric feel overly stiff. The designer also notes that the stitch has more drape than a traditional jasmine stitch.

If you want to make your own version, here are five helpful steps I would follow.
1. Gather the Right Yarn and Crochet Hooks
Before starting any crochet hat, I like to spend a little time choosing the materials. This makes a bigger difference than many beginners expect.
For this particular pattern, you need size 4 worsted-weight yarn. The original pattern notes that Lion Brand Wool-Ease was used for gauge and that Caron Simply Soft was also used for one of the sample hats.
Worsted yarn is a good choice for a hat because it provides enough body and warmth without making the finished piece extremely heavy.

I would choose a yarn with good stitch definition. Puff stitches are the star of this project, so you want the raised texture to remain visible.
Soft cream, dusty pink, burgundy, light red, beige, gray, and classic black would all work beautifully. If you are making the hat as a gift, think about the recipient’s usual clothing colors before choosing your yarn.
Helpful Amazon pick: Worsted-weight yarn
A soft worsted-weight yarn is the first supply I would prioritize. Look for a yarn labeled medium weight, category 4, with enough yardage for your selected size.

Worsted Weight Yarn
When shopping, I would pay attention to:
- Yarn weight
- Yardage per skein
- Fiber content
- Washing instructions
- Available colors
- Softness
I would not choose yarn simply because the color looks beautiful online. For a hat, softness matters because the finished crochet will sit directly against the head and ears.
Also remember that yarn brands can behave differently even when they carry the same weight label. Your tension can change the finished measurements, which is why making and checking a gauge swatch is worthwhile.
Choose your hooks
The original pattern calls for a 6 mm hook and a 5.5 mm hook.
If you crochet tightly, you may naturally produce a denser fabric. If your stitches are loose, your finished hat may turn out larger or more drapey.
That is why I recommend thinking of the hook size listed in the pattern as a starting point rather than ignoring your own tension.
2. Make a Gauge Swatch Before Starting the Hat
This is the step I would be least likely to skip.
I know gauge swatches can feel boring when you are excited to begin a new crochet project, but hats are fitted projects. A small difference in tension can become a noticeable difference around the finished circumference.
The pattern itself uses worsted yarn and specifies the hook sizes above, so start there.
Work a small sample using the same yarn and hook combination you plan to use for the hat.

Then look at:
Stitch width:
How many stitches fit across your sample?
Row height:
How tall are your rows?
Fabric feel:
Does the fabric feel soft and flexible, or is it stiff?
Texture:
Are your puff stitches clearly visible?
This last point is especially important. You do not want to adjust your hook only to make the measurements work if the resulting fabric becomes uncomfortably stiff.
If your swatch is too small, try the larger hook. If it is too large, try the smaller hook.
And if you are between sizes, remember that your personal crochet tension is part of the equation.
Helpful Amazon pick: Ergonomic crochet hooks
If you plan to make several crochet hats, I think a comfortable ergonomic hook is a useful investment.
Ergonomic Crochet Hook Set

A comfortable handle can be particularly useful when working textured stitches because you may repeat the same movements many times.
I would look for hooks with:
- Comfortable handles
- Clearly marked sizes
- Smooth hook heads
- A shape that feels secure in your hand
- The exact 5.5 mm and 6 mm sizes needed for this project
You do not need an expensive hook set to make a beautiful hat. The most important thing is that the hook moves smoothly through your yarn and feels comfortable in your hand.
3. Start the Hat and Pay Attention to Your Puff Stitches
Now comes the fun part.
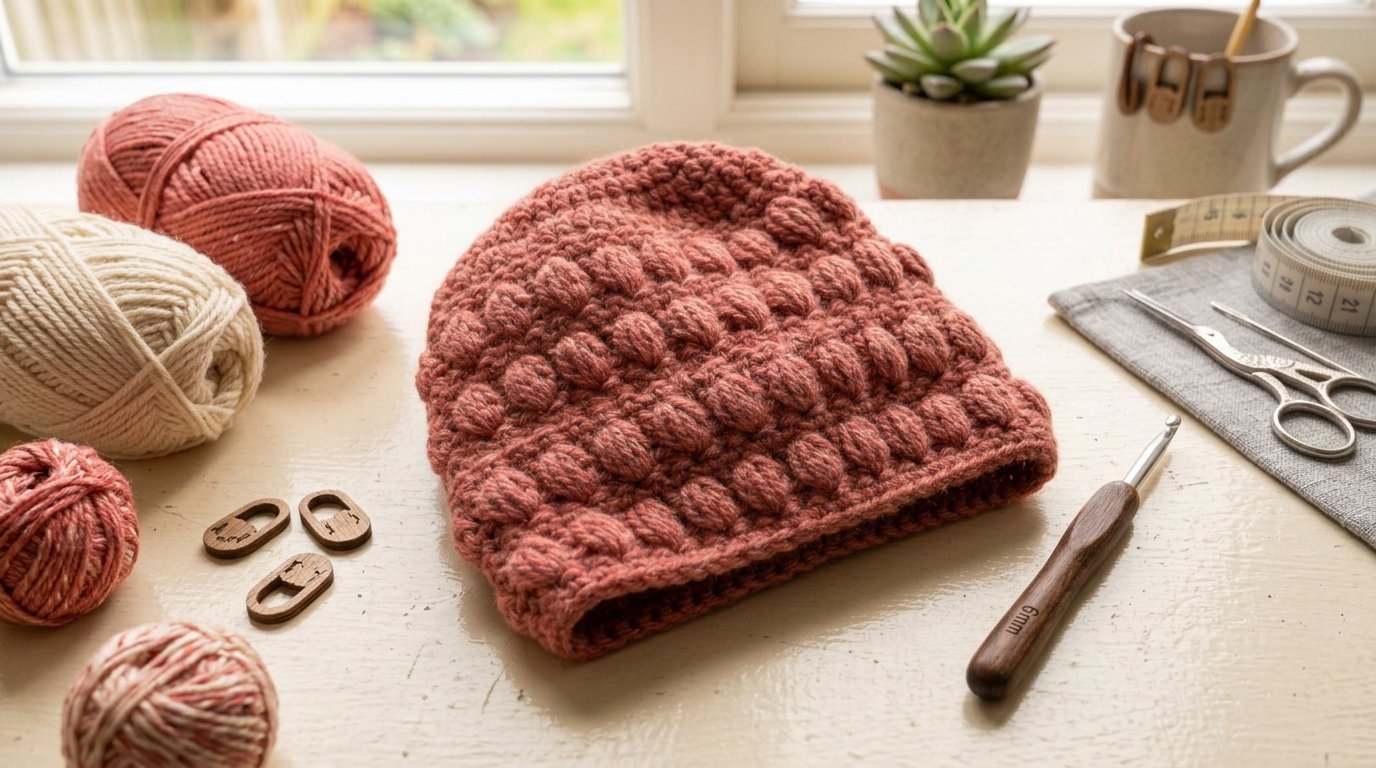
The puff stitch is what gives this beanie its personality. Instead of looking like a plain collection of single or double crochet stitches, the surface develops little raised sections that create a beautiful textured effect.
If you are new to puff stitches, I recommend practicing a few before starting the actual hat.

The original Crochet Dreamz pattern notes that if you can work a puff stitch, you should be able to work the pattern.
That makes the puff stitch an important skill to understand before you begin.
My approach to puff stitches
When making a puff stitch, try to keep your yarn tension reasonably consistent.
Do not pull every loop extremely tight.
At the same time, do not make the loops so loose that the stitch becomes floppy and uneven.
The goal is a puff with enough height to stand out from the surrounding stitches.
I also recommend looking at the previous stitches before completing the next one. Textured patterns can become confusing if you accidentally skip a stitch or work into the wrong location.
Keep your counting consistent
This is another place where beginners can save themselves a lot of frustration.
At the end of each round, pause.
Count your stitches if necessary.
Look at the shape of your work.
If the pattern is beginning to twist or expand unexpectedly, it is much easier to fix the problem immediately than after several more rounds.
When I am working a textured crochet project, I prefer to slow down rather than rush through a round and discover a mistake later.
4. Shape the Beanie Into the Slouchy Style
This is where the project starts looking like an actual hat.
The original pattern gives you the option of making either a regular beanie or a slouchy version, which is helpful because you can choose the style you prefer.
A traditional beanie sits closer to the head.
A slouchy beanie has additional length, allowing some of the fabric to relax toward the back of the head.

Personally, I love the relaxed appearance of a slouchy hat because it feels casual and cozy.
But the amount of slouch you want is ultimately a matter of preference.
Check the fit as you go
If possible, try the hat on periodically or compare it with the head measurement of the person who will wear it.
You want the hat to sit comfortably around the head without being painfully tight.
At the same time, you do not want it so loose that it constantly slides down.
Remember that crochet fabric can have some natural stretch, and different yarn fibers behave differently.
This is another reason I would not rely only on appearance.
A hat can look perfect while lying flat on the table and still fit differently once worn.
Making a gift?
If you are making this as a present, the size options in the original pattern are especially useful. The pattern lists four sizes: 6–12 months, 1–4 years, 4–10 years, and pre-teen to woman.
That gives you several options depending on who you are crocheting for.
For a handmade gift, I would also keep the recipient’s preferred colors in mind. A textured hat in a favorite neutral can become an everyday accessory rather than something that only gets worn occasionally.
5. Finish, Shape, and Give the Hat a Professional Look
Once you reach the end of the pattern, resist the temptation to simply cut the yarn and call it finished.
The finishing stage can make a handmade crochet project look much more polished.
First, secure your final yarn end according to the pattern instructions.
Then weave in loose ends carefully using a yarn needle.

I like to weave the tail through several stitches rather than leaving a short end that could work itself loose.
Check the entire hat
Before calling it finished, look carefully at:
- The top
- The brim
- The puff stitches
- Any visible loose ends
- The overall shape
- The size
- The stretch of the fabric
If something looks uneven, this is your last easy opportunity to correct it.
Shape the hat gently
Depending on the yarn you use, gently shaping the hat can help it settle into a nicer form.
Do not aggressively stretch it.
Instead, arrange it into the shape you want and allow the fabric to relax naturally.
If your yarn’s care instructions allow washing or blocking, follow those instructions carefully. Always check the yarn label first because different fibers require different care.
Take a moment to inspect the texture
This is my favorite part.
Once the hat is complete, turn it around and look at the puff stitches from different angles.
Good textured crochet catches the light beautifully.
The raised stitches give the hat visual depth, while the slouch creates that relaxed handmade look.
Final Thoughts
A puff stitch slouchy beanie is one of those crochet projects that looks more complicated than it actually needs to be.
The texture does most of the visual work.
The key is to slow down at the beginning, choose suitable worsted-weight yarn, check your gauge, understand the puff stitch, and pay attention to your tension.
The Winter Blossom Slouch pattern is particularly useful as a reference because it includes both regular and slouch options and several sizes. The original instructions specify worsted-weight yarn with 5.5 mm and 6 mm hooks.
If you are new to textured crochet, I would practice the puff stitch before beginning the complete hat. Once the stitch starts feeling natural, the project becomes much more enjoyable.
And if you are an experienced crocheter, this is the kind of project that can be relaxing because the repeating texture gives you something interesting to work on without requiring an enormous amount of complicated shaping.
Most importantly, do not worry if your first hat is not perfectly identical to the sample.
That is part of handmade crochet.
Your tension, yarn choice, color, and finishing style will give your beanie its own personality. With a soft worsted yarn, a comfortable hook, and a little patience, you can turn a simple ball of yarn into a warm textured accessory that feels genuinely handmade.
Amazon disclosure: If you purchase recommended products through qualifying Amazon links, I may earn a commission at no additional cost to you. Product availability, pricing, and colors can change, so check the current Amazon listing before purchasing.