Crochet Cable Slouch Hat: A Cozy 5-Point Crochet Pattern
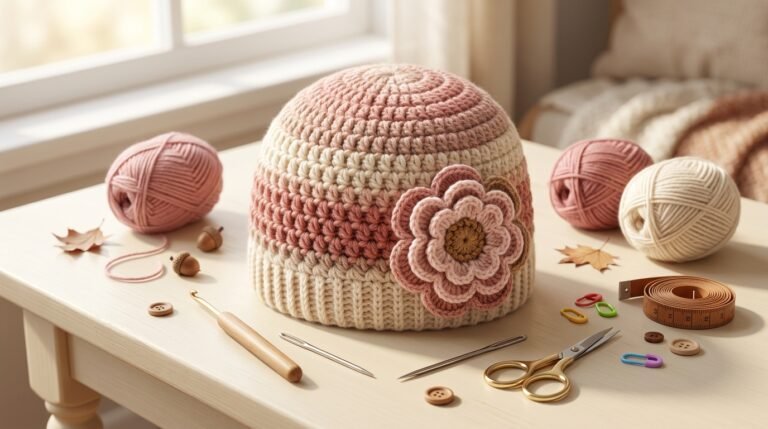
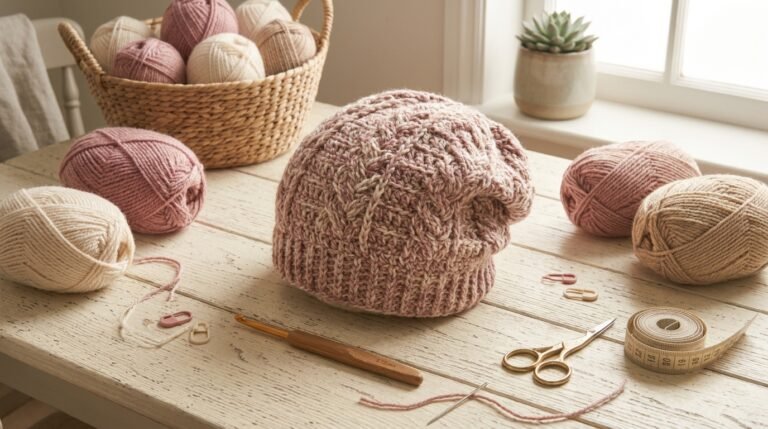
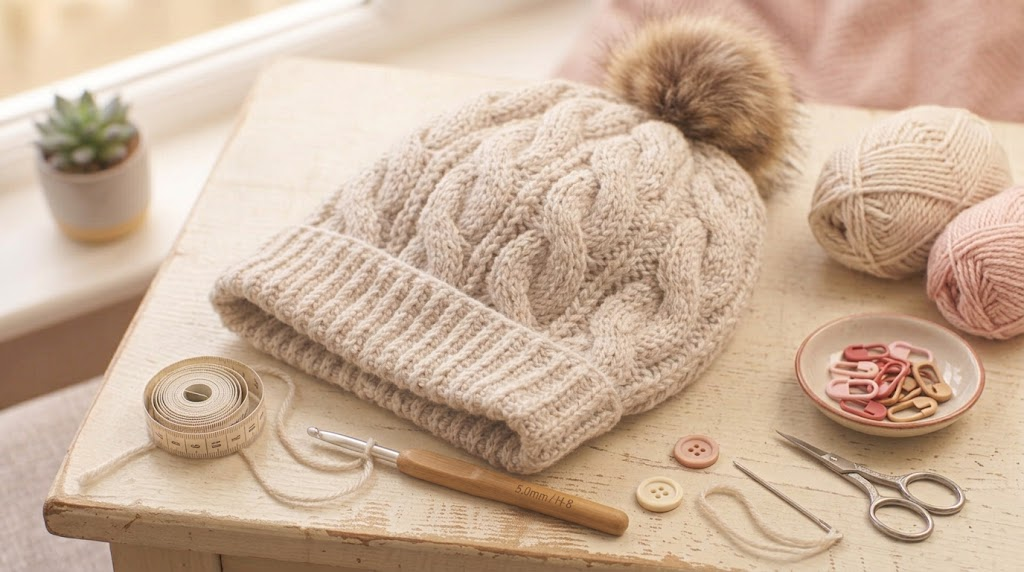
If you love crochet hats with a little more texture and personality, a crochet cable slouch hat is a beautiful project to try. The combination of a relaxed slouchy shape and raised cable texture gives the hat a handmade look without making it feel overly complicated.
The inspiration for this project is the Sydney Slouch Hat. The original pattern is a paid design available in sizes from 3 months through adult and uses worsted-weight yarn with a 4.25 mm hook. Its signature feature is a cable effect created with front-post stitches.
Rather than reproducing that copyrighted pattern, I’ve created the following as an original five-part crochet cable slouch-hat tutorial using similar general techniques: a ribbed brim, textured cable section, gradual shaping, and a relaxed crown.
The nice thing about making a slouch hat yourself is that you can control almost everything—the amount of slouch, the color, the brim size, and even how bold you want the cables to look.
Why I Love Crochet Cable Hats
When I first started working with crochet cables, they looked much more complicated than ordinary crochet stitches.
But once I understood how front-post stitches work, the idea became much easier.
A crochet cable is basically created by working raised stitches around the posts of stitches from previous rounds. The stitches sit on top of the fabric and create the appearance of a twisted or braided design.
That texture makes a simple hat look much more detailed.
I also love the slouchy shape because it is forgiving. Unlike a very fitted beanie, a slouch hat doesn’t need to sit tightly against the crown.
The original inspiration design specifically notes that slouch hats need yarn with some drape rather than very stiff yarn, and that lighter colors can make the cable texture easier to see.
Materials You’ll Need
For this original version, keep the supplies simple.
Yarn
Use a medium/worsted-weight yarn.
Choose something soft with a little drape.
Good colors include:
- Cream
- Oatmeal
- Light gray
- Dusty rose
- Blush
- Mustard
- Sage
- Camel
- Soft brown
A lighter color is particularly helpful when you’re learning cables because the raised stitches are easier to see.

Crochet Hook
Start with approximately a 4.25–5 mm hook, then adjust according to your tension.
The original inspiration pattern uses a 4.25 mm hook.
Other supplies
You’ll also need:
- Yarn needle
- Scissors
- Stitch marker
- Measuring tape
A pom-pom is optional.
Crochet Abbreviations
This tutorial uses standard US terminology.
| Abbreviation | Meaning |
|---|---|
| ch | Chain |
| sl st | Slip stitch |
| sc | Single crochet |
| hdc | Half double crochet |
| dc | Double crochet |
| FPdc | Front-post double crochet |
| FPtr | Front-post treble crochet |
| BLO | Back loop only |
| st | Stitch |
| dec | Decrease |
Before You Begin: Measure the Head
The easiest way to make a hat that actually fits is to measure the intended wearer’s head.
Measure around the widest part of the head, just above the eyebrows and ears.
For a comfortable hat, make the finished circumference slightly smaller than the head circumference because crochet stretches.
For example, if the head measures approximately 20 inches, you generally don’t want the finished hat to measure exactly 20 inches.
The exact amount of negative ease depends on your yarn and stitch pattern.
For a slouch hat, you also need to decide how much extra height you want.
A short slouch creates a relaxed beanie.
A taller crown creates a more dramatic slouch.

The 5-Point Crochet Cable Slouch Hat Pattern
This pattern is organized into five simple sections:
- Crochet the ribbed brim
- Build the textured cable body
- Repeat and develop the cable pattern
- Shape the crown
- Finish and customize
Let’s start.
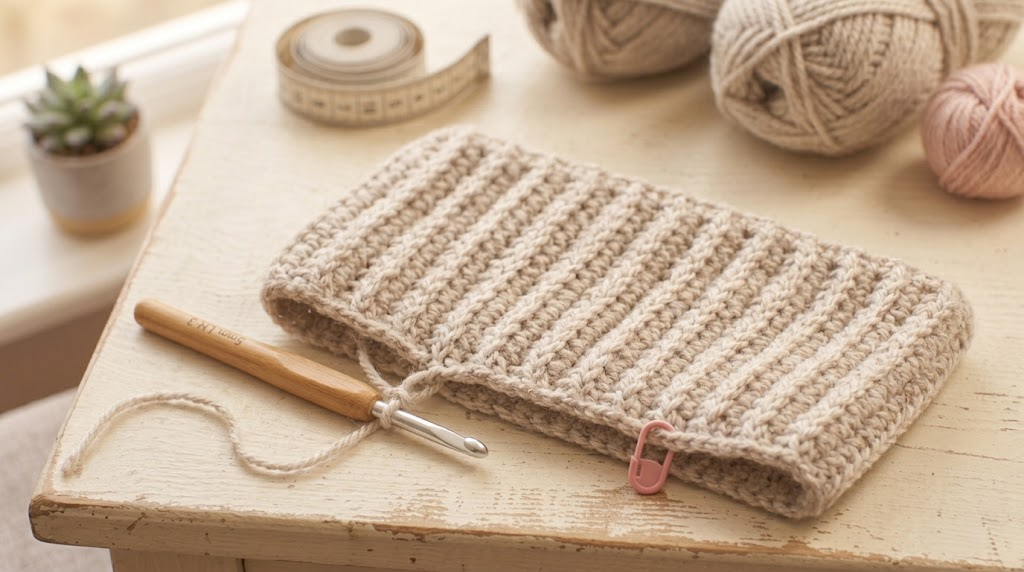
Point 1: Crochet the Ribbed Brim
The brim gives the hat its stretch and helps it stay comfortably around the head.
Start by chaining enough stitches to reach the desired brim height.
For a medium adult hat, a starting chain of approximately 10–12 stitches can work well for a brim around 2 inches tall.
For children, reduce the starting chain.
For a taller brim, add stitches.
Row 1
Work single crochet into the second chain from your hook.
Continue working single crochet across the chain.
Chain 1 and turn.
Row 2
Work single crochet through the back loop only across the row.
Chain 1 and turn.
Repeat this row until your ribbed strip is long enough to fit comfortably around the head.
The fabric will look narrow while you’re working it, but it should stretch.
Join the Brim
Bring the two short ends together.
Slip stitch them together, creating a circular band.
Do not make the seam excessively bulky.
You now have the foundation of the hat.
Helpful tip
I always recommend measuring the actual brim around the head rather than trusting a stitch count.
Your tension can change the finished circumference considerably.
Point 2: Build the Cable Body
Now we begin creating the textured part of the hat.
Attach your yarn to the top edge of the ribbed brim.
Work a round of half double crochet evenly around the edge.
This gives you a stable transition from the stretchy brim into the textured body.
Join the round with a slip stitch.

Understanding the Cable
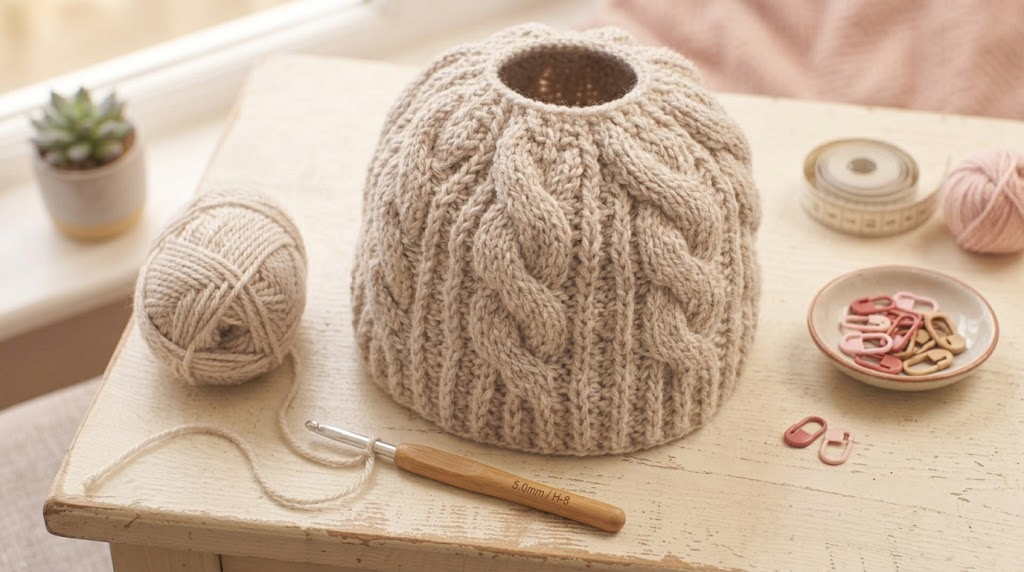
The important stitch here is the front-post stitch.
Instead of inserting your hook through the top loops of a stitch, you work around the vertical post of the stitch from the front.
This makes the new stitch stand forward from the fabric.
When several raised stitches cross or sit beside one another, they create a cable effect.
For a beginner, I recommend practicing FPdc on a small swatch before working directly on your hat.
Point 3: Develop the Cable Pattern
Now we’ll create the main textured section.
The exact number of stitches in each cable group can be adjusted according to your desired size.
A simple repeat can be built around a group such as:
2 regular stitches + raised cable stitches + 2 regular stitches
The raised stitches become the visual center of each cable.
Basic Texture Round
Work regular half double crochet stitches across the first section.
When you reach the cable section, work your front-post stitches around the designated stitches from the previous round.
Continue alternating regular stitches and raised stitches.
Repeat around the hat.

Next Round
Work regular stitches where you previously worked regular stitches.
Over the cable section, continue working around the posts so the raised texture remains visible.
As the rounds build, the cable begins to stand out.

How to Make the Cable Look Twisted
This is where things become fun.
To create the appearance of a crossing cable, work the raised stitches in a different order.
Instead of simply working each post stitch directly over the previous one, bring one raised stitch across another.
Front-post treble stitches are particularly useful for this because their extra height allows them to cross over neighboring stitches.
This technique is related to the front-post cable approach described in the original inspiration pattern.
Don’t worry if your first cable isn’t perfect.
The texture becomes much easier to understand after two or three rounds.
Point 4: Shape the Slouchy Crown
Once your hat has reached the desired height, begin shaping the crown.
The goal isn’t to make the crown extremely tight immediately.
A slouch hat needs enough fabric to create its relaxed shape.
First Decrease Round
Work your normal stitches around most of the hat.
At evenly spaced intervals, work two neighboring stitches together.
For example:
hdc, hdc, hdc, hdc2tog
Repeat this spacing around the round.
Next Round
Work evenly without decreasing.
Second Decrease Round
Add another set of evenly distributed decreases.
The hat should gradually begin narrowing.
Final Rounds
Continue decreasing until you have a relatively small opening.
At this point, you can switch to single crochet if you want a firm finishing edge.
Point 5: Finish the Hat
When the opening is small enough, cut the yarn, leaving a long tail.
Thread the tail onto a yarn needle.
Weave the needle through the remaining stitches around the opening.

Pull gently.
The opening should close like a drawstring.
Secure the yarn on the inside of the hat.
Weave the remaining tail through several stitches before trimming it.
Turn the hat inside out and check that there are no loose ends.

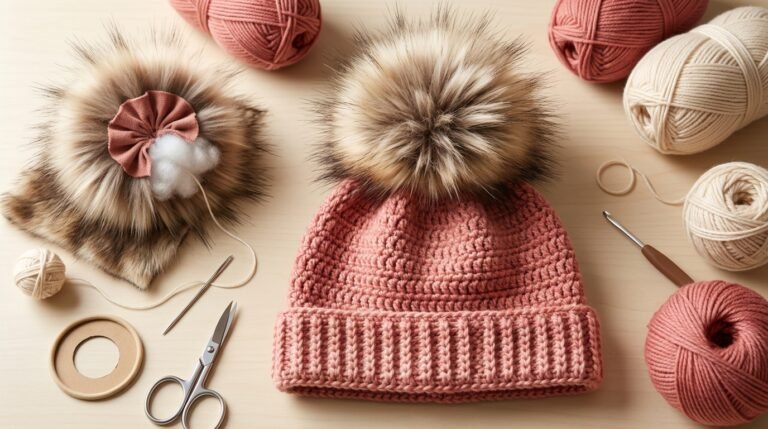
Add a Pom-Pom
A pom-pom isn’t required, but it can look beautiful on a slouch hat.
For a soft winter appearance, try:
- Cream pom-pom on a beige hat
- Blush pom-pom on an ivory hat
- Ivory pom-pom on a dusty-red hat
- Brown pom-pom on an oatmeal hat
Attach it securely to the crown.
If the hat is being made for a young child, make sure the pom-pom and attachment are secure and inspect them regularly.
Two Useful Amazon Supplies
I would keep your Amazon purchases practical rather than recommending a long list of crochet products.
1. Clover Amour Crochet Hooks
A comfortable hook makes repetitive projects much easier, especially when you’re working several rounds of textured stitches.
The Clover Amour range is available in multiple sizes, so it is useful if you frequently switch between yarn weights and patterns.
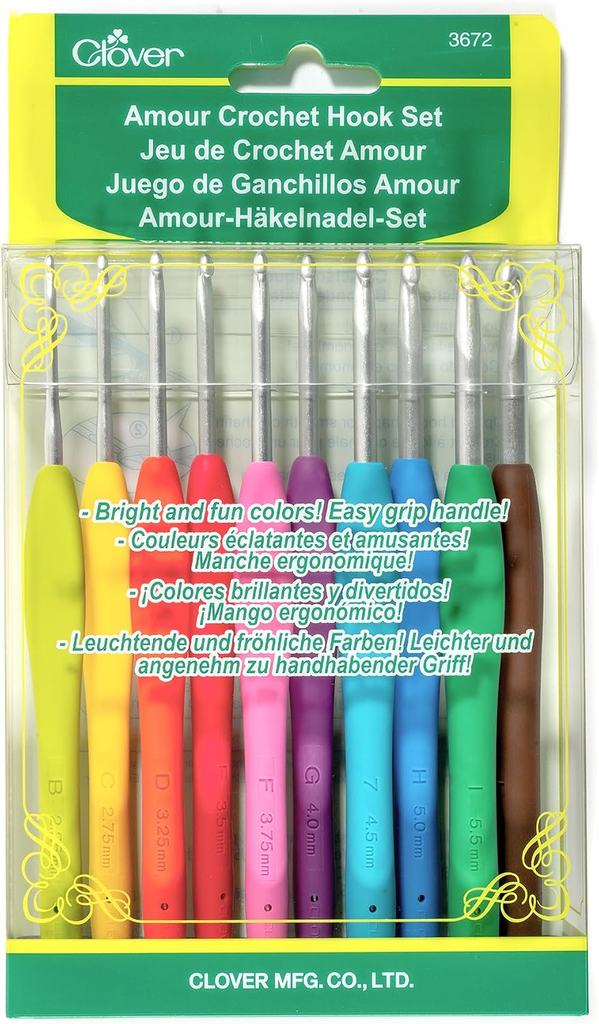
For this project, I would pay particular attention to the hook size you’re actually using rather than buying a set simply because it contains many sizes.
2. Clover Locking Stitch Markers
Stitch markers are especially useful for cable hats because it is easy to lose track of the beginning of a round when you’re concentrating on textured stitches.
Locking markers can also be moved from one round to another without cutting your yarn.
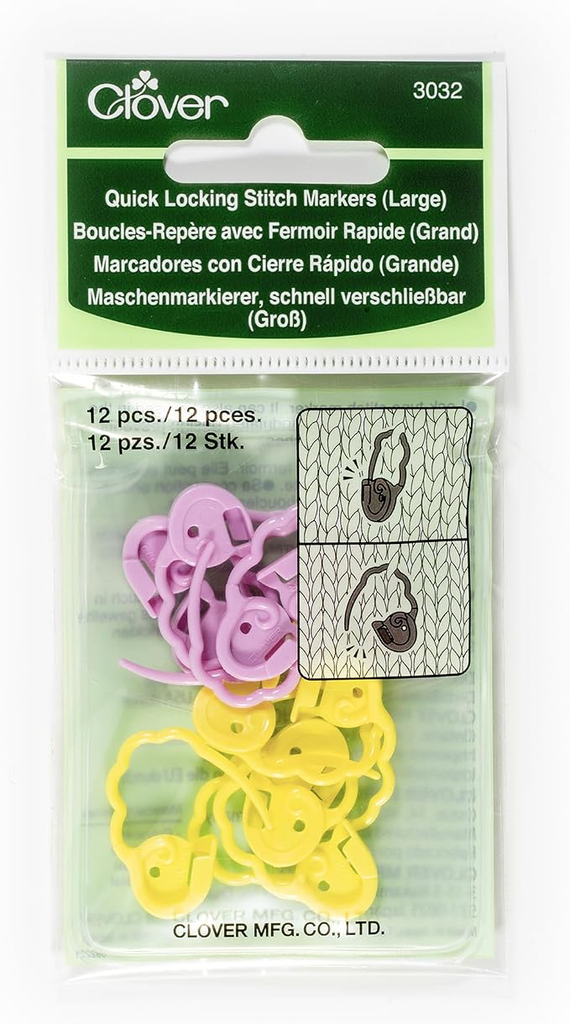
I consider these the kind of small crochet tool that earns its place in a project bag because they can be reused for practically every crochet project.
How to Get Better-Looking Cables
There are a few tricks I find particularly useful when working textured crochet.
1. Don’t crochet too tightly
If your front-post stitches are extremely tight, your cable will be difficult to form.
Keep your tension relaxed.
2. Use a lighter yarn color
Dark yarn can hide textured stitches.
Cream, gray, beige, mustard, and dusty pink make cable definition much easier to see.
3. Count the cable stitches
If one cable suddenly looks wider than the others, stop and count before continuing.
Fixing an error immediately is much easier than finding it ten rounds later.
4. Use stitch markers
Place a marker at the beginning of every round.
For complicated cable repeats, you can also place markers between cable sections.
How to Adjust the Size
One of the easiest ways to customize this hat is to adjust the brim.
For a smaller hat
Make a shorter ribbed strip.
For a larger hat
Make the ribbed strip longer.
For more slouch
Add additional body rounds before shaping the crown.
For less slouch
Start the crown decreases earlier.
For a taller brim
Increase the number of stitches in each ribbed row.
The pattern is written in sizes ranging from baby to woman, demonstrating how the same general slouch-hat concept can be adapted across different head sizes.
Common Problems and Easy Fixes
My cable doesn’t look raised.
Check that you’re working around the post rather than through the top loops.
The hook placement is what creates the raised texture.
My hat is too stiff.
Your yarn may be too rigid or your hook may be too small.
Try a softer yarn or go up one hook size.
The design also recommends avoiding stiff yarn because a slouch hat needs some drape.
My hat is too loose.
Try using a smaller hook or reducing the circumference of your brim.
My cable pattern doesn’t line up.
Check your stitch count.
Cable repeats need consistent stitch spacing.
My crown looks too flat.
You may have started decreasing too early.
Add a few more straight rounds before beginning the crown shaping.
Best Yarn Colors for Cable Hats
Cable texture is especially attractive in solid colors.
Light Blush
Soft, feminine, and perfect for a cozy winter accessory.
Cream
Timeless and easy to photograph.
Mustard
Makes the raised cables particularly noticeable.
Gray
A great everyday neutral.
Dusty Red
Adds warmth without looking too bright.
Oatmeal
Perfect for a natural, handmade aesthetic.
Care Instructions
Always check the yarn manufacturer’s washing instructions first.
For washable acrylic yarn, gentle washing is often practical.
I recommend:
- Washing gently
- Avoiding harsh bleach
- Reshaping the hat while damp
- Allowing it to dry naturally
- Avoiding excessive heat unless the yarn label permits it
If you’ve added a pom-pom, pay particular attention to its attachment after washing.
Final Thoughts
A crochet cable slouch hat is a great project when you want something that looks sophisticated but is still achievable with basic crochet skills.
The five main stages make the project much easier to understand:
ribbed brim → cable body → textured repeats → crown shaping → finishing.
The cable section may feel intimidating at first, but don’t let the raised stitches scare you. Once you understand where your hook needs to go, the texture starts making sense.
I recommend practicing the cable on a small swatch before beginning the actual hat. It takes only a little extra time and can save you from unraveling several rounds later.
For the best visual results, choose a yarn with some drape and use a lighter or medium shade so the raised cable texture can really stand out.
And most importantly, measure the intended wearer’s head. A beautiful cable pattern isn’t much use if the finished hat doesn’t fit comfortably.
With the right yarn, a comfortable hook, and a little patience, this is the kind of handmade accessory that can become a favorite winter hat year after year.