5 Helpful Ideas for Making a Beautiful Crochet Baby Dress
There is something especially sweet about crocheting a little dress for a baby. A small handmade garment can look delicate and complicated, but with the right yarn, hook, measurements, and a little patience, it can actually be a very enjoyable project.
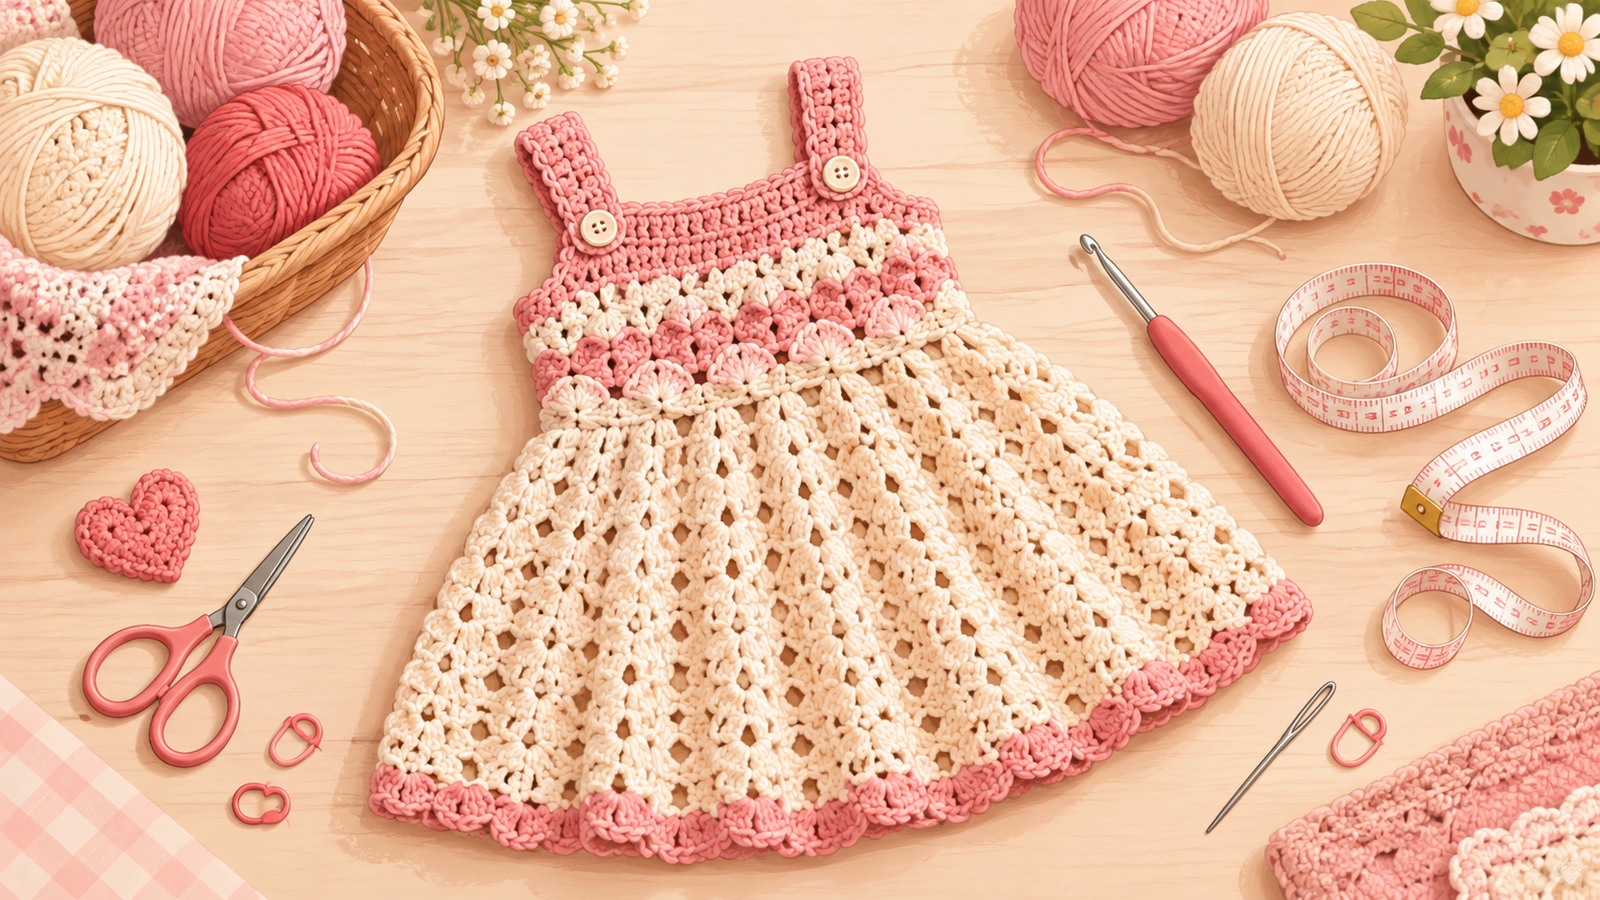
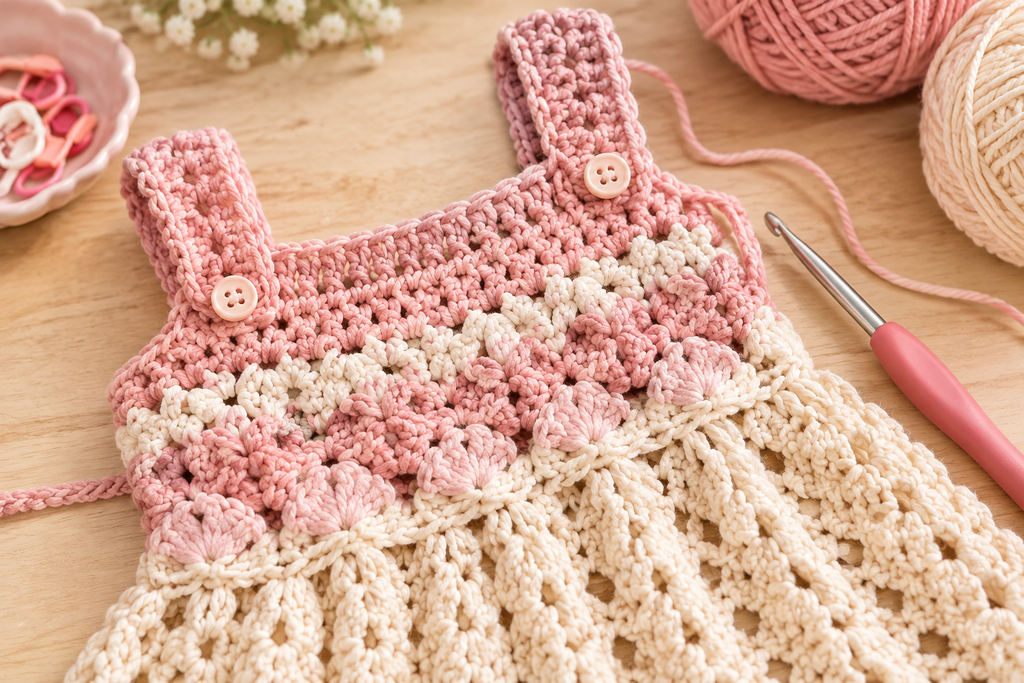
One pattern that caught my attention is the Sunshine Dress. It combines two interesting stitch textures: shell and puff stitches in the bodice and an eyelet-style crochet fabric in the skirt. The pattern is written in standard US crochet terms and is designed for sizes from newborn through 2 years. It also uses DK-weight yarn, with a 4 mm hook for the bodice and a 4.5 mm hook for the skirt.
If you’re planning to make a similar crochet baby dress, here are five things I would pay close attention to.
1. Choose Your Yarn Carefully
For a baby dress, yarn choice matters more than it might seem.
I generally look for yarn that feels soft against delicate skin, has good stitch definition, and is easy to wash. DK-weight yarn is particularly useful for a dress like this because it gives you enough structure without making the finished garment unnecessarily heavy.
The Sunshine Dress pattern specifically calls for DK-weight, size 3 yarn.
When choosing colors, don’t feel limited to traditional pink or blue. A soft cream with dusty pink can create a classic look, while sage green, lavender, butter yellow, or light peach can make the dress feel more modern.
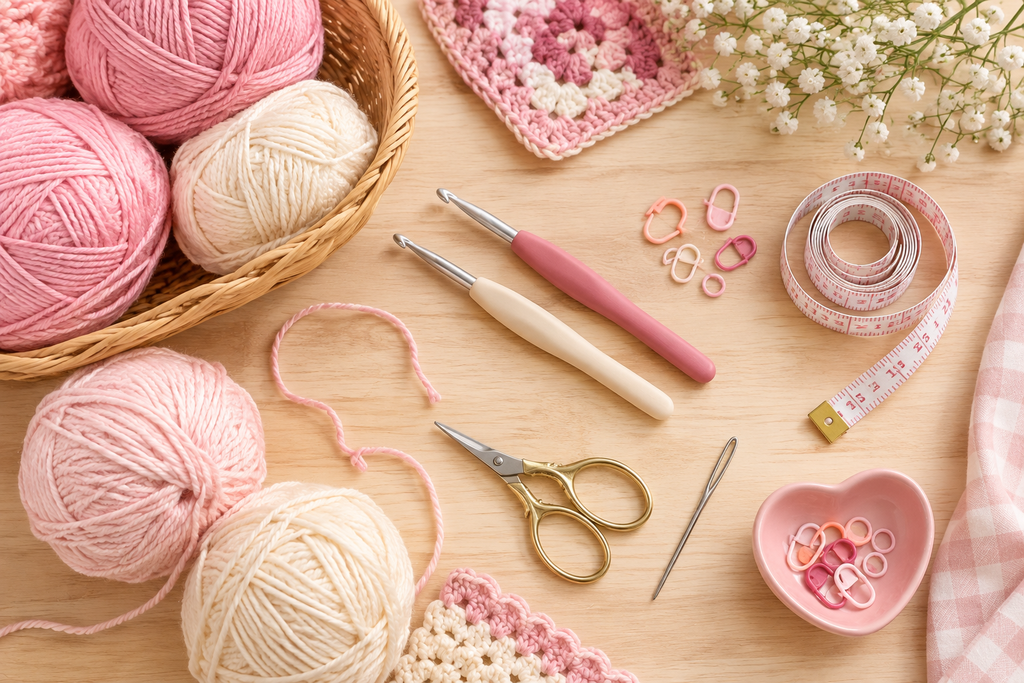
I also like using two colors when the stitch design allows it. Contrasting colors can make shell and puff stitches easier to see, while a softer tonal combination creates a more subtle handmade look.
Before beginning the entire dress, I recommend checking the yarn label for washing instructions. Baby clothing is likely to need frequent washing, so practicality is just as important as appearance.
2. Use the Correct Crochet Hook Size
Hook size can make a surprisingly big difference in a finished baby garment.
The linked pattern uses a 4 mm hook for the bodice and a 4.5 mm hook for the skirt.
That difference is useful because different parts of a garment sometimes benefit from slightly different tension. A tighter fabric can help give the bodice structure, while a slightly larger hook can help create a softer, more open skirt.
For anyone building a crochet toolkit, I particularly like the idea of investing in comfortable ergonomic hooks rather than buying the cheapest set available. One commonly recommended option is the Clover 3672 Amour Crochet Hook Set, which includes 10 sizes and has soft-grip handles. Crochet educators and experienced crocheters frequently highlight the comfortable handles and smooth hook surface.
Amazon recommendation #1: Clover 3672 Amour Crochet Hook Set

What I like about recommending this type of hook is that you’re not buying it just for one baby dress. A set gives you several sizes that can be useful for future crochet projects too.
One thing I would keep in mind, though, is that hook preference is personal. Some crocheters prefer inline hooks, while others prefer tapered hooks. If you’ve already found a hook style that feels comfortable in your hand, you don’t necessarily need to change.
3. Make a Gauge Swatch Before Starting
This is probably the step I would be least tempted to skip.
It is easy to look at a baby dress and think, “It’s small, so a little difference won’t matter.” But even a small change in crochet tension can affect the finished measurements.
If you crochet tightly, your dress may turn out smaller than expected. If you crochet loosely, it may become larger and drapier.
A gauge swatch gives you a chance to discover that before you’ve spent hours making the complete garment.
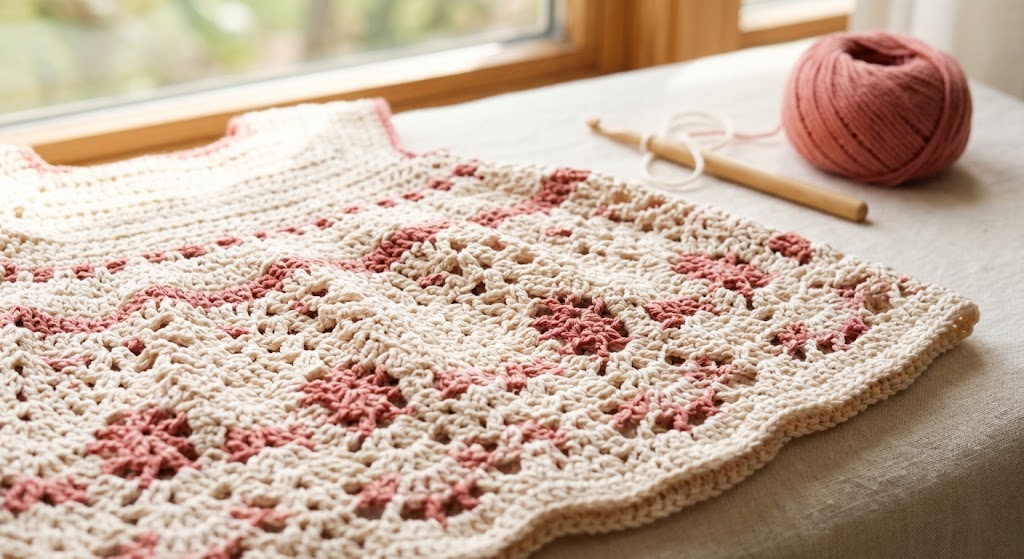
For a baby dress, this is especially important around the bodice. You want the garment to fit comfortably without being excessively tight or loose.
I would also wash and dry your swatch in the same way you intend to care for the finished dress. Some yarns change slightly after washing, and discovering that before finishing the project is much easier than discovering it afterward.
4. Pay Attention to Fit and Measurements
One of the nicest features of the Sunshine Dress design is that the straps are adjustable and the bodice includes a back closure.
Those details make a handmade baby dress more practical because babies grow quickly.
When making a dress for a specific baby, I would still compare the pattern’s finished measurements with the child’s actual measurements whenever possible. Don’t rely only on age.
A “6-month-old” can have very different proportions from another 6-month-old.
A flexible measuring tape is inexpensive but extremely useful for crochet garments. I recommend the SINGER 50003 ProSeries Retractable Tape Measure, which has a 96-inch flexible tape and displays inches and centimeters. Current online listings have shown it through Amazon, although price and availability can change.
Amazon recommendation #2: SINGER 50003 ProSeries Retractable Tape Measure

I especially like a retractable tape for crochet because it is easy to keep beside your yarn without taking up much workspace.
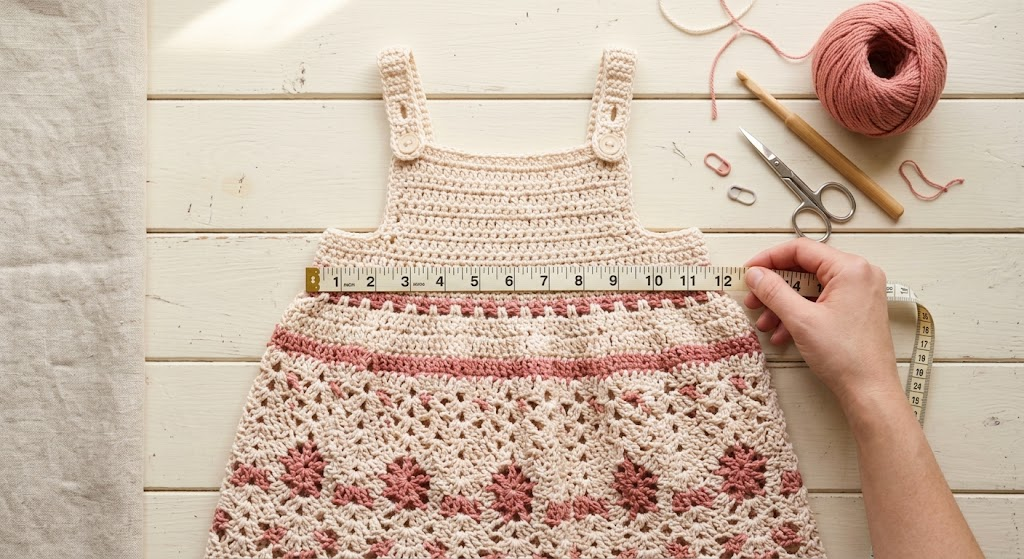
And remember: measurements are more useful than guessing. Measure the baby’s chest, desired dress length, and other relevant areas when appropriate, then compare those numbers with the pattern measurements.
5. Take Your Time With the Decorative Stitches
The decorative stitching is what makes a crochet baby dress feel special.
The Sunshine Dress combines shell and puff stitches in the bodice with an eyelet crochet fabric in the skirt.
If you’re new to these stitches, don’t worry if the first few rows don’t look perfect.
Puff stitches can initially feel awkward because you are working several loops into the same area. Shell stitches can also look uneven until you get comfortable controlling your tension.
My preferred approach is to practice the stitch on a small scrap of the same yarn first. Once your hands understand the movement, the actual dress becomes much easier.
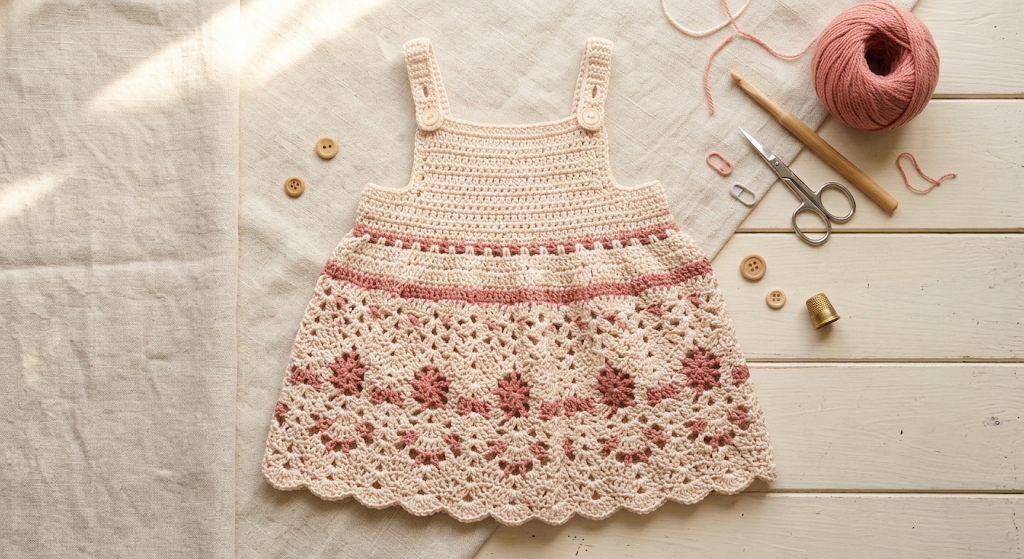
The eyelet-style skirt is another place where consistent tension helps. If some stitches are noticeably tighter than others, the skirt may not hang evenly.
Don’t rush simply because the project is small. Baby garments have small rows, but decorative stitches can still require concentration.
A Few Finishing Details I Wouldn’t Skip
Once the main dress is finished, take some time with the finishing.
Weave yarn ends securely into the wrong side of the fabric rather than simply cutting them close to the stitches. Check the straps, closures, and decorative sections carefully.
I would also gently wash the finished garment according to the yarn manufacturer’s instructions before giving it to a baby. This gives you a chance to check how the fabric behaves after washing and makes the finished piece feel fresh and ready to wear.
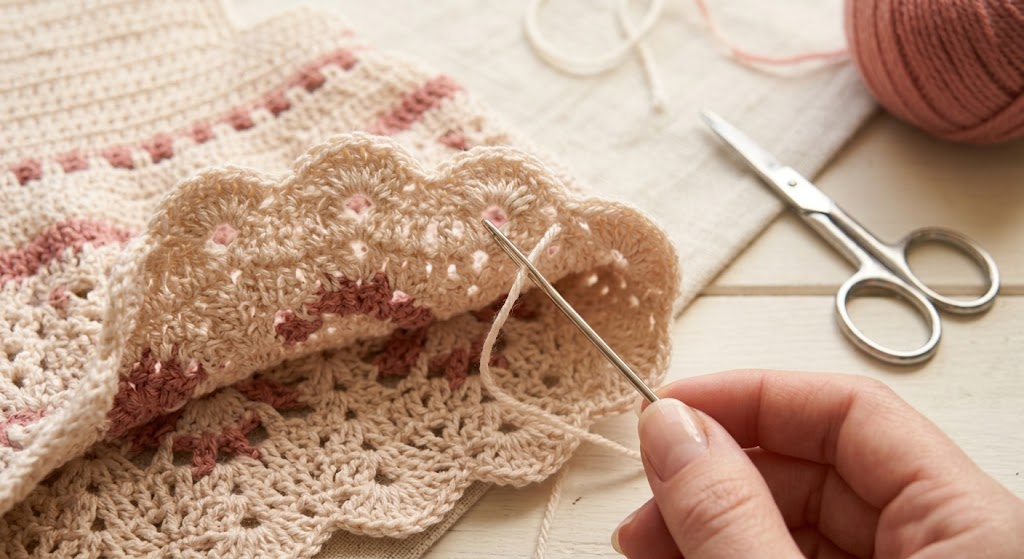
Most importantly, inspect the finished garment for anything that could become loose or uncomfortable. Handmade baby clothing should be comfortable, secure, and practical—not just pretty.
Final Thoughts
A crochet baby dress is one of those projects where the little details really matter.
The Sunshine Dress is particularly interesting because it combines several techniques in one small garment: shell stitches, puff stitches, an eyelet-style skirt, color possibilities, adjustable straps, and a back closure.
If you’re making one for the first time, I would focus on five things:
- Choose a soft, washable DK-weight yarn.
- Use the correct hook size and comfortable tools.
- Make a gauge swatch before committing to the whole dress.
- Measure carefully rather than relying only on age.
- Take your time with the decorative stitches and finishing.
The best part of handmade baby clothing is that it doesn’t have to be perfect to be beautiful. Small variations are part of what makes handmade crochet special.
With the right yarn, comfortable hooks, careful measurements, and a little patience, you can create a baby dress that looks thoughtful, delicate, and genuinely handmade.