Easy Chunky Baby Blanket Crochet Pattern: A Step-by-Step Beginner-Friendly Guide
There is something especially satisfying about crocheting a chunky baby blanket. The thick yarn works up quickly, the stitches have a beautiful soft texture, and the finished blanket feels warm and cozy without requiring complicated techniques.
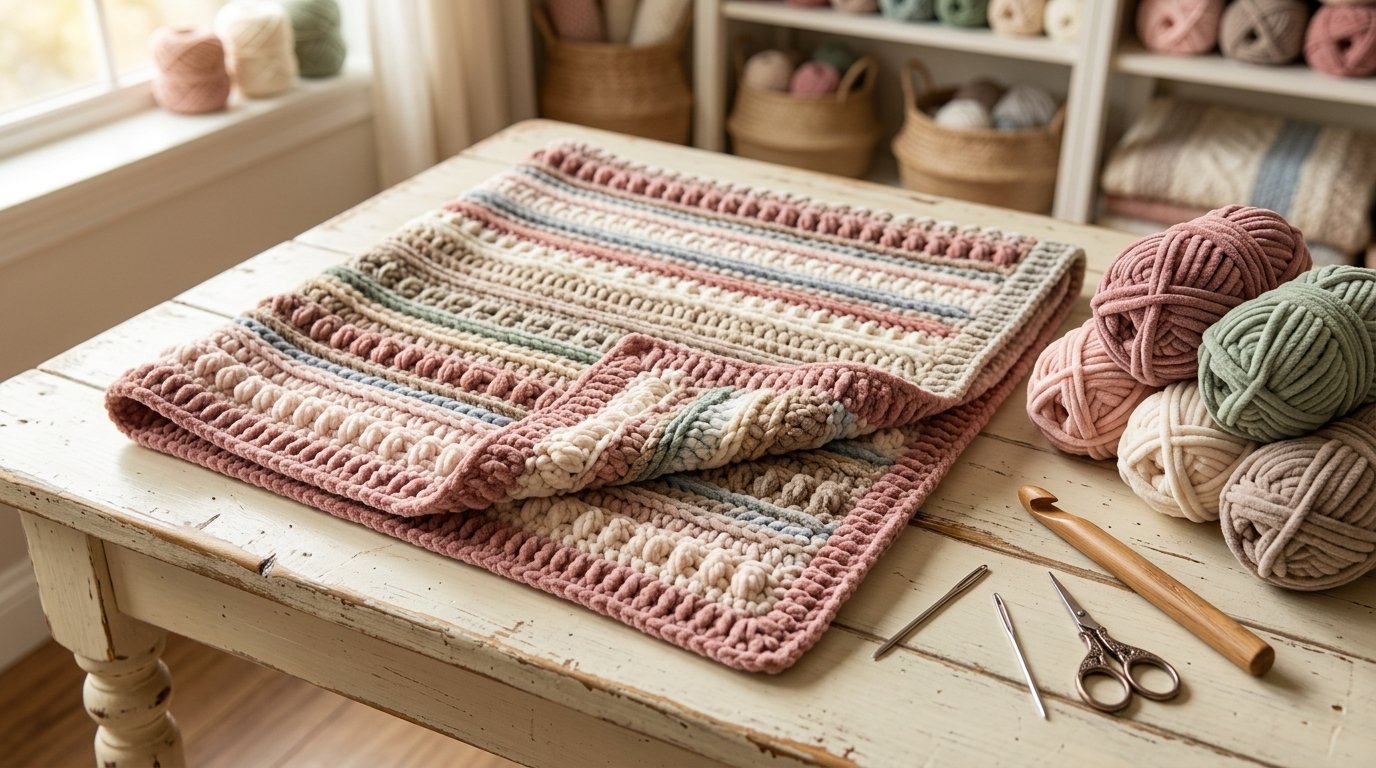
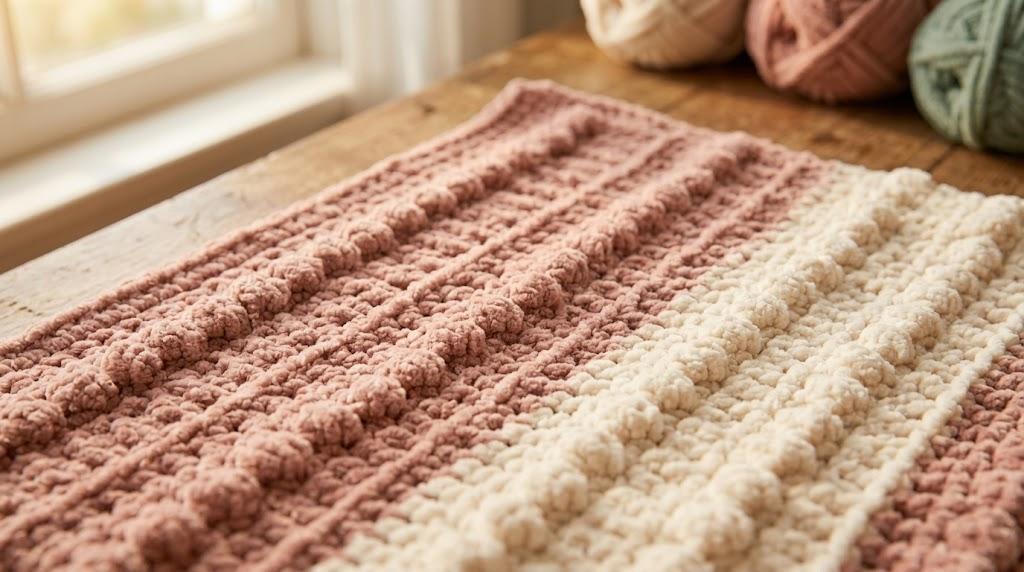
For this pattern, I wanted to keep things beginner-friendly while still making the blanket look polished and handmade. I’m using a simple textured stripe design with a neat border, so you can practice basic stitches while creating something that looks much more detailed than it actually is.
This is an original chunky baby blanket pattern, inspired by the idea of combining thick yarn with alternating textured rows. It is not a reproduction of the linked pattern.
Why I Love This Style of Baby Blanket
Chunky yarn is one of my favorite choices when I want a project that shows progress quickly. With thinner yarn, a blanket can take a long time before you can really see its shape. Chunky yarn is different—you can watch the blanket grow row by row.
I also like alternating solid and textured rows because they create visual interest without requiring complicated colorwork.
For a baby blanket, I recommend choosing soft, washable yarn. Babies’ blankets are likely to need regular washing, so easy-care fibers are especially practical.
Materials You’ll Need
- Super chunky/blanket-weight chenille yarn in 3 colors
- 9–10 mm crochet hook, depending on your yarn
- Tapestry needle
- Stitch marker
- Scissors
- Measuring tape
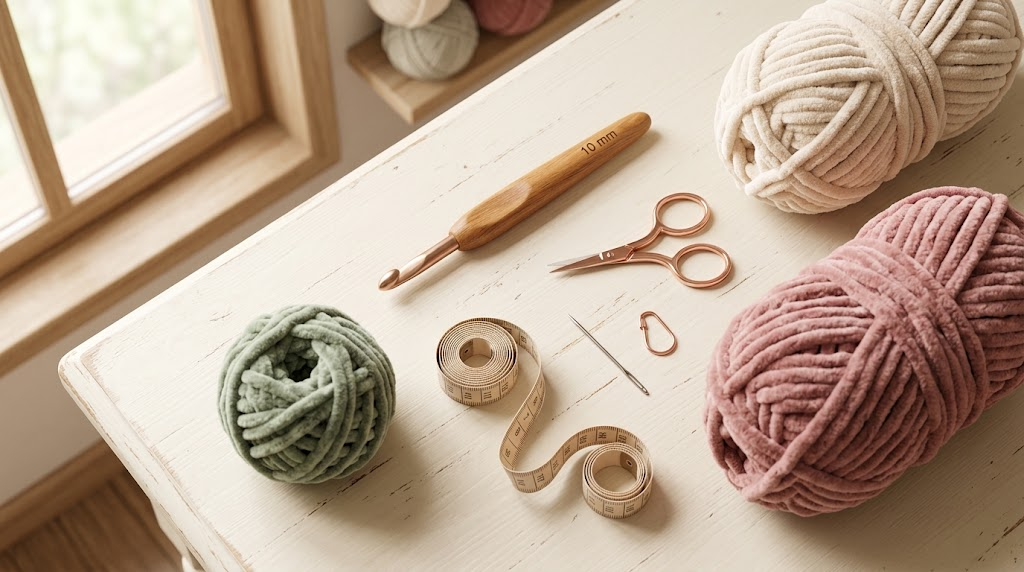
My 2 Helpful Amazon Picks
1. Ergonomic 9 mm or 10 mm Crochet Hook
A large ergonomic hook is especially helpful with chunky yarn. I recommend choosing one with a comfortable handle because thick yarn can make your hand work harder than lightweight yarn.

2. Blunt-Tip Tapestry Needle Set
A large-eye tapestry needle makes weaving in the thick yarn ends much easier. I prefer blunt tips for finishing crochet because they can pass between stitches without catching the yarn as easily.

For Amazon, search for “9mm 10mm ergonomic crochet hook” and “large eye blunt tapestry needles for crochet.” Check the current listing, seller, and delivery availability for your location before purchasing.
Finished Size
For a small baby blanket, aim for approximately:
34–36 inches wide × 40–42 inches long
The exact size will depend on your yarn thickness and tension.
You can easily make it smaller or larger by changing your starting chain.
Abbreviations
I use US crochet terms:
- ch – chain
- sc – single crochet
- hdc – half double crochet
- dc – double crochet
- sl st – slip stitch
- st – stitch
- sk – skip
- BLO – back loop only
- rep – repeat
Before You Start: Make a Small Swatch
With chunky yarn, your tension can make a surprisingly large difference.
Chain about 16 stitches and work several rows of hdc. Measure the center section of your swatch.
You don’t have to match a specific gauge perfectly for this blanket. Instead, use the swatch to check that your fabric feels soft and flexible rather than stiff.
If your stitches feel too tight, try a larger hook.
Chunky Baby Blanket Pattern
Step 1: Make the Foundation Chain
With your main color, chain 56.
For a wider blanket, add chains in multiples of 2.
Try not to pull the foundation chain too tightly. A relaxed chain gives your bottom edge more flexibility.
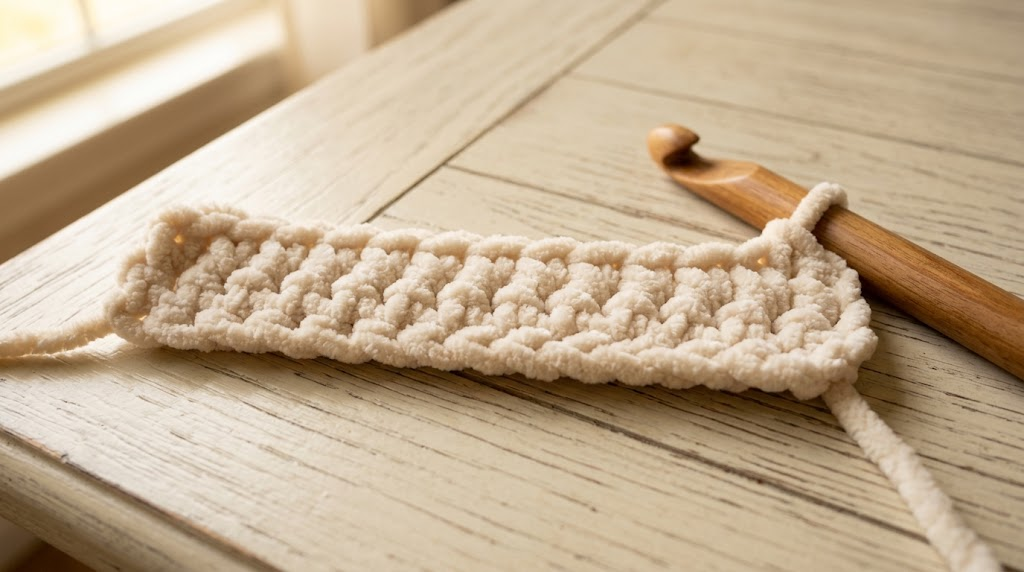
Row 1
Starting in the second chain from the hook:
Work 1 sc in each chain across.
You should have 55 sc.
Chain 1 and turn.
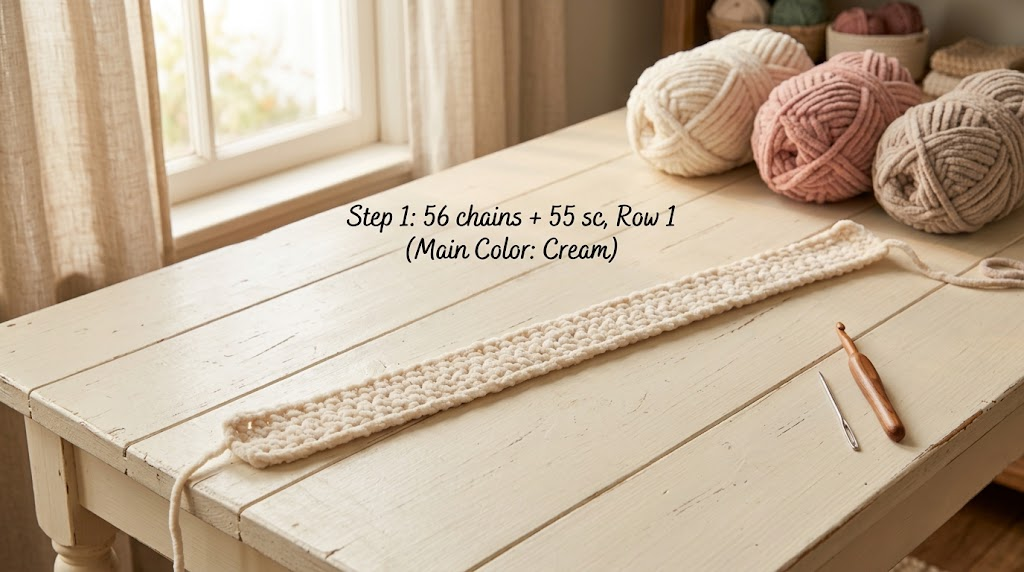
Step 2: Create the First Textured Row
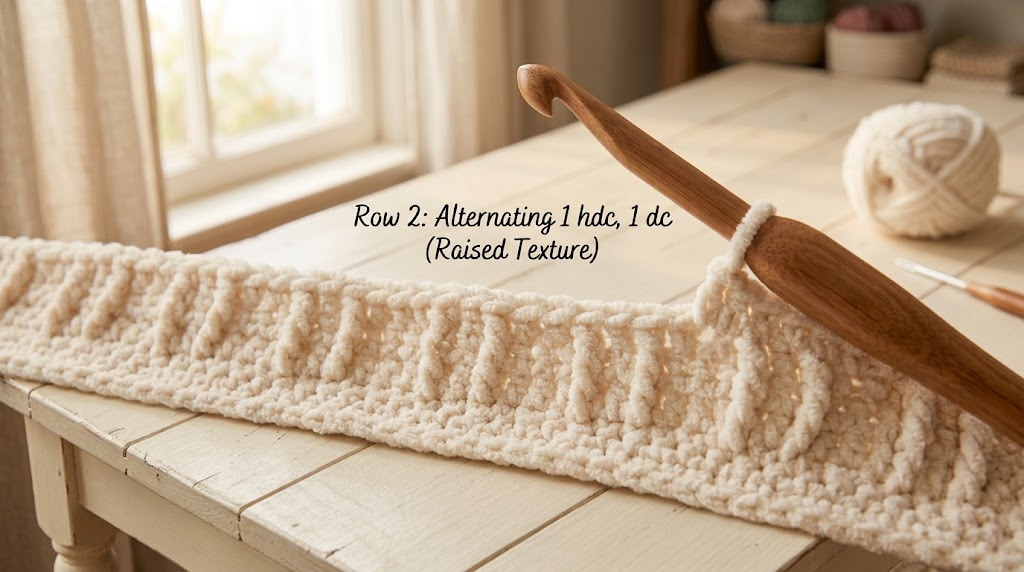
Row 2
Work 1 hdc in the first stitch.
In the next stitch, work 1 dc.
Continue alternating:
1 hdc, 1 dc
across the row.
End with an hdc if needed to keep the edge balanced.
Chain 1 and turn.
This row creates the foundation for the raised texture.
Step 3: Add a Soft Ridge
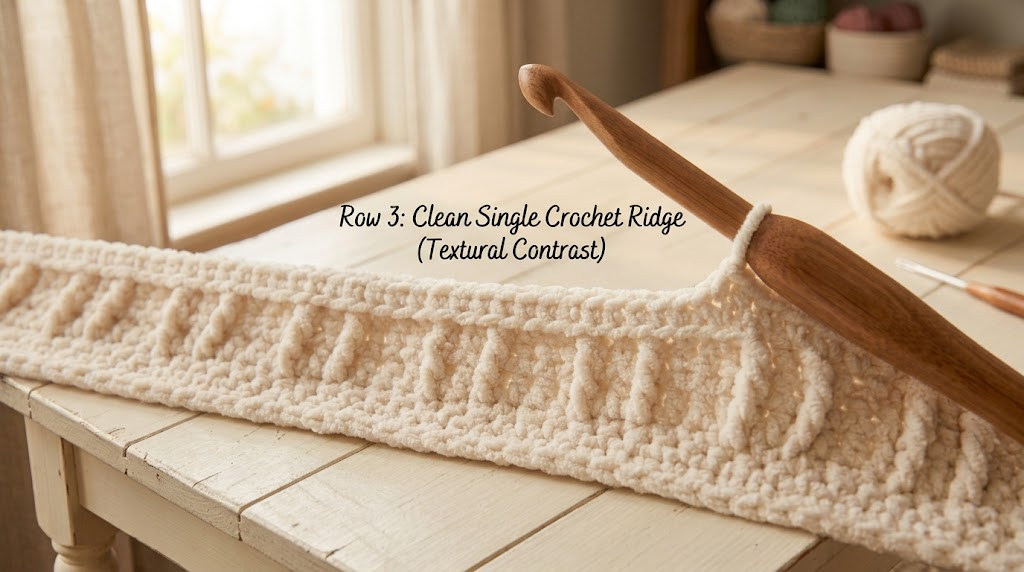
Row 3
Work 1 sc in every stitch across.
Keep your tension relaxed.
This simple row helps define the texture underneath and also gives the blanket a clean stripe-like appearance.
Chain 1 and turn.
Step 4: Begin the Repeating Texture
Row 4
Work 1 hdc in the first stitch.
Skip the next stitch.
Work 2 dc into the following stitch.
Repeat:
skip 1 stitch, 2 dc in next stitch
across the row.
When you reach the final stitches, adjust naturally so your edge remains straight.
Chain 1 and turn.
Row 5
Work 1 sc in each stitch across.
Chain 1 and turn.
Row 6
Repeat Row 4.
Row 7
Repeat Row 5.
You should now see a soft raised texture developing across the blanket.

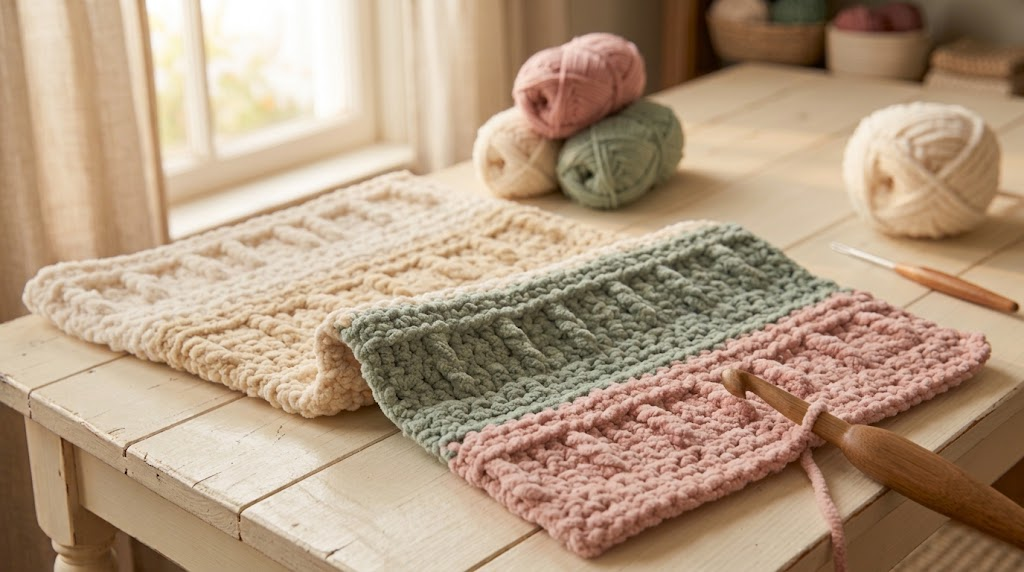
Step 5: Change Colors
For a simple multi-color design, I recommend using three colors:
- Color A: soft blush pink
- Color B: warm cream
- Color C: muted sage
You can substitute any colors you love.
At the end of Row 7, join your next color while completing the final stitch. This keeps the color change cleaner.
Now work:
Rows 8–10: Color B
Rows 11–13: Color C
Rows 14–16: Color A
For each three-row section, use:
- First row: textured hdc/dc pattern
- Second row: sc across
- Third row: textured hdc/dc pattern
Continue alternating the three colors until your blanket reaches approximately 38–40 inches long.
The important thing is to keep your stitch pattern consistent rather than focusing too heavily on an exact number of rows.
Step 6: Check the Blanket Shape
Lay your blanket flat every few rows.
Look at both side edges.
If the edges are becoming wider, your stitches may be increasing accidentally. If they are becoming narrower, you may be skipping stitches.
With chunky yarn, small mistakes can become noticeable quickly, so I like checking the shape regularly rather than waiting until the end.

Step 7: Make the Border
Once the blanket reaches your desired length, fasten off and weave in the loose ends.
Attach your border color in one corner.
Border Round 1
Chain 1.
Work sc stitches evenly around the entire blanket.
When you reach a corner, work 3 sc into the corner space.
Continue around all four sides.
When you return to the starting corner, slip stitch to the first sc.
Fasten off.

Border Round 2
Join your second border color in any corner.
Chain 1.
Work sc around the blanket again.
At each corner, work:
1 sc, 1 hdc, 1 sc
in the corner area.
This gives the corners enough room to turn without pulling.
Slip stitch to the beginning when you reach the starting point.
Fasten off.
Step 8: Finish the Blanket
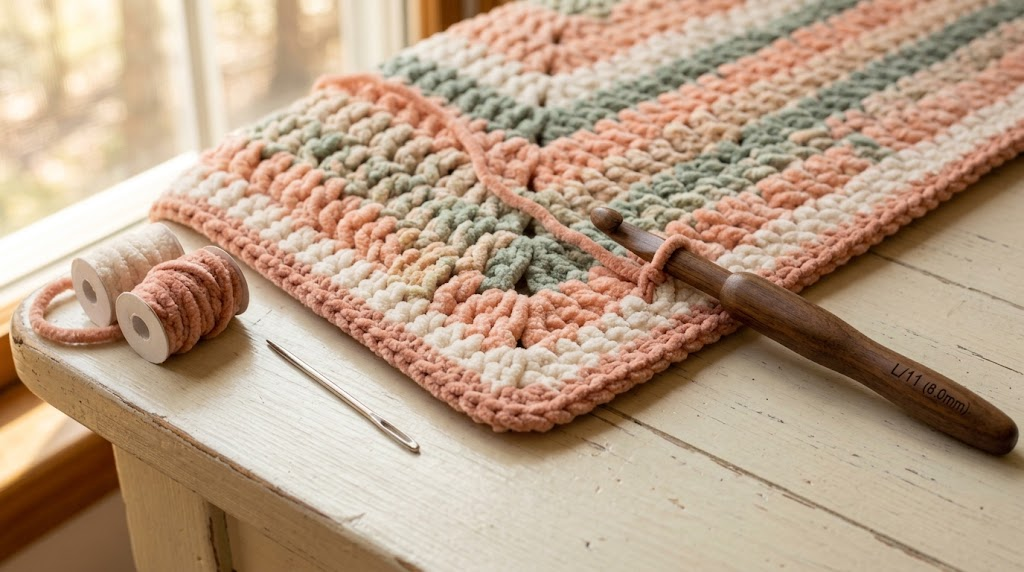
Use your tapestry needle to carefully weave in every remaining yarn end.
Because this is a baby blanket, I recommend taking extra time with the finishing. Loose ends should be secured well so they don’t pull out during normal use or washing.
Give the finished blanket a gentle wash according to the yarn manufacturer’s instructions and lay it flat to dry if recommended.
Avoid using extremely hot water or high heat unless your yarn label specifically allows it.
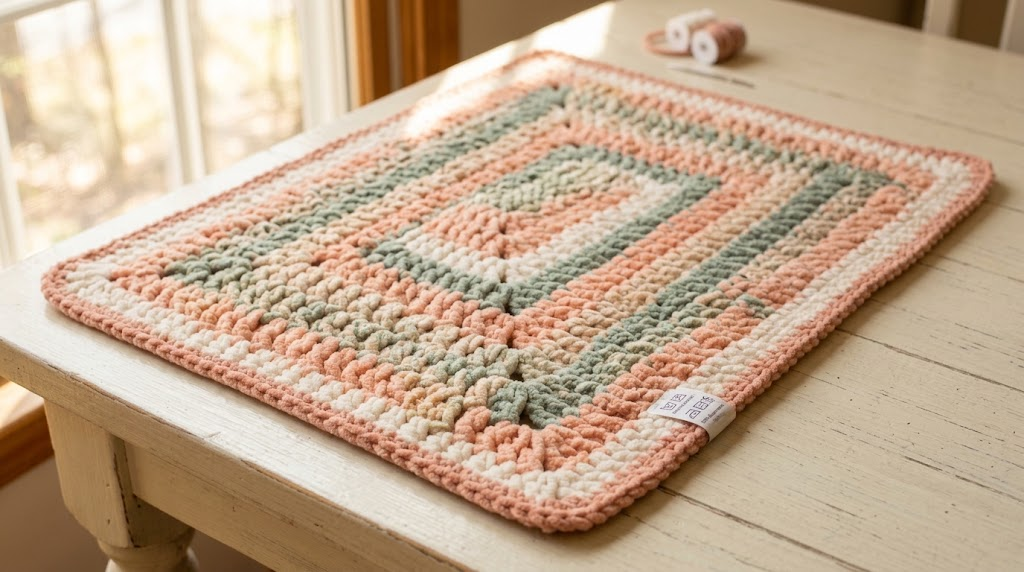
Easy Ways to Customize It
This pattern is easy to personalize.
For a baby girl theme, try blush, cream, and dusty rose.
For a gender-neutral nursery, sage, ivory, and beige look beautiful together.
For a more modern look, try cream, taupe, and charcoal.
You can also make the blanket larger by continuing the repeating three-row sections.
My Best Tips for a Successful Chunky Blanket
My biggest tip is don’t crochet too tightly. Chunky yarn already creates a thick fabric, and tight stitches can make a blanket unnecessarily stiff.
I also recommend checking your stitch count at the end of every row. It takes only a few seconds and can save you from having to undo several rows later.
Finally, don’t be afraid to keep your color palette simple. Three coordinated colors are enough to make the texture stand out.
Final Thoughts
I love this type of crochet blanket because it gives beginners a satisfying project without requiring complicated shaping. The chunky yarn makes the blanket grow quickly, while the alternating textured rows give it a handmade designer feel.
Once you’ve made one, you can easily adjust the width, length, colors, and border to create a completely different version. It would make a thoughtful baby-shower gift, nursery blanket, or cozy handmade keepsake.