Crochet Granny Stripe Blanket: An Easy, Cozy Pattern for Beginners
Have you ever seen a colorful crochet blanket and wondered how something so beautiful could be made with just a few basic stitches? That is exactly what makes the crochet granny stripe blanket so appealing. It has the classic charm of traditional granny stitch designs, but a simple row-by-row construction makes it approachable for beginners.
If you are looking for a relaxing crochet project that produces a useful finished item, this blanket is an excellent place to start.
What Is a Crochet Granny Stripe Blanket?
A crochet granny stripe blanket is a blanket made with repeating rows of textured stitches in different colors. Traditional granny stitch patterns often use clusters of double crochet stitches separated by chain spaces. These create the familiar open, lacy appearance that many crocheters love.
This variation is particularly useful when you want a blanket with a more closed fabric, especially for a baby or for everyday use.
One of my favorite things about this type of design is its versatility. You can use soft pastels for a nursery, neutral shades for a living room, or bright colors for a cheerful handmade gift.
Why I Recommend This Style of Crochet Blanket
There are several reasons this pattern is worth considering, particularly if you are still learning crochet.
1. It uses basic stitches. You do not need to master complicated lace techniques or decorative stitches. The pattern mainly uses half double crochet and single crochet, along with chains, slip stitches, and skipped stitches.
2. The repeating rows are easier to remember. Once you understand the stitch pattern, you can settle into a comfortable rhythm. You will still need to pay attention to the row instructions and color changes, but the design does not require you to learn a completely new stitch for every row.
3. It works well with color combinations. You can make the blanket look completely different simply by changing the yarn colors. Three coordinated shades create a classic striped effect without making the design feel too busy.
4. The size is adjustable. You can make a smaller baby blanket, a lap blanket, or a larger throw by adjusting the starting chain and the number of rows.
5. It makes a thoughtful handmade gift. A crocheted blanket is useful, personal, and suitable for many occasions, including baby showers, birthdays, and housewarming gifts.
Although this is a beginner-friendly project, I would still recommend working a small practice swatch first. It helps you understand the stitch pattern and see how your chosen yarn behaves before you commit to the full blanket.
Materials You Need for a Crochet Granny Stripe Blanket
Gathering the correct materials before you begin makes the process much easier.
1. Super Bulky Yarn
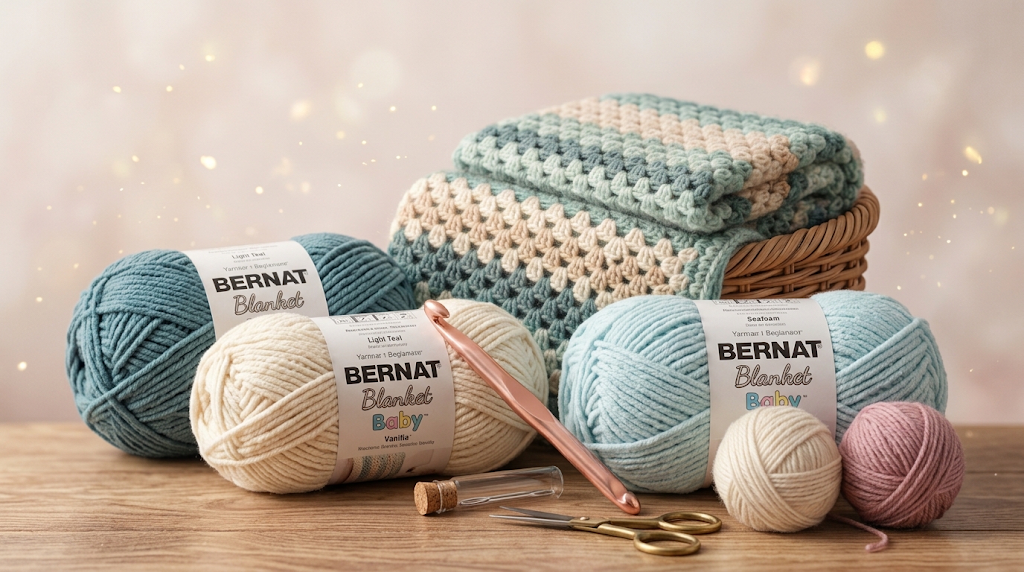
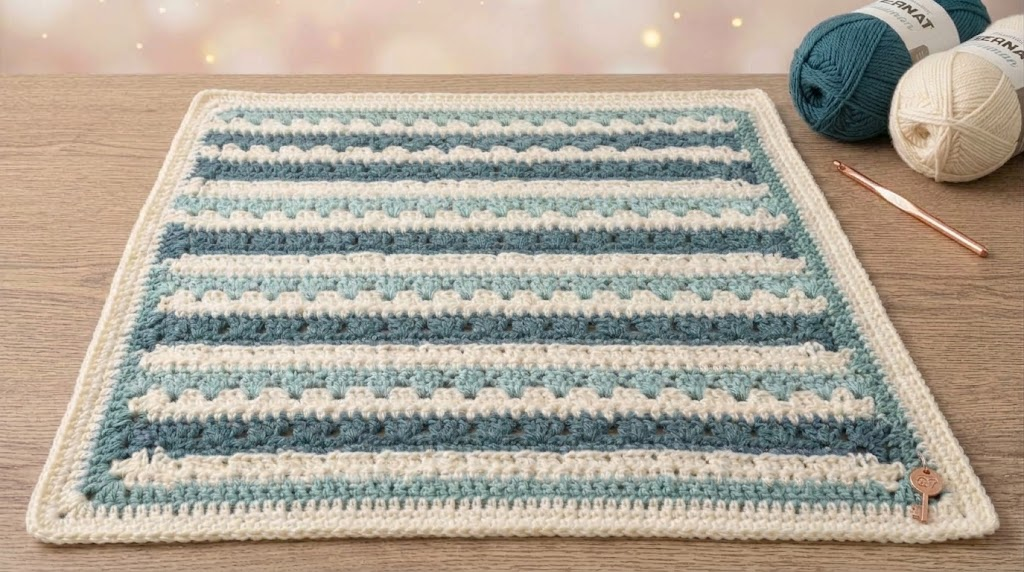
The original Crochet Dreamz pattern uses super bulky yarn in three colors. The creator lists Bernat Blanket yarn in Light Teal and Bernat Blanket Baby in Vanilla and Seafoam as the colors used for the example.
Super bulky yarn is a practical choice because it creates a thick, soft fabric and helps the blanket grow more quickly than many lightweight yarn projects.
For the original version, the listed yarn requirements are approximately:
- 200 yards of the cream-colored yarn.
- 200 yards of the dark blue yarn.
- 300 yards of the light blue yarn.
These quantities are specific to the original project. If you change the yarn brand, hook size, starting width, or finished dimensions, your yarn requirements may also change.
Before purchasing yarn, check the yardage on each skein and buy enough of each color to complete your project. If possible, purchase matching dye lots to reduce the risk of visible color differences.
2. A 10 mm Crochet Hook
The original pattern calls for an N/P (10 mm) crochet hook.
A hook of this size is suitable for the specified super bulky yarn, but your personal tension can affect the final fabric. If your stitches are unusually tight or loose, your finished blanket may be smaller, larger, or less flexible than expected.
Look for a hook that feels comfortable in your hand. An ergonomic handle may be helpful if you plan to crochet for longer periods.
3. A Yarn Needle
You will need a large-eye yarn needle to weave in the loose ends after completing the blanket.
This small tool makes a noticeable difference to the finished appearance. Securely woven ends help keep the blanket tidy and reduce the risk of loose tails working their way out during normal use.
4. Scissors
Keep a sharp pair of craft scissors nearby for trimming yarn tails after weaving them in. Cut carefully, leaving enough length to secure the yarn properly.
Understanding the Stitches Before You Begin
If you are new to crochet, these abbreviations will help you follow the pattern.
| Abbreviation | Meaning |
|---|---|
| ch | Chain |
| sc | Single crochet |
| hdc | Half double crochet |
| sl st | Slip stitch |
| sk | Skip |
The half double crochet stitch is especially important in this design.
To make a half double crochet, yarn over, insert your hook into the indicated stitch, yarn over again, and pull up a loop. You should have three loops on your hook. Yarn over once more and pull through all three loops.
The single crochet stitch is simpler. Insert your hook into the stitch, yarn over and pull up a loop, then yarn over and pull through both loops on your hook.
If you can make these two stitches consistently, you already have the basic skills needed to begin this blanket.
How to Crochet the Granny Stripe Blanket
The following is a beginner-friendly overview of the construction. Refer to the original tutorial for the exact stitch placement and full row-by-row instructions.
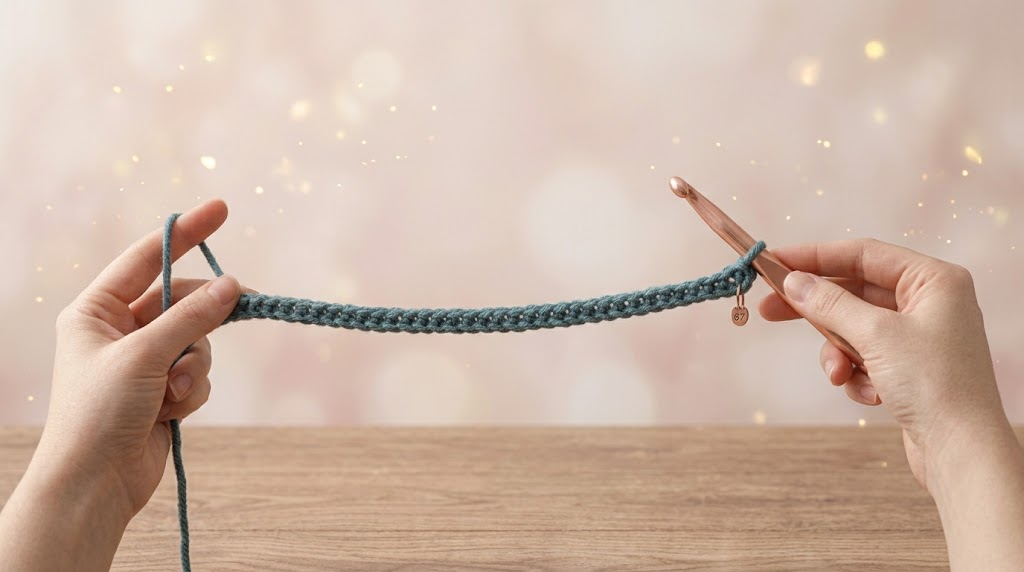
Step 1: Make the Foundation Chain
Begin with your dark-colored yarn and the recommended 10 mm hook.
The original pattern starts with a chain of 67 stitches. The creator also notes that the starting chain can be adjusted using a multiple of two plus three chains.
If you are making your first blanket, I suggest following the original starting chain rather than experimenting with the width immediately. Once you understand the stitch repeat, adjusting the size becomes much easier.
Try to keep your chain relaxed. A very tight foundation chain can pull the bottom edge inward and make the blanket difficult to keep straight.
Step 2: Work the First Row
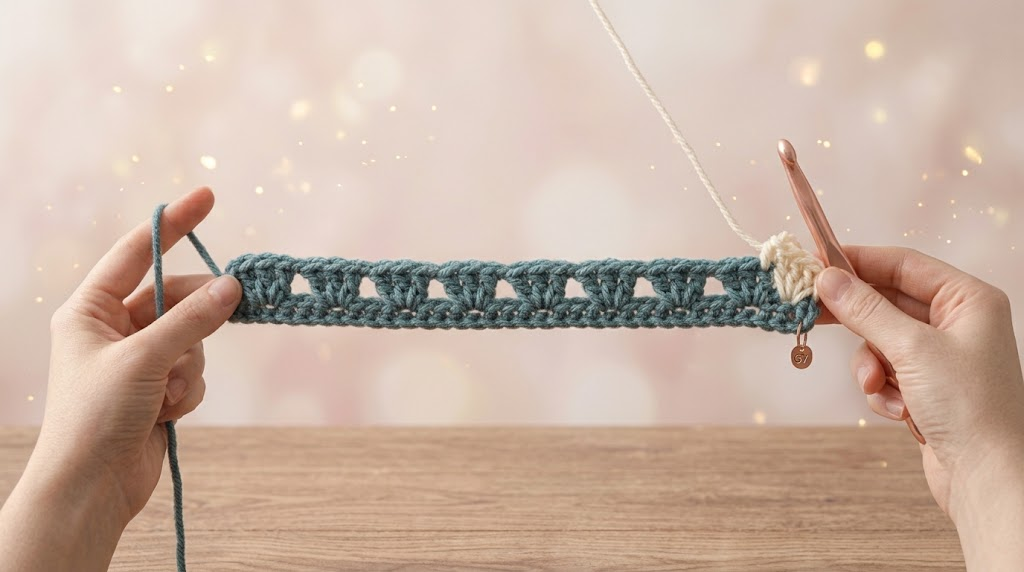
The first row establishes the repeating stitch pattern.
You will work half double crochet stitches according to the instructions, skipping selected chains between stitch groups. At the end of the row, you will begin changing to the next color while completing the final stitch.
Count your stitches as you work. Beginners sometimes accidentally add or lose stitches at the ends of rows, which can cause the blanket to become wider or narrower as it grows.
Step 3: Change Colors Without Cutting the Yarn Every Time
Color changes are what give this blanket its distinctive appearance.
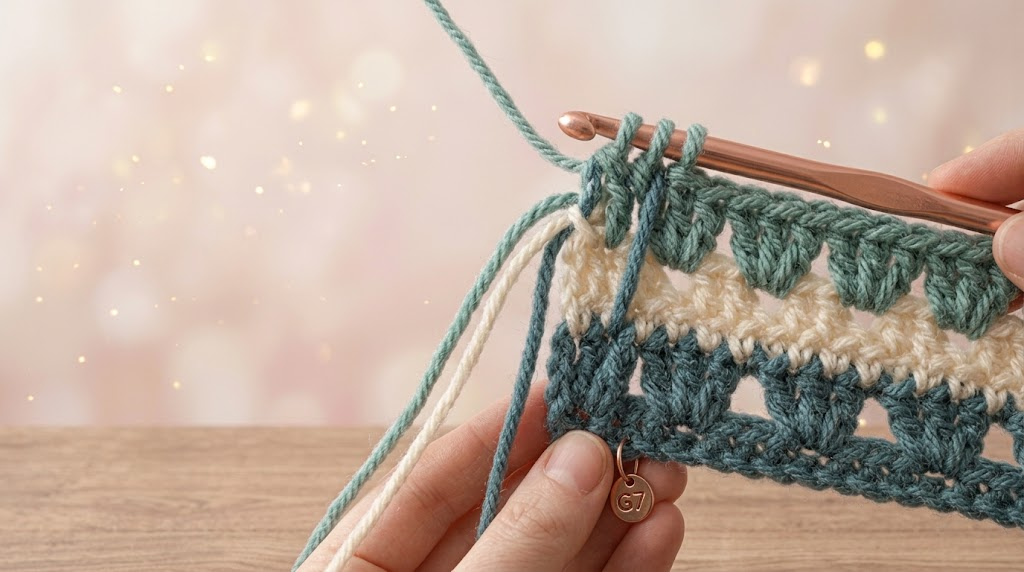
One useful feature of the original design is that you do not need to fasten off after every color change. Instead, you drop the previous color and pick it up again when the pattern calls for it.
To join a new color, begin the final half double crochet stitch of the row as usual. When three loops remain on your hook, use the new color to complete the stitch.
This technique creates a cleaner transition between stripes.
There is one important detail to remember: the unused yarn runs along the side of the blanket. Keep it loose enough to avoid pulling the edge inward, but not so loose that long loops form.
The border will cover these carried strands later.
Step 4: Repeat the Rows in the Correct Order
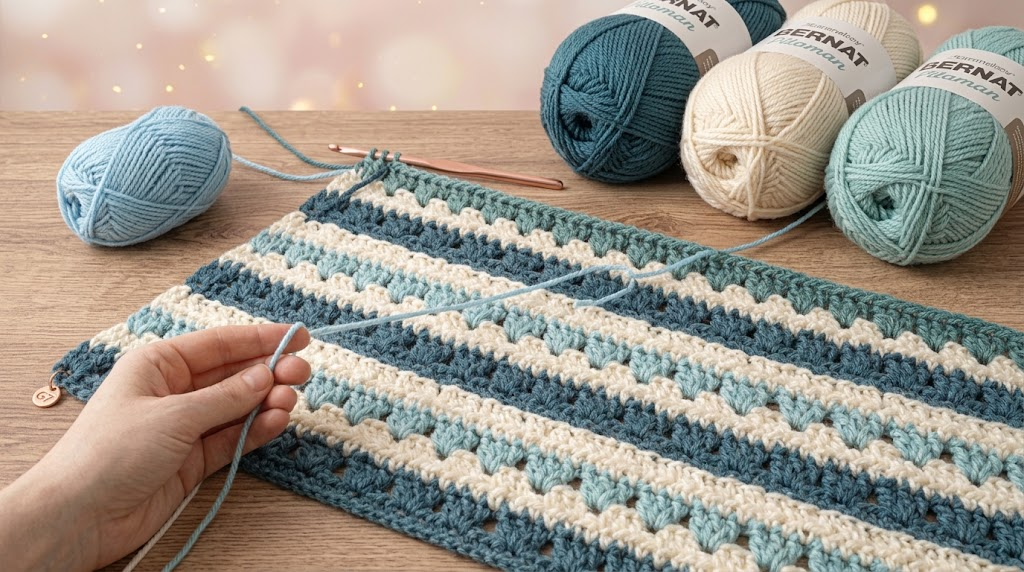
The original pattern alternates between two row instructions and uses a three-color sequence.
The colors are dark blue, light blue, and cream. After the initial rows establish the pattern, you continue repeating the specified rows until the blanket reaches the intended length.
Try not to rush the color changes. Keeping the yarn organized makes the work more enjoyable and helps you avoid tangles.
A simple habit that helps is to move the new color over the other two skeins toward your left whenever you change colors, keeping the remaining skeins to your right.
Step 5: Add the Border
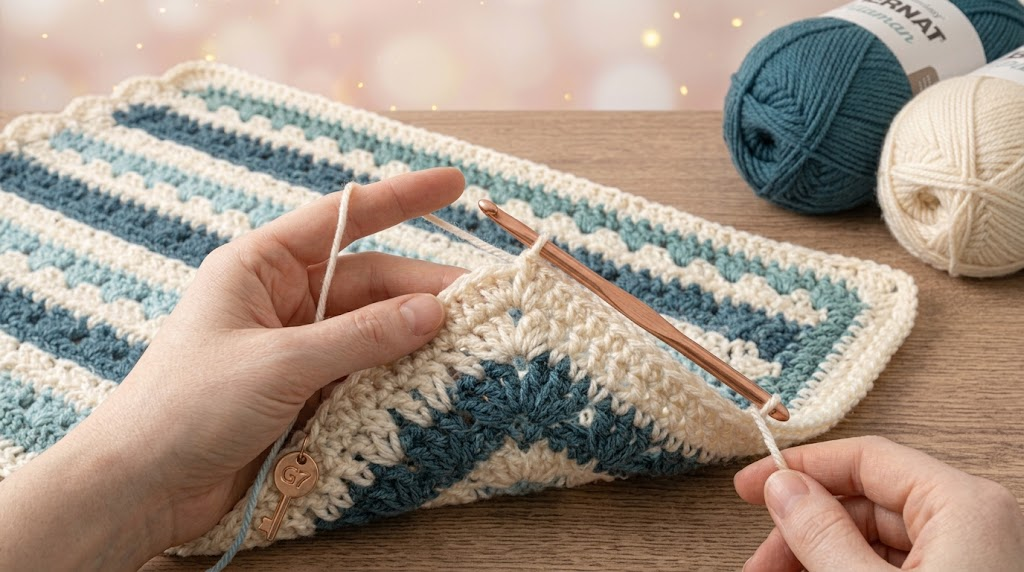
The border is an important finishing detail because it gives the blanket a more complete appearance and helps conceal the strands carried along the side.
The original pattern uses two rounds of single crochet-based edging.
During the first round, work evenly along the row ends and foundation edge. At the corners, add the increases specified in the pattern so the blanket can turn smoothly.
During the second round, follow the repeating instructions for the decorative edge.
Pay attention to the corners. Too few stitches can make them curl inward, while too many can cause the border to wave. If the corners look tight,
Step 6: Weave in the Remaining Ends
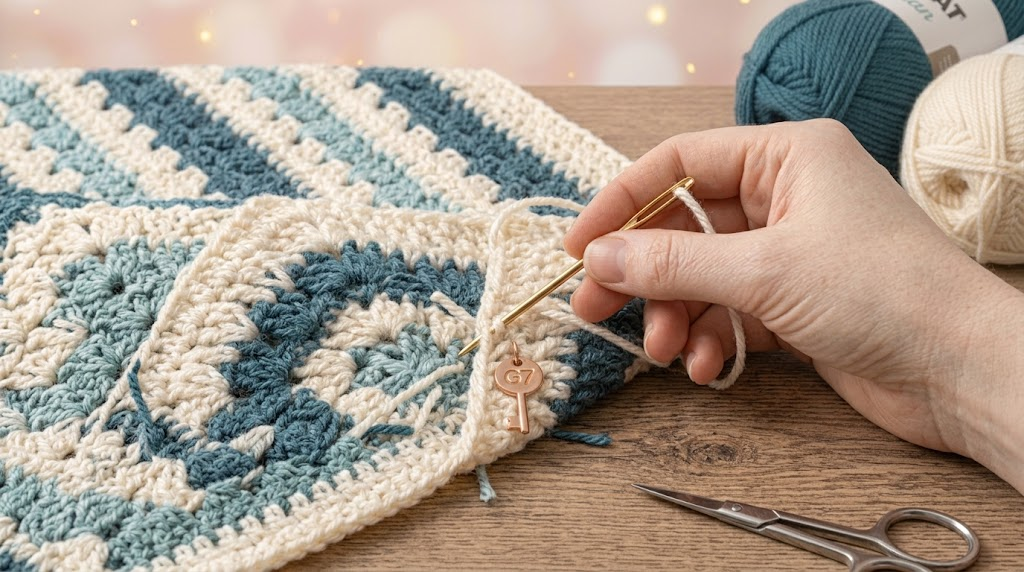
Once the border is complete, fasten off your yarn and weave in the remaining tails with a yarn needle.
Work the needle through several stitches on the wrong side of the fabric, changing direction where practical to help secure the end. Trim the excess yarn only after it is properly woven in.
For a baby blanket, inspect the finished piece carefully for loose ends, uneven edges, and any other areas that need attention before use.
My Practical Tips for a Neater Granny Stripe Blanket
Choose colors that work together
Three colors are enough to create a beautiful striped effect. If you are unsure which shades to choose, try one darker color, one lighter color, and a soft neutral.
For example, teal, pale blue, and cream give a calm, traditional appearance. Dusty rose, blush, and ivory create a softer look, while mustard, cream, and gray offer a more contemporary combination.
Keep your tension consistent
Try to make each stitch similar in height and width. Consistent tension helps the blanket maintain a more even shape.
If the fabric feels stiff, check whether you are pulling the yarn too tightly. If it feels too loose or floppy, consider making a swatch with a slightly different hook size before continuing.
Do not ignore the edges
The sides of a striped blanket can look untidy if carried yarn is too tight or too loose. Check the edges every few rows so you can correct small problems before they become noticeable.
Measure as you go
The original blanket measures approximately 40 inches wide by 41 inches long. Your results may vary depending on your yarn, tension, and hook.
Measure your work periodically rather than relying only on the number of rows. This is especially important if you want a specific finished size.
Follow the yarn care instructions
Different yarns require different care. Check the label before washing the finished blanket, and follow the manufacturer’s recommendations for water temperature, drying, and handling.
For baby blankets, choose a yarn suitable for the intended use and make sure all loose ends are securely woven in.
Two Amazon Products Worth Considering
You do not need a large collection of expensive tools to make this blanket. I would focus on the two essentials below.
1. Bernat Blanket Super Bulky Yarn
Best for: Creating a soft, thick granny stripe blanket.
The original pattern uses Bernat Blanket yarn and a coordinating Bernat Blanket Baby shade. Choosing yarn with a similar weight and texture helps you stay closer to the intended appearance.
When shopping, check the yarn weight, yardage, fiber content, and available colors. Make sure you buy enough yarn in each shade for your chosen blanket size.
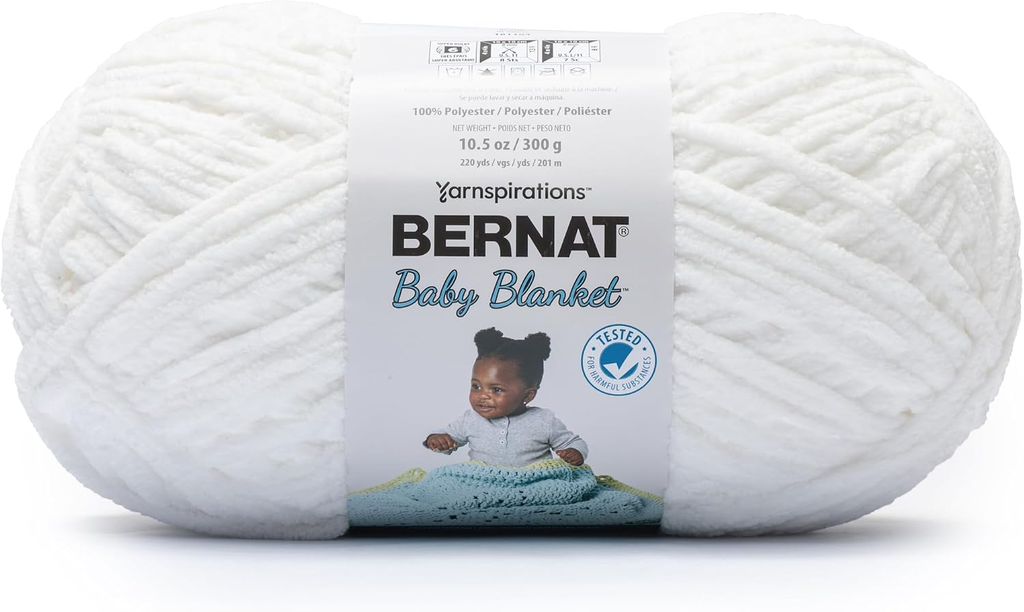
Why consider it? It matches the type of yarn specified by the original pattern and is a sensible starting point for recreating the blanket’s thick, cozy texture.
A quick reminder: availability and color choices vary, and the original shades may not always be in stock.
2. An Ergonomic 10 mm Crochet Hook
Best for: Working comfortably with super bulky yarn.
Because the original pattern calls for a 10 mm hook, that is the size I would look for first. An ergonomic handle may also be worth considering if you find that a narrow hook handle feels uncomfortable during longer crochet sessions.
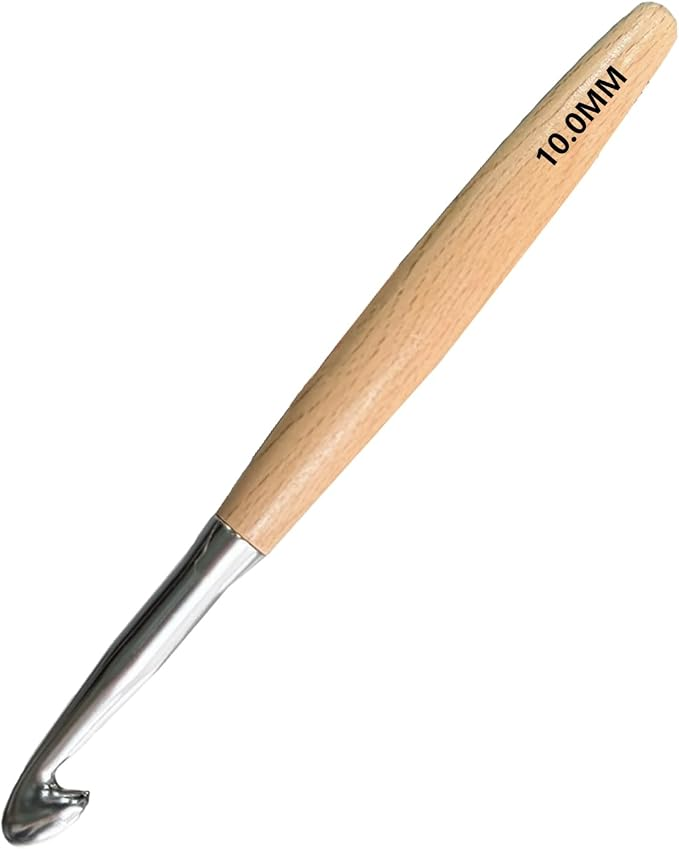
Why consider it? A comfortable hook can make it easier to maintain a steady rhythm while working through repetitive rows. However, handle shape is a personal preference, so check the dimensions and customer feedback before buying.
You do not need to purchase an entire hook set if you only need the size specified in this pattern.
Common Beginner Mistakes and How to Avoid Them
The blanket becomes narrower as it grows. Check that you are working the final stitch of every row in the correct place. Count your stitches regularly.
The side edge looks tight. Avoid pulling the unused yarn too firmly when changing colors. The carried strands should have enough slack for the blanket to lie flat.
The border curls or waves. Check your stitch distribution along the row ends and follow the corner instructions. Add or adjust corner increases where the pattern permits.
The stripes look uneven. Make sure you are repeating the correct row sequence and changing colors at the specified points.
You run out of one color. Estimate yarn requirements before beginning and consider buying enough from the same dye lot. Larger blankets may need considerably more yarn than the original version.
Most of these problems are easier to correct when you notice them early, so take a moment to inspect your work every few rows.
Final Thoughts
A crochet granny stripe blanket is a lovely project for anyone who enjoys simple stitches, colorful stripes, and practical handmade items. Its repeating construction makes it approachable for beginners, while the choice of colors gives experienced crocheters plenty of room for creativity.
I would start with the original three-color combination, use the recommended 10 mm hook, and work a small swatch before beginning the full blanket. Once you are comfortable with the stitch pattern and color changes, you can experiment with different palettes and dimensions.
Most importantly, take your time. A neat, well-finished blanket is worth more than a project rushed to completion.
Frequently Asked Questions
Is the granny stripe blanket suitable for beginners?
Yes. This variation uses basic stitches and a repeating row pattern. Beginners may need some practice with color changes and maintaining even edges.
What yarn does the original pattern use?
The original tutorial lists Bernat Blanket yarn in Light Teal and Bernat Blanket Baby in Vanilla and Seafoam, all in super bulky yarn.
What hook size do I need?
The original pattern calls for an N/P (10 mm) crochet hook.
Can I make the blanket larger?
Yes. The pattern allows you to adjust the starting chain and repeat the rows to change the finished dimensions. Remember to recalculate your yarn requirements.
Does this blanket have large holes?
This mock granny stripe variation uses half double crochet stitches to reduce gaps compared with a traditional open granny stitch design. The finished fabric will still depend on your tension and yarn.
How long does it take to crochet?
The original creator describes the project as taking about six hours. Your actual time will depend on your crochet experience, working speed, interruptions, and chosen size.
Can I use different colors?
Absolutely. Three coordinating shades work well, but you can choose any combination you like. Keep the yarn weight consistent to help maintain the intended texture.