Crochet Baby Earflap Hat Pattern: A Cute and Cozy Handmade Winter Hat
There is something especially lovely about a handmade baby hat. A little crochet hat not only makes an adorable accessory but also adds a personal touch to a baby’s winter wardrobe. If you enjoy making practical crochet gifts, this crochet baby earflap hat pattern is a wonderful project to add to your collection.
I love the classic look of earflap hats because they combine a cute design with extra coverage around the sides of the head. Unlike a simple beanie, an earflap hat has two small flaps that extend over the ears, giving the design a cozy winter appearance.
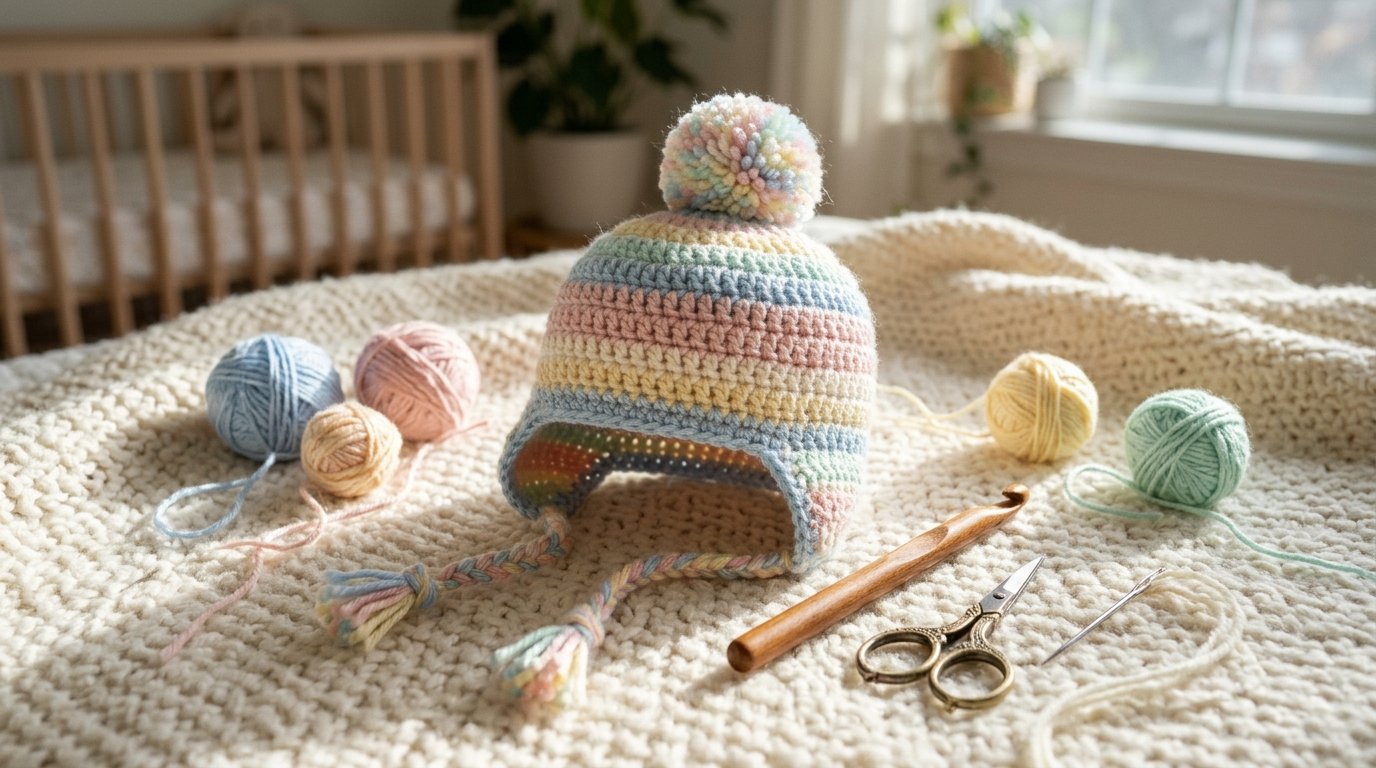
In this tutorial, I am sharing an original, beginner-friendly crochet earflap hat pattern using basic stitches and simple shaping. The design features a rounded crown, a comfortable hat body, two shaped earflaps, and a neat border. You can make it in soft baby pink, powder blue, cream, mint green, or any color that matches your preferred baby theme.
This pattern is written for approximately 0–3 months, with instructions for adjusting the size as your baby grows.
Why You Will Love This Crochet Baby Earflap Hat
There are plenty of reasons to make this little hat. First, it is a relatively small project, so you don’t need a large amount of yarn. It is also a lovely way to practice crocheting in joined rounds and learning how to shape fabric with simple decreases.
Here are some of my favorite features:
- Beginner-friendly construction: The pattern uses basic crochet stitches.
- Adorable earflaps: The two flaps give the hat its classic winter appearance.
- Customizable colors: Choose soft pastels, neutral shades, or brighter colors.
- A thoughtful handmade gift: It makes a sweet addition to a baby shower gift basket.
- Easy to personalize: You can change the colors and add a decorative border.
The best part is that you can make a matching hat for siblings or create several color combinations for handmade gifts.
Materials You Will Need
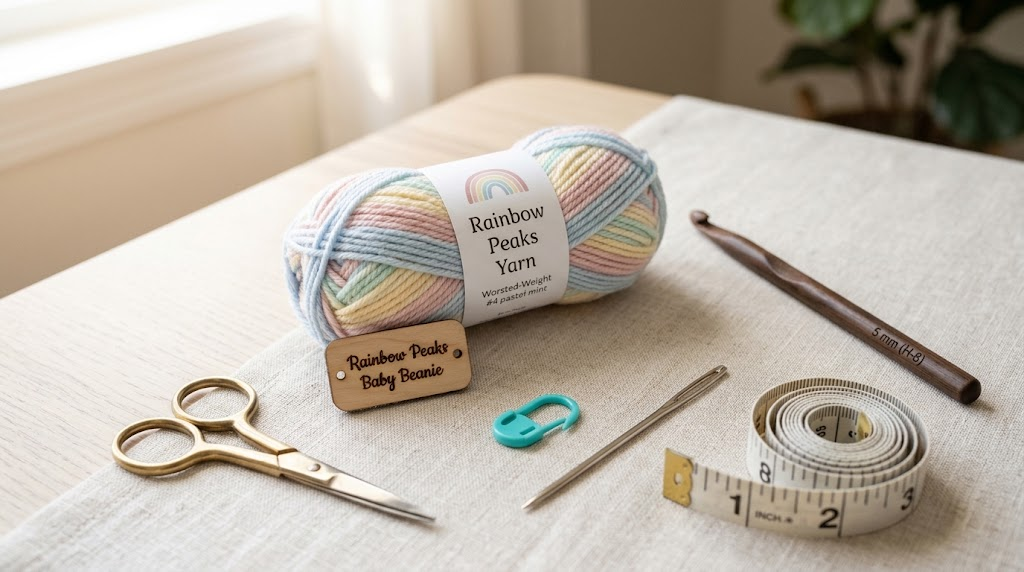
Before starting, gather the following supplies:
- Worsted-weight yarn (#4): Approximately 70–90 yards.
- Crochet hook: 5 mm (H-8).
- Stitch marker: Helpful for keeping track of rounds.
- Yarn needle: For weaving in loose ends.
- Scissors: For cutting the yarn.
- Measuring tape: To check the finished size.
Choosing the Right Yarn
For a baby hat, I recommend choosing a soft, lightweight-feeling yarn that is comfortable against delicate skin. A smooth acrylic or baby-friendly acrylic blend is a practical option because it is generally easy to wash and maintain.
Avoid rough, scratchy yarn or yarn that sheds loose fibers. Always check the manufacturer’s care instructions before choosing a yarn for a baby project.
For this design, pastel colors work beautifully. Powder blue, blush pink, warm ivory, pale yellow, and soft mint green are lovely choices.
Recommended Amazon Products
You don’t need a large collection of supplies for this project. I would focus on two useful purchases that can also be used for future crochet projects.
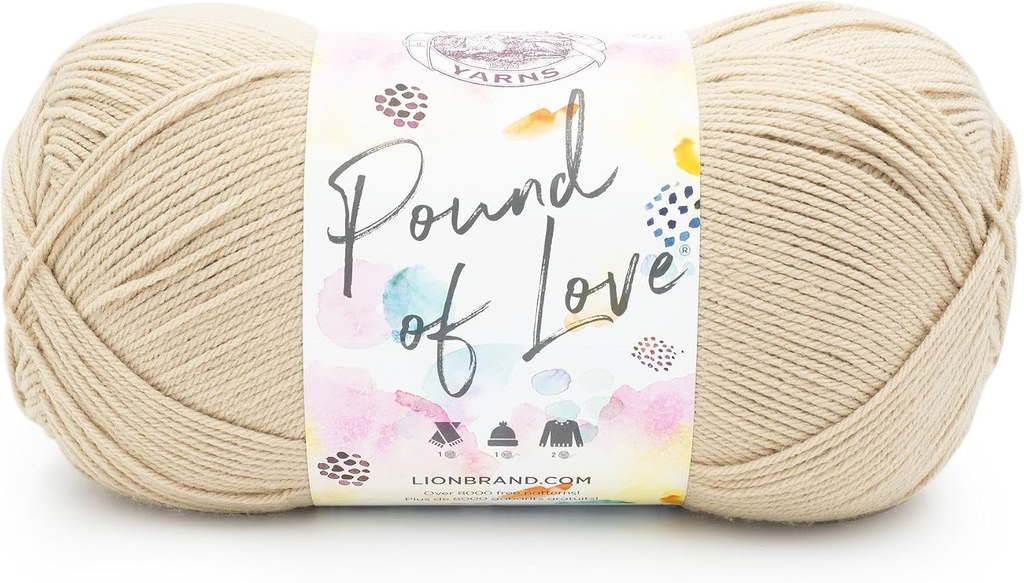
1. Lion Brand Pound of Love Yarn
This is a useful yarn option for crocheters who regularly make baby accessories, blankets, and other handmade projects. Its worsted-weight construction is suitable for patterns designed for medium-weight yarn.
Why consider it?
- Generous yardage for multiple projects.
- A variety of color options.
- Convenient for larger crochet collections.
- A practical choice when you want matching yarn for several handmade items.
Before purchasing, check the color, yarn weight, fiber information, and care instructions on the current listing.
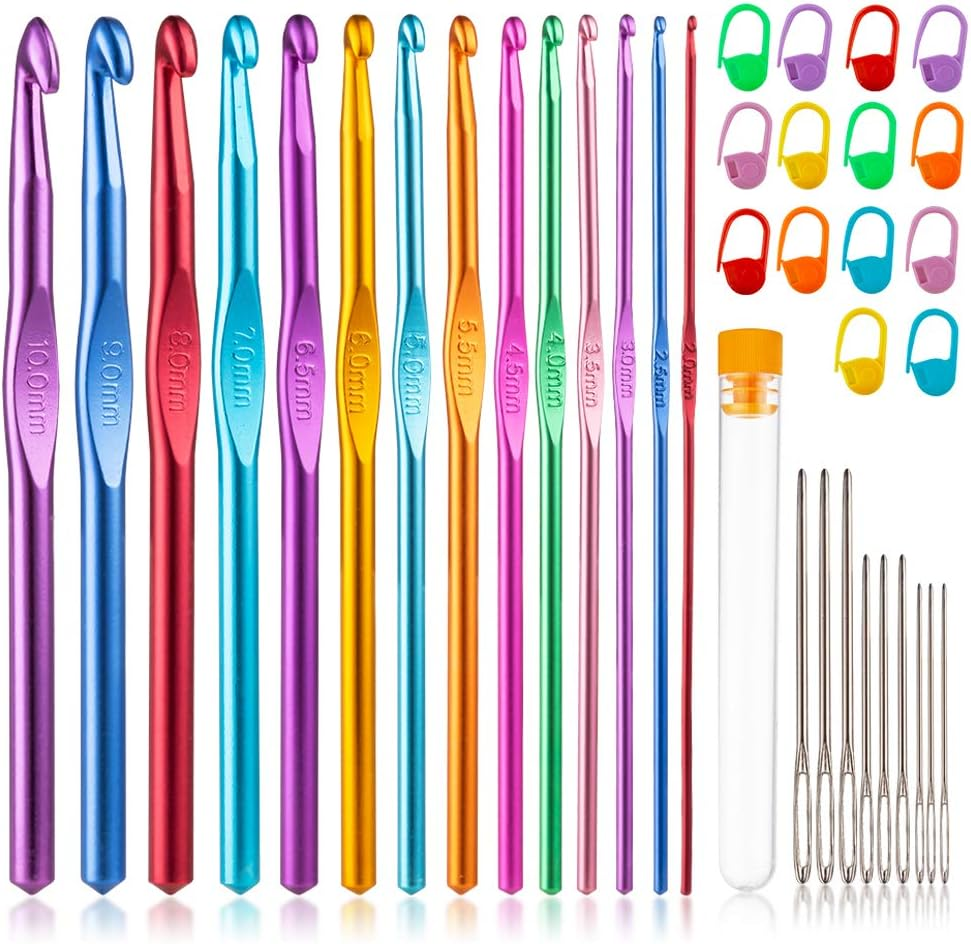
2. Clover Amour Crochet Hook – 5 mm
A comfortable crochet hook can make a noticeable difference during longer crafting sessions. Clover Amour hooks are popular among crocheters because of their ergonomic handle design.
Why consider it?
- Comfortable handle design.
- Smooth hook surface.
- Useful for hats, scarves, blankets, and other projects.
- A convenient addition to a crochet toolkit.
I recommend checking the individual hook size before ordering so you receive the 5 mm hook required for this pattern.
Crochet Abbreviations
This pattern uses standard US crochet terminology.
| Abbreviation | Meaning |
|---|---|
| ch | Chain |
| sl st | Slip stitch |
| sc | Single crochet |
| hdc | Half double crochet |
| dc | Double crochet |
| st | Stitch |
| sts | Stitches |
| rnd | Round |
| rep | Repeat |
| hdc2tog | Half double crochet two stitches together |
Finished Size and Skill Level
- Size: Approximately newborn to 3 months.
- Head circumference: Approximately 13–14 inches.
- Hat height: Approximately 5–5.5 inches before the earflaps.
- Skill level: Easy beginner.
- Construction: Top-down in joined rounds.
These measurements are approximate. Babies grow at different rates, so measure the intended head circumference whenever possible.
Before You Begin: Gauge
Gauge is important because a baby hat needs to fit comfortably without being too tight.
For this pattern, aim for approximately:
12 half double crochet stitches and 9 rounds = 4 inches.
Make a small gauge swatch before starting. If your stitches are too tight, try a slightly larger hook. If they are too loose, try a smaller hook.
The finished fabric should be soft, flexible, and comfortable rather than stiff.
Step-by-Step Crochet Baby Earflap Hat Pattern
Part 1: Crochet the Hat Crown
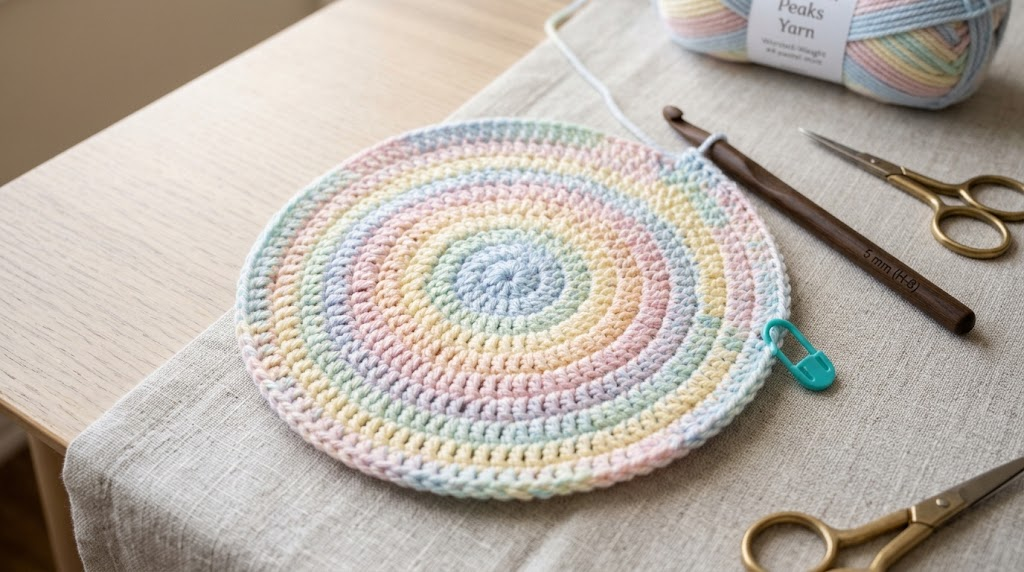
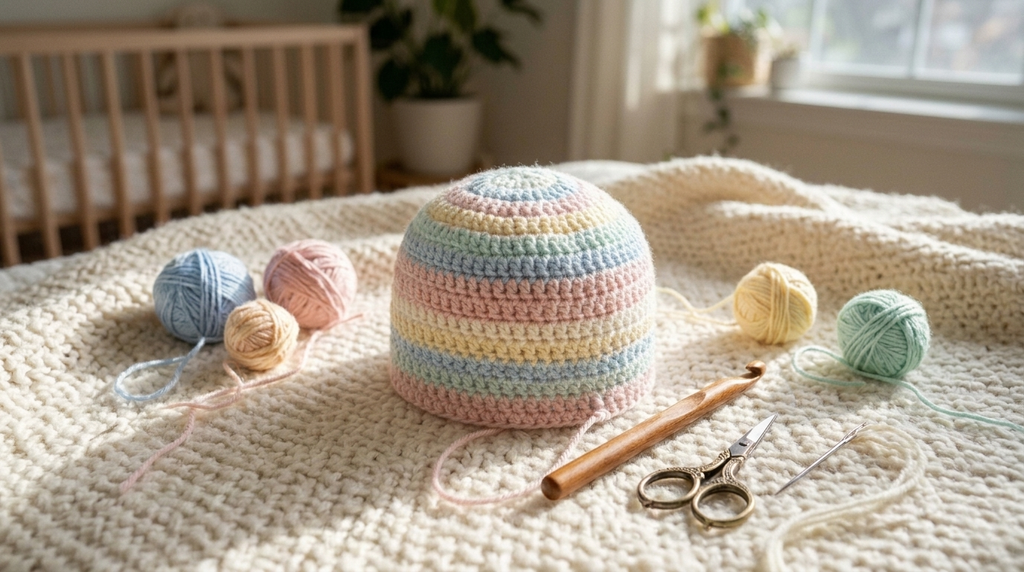
The crown is worked in joined rounds, beginning at the top of the hat.
Round 1: Make a magic ring. Ch 2 (does not count as a stitch). Work 6 hdc into the ring. Join with a sl st to the first hdc. (6 sts)
Round 2: Ch 2. Work 2 hdc into each stitch around. Join. (12 sts)
Round 3: Ch 2. Work 1 hdc in the next stitch, 2 hdc in the following stitch. Repeat around. Join. (18 sts)
Round 4: Ch 2. Work 1 hdc in each of the next 2 stitches, 2 hdc in the following stitch. Repeat around. Join. (24 sts)
Round 5: Ch 2. Work 1 hdc in each of the next 3 stitches, 2 hdc in the following stitch. Repeat around. Join. (30 sts)
Round 6: Ch 2. Work 1 hdc in each of the next 4 stitches, 2 hdc in the following stitch. Repeat around. Join. (36 sts)
Round 7: Ch 2. Work 1 hdc in each of the next 5 stitches, 2 hdc in the following stitch. Repeat around. Join. (42 sts)
At this stage, your crochet circle should have a rounded shape. Lay it flat and check that it does not curl excessively or form a wavy edge.
Part 2: Crochet the Hat Body
Now that the crown is complete, we will work the sides of the hat without increasing.
Round 8: Ch 2. Work 1 hdc in each stitch around. Join. (42 sts)
Round 9–13: Repeat Round 8.
Continue working even rounds until the hat measures approximately 5–5.5 inches from the center top to the bottom edge.
You can add or remove one round depending on the baby’s head measurement.
Keep your stitches consistent throughout this section. A smooth fabric will give the hat a neat appearance and help it sit comfortably.
Part 3: Make the First Earflap
The earflaps are worked directly onto the lower edge of the hat.
Place the joining seam at the center back of the hat. Count 8 stitches from the seam and attach your yarn in the next stitch.
Row 1: Ch 1. Work 1 hdc in each of the next 8 stitches. Turn. (8 sts)
Row 2: Ch 1. Hdc2tog, hdc in the next 4 stitches, hdc2tog. Turn. (6 sts)
Row 3: Ch 1. Work 1 hdc in each stitch across. Turn. (6 sts)
Row 4: Ch 1. Hdc2tog, hdc in the next 2 stitches, hdc2tog. Turn. (4 sts)
Row 5: Ch 1. Hdc2tog twice. Turn. (2 sts)
Row 6: Ch 1. Hdc2tog. (1 st)
Fasten off and weave in the loose end.
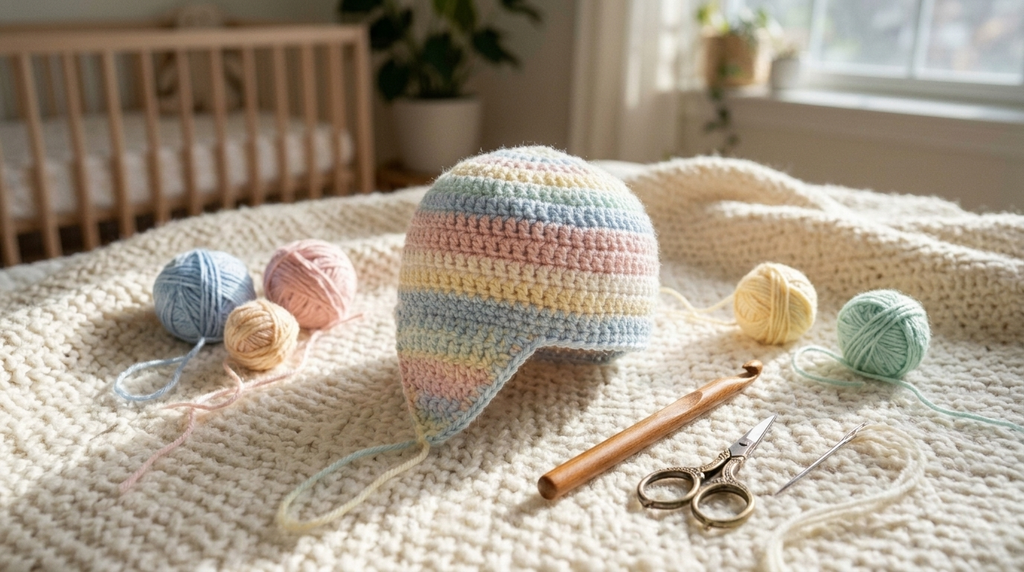
The decreases gradually create a tapered earflap that sits neatly along the side of the hat.
Part 4: Make the Second Earflap
Turn your hat so you can locate the opposite side.
Leave approximately 18 stitches across the front center section, then position the second earflap opposite the first one.
Attach your yarn and repeat Rows 1–6.
Take a moment to compare both flaps. They should be approximately the same length and width.
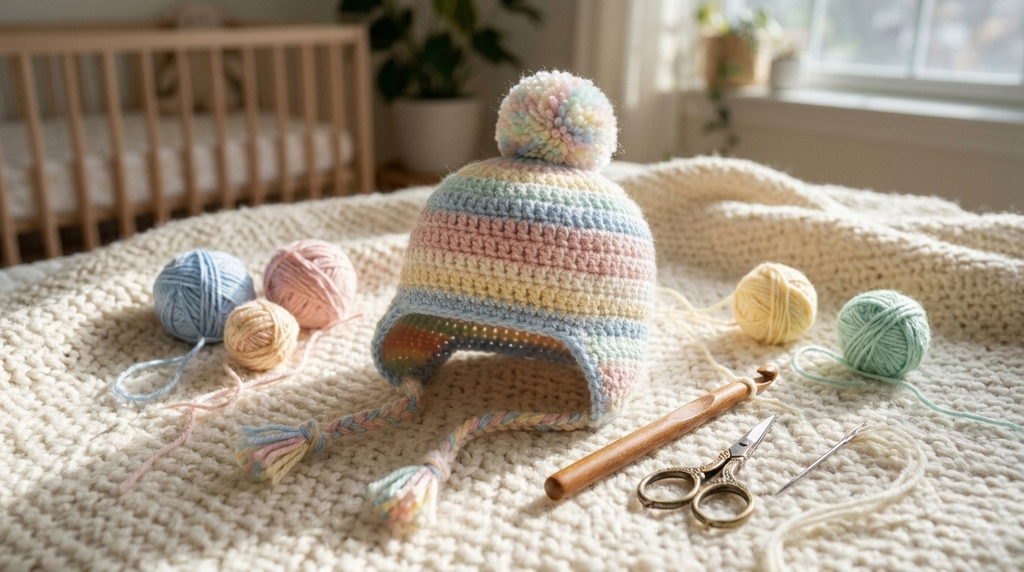
If the placement looks slightly uneven, you can adjust it before completing the border.
Part 5: Add a Neat Crochet Border
A simple border gives the hat a more finished appearance.
Attach your yarn at the back of the hat.
Border Round: Ch 1. Work single crochet stitches evenly around the entire bottom edge, including both earflaps.
Work 2 sc into each earflap tip to keep the corners from pulling inward. Add stitches evenly along the sides of the flaps so the border lies flat.
Join with a sl st to the first sc.
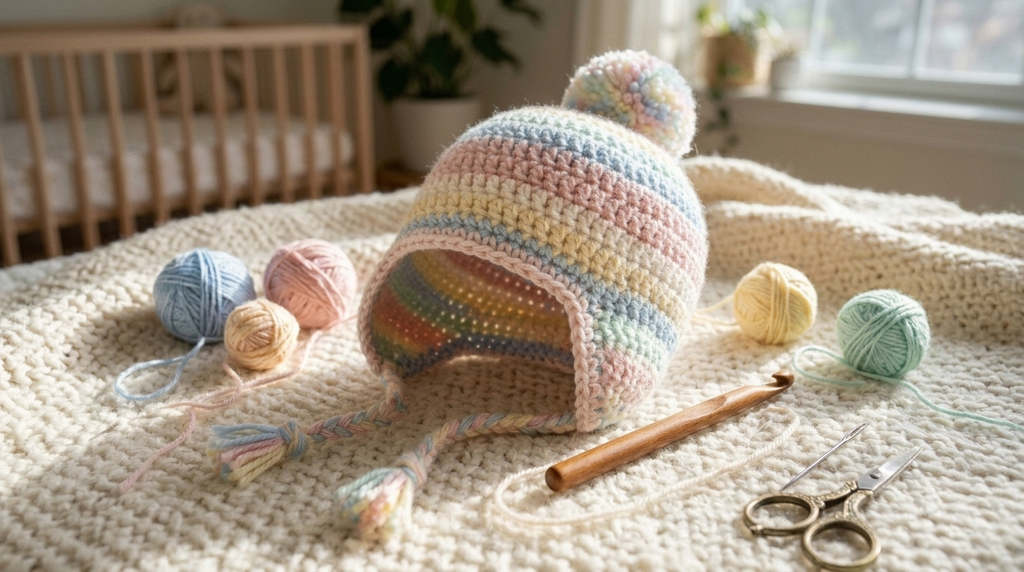
Fasten off and weave in all loose ends securely.
Part 6: Finishing Your Baby Hat
Your basic earflap hat is now complete!
Carefully inspect the finished piece. Check that there are no loose yarn ends, uneven stitches, or rough areas.
For an infant-size hat, I recommend keeping the design simple. Avoid buttons, beads, detachable decorations, and long cords or ties. These can present choking or strangulation hazards.
The finished hat should be flexible, comfortable, and easy to put on and remove.
How to Customize Your Crochet Earflap Hat
One of the nicest things about crochet is that you can change a simple design to suit different tastes.
Here are a few ideas:
1. Soft Baby Pink
Use blush pink yarn for a sweet and delicate look. This color works beautifully for handmade baby shower gifts.
2. Powder Blue
A soft blue shade creates a classic baby hat that looks lovely with cream-colored clothing.
3. Warm Ivory
If you prefer neutral handmade accessories, ivory is a beautiful choice. It also makes the crochet stitches stand out.
4. Pastel Mint Green
Mint green gives the hat a fresh appearance and works well with other soft pastel colors.
5. Two-Color Design
Use one color for the crown and body and another for the border. Cream with dusty pink or pale blue with ivory are lovely combinations.
Keep any decorative additions securely attached and appropriate for the baby’s age.
Tips for Getting the Best Results
Even a simple crochet hat can look much more professional with a little attention to detail.
- Count your stitches at the end of every increase round.
- Use a stitch marker to identify the first stitch.
- Avoid pulling the yarn too tightly when joining rounds.
- Check the hat circumference before finishing the earflaps.
- Make sure both earflaps are positioned symmetrically.
- Weave in loose ends carefully.
- Follow the yarn label’s washing instructions.
If you are new to crochet, don’t worry if your first few rounds look slightly uneven. Once the crown begins to grow, the shape becomes easier to recognize.
Baby Hat Size Adjustment Guide
The pattern above is written for approximately 0–3 months. You can adjust the general construction for larger sizes by changing the crown circumference and body height.
| Size | Approximate head circumference |
|---|---|
| Newborn | 13–14 inches |
| 3–6 months | 14–17 inches |
| 6–12 months | 16–18 inches |
| 12–24 months | 17–19 inches |
These are general starting measurements, not guaranteed finished sizes. Make a gauge swatch and measure the baby’s head before adapting the pattern. Increase the crown evenly and adjust the body height to suit the desired fit.
How to Care for a Handmade Baby Crochet Hat
Handmade baby accessories need gentle care to keep their shape and texture.
Always follow the yarn manufacturer’s washing instructions. If the yarn is machine washable, place the hat in a suitable laundry bag and use the recommended gentle cycle.
Avoid harsh detergents and high heat unless the yarn label specifically allows them.
After washing, reshape the hat gently and allow it to dry completely before storing it.
Frequently Asked Questions
Is this crochet baby earflap hat suitable for beginners?
Yes! The pattern uses basic stitches, joined rounds, and simple decreases. Beginners who already know how to make chains, half double crochet, and slip stitches should be able to follow it.
How much yarn do I need?
Approximately 70–90 yards of worsted-weight yarn should be sufficient for the newborn-size version. Keep a little extra yarn available if you want to make adjustments.
Can I use a different crochet hook?
Yes. However, changing the hook size can affect the finished measurements. Make a gauge swatch first and adjust your hook to achieve the recommended gauge.
Can I make this hat in different sizes?
Yes. You can adapt the crown stitch count and hat height for larger sizes. Always check the intended head circumference before completing the hat.
Are earflap hats good handmade baby gifts?
They can make lovely handmade gifts, especially for families who enjoy cozy winter accessories. Make sure the finished size is appropriate and that the design is safe for the intended age.
Can I add braided ties?
For an infant hat, I recommend leaving out braided ties and cords. Long strings can create a strangulation risk. A simple earflap design without ties is a safer choice for this age group.
Final Thoughts
This crochet baby earflap hat is a sweet project for anyone who enjoys making handmade baby accessories. Its rounded shape, simple stitches, and little earflaps create a classic winter look that can be customized in countless colors.
Whether you choose soft pink, powder blue, warm ivory, or mint green, this project is a lovely way to turn a small amount of yarn into something thoughtful and handmade.
I hope this pattern inspires you to pick up your crochet hook and create a cozy little hat for someone special. Happy crocheting!