Eden Ear Flap Hat Crochet Pattern: A Cozy 5-Step Winter Hat Guide
When the weather starts getting cold, I always find myself reaching for crochet projects that are not only pretty but genuinely useful. A warm ear flap hat is one of those projects I keep coming back to because it combines comfort, texture, and a little bit of personality in one handmade accessory.
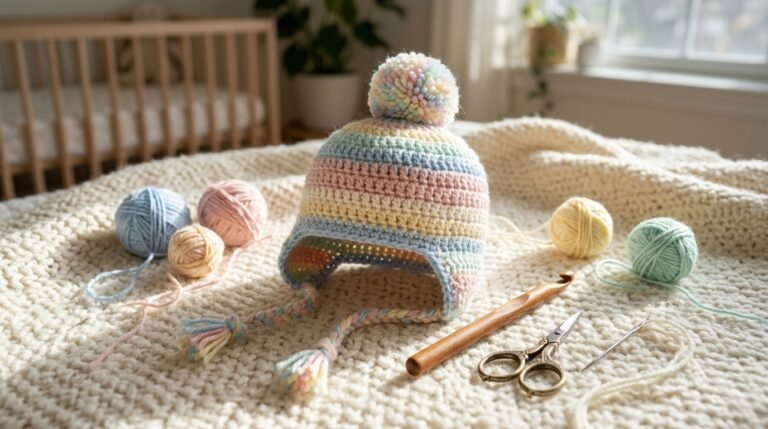
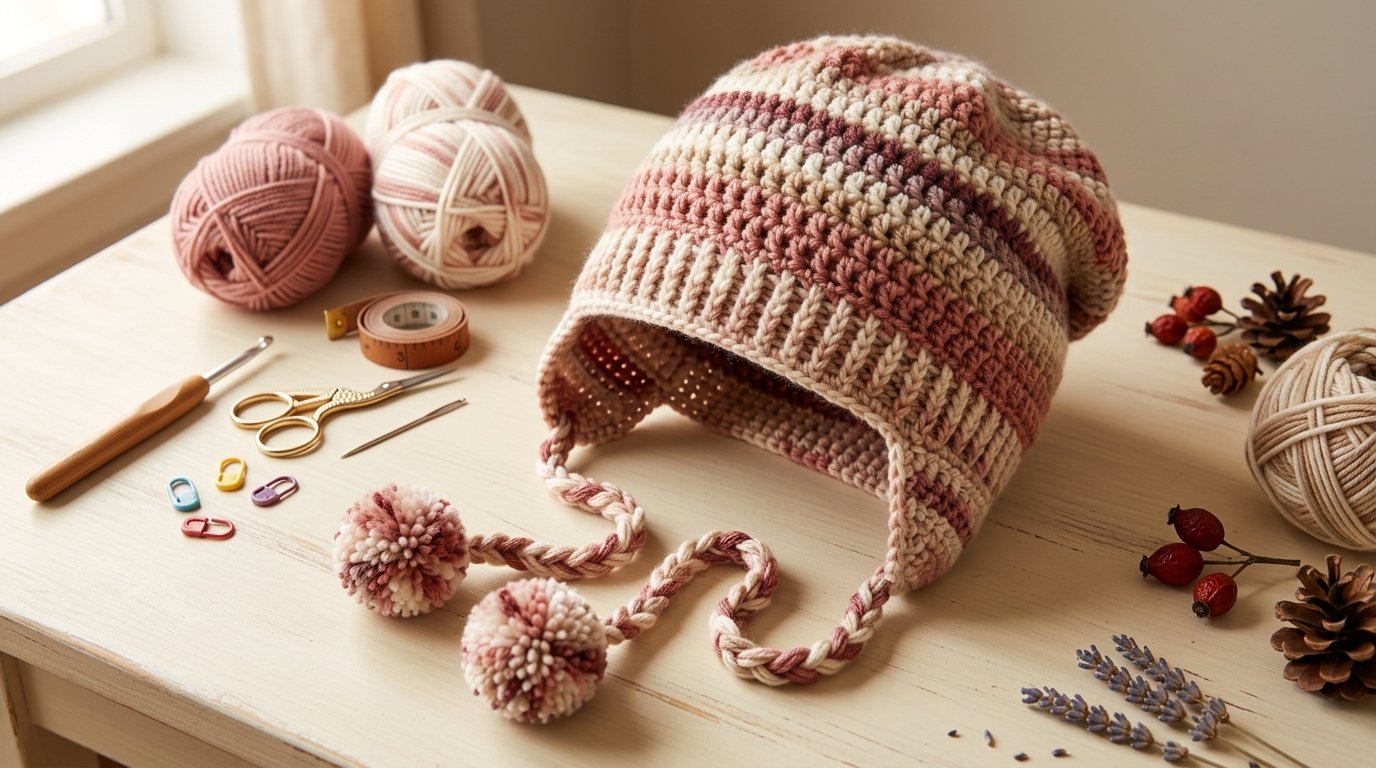
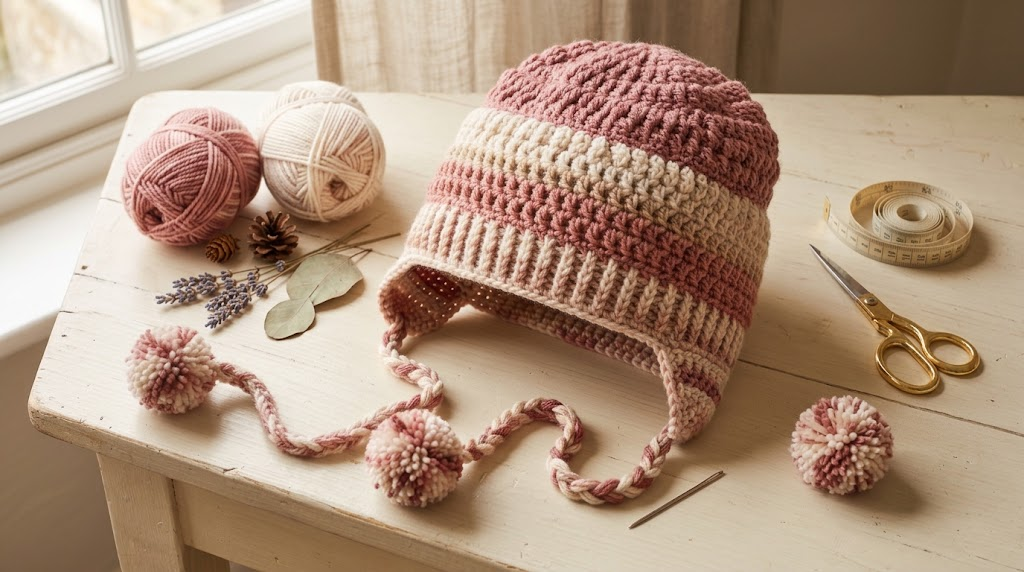
The Eden Ear Flap Hat is a particularly interesting design because it has a slightly slouchy shape, textured fabric, ear flaps, and optional pom-poms. The original pattern is available in sizes from newborn through woman, making it a versatile design for babies, children, and adults. It is written in Standard American crochet terminology and uses medium/worsted-weight yarn with 5.5 mm and 4.5 mm hooks.
What caught my attention about this style is that it doesn’t look like an ordinary basic beanie. The ear flaps make it feel more winter-ready, while the subtle slouch keeps the finished hat relaxed rather than overly stiff.
The original designer also explains that the sample hats were mainly made with Lion Brand Heartland because its drape works well for a slouchy hat. The pattern uses a simple two-round stitch repeat featuring front-post single crochet, and the original tutorial includes pictures to help explain the stitch and color changes.
In this guide, I’ll break the project into five easy stages and share the practical details I would pay attention to when making one.
Why Make an Ear Flap Hat?
A traditional crochet beanie mainly covers the crown and sides of the head. An ear flap hat takes that idea a little further.
The flaps extend down toward the ears, creating extra coverage and giving the hat its distinctive winter look.
I particularly like this style for handmade gifts because it feels more substantial than a simple beanie. You can also change the colors, add contrasting ties, or finish the top with pom-poms to give the same basic design completely different personalities.
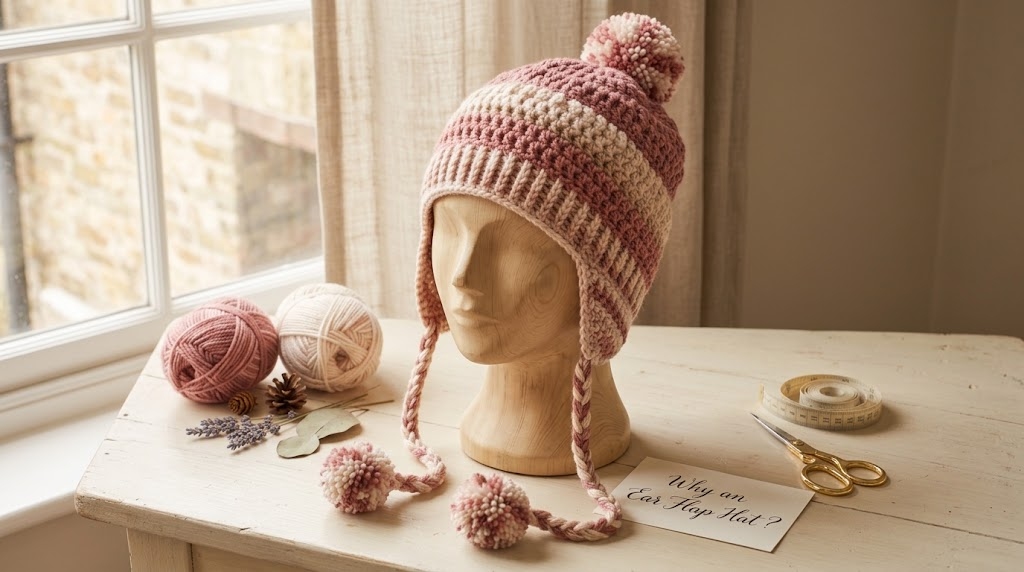
The Eden design has a slight slouch, which is another feature worth considering. Choosing a worsted yarn with good drape helps prevent the slouchy portion from standing upright.
1. Choose Your Yarn, Hook, and Size
Before picking up the hook, I would start with the most important decision: size.
The original Eden pattern covers sizes from newborn to woman, so you should select the size based on the intended head measurement rather than simply guessing from age.
For the yarn, the original design calls for worsted-weight, size 4 medium yarn. The designer notes that Lion Brand Heartland was used for many of the samples because it has the drape needed for the slightly slouchy construction.
Basic Materials
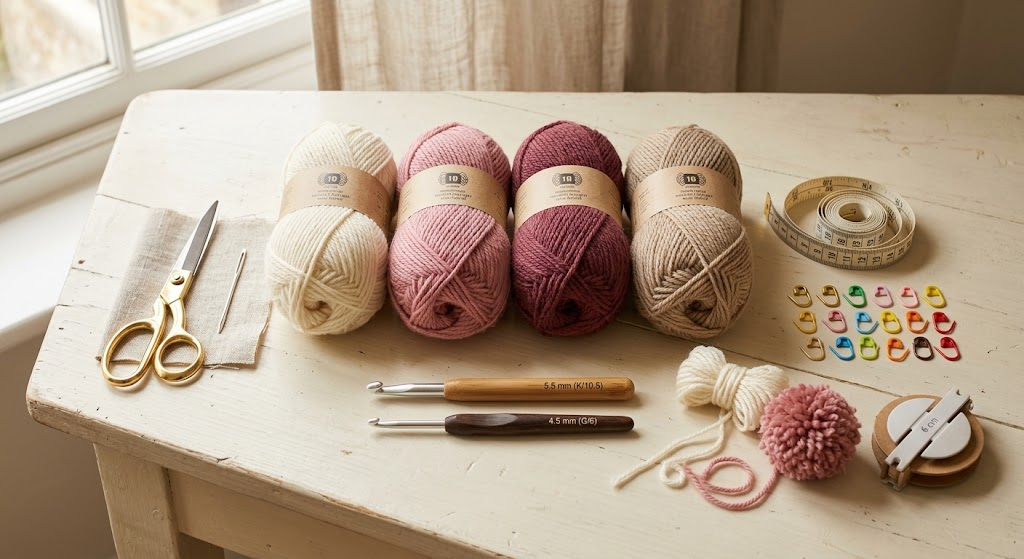
You’ll need:
- Medium/worsted-weight yarn
- 5.5 mm crochet hook
- 4.5 mm crochet hook
- Tapestry needle
- Scissors
- Measuring tape
- Stitch marker
- Optional contrasting yarn
- Optional materials for pom-poms
The two hook sizes serve different purposes in the original design, so I wouldn’t automatically substitute one hook for the other without checking the instructions.
Color Ideas
The original samples show that this hat looks especially nice with two colors.
Some combinations I’d try are:
Soft winter:
Cream + dusty rose
Classic:
Beige + burgundy
Baby:
Ivory + soft pink
Boy-friendly:
Oatmeal + muted blue
Modern:
Charcoal + blush
Autumn:
Warm beige + rust red
The beautiful thing about a textured hat is that you don’t need complicated colorwork to make it interesting. Even a simple contrast around selected rounds can create a polished finished look.
2. Start the Crown and Establish the Texture
Once you’ve selected your size and checked your gauge, the main body of the hat begins.
The Eden design uses a repeating texture rather than a completely plain fabric. The original pattern describes it as a two-round repeat that uses front-post single crochet and includes a picture tutorial for that stitch.
If front-post stitches are new to you, don’t let the name scare you.
A front-post stitch is basically about where you insert the hook. Instead of working into the top loops of the stitch like a regular crochet stitch, you work around the post of the stitch from the front.
This changes the way the fabric looks.
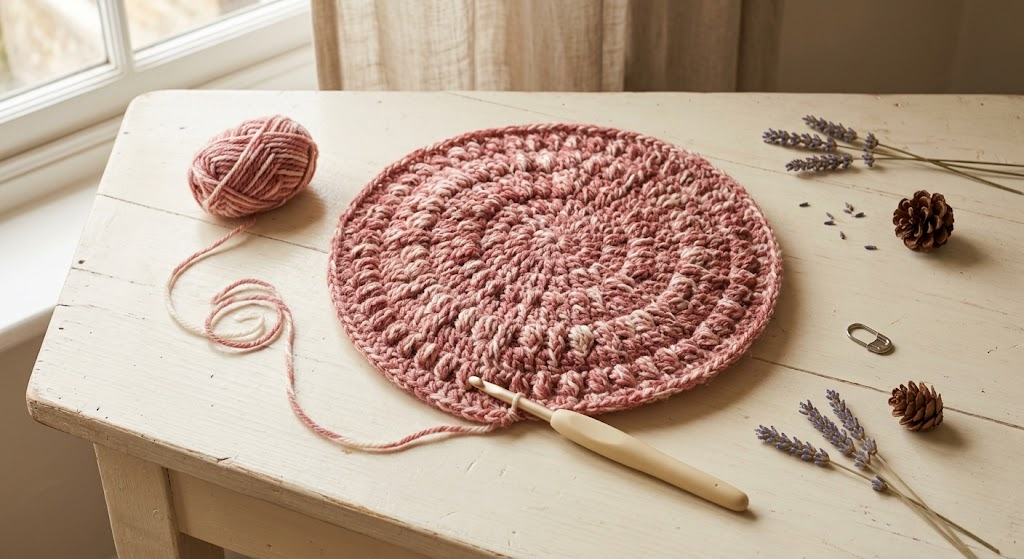
My Tip for Learning the Texture
Before committing to the entire hat, make a small practice swatch.
Work several repeats and look at the fabric from a distance.
You’re checking for three things:
- Are the raised sections visible?
- Is the fabric lying reasonably flat?
- Does your tension feel comfortable?
This little test can save you from discovering several rounds later that your tension is much too tight.
Don’t Pull Too Hard
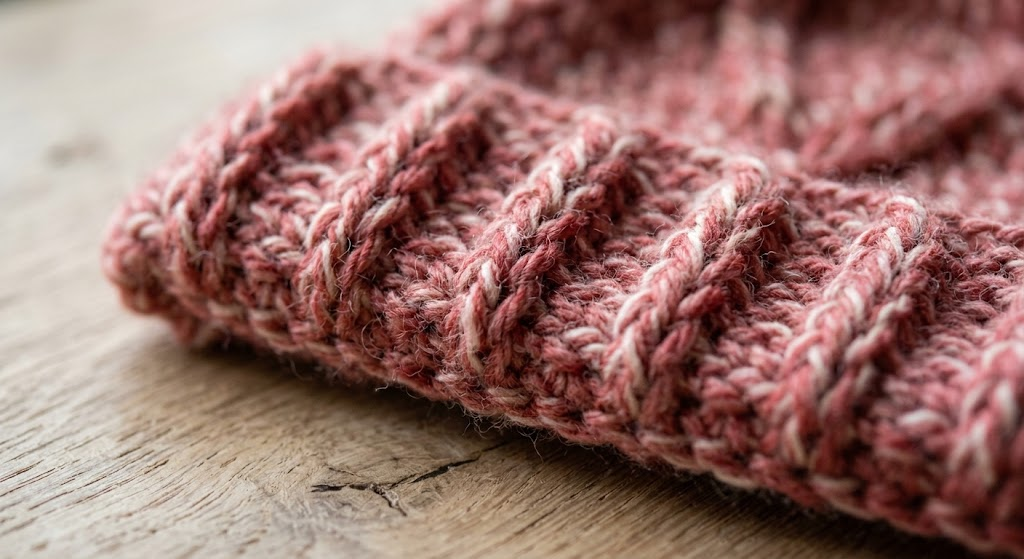
Front-post stitches can encourage beginners to tighten their yarn because the hook is moving around the body of the previous stitch.
Try to keep your working yarn relaxed.
The goal is defined texture—not stiff fabric.
A little softness is particularly important for a slouchy winter hat.
3. Build the Slouchy Hat Body
After the crown is established, continue working the repeating texture until the main body reaches the required length for your selected size.
This is probably the most relaxing part of the project because once you’ve learned the two-round repeat, the process becomes rhythmic.
I like to keep a measuring tape nearby rather than relying entirely on the number of rounds.
Why?
Because crochet tension isn’t perfectly identical from one person to another.
Two crocheters can use the same yarn and hook but produce slightly different fabric because of differences in hand tension.
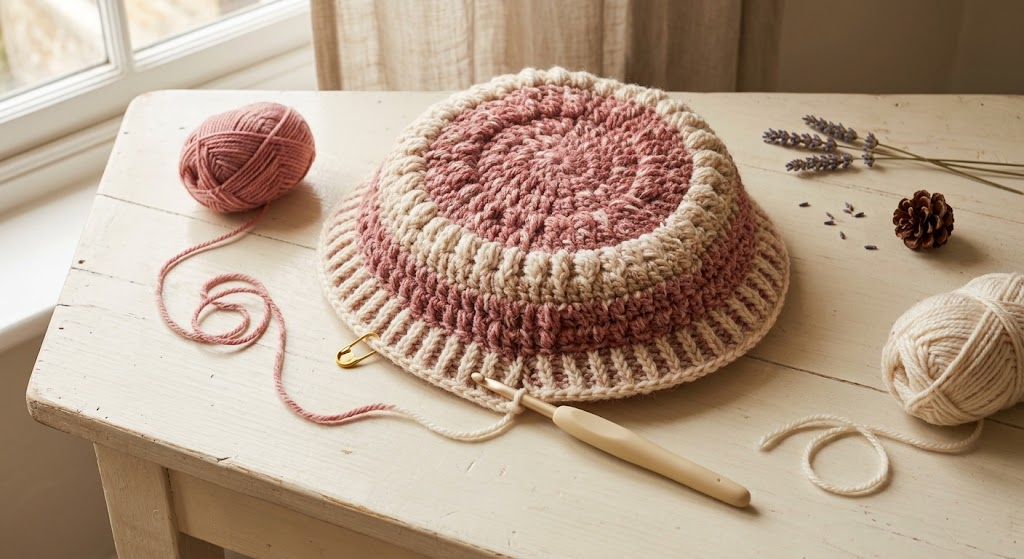
Check the Shape as You Go
Every few rounds, pause and look at the hat from the side.
The Eden style should have a gentle slouch rather than a rigid upright crown. The original designer specifically notes that the yarn’s drape is important for achieving this effect.
If your hat looks extremely stiff, check your yarn choice and tension.
If the fabric feels overly loose, check your gauge.
Changing Colors
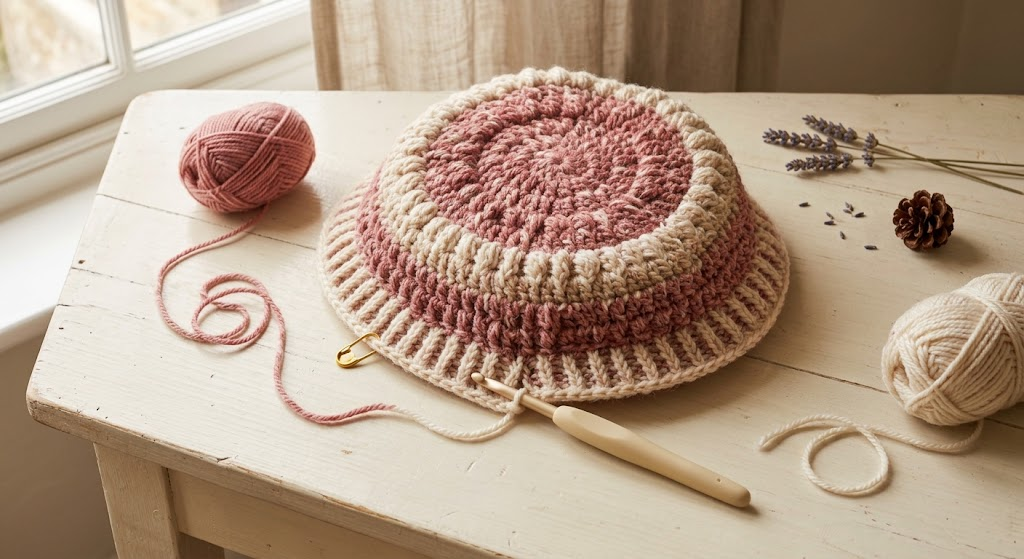
One of the things I like about this design is that it can be made in either one color or two colors. The original pattern includes photographs explaining how to change colors.
If you’re new to color changes, don’t cut your yarn immediately after every round unless the instructions tell you to.
A clean color transition usually starts by completing the final part of the previous stitch with the new color.
The exact color-change method should follow the original pattern instructions.
For a beginner-friendly first version, I would actually make the hat in one color. Once you’re comfortable with the stitch pattern, try a two-color version.
4. Shape the Ear Flaps
This is the part that transforms the project from an ordinary crochet hat into an ear flap hat.
Instead of simply finishing the lower edge, the design develops sections that extend downward over the ears.
The placement is important.
You want the ear flaps to sit approximately where the ears are rather than drifting too far toward the front or back.
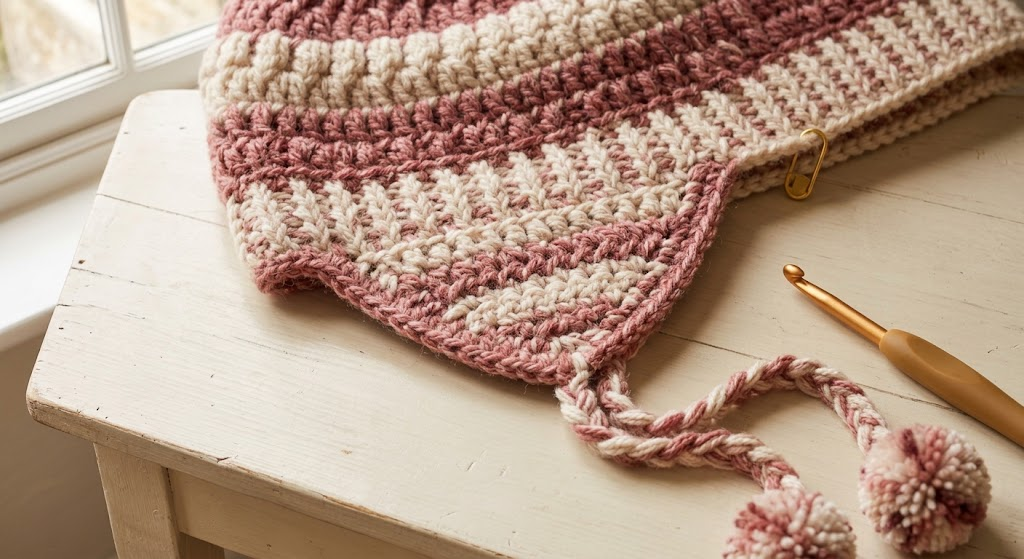
How I Would Check the Placement
Lay the hat flat.
Imagine a vertical line running down from each side of the crown.
Those are approximately the areas where the ear flaps need to sit.
For a finished hat intended for a specific person, you can also gently hold the hat against the head and check the position before completing the finishing details.
Don’t stretch the fabric aggressively while measuring.
A relaxed measurement gives you a more useful idea of how the finished hat will sit.
Keep Both Flaps Symmetrical
Symmetry matters here.
Once you’ve made the first flap, pay attention to its width and length so you can reproduce the shape on the opposite side.
I recommend writing down any useful measurements while working.
For example:
- Flap width
- Flap length
- Distance between flaps
- Overall hat height
That makes it much easier to make a second matching hat.
Why Ear Flaps Are Useful
Apart from looking cute, ear flaps provide additional coverage in an area that can feel exposed in cold weather.
This is especially useful for winter accessories intended for children, although you should always make sure a baby’s or child’s hat fits appropriately and does not have loose cords or decorative elements that could create a safety risk.
5. Finish the Hat and Add the Pom-Poms
Now comes the fun part: finishing.
The original Eden pattern includes instructions and pictures for making the pom-poms.
Pom-poms aren’t essential, but they completely change the personality of an ear flap hat.
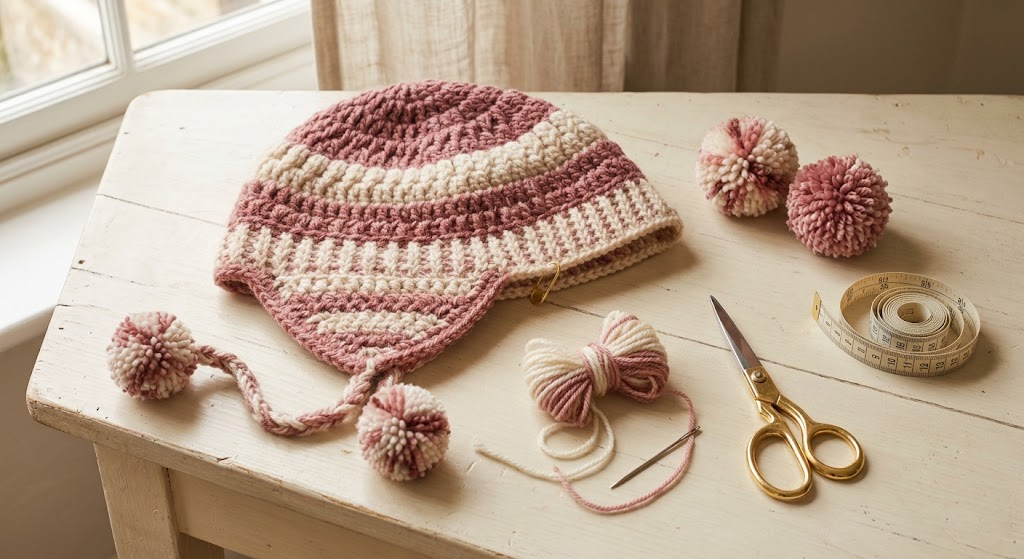
Pom-Pom Color Ideas
For a two-color hat, you could:
- Match the pom-poms to the ear flaps
- Use the main hat color
- Combine both colors
- Use a neutral cream
- Make oversized pom-poms for a playful look
I particularly like slightly oversized pom-poms on children’s versions because they give the hat a cheerful winter-accessory feel.
For an adult version, smaller pom-poms can look more understated.
Attach Everything Securely
Once your pom-poms are ready, attach them firmly.
Then weave in every loose yarn end.
I never consider a crochet project finished until the ends have been properly secured.
Use a tapestry needle to weave the yarn through several stitches on the wrong side of the fabric. Change direction once or twice before trimming.
This helps prevent the ends from gradually working themselves loose.
How to Get a Better-Fitting Eden-Style Hat
A good crochet hat is not just about following stitches correctly. Fit matters.
Here are the checks I would make before calling the project finished.
1. Check the circumference
The hat should have enough stretch to sit comfortably without squeezing the head.
2. Check the crown
The crown should have the intended shape rather than looking unusually flat or pointed.
3. Check the slouch
If the design is intended to be slightly slouchy, the fabric should have enough drape to create that relaxed shape.
4. Check the ear flaps
Both flaps should be positioned evenly.
5. Check the ties
If your version includes ties, make sure they are securely attached and appropriately sized for the intended wearer.
Common Problems and Easy Fixes
My hat looks too stiff
Check your yarn and tension.
The original designer recommends a worsted yarn with good drape for this particular slouchy style.
My texture isn’t showing
Look carefully at your front-post stitches.
If you’re accidentally working through the top loops instead of around the post, the raised texture will not develop in the intended way.
My ear flaps don’t match
Write down the stitch count and dimensions from the first flap before starting the second.
This simple habit makes symmetrical crochet much easier.
My hat is too loose
Check your gauge before changing several rounds.
A hook that is too large or loose tension can produce a larger fabric.
My hat is too small
Try a gauge swatch with a larger hook and compare the fabric.
Don’t automatically add random stitches to the finished hat because that can change the proportions of the ear flaps and textured repeat.
Two Useful Amazon Products for This Project
I prefer recommending only a couple of products rather than filling a crochet article with unnecessary shopping links.
One important note about the wording of product recommendations: I don’t want to claim that I personally physically tested a product when I haven’t. So these recommendations are based on the products’ documented specifications and their suitability for this project.
1. Clover Amour Crochet Hook Set
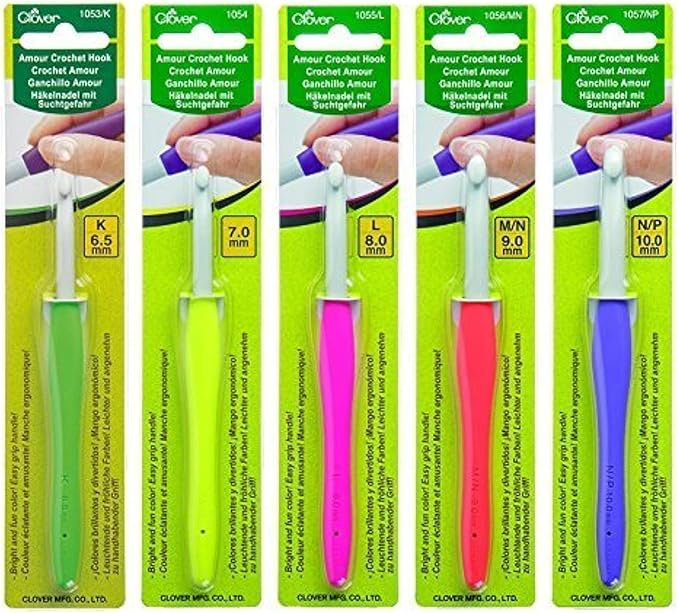
The Clover Amour Crochet Hook Set 3672 is particularly useful if you crochet different types of projects instead of buying individual hooks every time.
The 10-piece set includes sizes from 2.25 mm through 6 mm, including both the 4.5 mm and 5 mm sizes that are useful when experimenting with this style of hat, as well as the 5.5 mm size used by the Eden pattern. Clover describes the handles as soft and non-slip, with a hook shape designed to make yarn movement smoother.
I like this type of set for crochet pattern work because having nearby hook sizes makes gauge adjustments much easier.
2. Lion Brand Heartland Yarn
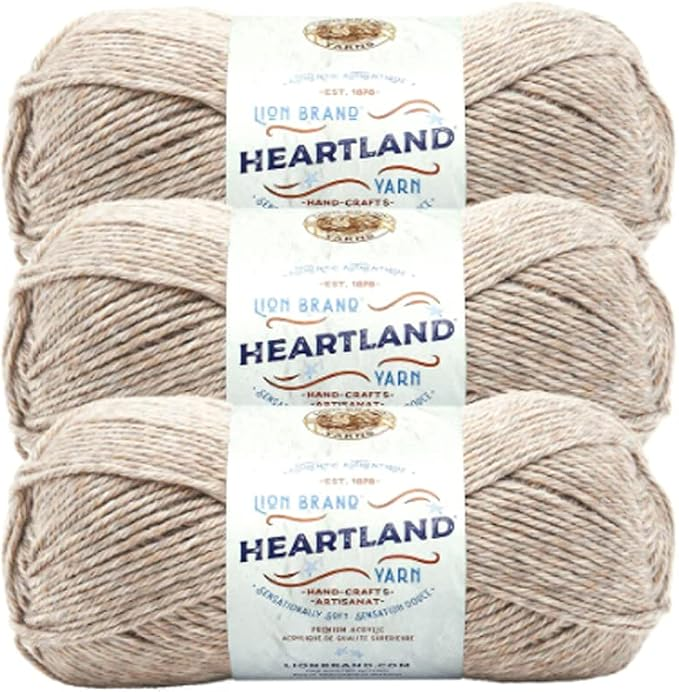
The second product I would consider is Lion Brand Heartland worsted-weight yarn.
This recommendation has a particularly strong connection to the source pattern because the original Crochet Dreamz designer says that the sample hats were made mostly with Lion Brand Heartland and specifically points to its drape as useful for the slouchy construction.
That makes it a more meaningful recommendation than simply choosing a random worsted-weight yarn.
When selecting yarn for this hat, I would pay attention to the fabric rather than choosing purely based on color.
Final Thoughts
The Eden Ear Flap Hat is a great example of how a relatively simple crochet structure can produce a finished accessory with plenty of personality.
What I especially like about the design is the combination of texture, slight slouch, ear flaps, and optional pom-poms. The original pattern also covers a very broad size range, from newborn through woman, which makes it useful when you’re looking for a design that can be repeated for different people.
If you’re new to front-post stitches, I wouldn’t rush through the first few rounds.
Make a small practice swatch, learn how the hook moves around the stitch post, and focus on keeping your tension relaxed.
Once the two-round repeat becomes familiar, the project becomes much more enjoyable.
And don’t be afraid to experiment with color.
A cream-and-blush version can look soft and feminine. Burgundy and beige can create a classic winter feel. Blue and ivory can make a lovely child-friendly combination.
The most important thing is to choose a yarn and hook combination that gives you a comfortable fabric and then check the fit as you work.
A handmade winter hat doesn’t need dozens of complicated stitches to look special.
Sometimes, a beautiful texture, a little slouch, cozy ear coverage, and two cheerful pom-poms are more than enough.
Happy crocheting!