Classic Crochet Snow Boots for Baby: A Cozy Beginner-Friendly Pattern
There is something incredibly sweet about a tiny pair of crochet boots. They are small, cozy, and surprisingly quick to make, which makes them a wonderful project when you want to create something special for a baby.
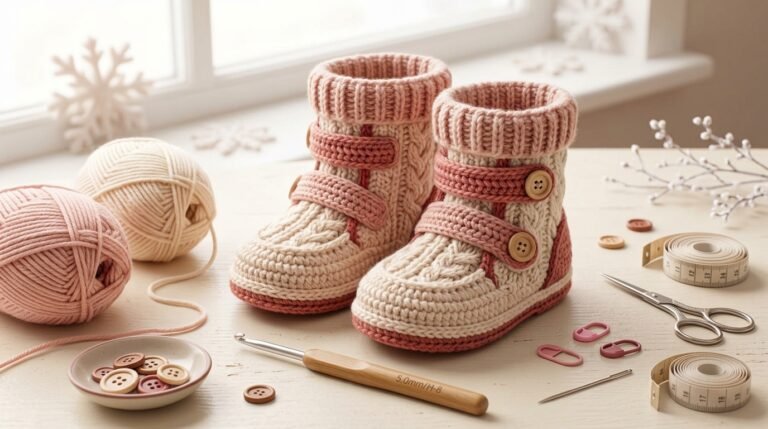
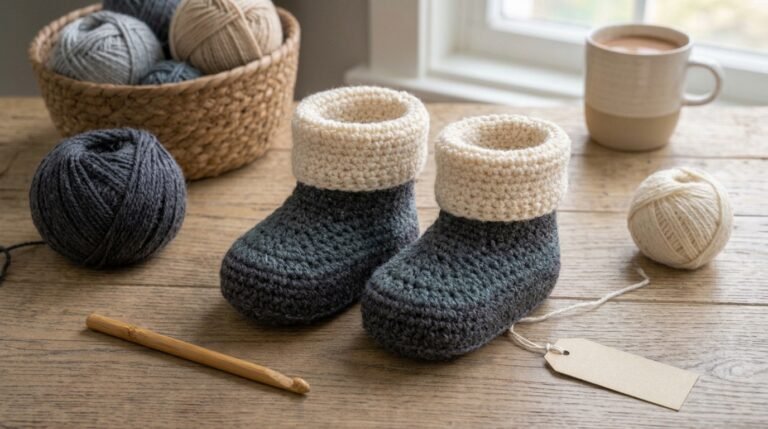
I especially love the classic snow-boot look because it has a timeless shape. A simple boot made in cream, beige, brown, blush, or soft gray can look beautiful with almost any baby outfit. Add two small buttons and a little cuff, and suddenly a basic crochet bootie looks like a miniature winter boot.
The inspiration for this tutorial comes from the classic crochet baby snow-boot style: a defined sole, a softly shaped upper, a taller ankle section, and button details. The original design is available as a separate paid pattern and includes four baby sizes.
This tutorial is an original beginner-friendly approach rather than a reproduction of that pattern.
Why I Love Making Crochet Baby Snow Boots
For me, baby booties are one of those projects where a small amount of yarn can turn into something that feels like a meaningful handmade gift.
They are also a great project for improving basic crochet skills.
You get practice with:
- Working into a foundation chain
- Crocheting around both sides of a chain
- Increasing and decreasing
- Working in rounds
- Creating a shaped upper
- Working simple ribbing
- Sewing buttons securely
- Weaving in ends neatly
The finished boots have a cozy winter appearance without requiring complicated color changes or advanced stitch techniques.
They are especially lovely for baby showers, newborn photography props, first winter outfits, or handmade gifts.
Materials You Will Need
For an original pair of baby snow boots, I recommend keeping the materials simple.
Yarn
Choose a soft medium/worsted-weight yarn in a solid color.
Good color choices include:
- Cream
- Ivory
- Beige
- Camel
- Light gray
- Dusty pink
- Soft brown
- Pale blue
For baby items, always check the yarn manufacturer’s care instructions and choose a yarn appropriate for the intended use.

Crochet Hook
A smaller hook helps create a firm fabric that holds the shape of the boot.
For a medium/worsted yarn, you can begin around 3.5–4.5 mm, depending on your tension and the yarn you choose.
Do not automatically use the hook recommended on the yarn label. For baby boots, your goal is a fabric that is firm rather than loose.
Other Supplies
You will also need:
- Yarn needle
- Scissors
- Stitch markers
- Measuring tape
- Two small buttons per boot
- Sewing needle and matching thread
Helpful Amazon Crochet Supplies
If you’re building a crochet toolkit rather than buying supplies for only one project, these are two useful options to consider.
1. Clover Amour Crochet Hook Set
The Clover Amour range includes several hook sizes, including 3.5 mm, 4.0 mm, and 4.5 mm sizes that are useful when working on projects like baby booties. Clover describes the handles as ergonomic and nonslip, with a hook shape designed for smooth crocheting.
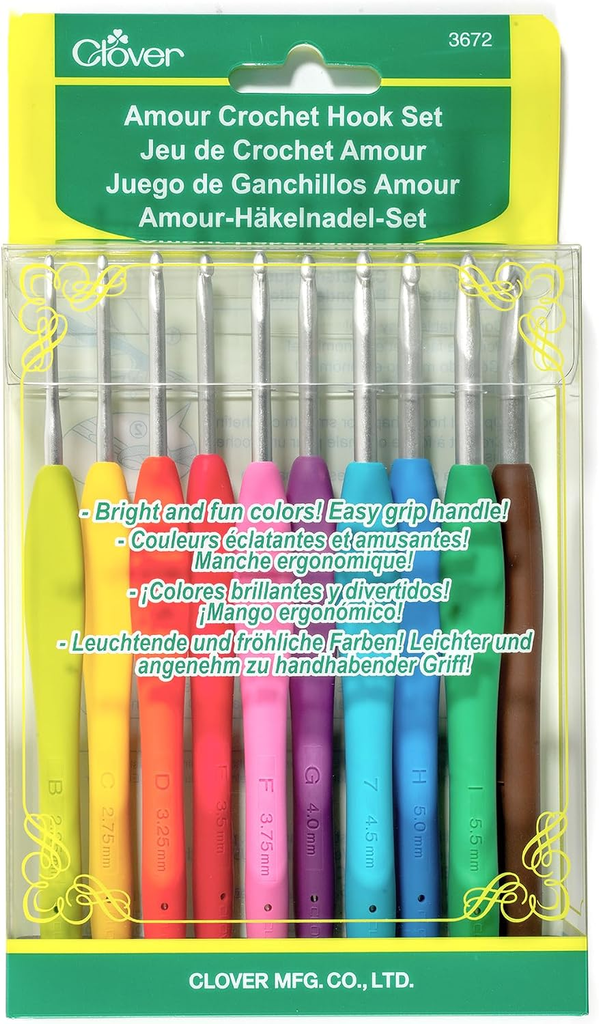
I particularly like the idea of having several nearby sizes because crochet tension varies from person to person. If your boot feels too loose, changing hook size can make a noticeable difference.
2. Red Heart Soft Yarn
Red Heart Soft is a #4 medium/worsted-weight acrylic yarn. It is available in many colors and is commonly used for crochet garments and accessories. Red Heart describes its Soft line as a smoother yarn suitable for garments and baby projects, while individual care instructions should always be checked on the label.

For this style of boot, I would choose a light solid shade because it makes the stitch definition easier to see while you work.
Crochet Abbreviations
This tutorial uses standard US crochet terminology.
| Abbreviation | Meaning |
|---|---|
| ch | Chain |
| sl st | Slip stitch |
| sc | Single crochet |
| hdc | Half double crochet |
| dc | Double crochet |
| BLO | Back loop only |
| st | Stitch |
| inc | Increase |
| dec | Decrease |
Before You Start: Measure the Baby’s Foot
This is one of the most important steps.
Baby feet vary considerably, so age should only be used as a general reference. Measure the baby’s foot when possible.
Measure:
- Heel to longest toe
- Widest part of the foot
- Around the ankle
Then compare those measurements with your crocheted sole.
I prefer making the sole slightly longer than the actual foot measurement rather than making it extremely snug.

Remember that these are decorative baby booties rather than walking shoes. They should never be used as a substitute for properly fitted footwear.
Step 1: Crochet the Sole
Start with your chosen yarn and create a foundation chain approximately the length of the baby’s foot minus the rounded ends.
The exact starting chain will depend on your yarn, hook, tension, and desired size, so measuring as you go is more reliable than following a single number.
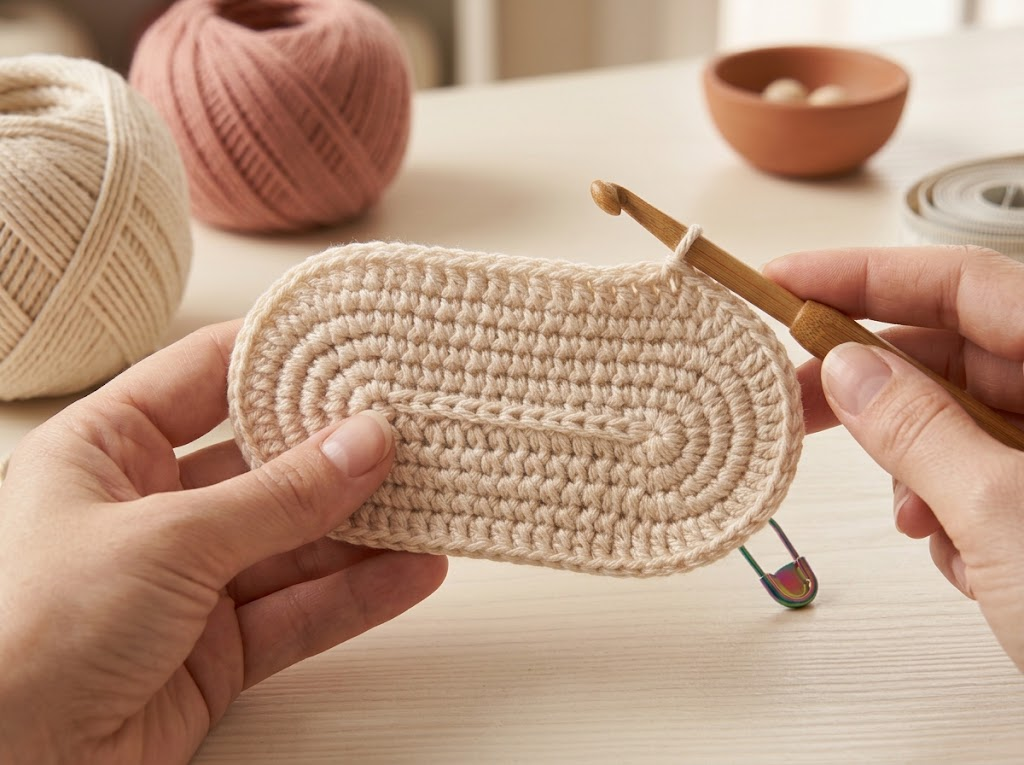
First Round
Work single crochet stitches along one side of the foundation chain.
When you reach the final chain, place several stitches into the end chain to create a rounded toe.
Continue working single crochet stitches down the opposite side of the foundation chain.
At the other end, create another rounded section.
Join with a slip stitch.
You should now have an oval-shaped sole.

Important Tip
Do not worry if your first oval looks slightly uneven.
Lay it flat on your table and gently smooth it with your fingers. The shape becomes easier to judge after the next round.
Step 2: Build Up the Sole
Continue crocheting around the oval.
Work mostly even stitches along the straight sides while adding increases around the curved ends.
The purpose of these increases is to keep the sole flat.
If the sole starts curling upward, you probably need additional increases.
If the edge becomes wavy, you may have added too many.
This is where checking your work visually is more useful than blindly following numbers.
Continue until the sole reaches the desired length and width.
For a baby boot, the sole should feel firm but not stiff.
Step 3: Create the Sides of the Boot
Now we want to stop expanding the sole and begin building upward.
Work one round of single crochet stitches around the entire sole without adding increases.
This creates a small vertical wall around the edge.
You can also work this round through the back loop only if you want a visible ridge separating the sole from the upper part.
That little ridge can make the finished boot look much more structured.
Continue for another one or two rounds, keeping your stitch count consistent.
At this point, your flat sole should begin looking like the bottom of a tiny shoe.

Step 4: Shape the Toe
This is the part that transforms the project from a simple bootie into a snow-boot shape.
Mark the center front of the boot.
Work even stitches around the heel and sides.
Across the front section, gradually reduce stitches by working decreases.
A simple decrease can be made by working two neighboring stitches together.
Do not make all the decreases in one place.
Instead, spread them across the front section so the toe curves smoothly.
After each decrease round, try laying the boot flat.
The front should begin forming a rounded, slightly raised toe.
If the toe looks too pointy, the decreases may be too concentrated.
If it looks too wide, you may need another decrease round.
Step 5: Continue Up the Ankle
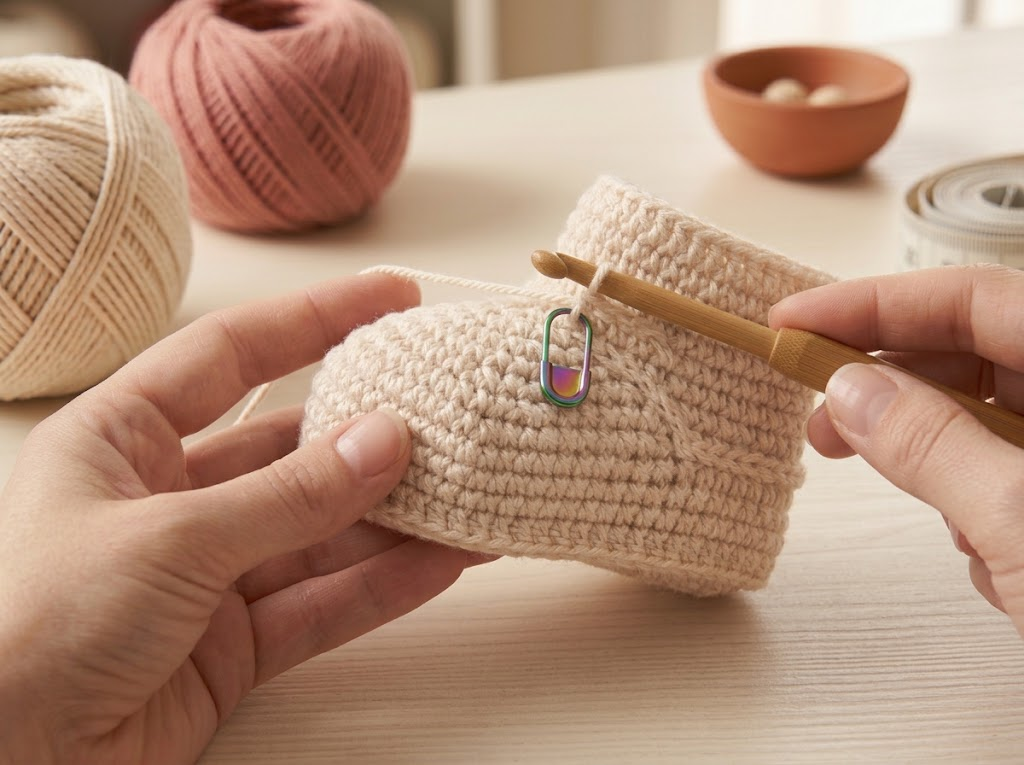
Once the toe has the shape you like, continue working around the boot.
For a classic snow-boot appearance, keep the front relatively low and gradually build the back and ankle section higher.
Work several rounds of single crochet or half double crochet.
Half double crochet gives the boot a little more height and softness, while single crochet produces a firmer fabric.
I would choose single crochet if you want a structured boot and half double crochet if you prefer a softer appearance.

Step 6: Create the Cuff
Now it is time for the cozy-looking cuff.
Work several rounds around the ankle opening.
For a ribbed appearance, work stitches through the back loop only.
The resulting rows create subtle vertical ridges that resemble knitted ribbing.
Keep the cuff fairly short for a classic baby boot.
You can fold the top outward slightly or leave it standing upright.
For an extra decorative finish, work one final round of slip stitches around the top edge.
This gives the opening a neat, finished appearance.

Step 7: Add the Button Tab
The button detail is one of my favorite parts of this style.
Choose the outer side of the boot and decide where you want the button to sit.
Create a small rectangular tab using single crochet rows.
The tab should be long enough to cross toward the button without pulling tightly.
At the end of the tab, create a small buttonhole.
A buttonhole can be made by replacing a few stitches with chains and skipping the same number of stitches in the next row.
Before sewing anything permanently, test the button placement.
The tab should close comfortably without squeezing the boot.
Step 8: Sew on the Buttons
Sew the button securely using a strong needle and matching thread or yarn.
For baby items, button security is extremely important.
Make several passes through the button and check that it cannot easily be pulled away.
Do not use loose decorative buttons.

After finishing, gently tug the button to make sure it is firmly attached.
For babies and young children, small detachable parts can present a choking hazard. These booties should always be used with appropriate adult supervision.
Step 9: Make the Second Boot
Once the first boot is complete, use it as your measuring reference for the second.
This is easier than trying to remember every tension detail.
Place the two soles next to each other.
Check:
- Length
- Width
- Toe shape
- Ankle height
- Cuff height
- Button position
Small differences are normal, but getting the two boots reasonably symmetrical makes the finished pair look much more polished.
Easy Ways to Customize Your Snow Boots
One reason I enjoy this style is how easy it is to personalize.
Classic Cream
Cream yarn with brown buttons gives the boots a traditional winter appearance.
Blush Pink
Soft blush yarn with pearl or cream buttons creates a delicate baby-shower look.
Woodland Brown
Warm brown yarn with darker buttons gives the boots a rustic handmade feel.
Winter White
White or ivory yarn can create an elegant snowy look.
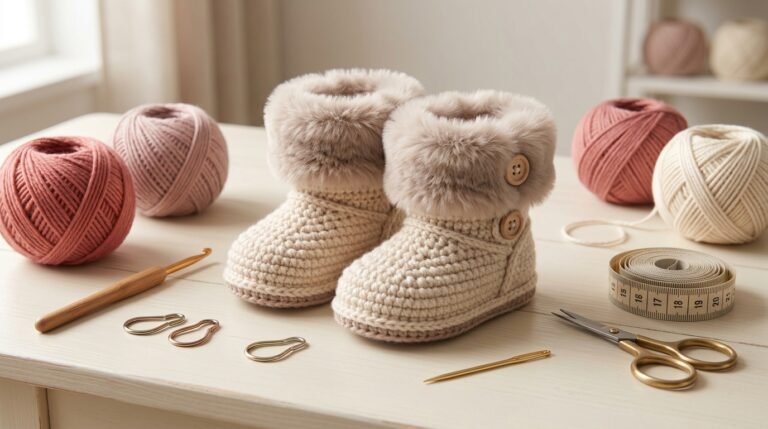
Add a Faux-Fur Detail
A small faux-fur trim can make the cuff look extra cozy.
If you add any trim, make sure it is attached securely and does not create loose strands that could be pulled by a baby.

Common Problems and How I Fix Them
The Sole Is Curling
This usually means the stitch count is not increasing enough around the curved ends.
Try adding a little more increase space around the toe and heel.
The Sole Is Wavy
Too many increases can create a ruffled edge.
Try reducing the number of increases on the next attempt.
The Boot Looks Too Loose
Try going down one hook size.
A smaller hook generally produces a firmer fabric.
The Toe Looks Too Pointy
Spread the decreases across a wider section instead of concentrating them directly in the center.
The Two Boots Are Different Sizes
This is usually a tension issue.
Keep your stitches relaxed and check your sole measurements before moving onto the upper.
How Long Does It Take?
Once you understand the construction, a small baby boot can work up fairly quickly.
The first boot usually takes longer because you’re learning the shape.
The second boot is often faster because you already understand the construction.
If you’re making these as a baby-shower gift, I recommend making a practice boot first. That gives you a chance to adjust the sole length and ankle width before using your final yarn.
How to Care for Crochet Baby Boots
Always follow the care instructions for your chosen yarn.
For machine-washable acrylic yarn, gentle washing may be possible, but check the yarn label first.
I recommend:
- Washing gently
- Avoiding harsh bleach
- Reshaping while damp if necessary
- Allowing the booties to dry completely
- Checking buttons after washing
Never assume that every yarn has the same care requirements.
Final Thoughts
Classic crochet snow boots are one of those projects that look much more complicated than they actually are.
The secret is breaking the construction into simple sections:
sole → sides → toe shaping → ankle → cuff → button tab.
Once you understand that structure, you can experiment with different yarn colors, cuff heights, buttons, and finishing details to create your own version.
For a beginner, I would recommend starting with a light-colored worsted yarn because the stitches are easier to see. Take your time with the sole, measure the baby’s foot rather than relying only on age, and make sure every decorative element is securely attached.
Most importantly, remember that handmade baby footwear is best treated as a cozy accessory rather than a walking shoe. Keep safety and supervision in mind, especially when buttons or other small decorative pieces are included.
The result is a tiny handmade pair of boots that feels personal, thoughtful, and perfect for a little winter wardrobe.