Crochet Furry Toddler Boots: Cozy DIY Winter Boot Pattern
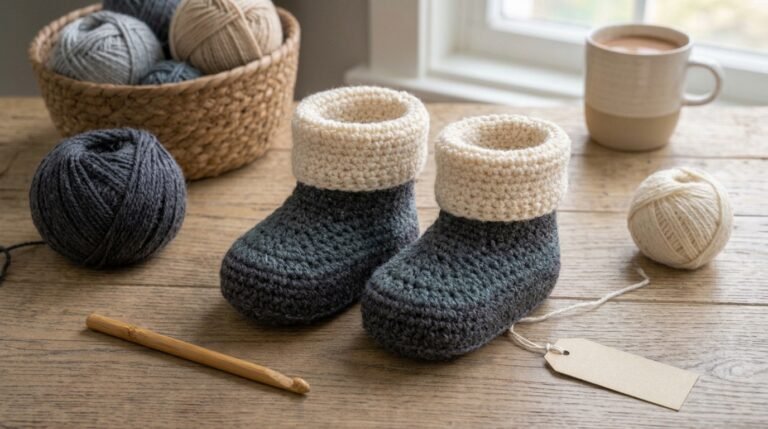
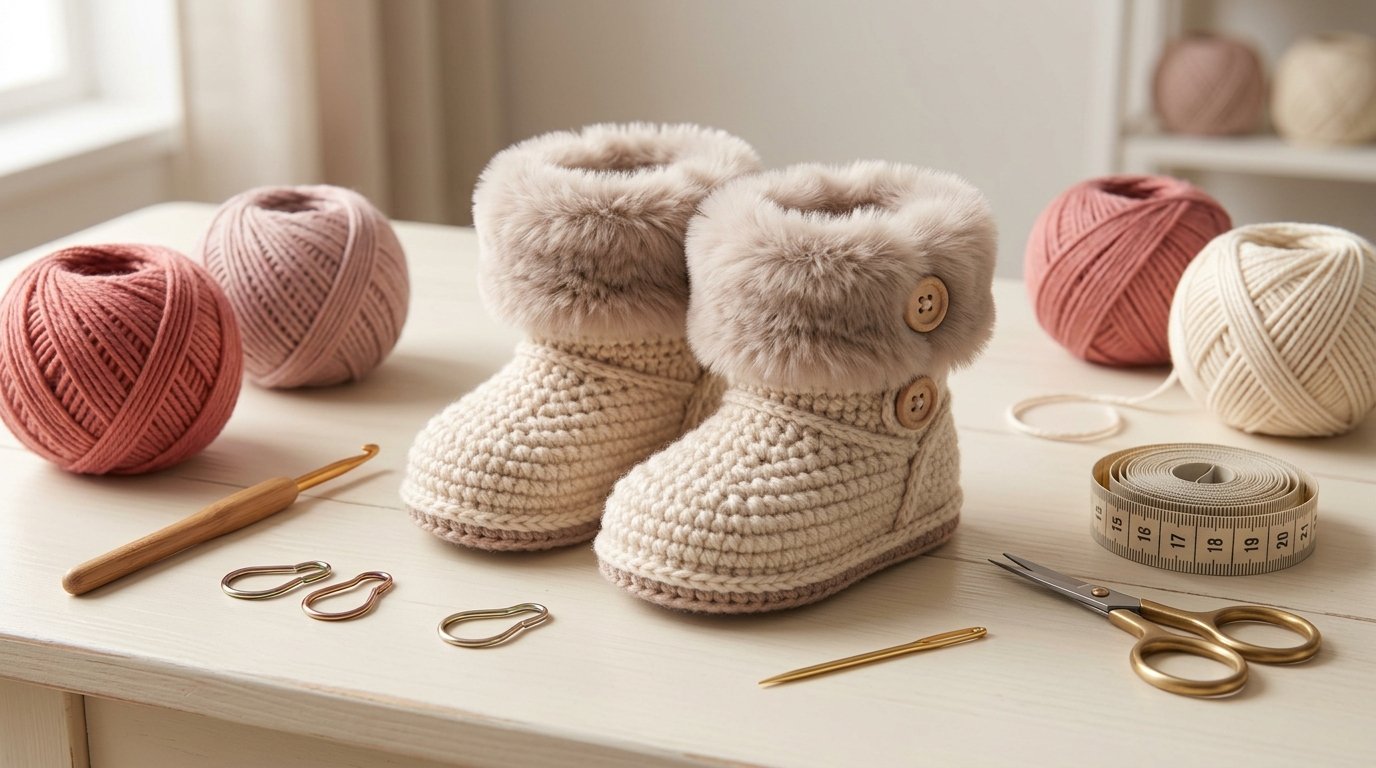
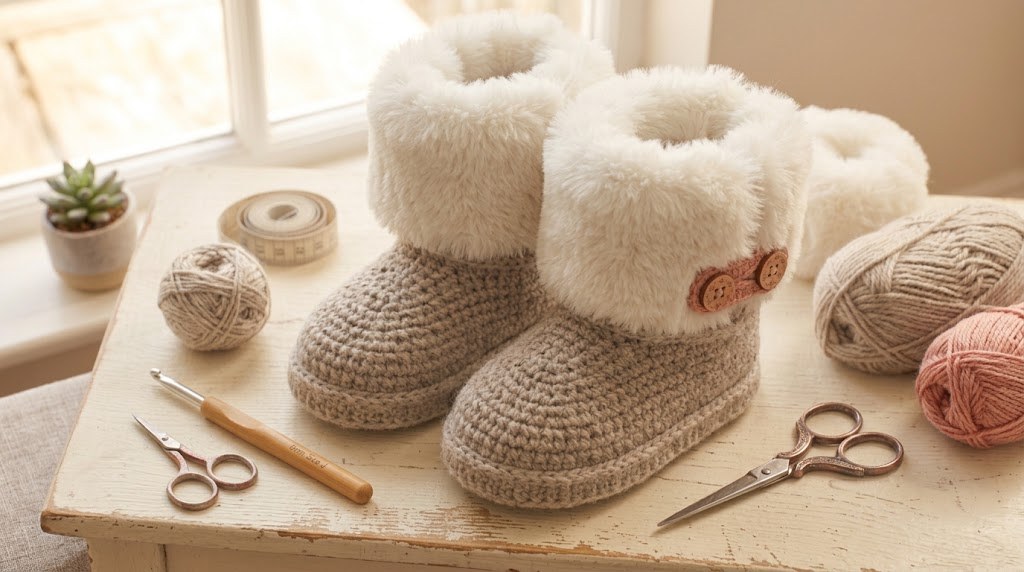
If you love making handmade accessories for little ones, these crochet furry toddler boots are such a fun winter project. They have the cozy appearance of a little winter boot, but they are made with soft yarn, simple crochet stitches, and a fluffy trim that gives them an extra-cute finish.
I especially like this style because the furry detail makes an otherwise simple crochet boot look much more special. You can keep the main boot neutral and add a cream, blush, gray, or white furry cuff. Or, if you’re making them as a gift, you can choose a color that matches the child’s winter coat.
The inspiration for this project comes from the classic toddler furry-boot style. The pattern was designed in four toddler sizes, US sizes 5 through 8, and uses two strands of worsted-weight yarn together with a furry yarn border.
This tutorial is Instead, I’m showing you an original way to construct a similar cozy furry toddler boot from the sole upward.
The best part is that you can adjust the length and width as you work, which is especially useful because toddler feet don’t always fit perfectly into standard age-based sizes.
Why Make Crochet Furry Boots?
There are so many reasons I enjoy projects like this.
First, they use relatively simple stitches. If you know single crochet, half double crochet, slip stitch, increases, and decreases, you already have most of the skills you need.
Second, they’re a great way to practice shaping.
The project is basically divided into five sections:
- Crochet the sole
- Build the sides
- Shape the toe
- Create the ankle
- Add the furry cuff
Once you understand those five sections, you can make the boots in different colors and adjust them for different foot lengths.
They also make lovely handmade gifts for birthdays, winter holidays, baby showers, and toddler photos.
Materials You Will Need
Main yarn
For the main boot, choose a medium/worsted-weight yarn.
I recommend a yarn with enough structure to hold the shape of the boot without becoming stiff.
Good colors include:
- Cream
- Oatmeal
- Beige
- Light gray
- Taupe
- Dusty pink
- Chocolate brown
- Soft blue

Furry yarn
For the cuff, use a fluffy or faux-fur yarn.
You don’t need much. A small amount is generally enough to create a decorative cuff.
Because furry yarn can make individual stitches difficult to see, I recommend making the main boot first and adding the fluffy border afterward.
Hook
A hook around 5 mm (H-8) is a good starting point for worsted-weight yarn, but your actual hook size should depend on your yarn and tension.
Other supplies
You will also need:
- Yarn needle
- Scissors
- Stitch markers
- Measuring tape
- Two small buttons, optional
- Sewing needle and thread, optional
Two Helpful Amazon Supplies
If you’re building a crochet toolkit, I would keep your purchases focused on tools that you’ll be able to use for many projects rather than buying something specifically for one pair of boots.
1. Clover Amour Crochet Hooks
A comfortable ergonomic crochet hook is particularly helpful when you’re making both boots because there is a fair amount of repetitive stitching.
The Clover Amour range is available in multiple sizes, making it useful when you need to adjust your tension or switch between yarn weights.
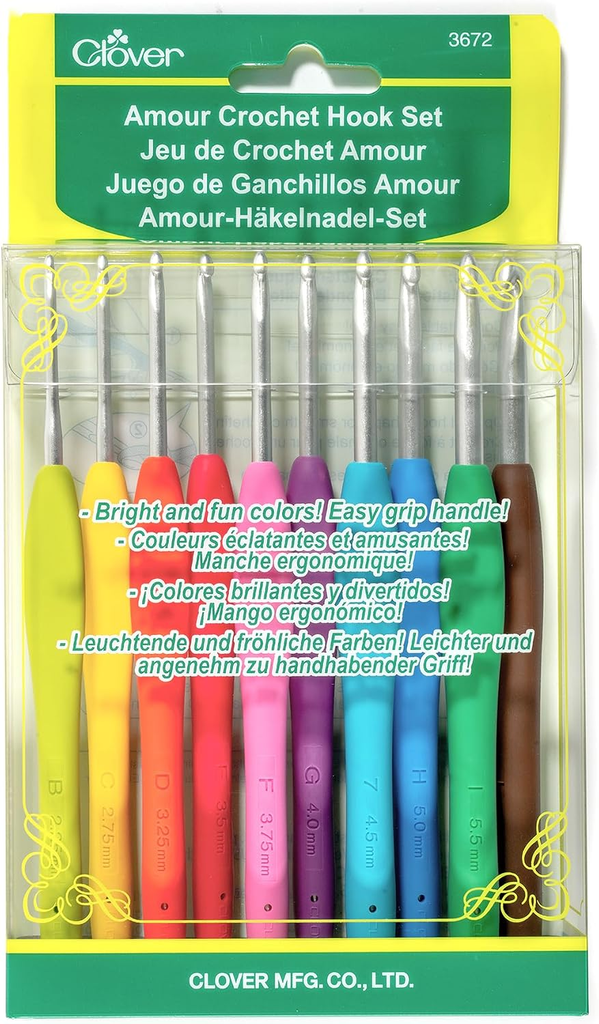
I would choose a hook size based on your yarn label and, more importantly, your finished gauge. Don’t feel that you have to use exactly the same hook size as another crocheter.
2. Lion Brand Fun Fur / Faux Fur Yarn
A fluffy novelty yarn is the easiest way to create the furry cuff without having to crochet a complicated textured stitch.
Lion Brand is the brand associated with the furry yarn used for the design.
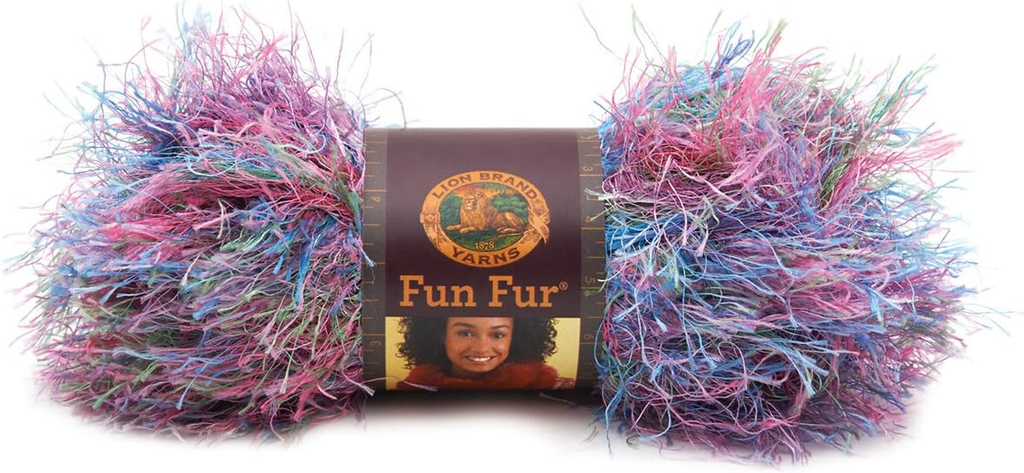
Availability and color selection can change, so check the current listing before purchasing.
Crochet Abbreviations
This pattern uses US crochet terminology.
| Abbreviation | Meaning |
|---|---|
| ch | Chain |
| sc | Single crochet |
| hdc | Half double crochet |
| sl st | Slip stitch |
| st | Stitch |
| inc | Increase |
| dec | Decrease |
| BLO | Back loop only |
Before Starting: Measure the Foot
This is the step I would never skip when making toddler footwear.
Don’t rely entirely on age or shoe size.
Measure the child’s foot from the back of the heel to the tip of the longest toe.
Also measure around the widest part of the foot.
For a comfortable crochet boot, aim for approximately 0.25–0.5 inch of extra length beyond the actual foot measurement.
That gives the toes some room without making the boot excessively loose.
The original inspiration pattern lists finished lengths of approximately 5, 5¼, 5½, and 6 inches for US toddler sizes 5–8.
Those measurements can be useful as a reference, but always prioritize the child’s actual foot measurement.

Part 1: Crochet the Boot Sole
Start with your main yarn.
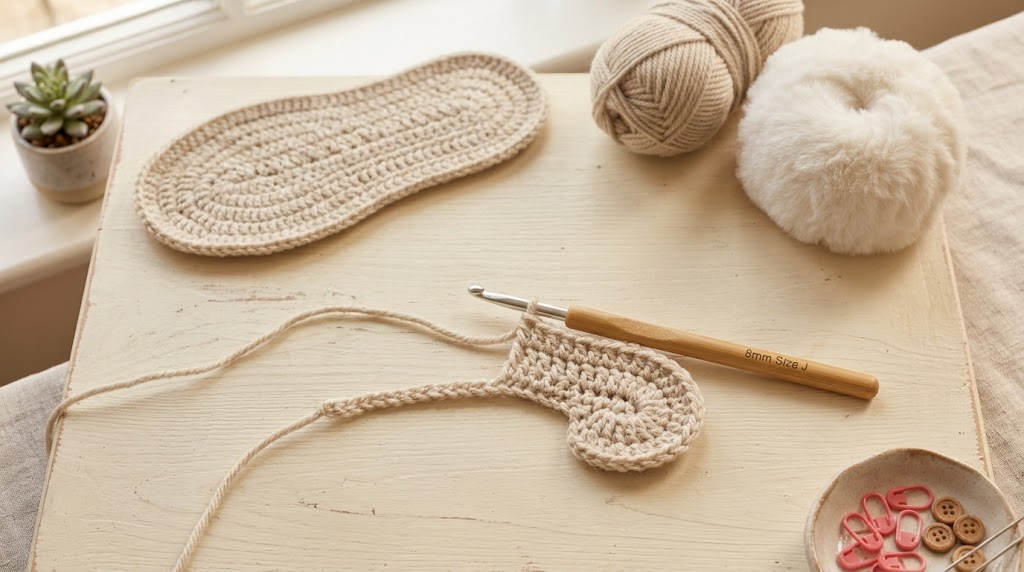
The sole is worked as an oval rather than a simple rectangle.
This construction gives you a rounded toe and heel.
Foundation
Chain enough stitches to create a foundation approximately 60–70% of the desired finished sole length.
For example, if you want a finished sole around 5½ inches long, begin with a foundation chain that is noticeably shorter than 5½ inches because the rounded ends will add length.
Your exact starting chain will depend on your yarn thickness and tension.
Round 1
Work single crochet stitches along one side of the chain.
When you reach the final chain, work several single crochet stitches into the end stitch to turn around the chain.
Continue along the opposite side of the foundation chain.
Work several stitches into the opposite end to create the second rounded section.
Slip stitch to join.
You should now have a small oval.
Part 2: Increase the Sole
The next rounds create the width of the boot.
Work single crochet around the oval.
Add increases around both rounded ends.
Keep the straight sides mostly even.
The goal is to create a sole that lies flat.
How to Know If Your Sole Is Correct
Place it on a flat surface.
If the sole curls upward, you probably need more increases.
If the edge becomes wavy, you probably have too many increases.
This is one of those places where looking at your crochet is more useful than following a rigid stitch count.
Continue until the sole reaches your desired length and width.
Part 3: Create the Sole Ridge
Once the sole has the correct size, work one complete round without increasing.
For a more defined boot, work this round through the back loop only.
This creates a visible horizontal ridge.
The ridge separates the sole from the upper portion and gives the finished boot a more structured appearance.
After this round, your crochet should start looking like the bottom of an actual shoe.
Part 4: Build the Boot Sides
Now work several rounds of single crochet around the sole.
Do not increase.
This causes the fabric to rise instead of spreading outward.
Work approximately 3–5 rounds, depending on how tall you want the lower part of the boot.
For a taller winter boot, you can add additional rounds later.
Keep checking the shape as you go.
The boot should comfortably surround the foot without becoming extremely loose.

Part 5: Shape the Toe
This is where the boot starts taking its recognizable shape.
Place stitch markers at the approximate center of the front section.
Work even stitches around the heel and sides.
Across the front, begin decreasing.
A simple single-crochet decrease is made by inserting the hook into one stitch, pulling up a loop, inserting the hook into the next stitch, pulling up another loop, and then pulling through all loops.
Spread your decreases across the front rather than putting them all in one location.

First shaping round
Work several decreases across the toe section.
Next round
Work even stitches.
Second shaping round
Repeat a smaller number of decreases.
Then work one round evenly.
Your toe should now have a gently curved shape.
Part 6: Build the Ankle
Once the toe is shaped, stop decreasing.
Work several rounds evenly around the boot.
You can use either single crochet or half double crochet.
I prefer single crochet when I want a firmer boot and half double crochet when I want a slightly softer, taller fabric.
Continue until the boot reaches approximately the ankle height you want.
For a classic furry boot, the ankle should be tall enough that the fluffy cuff becomes a noticeable feature.

Part 7: Add a Folded Cuff
For an optional folded cuff, work approximately 4–6 rounds in your main yarn.
You can work the cuff in:
- BLO single crochet
- BLO half double crochet
- Regular single crochet
BLO stitches create a ribbed appearance.
Once the cuff reaches your preferred height, finish off the main yarn.
Now we’re ready for the fun part.

Part 8: Add the Furry Border
Attach your furry yarn around the top edge of the boot.
This is where I recommend working slowly.
Furry yarn can hide the individual stitches, so use your fingers to feel for the stitch spaces.
Work one round of single crochet around the opening.
Don’t pull the furry yarn too tightly.
You want the fluffy fibers to remain soft and relaxed.
If the cuff looks too thin, you can add a second furry round.
If it looks too bulky, one round may be enough.
The goal is a soft border rather than an extremely thick ring.
Part 9: Optional Button Detail
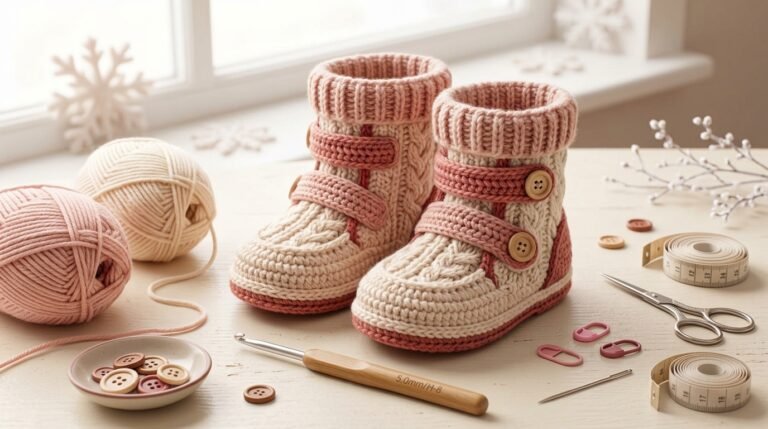
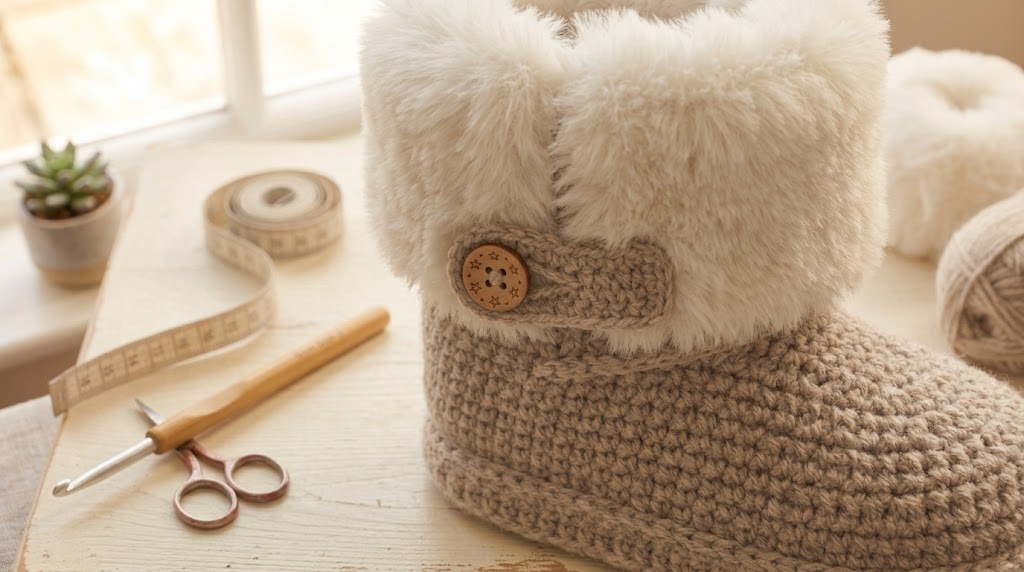
If you want your boots to have a more decorative winter style, add a small button on the outer side.
You can also crochet a small strap.
To make a simple strap:
- Attach the main yarn to the side of the boot.
- Chain a short length.
- Turn.
- Work single crochet back across the chain.
- Repeat for a few rows.
- Create a small buttonhole.
- Sew the button securely to the boot.
The button should be firmly attached.
For toddler items, avoid loose decorative pieces and always supervise use.
Part 10: Make the Second Boot
After finishing the first boot, don’t immediately start the second one from memory.
Instead, place the finished boot next to your work.
Compare:
- Sole length
- Sole width
- Toe shape
- Ankle height
- Cuff height
- Furry border
This simple trick helps keep both boots nearly identical.
If your tension changed during the first boot, you may notice the difference when making the second.
Easy Size Adjustments
One of the best things about this construction is that you can adjust it without redesigning the entire boot.
To make it longer
Add a few foundation-chain stitches at the beginning.
To make it wider
Add an additional increase round around the sole.
To make it narrower
Use fewer increases around the rounded ends.
To make it taller
Simply add more even rounds before beginning the furry cuff.
To make a smaller boot
Reduce the foundation chain and use fewer increase rounds.
Always measure against the actual foot rather than relying only on a standard toddler size.
Color Ideas
The furry border gives you plenty of opportunities to experiment.
Cream + Ivory
A classic winter combination.
Taupe + Cream
Soft and neutral, making it easy to pair with different outfits.
Blush + Ivory
A sweet option for a handmade gift.
Gray + White
A modern winter look.
Brown + Cream
A warm, rustic combination.
Dusty Red + Ivory
Perfect if you want a festive winter palette.
How to Make the Boots More Comfortable
The most important thing is getting the fit right.
The boot shouldn’t squeeze the child’s toes.
It also shouldn’t be so loose that it easily slips off.
Keep the sole firm enough to hold its shape.
If your crochet fabric is very loose, try a smaller hook.
If it is extremely stiff, go up one hook size.
Always make a small gauge sample when changing yarn brands or weights.
Important Safety Tips
These are handmade crochet accessories, not protective outdoor shoes.
They should not be treated as a replacement for properly fitted toddler footwear.
If the child is walking, crawling, or playing actively, check that the boot stays securely on the foot.
Crochet soles can also be slippery on smooth floors.
For this reason, use particular caution indoors on tile, polished wood, or other smooth surfaces.
If you add buttons or other decorations, make sure they are attached extremely securely because small detachable parts can create a choking hazard.
How to Care for Crochet Furry Boots
Always follow the washing instructions for your yarn.
For many acrylic yarns, gentle washing is possible, but the furry yarn may have different care requirements.
I recommend:
- Washing gently
- Avoiding harsh bleach
- Using cool or lukewarm water when recommended
- Reshaping while damp
- Allowing the boots to dry completely
- Checking the buttons and trim after washing
Don’t aggressively brush the furry cuff because excessive handling can damage the fibers.
Frequently Asked Questions
Are these boots suitable for beginners?
Yes, if you already know basic crochet stitches.
The most important new skill is shaping the toe.
The rest is mainly working in rounds and keeping your stitch count consistent.
What yarn should I use?
A medium/worsted-weight yarn works well for the main boot.
For the cuff, choose a soft fluffy novelty or faux-fur yarn.
Can I make these without furry yarn?
Absolutely.
You can replace the furry border with a ribbed crochet cuff.
The boots will have a cleaner, simpler appearance.
Can I make the boots larger?
Yes.
Increase the sole length and width first, then add extra ankle rounds.
Always measure against the intended foot.
Can I sell finished boots?
The finished item you create yourself is different from selling or redistributing someone else’s written pattern. If you’re selling handmade items, make sure your materials, pattern source, and any applicable licensing or copyright restrictions allow your intended use.
Final Thoughts
These crochet furry toddler boots are a lovely example of how a few simple crochet techniques can create something that looks much more complicated.
The secret is the construction.
Start with a firm oval sole, build the sides upward, shape the toe, add the ankle, and finish with a fluffy cuff.
Once you understand that structure, you can make your own variations for different seasons and styles.
I especially like neutral colors because they let the furry trim become the star of the project. But don’t be afraid to experiment with blush, dusty red, soft blue, brown, or even a colorful cuff.
And remember: fit matters more than age labels. Measure the child’s foot whenever possible and make adjustments before you get too far into the boot.
The finished pair makes a wonderful handmade winter accessory and a thoughtful gift for a toddler who needs something cozy and cute for the colder months.