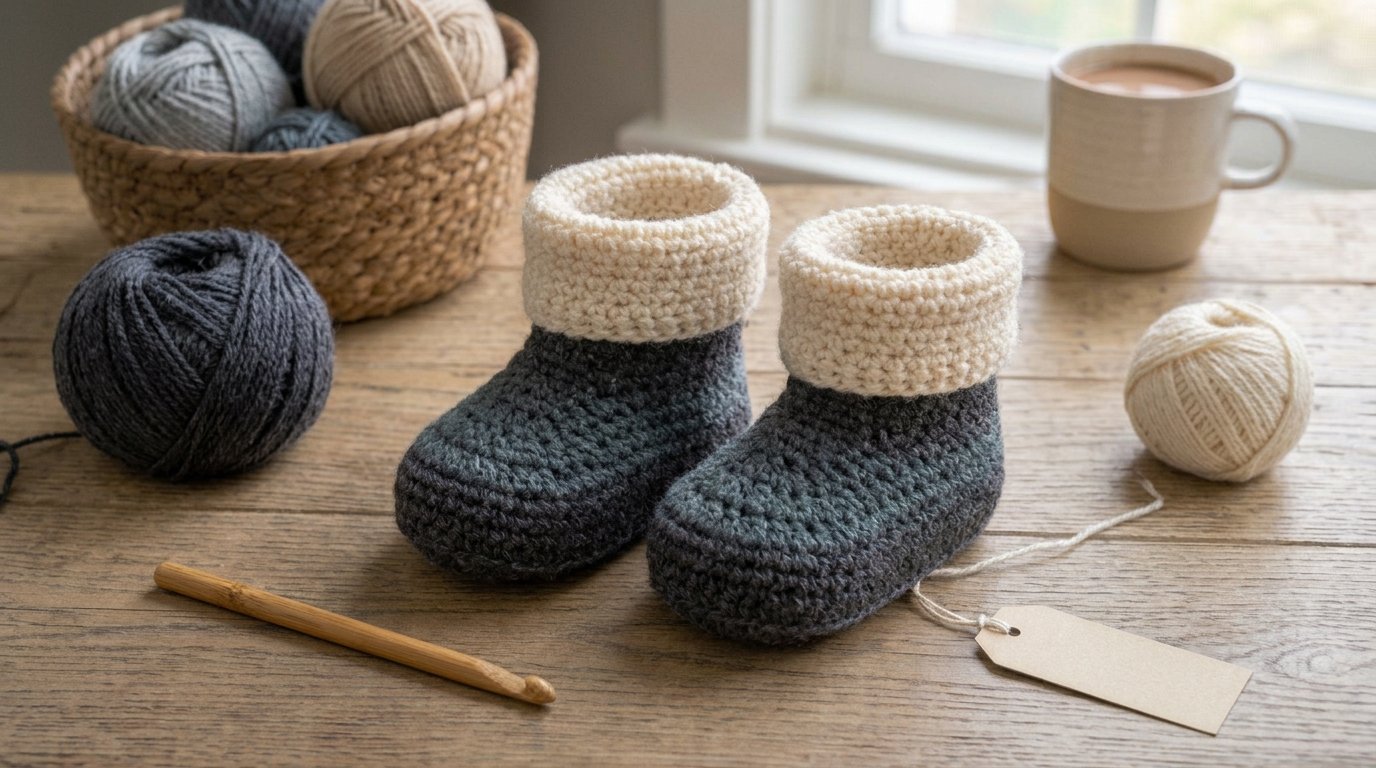
Classic Crochet Snow Boots for Kids: A Cozy Handmade Pattern
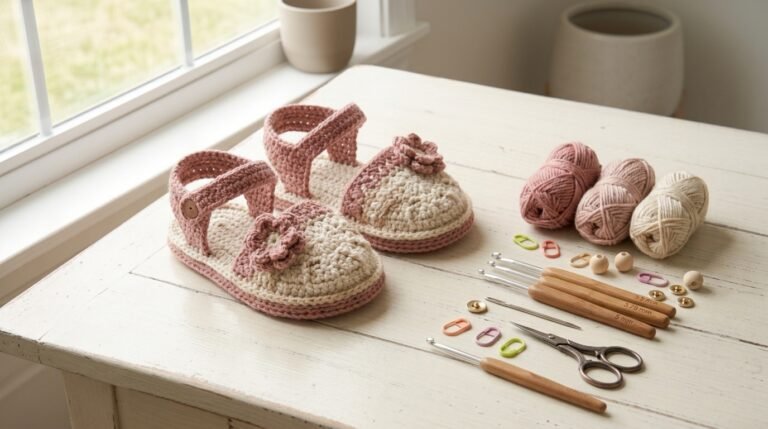
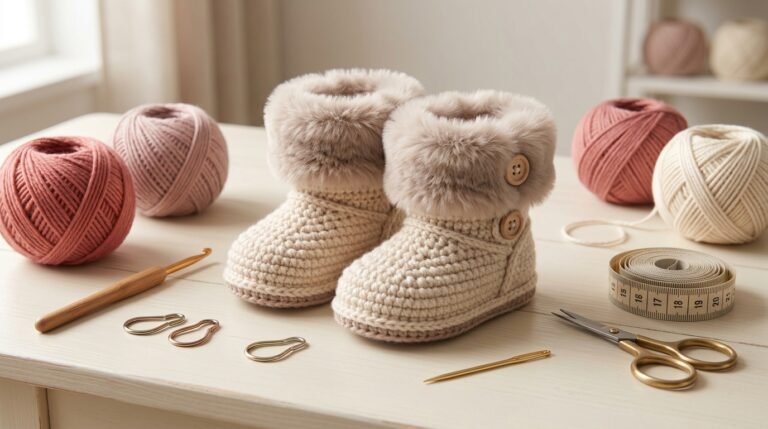
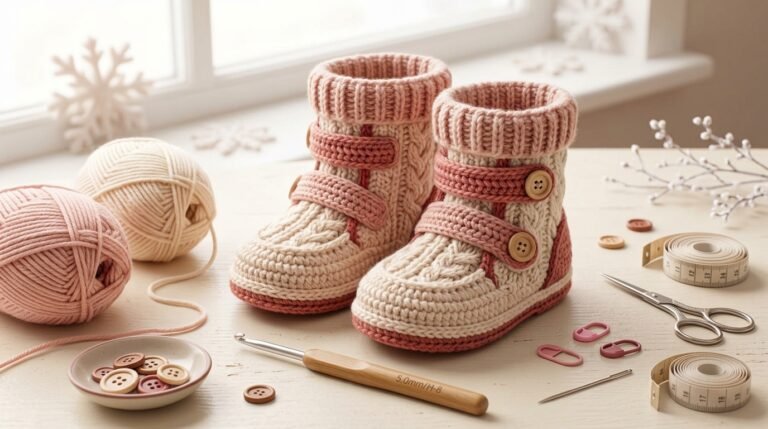
When the weather turns cold, warm accessories become a lovely part of a child’s winter wardrobe. If you enjoy making handmade gifts, classic crochet snow boots are a wonderful project to try. With a rounded toe, a comfortable ankle section, and a soft cuff, these little boots have a charming winter look that pairs beautifully with sweaters, hats, and cozy blankets.
I especially like the classic style of crochet boots because you can personalize them with different yarn colors, textured cuffs, and decorative buttons. For this project, I would choose a dark charcoal or deep navy yarn with a cream cuff. This combination looks elegant, photographs beautifully, and gives the finished boots a cozy winter aesthetic.
In this guide, I will explain how to make an original, adaptable pair of crochet boots for children. You will find the materials list, abbreviations, step-by-step instructions, sizing tips, and two helpful product recommendations.
Important: These handmade crochet boots are best treated as cozy indoor accessories or decorative booties unless you add a properly fitted, suitable sole. Ordinary crochet fabric is not waterproof and can be slippery on smooth floors.
Why You’ll Love These Crochet Snow Boots
These boots combine a classic winter appearance with simple crochet techniques.
- A timeless design: Dark yarn, a rounded toe, and a contrasting cuff create a traditional winter look.
- Customizable colors: Try charcoal and cream, navy and white, or brown and beige.
- A thoughtful handmade gift: Crochet boots make lovely gifts for families who appreciate handmade accessories.
- Beginner-friendly stitches: The basic construction uses single crochet and half double crochet.
- Easy to personalize: Add a decorative border or a small crochet motif for a unique finish.
I would keep the design simple for a first pair. Once you understand the construction, experimenting with colors and cuffs becomes much easier.
Materials You’ll Need
Gather these supplies before beginning:
- Medium-weight yarn in dark charcoal, navy, or another preferred color.
- A small amount of cream or light grey yarn for the cuff.
- A 4.5 mm or 5 mm crochet hook, depending on your yarn and tension.
- Scissors.
- A tapestry needle.
- Stitch markers.
- A measuring tape.
Choose a soft, washable yarn that feels comfortable against the skin. Acrylic yarn is a practical choice for children’s accessories because it is available in many colors and is generally easy to care for.
Check the yarn label before choosing your hook. A small gauge swatch will help you estimate the finished size and determine whether your stitches are too tight or too loose.
Crochet Abbreviations
This pattern uses standard US crochet terminology.
- ch: Chain
- sl st: Slip stitch
- sc: Single crochet
- hdc: Half double crochet
- inc: Increase by working two stitches into one stitch
- dec: Decrease by working two stitches together
- st(s): Stitch or stitches
- rnd: Round
Classic Crochet Snow Boots Pattern
Skill level: Beginner to advanced beginner
Construction: Rounded toe, foot section, heel, and ankle cuff
Color scheme: Dark charcoal with a cream cuff
This is an original, adaptable crochet bootie pattern. The instructions provide a starting point rather than a guaranteed size for every child. Measure the intended wearer’s foot and check the fit as you work.
Step 1: Crochet the Toe
Start with your dark yarn.
Make a magic ring, or chain four and join with a slip stitch to form a ring.
Round 1: Chain 1 and work 6 single crochet stitches into the ring. Pull the ring closed.
Round 2: Work 2 single crochet stitches into each stitch around. You should have 12 stitches.
Round 3: Work 1 single crochet in the first stitch, then 2 single crochet stitches in the next stitch. Repeat around. You should have 18 stitches.
Round 4: Work 1 single crochet in each of the next 2 stitches, then 2 single crochet stitches in the following stitch. Repeat around. You should have 24 stitches.
Continue increasing if needed until the toe section reaches the width required for the child’s foot.
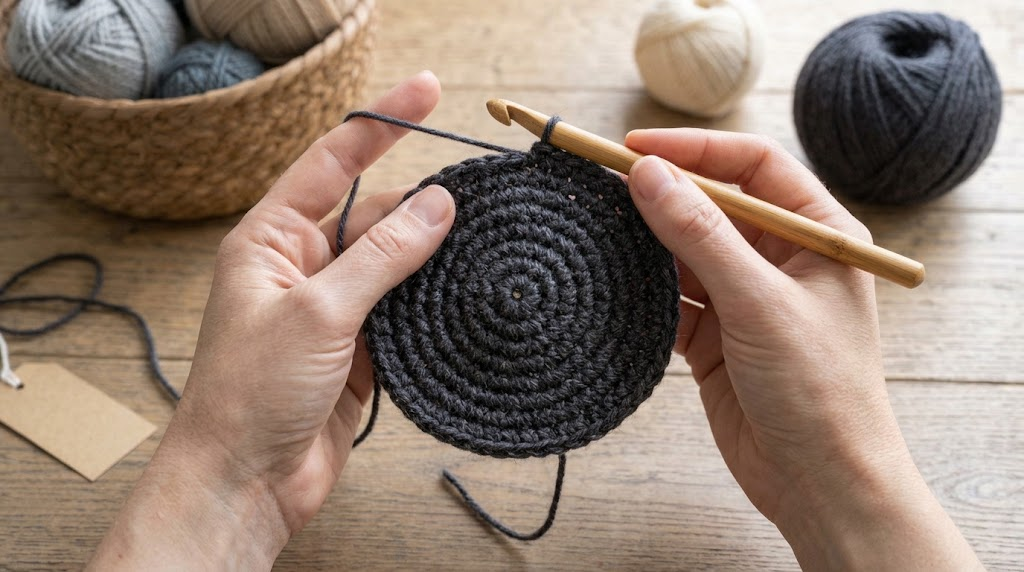
Keep the toe relatively flat. If the fabric begins curling too early, check your stitch count and tension.
Step 2: Build the Foot Section
Once the toe reaches the required width, stop increasing.
Work one half double crochet stitch into each stitch around. Continue working in rounds without adding increases.
As the foot section grows, compare the bootie with the child’s foot measurement. The toe should provide enough room for the toes without making the boot excessively long.
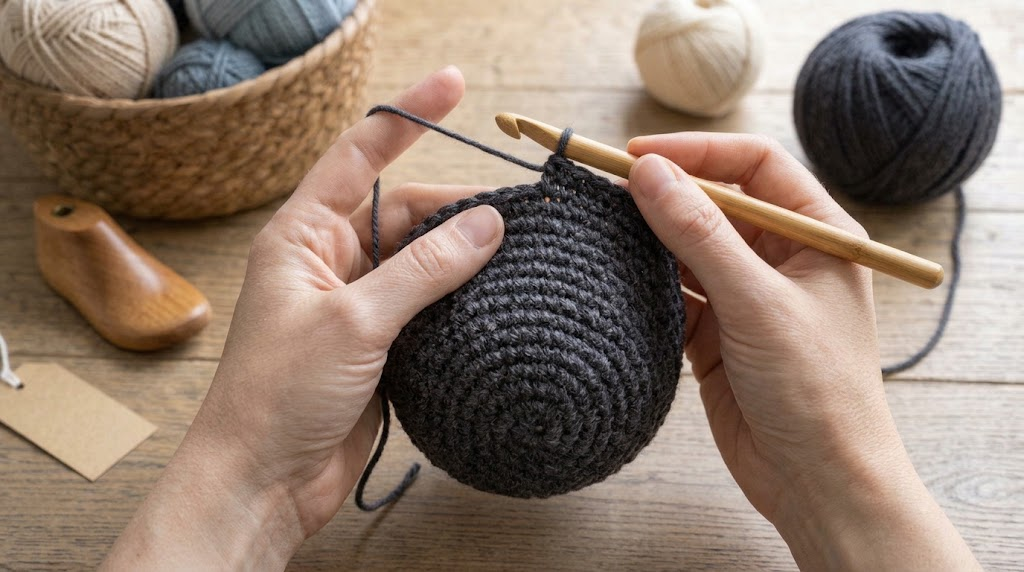
Continue until the foot section reaches the point where the heel and ankle need to begin.
Helpful tip: Children grow quickly, but making booties much larger than the foot can cause poor fit. Measure carefully instead of relying only on age-based sizing.
Step 3: Shape the Heel
To create the back of the boot, work back and forth in rows across the heel section rather than continuing around the entire opening.
Lay the bootie flat and identify the back portion.
Row 1: Chain 1 and work half double crochet stitches across approximately half of the available stitches. Turn.
Row 2: Chain 1 and work half double crochet stitches across. Turn.
Repeat Row 2 until the heel section reaches the depth needed to wrap around the back of the foot.
Fasten off, leaving a long yarn tail. Fold the heel section together and sew the back seam with a tapestry needle.
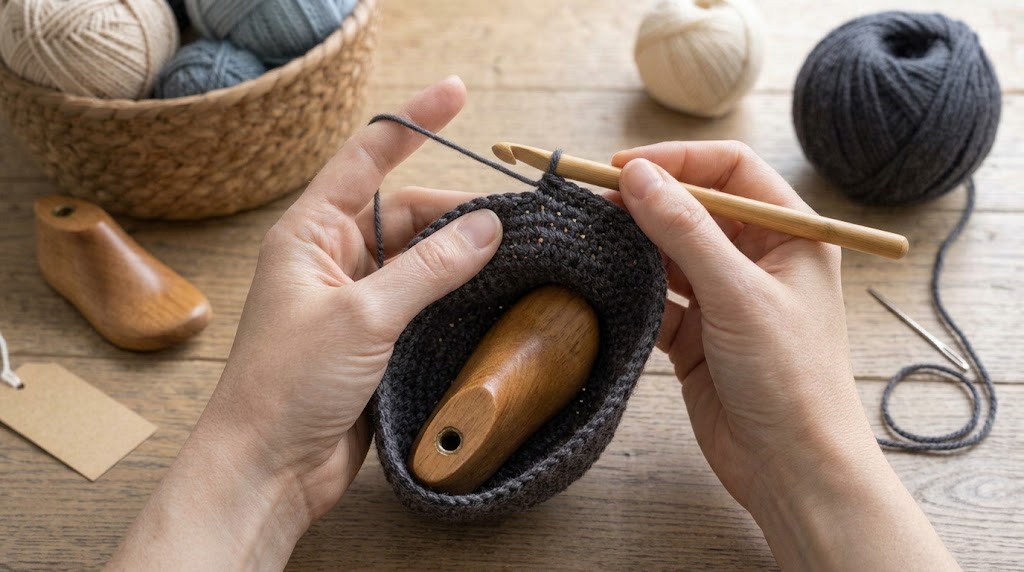
Check that the seam is secure and that there are no large gaps.
Step 4: Create the Ankle Section
Attach your dark yarn around the opening at the top of the foot.
Work half double crochet stitches evenly around the opening. Continue for several rounds until the ankle section reaches the desired height.
Keep the opening comfortable. A very tight ankle can make the boot difficult to put on, while a loose opening may not hold the boot securely.
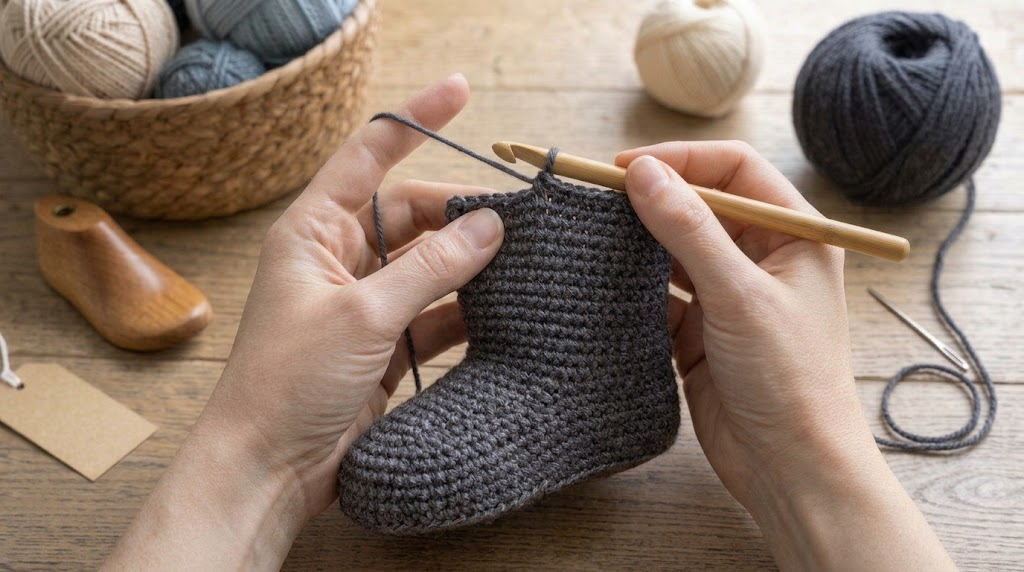
For a taller winter-boot appearance, add a few extra rounds before beginning the cuff.
Step 5: Add the Contrasting Cuff
Switch to cream or light grey yarn.
Work one round of single crochet stitches around the opening. Then work additional rounds of half double crochet stitches until the cuff reaches your preferred height.
For a folded-cuff look, make the cuff slightly taller and fold the upper edge outward.
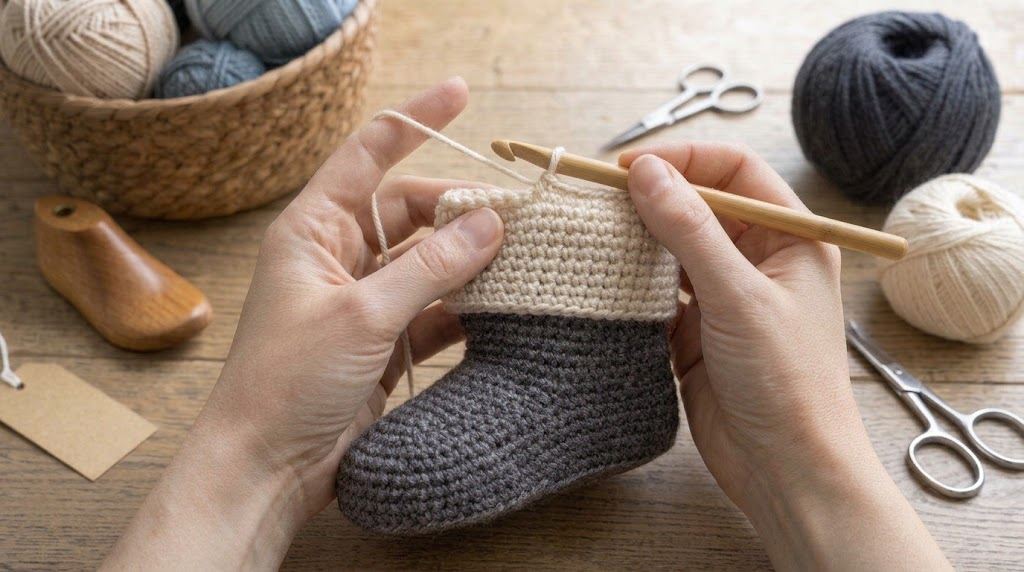
Keep the stitches even so the cuff sits neatly around the ankle. Fasten off and weave in the yarn ends.
Step 6: Finish the Boots
Repeat the process to make the second boot.
Compare both pieces to check that the toes, foot lengths, heels, and cuffs are similar. Weave in loose ends securely and inspect the seams.
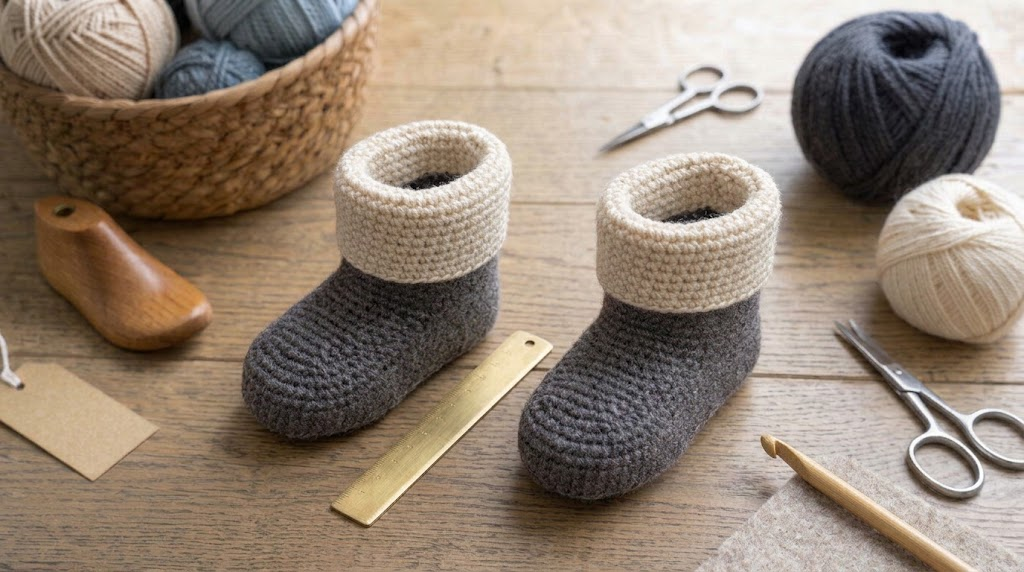
If you plan to add a sole, choose a product specifically suitable for the intended footwear and make sure it fits correctly. A decorative crochet sole alone should not be assumed to provide adequate traction or outdoor protection.
Two Helpful Amazon Product Recommendations
The right supplies can make a crochet project easier to manage. Here are two useful options for this pattern.
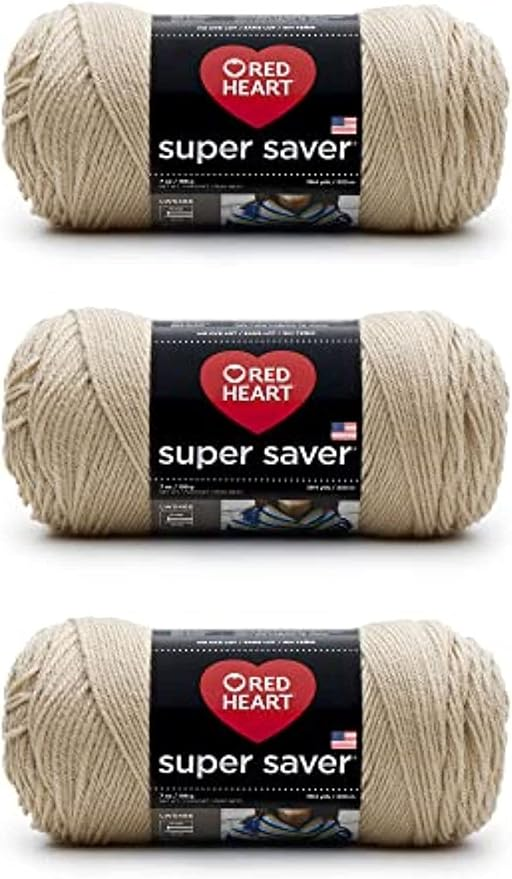
1. Medium-Weight Acrylic Yarn
Consider Red Heart Super Saver yarn in charcoal, navy, or another dark shade. Its range of colors makes it easy to create a dark boot with a contrasting cream cuff.
Before purchasing, check the yarn weight, shade, and washing instructions. For children’s accessories, softness and comfort should be priorities.
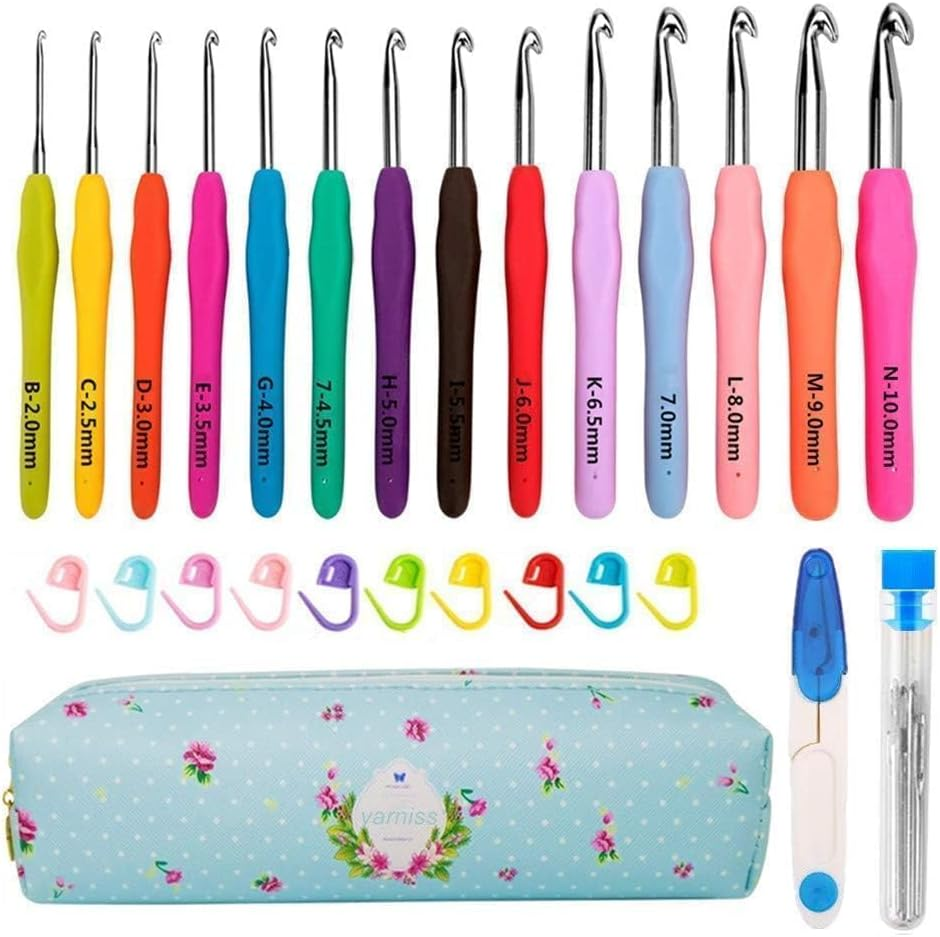
2. Ergonomic Crochet Hook Set
An ergonomic crochet hook set is useful if you enjoy making hats, booties, scarves, and other crochet accessories.
Look for a set that includes a 4.5 mm or 5 mm hook with clearly marked sizes. A comfortable handle may make longer crochet sessions easier, although the best handle depends on your grip and personal preference.
Tips for Making Better Crochet Snow Boots
Measure before starting. Foot length and width are more reliable than age estimates when choosing a size.
Maintain even tension. Consistent stitches help the two boots match in shape and size.
Choose comfortable yarn. Avoid yarn that feels scratchy against the skin.
Secure the seams. A neat heel seam helps the boot retain its shape.
Consider floor safety. Crochet fabric can slip on smooth surfaces. Choose appropriate footwear or a suitable non-slip sole for the intended use.
Keep decorations secure. Avoid small detachable buttons and embellishments for babies and young children because they can pose choking hazards.
Frequently Asked Questions
Are crochet snow boots suitable for beginners?
Yes. The basic construction uses single crochet and half double crochet stitches. The heel shaping may require some practice, but working slowly and checking the fit can make the process easier.
Which yarn is best for children’s crochet boots?
Medium-weight acrylic yarn is a practical starting point. Choose a soft yarn that is comfortable against the skin and suitable for the intended care routine.
Can I make these boots in different colors?
Absolutely! Charcoal and cream create a classic winter look, while navy and white or brown and beige offer other attractive combinations.
Can children wear crochet snow boots outdoors?
Ordinary crochet booties are not waterproof or designed to provide the insulation, traction, and protection of proper winter footwear. Use them primarily as indoor accessories unless you have added a suitable, properly fitted sole and the finished footwear is appropriate for its intended conditions.
Final Thoughts
Classic crochet snow boots are a charming project for anyone who loves making cozy handmade accessories. With a rounded toe, a comfortable ankle section, and a contrasting cuff, you can create a timeless design that is easy to customize.
Take your time with the measurements, check the fit as you work, and pay attention to the heel seam and finishing details. A simple charcoal-and-cream combination is a lovely place to start, but you can experiment with other colors to create a pair that feels truly personal.