Keyhole Crochet Baby Booties Pattern: Adorable Handmade Baby Shoes in Cozy Brown
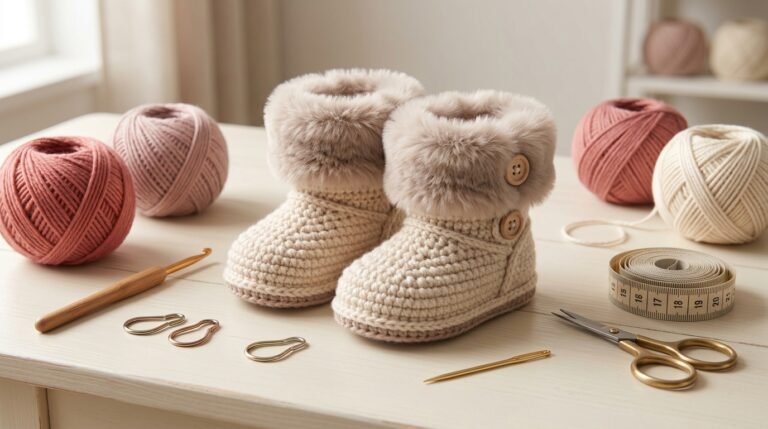
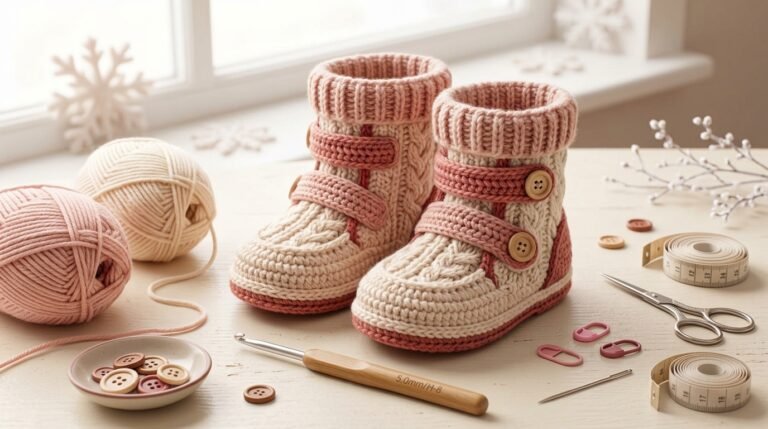
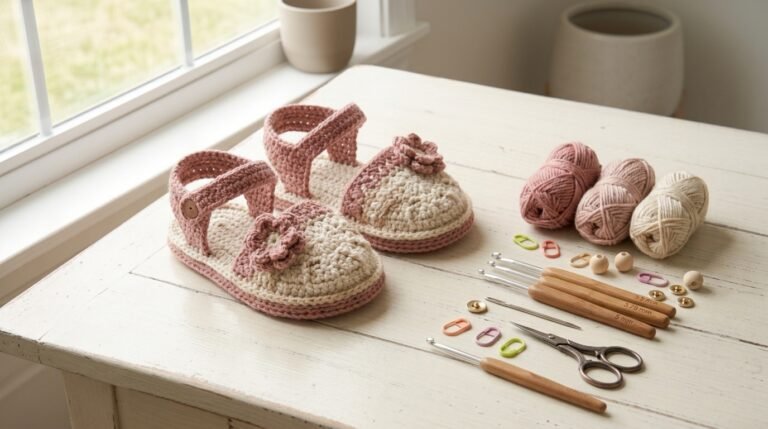
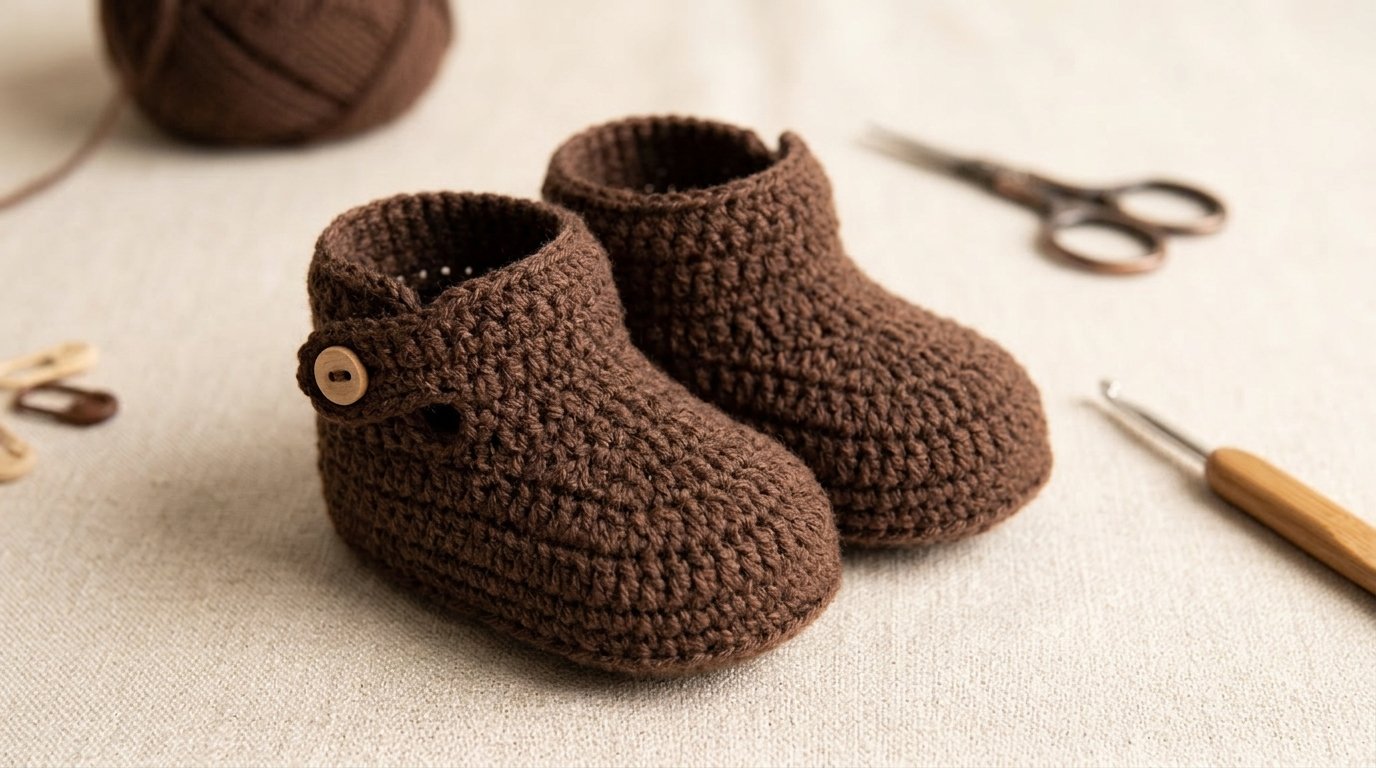
There is something especially sweet about a handmade pair of baby booties. They are small, charming, and make thoughtful gifts for baby showers, newborn photography, and special occasions. If you enjoy crocheting baby accessories, these keyhole crochet baby booties are a lovely project to add to your collection.
What makes this style special is its little keyhole-inspired opening, which gives the booties a decorative look while allowing the upper section to feel less bulky. Combined with a soft rounded toe, a comfortable sole, and a delicate contrasting trim, the design creates a beautiful pair of handmade baby shoes.
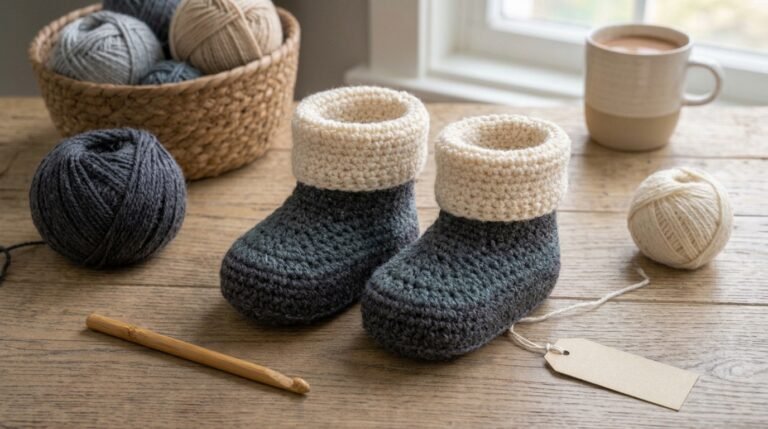
For this project, I love the idea of using rich chocolate brown with warm ivory or cream. This combination feels elegant, timeless, and slightly vintage. It also photographs beautifully for a crochet blog or Pinterest.
Why You’ll Love These Keyhole Crochet Baby Booties
These little booties combine a classic shape with a decorative opening that makes them stand out from ordinary crochet baby shoes.
1. Beautiful keyhole detail: The small opening adds a pretty design feature and gives the upper section a delicate appearance.
2. Lovely color combinations: Chocolate brown and cream create a warm, sophisticated look. You can also try beige, dusty pink, caramel, or soft sage.
3. A thoughtful handmade gift: These booties are wonderful for baby showers, newborn gift baskets, and handmade baby clothing sets.
4. Beginner-friendly techniques: The construction uses familiar crochet stitches, including single crochet, half double crochet, and double crochet.
5. Easy to personalize: Change the cuff color, add a crochet edging, or create a matching hat for a coordinated baby gift.
Materials You’ll Need
Before starting, gather your crochet supplies.
- Medium-weight worsted yarn in chocolate brown.
- A small amount of cream or ivory yarn.
- 4.25 mm crochet hook.
- 5 mm crochet hook, if needed to achieve the desired gauge.
- Tapestry needle.
- Scissors.
- Stitch markers.
- Measuring tape.
Choose smooth, soft yarn that feels comfortable against delicate skin. I would avoid fluffy or heavily textured yarn because it can make the stitches harder to see and may shed loose fibers.
A washable acrylic yarn is a practical choice for baby accessories. Always check the manufacturer’s care instructions before washing your finished project.
Crochet Abbreviations
This pattern uses standard US crochet terminology.
- ch – Chain
- sl st – Slip stitch
- sc – Single crochet
- hdc – Half double crochet
- dc – Double crochet
- inc – Increase (two stitches in one stitch)
- dec – Decrease
- st – Stitch
- sts – Stitches
- BLO – Back loop only
- rnd – Round
- FO – Fasten off
Keyhole Crochet Baby Booties Pattern
Skill level: Beginner to intermediate
Construction: Oval sole, rounded toe, upper section, and decorative keyhole opening
Main color: Chocolate brown
Contrast color: Warm cream
Sizing: Adaptable for approximately 0–3, 3–6, 6–9, and 9–12 months
Gauge and sizing note: This is an adaptable construction guide, not a fully graded four-size pattern. The finished measurements depend on your yarn, hook, and tension. Measure the baby’s foot whenever possible and make the sole slightly longer than the foot.
Step 1: Make the Crochet Sole
Start with your chocolate-brown yarn and a suitable hook.
For a small sample sole, chain 10.
Round 1: Work 1 sc into the second chain from the hook. Work 1 sc in each of the next 7 chains. Work 3 sc into the final chain. Continue along the opposite side of the foundation chain, working 1 sc into each of the next 7 chains and 2 sc into the final chain. Join with a slip stitch.
Round 2: Chain 1. Work 1 sc into each stitch along the straight sides. Increase around both rounded ends by working two stitches into selected stitches. Join with a slip stitch.
Round 3: Continue increasing at the rounded ends while keeping the long sides relatively straight.
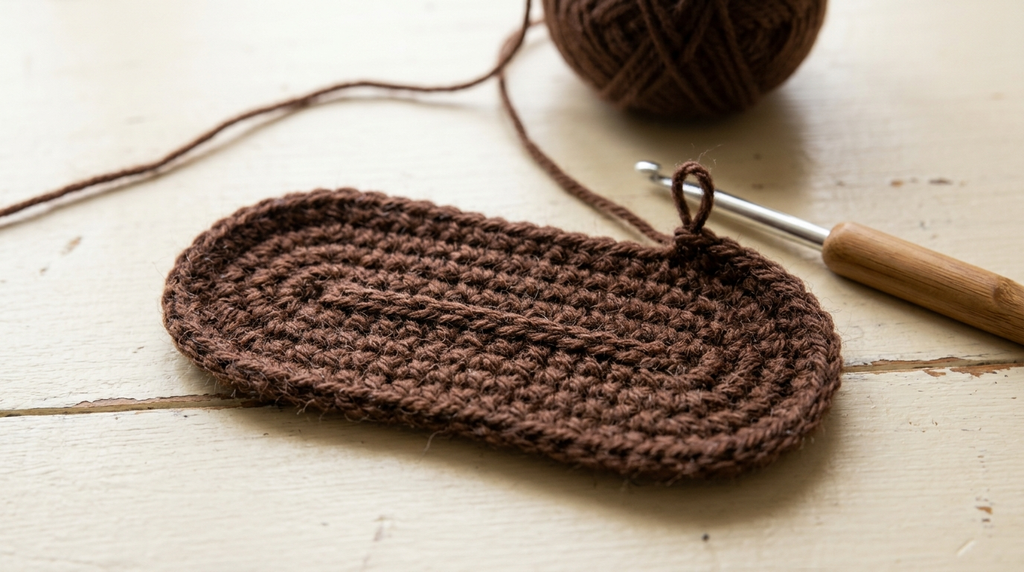
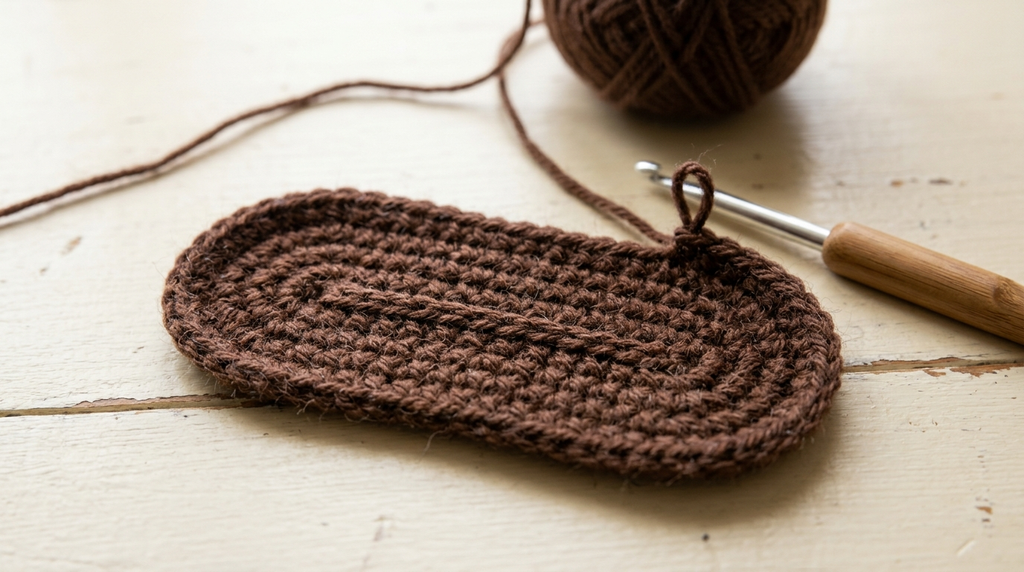
The sole should have an oval shape with rounded ends.
Try the sole against your measurement guide before continuing. If it is too narrow or short, adjust the foundation chain and increase rounds.
Step 2: Build the Upper Section
Once the sole reaches the desired length and width, begin working upward.
Round 1: Chain 1 and work 1 sc into the back loop only of each stitch around the sole. Join with a slip stitch.
Round 2: Chain 1 and work 1 hdc into every stitch around. Join.
Round 3: Repeat the previous round without increasing.
Working into the back loops on the first round creates a subtle edge that separates the sole from the upper section.
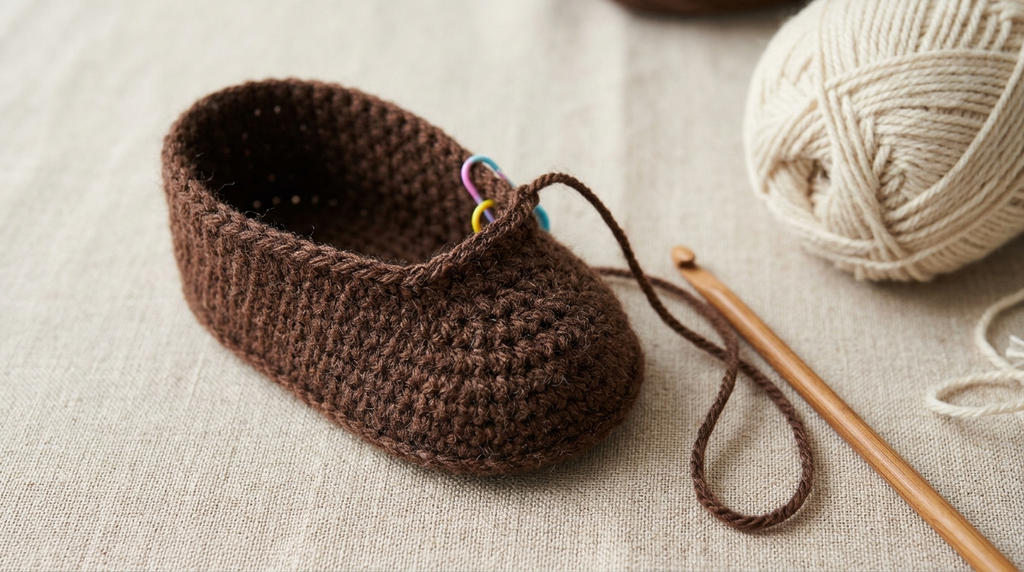
Keep your tension consistent. The fabric should feel flexible rather than stiff.
Step 3: Shape the Rounded Toe
The toe section should curve gently around the front of the foot.
Identify the front portion of your bootie and place stitch markers on both sides to mark the toe area.
Work sc and hdc stitches across the upper section, gradually introducing decreases near the center front.
For example, work two stitches together at selected points across the toe section, spacing the decreases evenly.
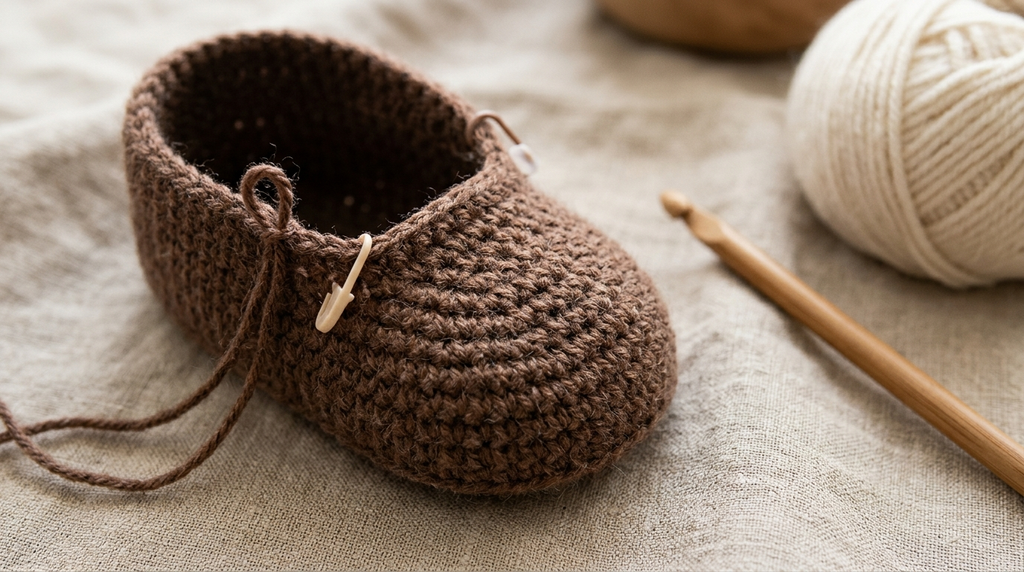
Continue shaping until the front opening becomes narrower while leaving enough room for the foot.
Try not to decrease too aggressively. A comfortable rounded shape is more attractive than a tightly gathered toe.
Step 4: Create the Ankle Section
Attach the chocolate-brown yarn around the upper opening.
Work several rounds of hdc stitches around the ankle area, keeping the sides even.
For the keyhole-inspired design, leave a small section at the front open rather than closing the entire ankle into a solid tube.
Work the upper section in short rows around the remaining ankle area, turning at the end of each row. This creates two neat edges on either side of the decorative opening.
The opening should be small and tidy, with enough room for the fastening detail.
Step 5: Add the Keyhole Detail
This is the decorative feature that gives these booties their distinctive appearance.
Using cream yarn, work a neat border of sc stitches around the opening.
Next, make a small chain loop on one side of the opening. Secure it with slip stitches so it forms a clean fastening loop.
On the opposite side, crochet a short strap using a small number of chains followed by rows of sc until it reaches the required length.
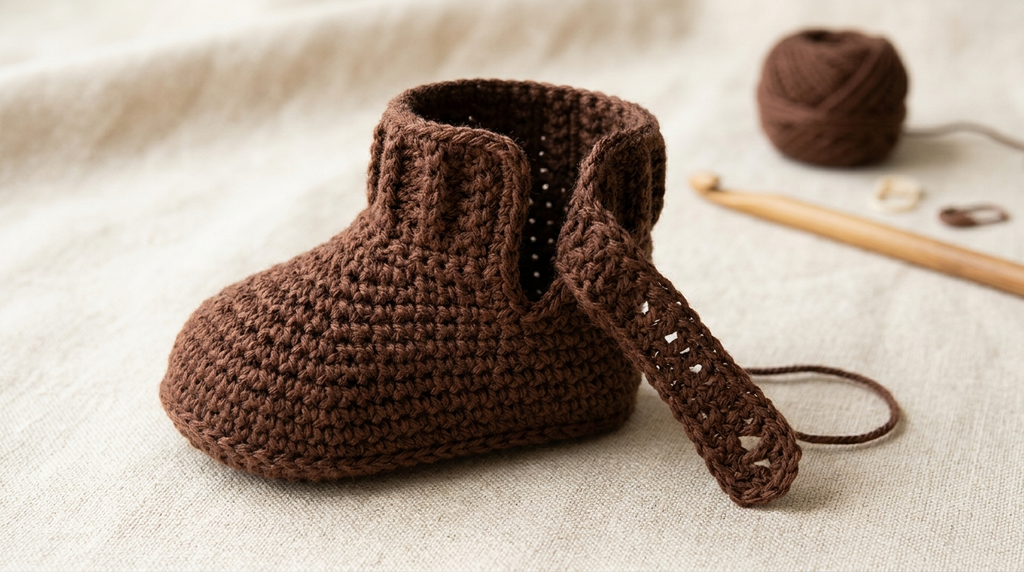
Pass the strap through the loop to create a simple adjustable-looking closure.
For baby items, I prefer a securely crocheted decorative fastening without small detachable buttons or loose embellishments. Keep all ends securely woven in.
Step 6: Make the Second Bootie
Repeat the same construction for the second bootie.
This is where careful measuring makes a difference. Compare the soles before completing the uppers, then check that both openings, ankle sections, and decorative trims are similar.
Weave in every loose end using a tapestry needle.
Give both booties a gentle shape with your hands and allow them to rest flat before checking the final measurements.
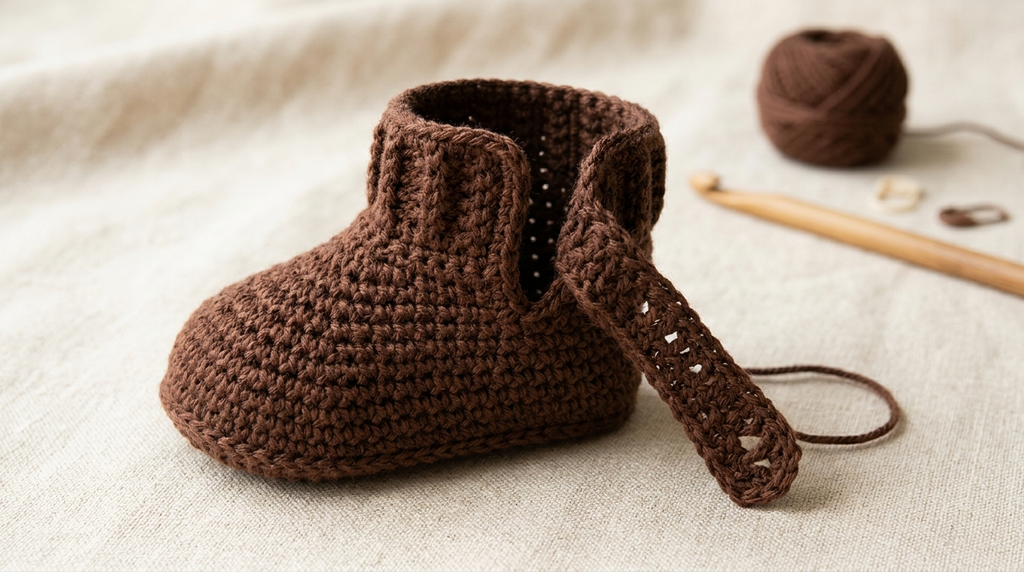
Choosing the Best Colors for Your Booties
Color selection can completely change the appearance of handmade baby shoes.
Here are a few combinations I particularly like:
- Chocolate brown and cream: Warm, classic, and elegant.
- Caramel and ivory: A soft neutral combination.
- Dusty pink and white: Sweet and delicate.
- Sage green and beige: A beautiful modern baby aesthetic.
- Dark mocha and oatmeal: A natural, vintage-inspired look.
For this article, chocolate brown and cream are my favorite because the contrasting colors make the keyhole opening and crochet stitches stand out.
Two Helpful Amazon Product Recommendations
Good crochet supplies make a difference when working on small projects. Here are two products worth considering for this design.
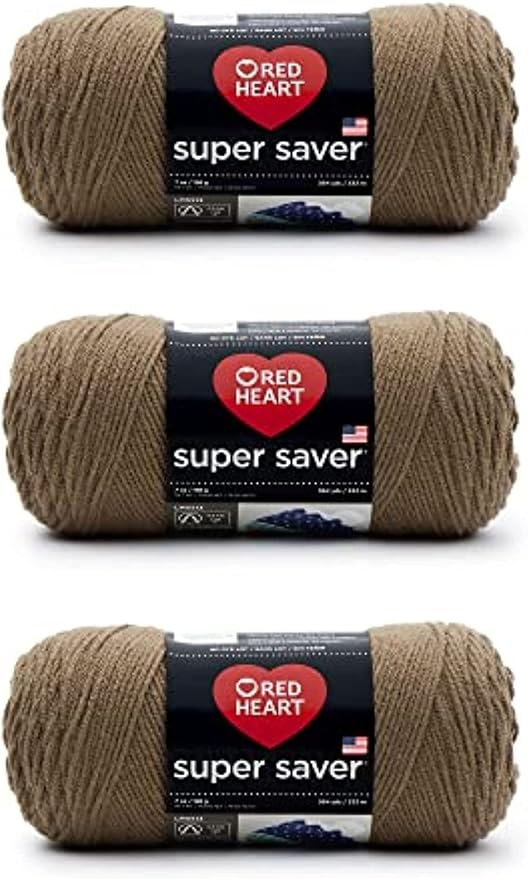
1. Red Heart Super Saver Yarn
Red Heart Super Saver is a medium-weight, 100% acrylic yarn that is widely used for crochet projects. It is available in a broad range of colors, making it useful for creating contrasting bootie designs.
I would consider a warm brown shade for the main body and an ivory or cream shade for the decorative trim.
One thing to remember is that traditional worsted acrylic can feel firmer than specialized baby yarn. Check the softness before choosing it for something that will touch a baby’s skin.
2. Ergonomic Crochet Hook Set
A comfortable crochet hook is especially helpful when making small projects that require careful shaping.
An ergonomic crochet hook set with 4.25 mm and 5 mm hooks gives you flexibility when working with different yarns and adjusting your tension.
I like the idea of choosing hooks with comfortable handles and clearly marked sizes. They can also be useful for future projects such as baby hats, scarves, blankets, and crochet accessories.
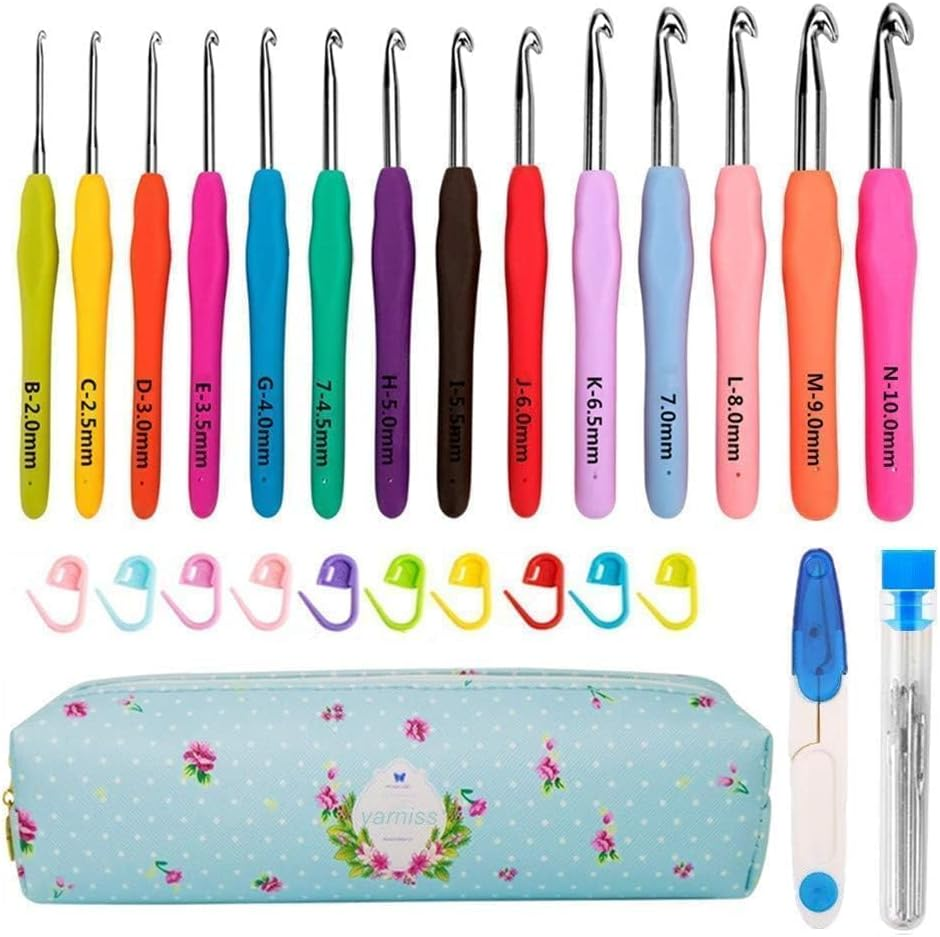
Before purchasing, check the included hook sizes and handle design to make sure they suit your needs.
Helpful Tips for Better Results
Check the sole measurements: Baby feet grow quickly, so measure whenever possible instead of relying entirely on age ranges.
Use smooth yarn: Clear stitch definition makes the shaping easier and gives the finished booties a neat appearance.
Keep both booties identical: Complete both soles first, then compare their measurements before moving on.
Avoid overly tight stitches: A stiff bootie can feel uncomfortable and may not fit properly.
Secure every yarn end: Loose yarn tails can unravel during use or washing.
Be careful with decorations: Small buttons, beads, and detachable accessories can pose choking hazards. Keep baby footwear simple and secure.
Test the fastening: Check that the opening is comfortable and does not create pressure around the ankle.
Frequently Asked Questions
Are keyhole crochet baby booties suitable for beginners?
Yes. The basic stitches are beginner-friendly, although shaping the toe and creating the decorative opening may require a little practice. Working slowly and using stitch markers can make the process easier.
What yarn is best for crochet baby booties?
Soft, smooth, washable acrylic or cotton-blend yarn is a practical option. Choose a yarn that feels gentle against the skin and follow the care instructions on its label.
Can I make these booties in different sizes?
Yes. You can adapt the sole length, width, and upper section to suit different baby foot measurements. Always check the finished sole before completing the bootie.
Why are keyhole booties different from regular crochet booties?
Keyhole booties feature a decorative opening in the upper section. This creates a distinctive look and provides space for a small crocheted fastening or tie.
Can I use two different colors?
Absolutely! A contrasting color makes the opening and decorative edging more noticeable. Brown and cream are especially attractive for a classic handmade look.
Are crochet booties suitable for outdoor winter use?
Ordinary crochet booties are best treated as soft indoor accessories. They are not waterproof and do not provide the traction or weather protection of proper outdoor footwear.
Final Thoughts
Keyhole crochet baby booties are a beautiful way to create something personal and handmade for a little one. Their rounded shape, decorative opening, and contrasting trim give them a charming appearance that works beautifully with different baby outfits.
I especially love the chocolate-brown and cream combination because it feels warm, timeless, and elegant without being overly complicated.
Take your time with the sole measurements, keep your stitches consistent, and pay attention to the finishing details. Once you complete the first bootie, making its matching partner becomes much easier.
Whether you’re creating a baby shower gift or adding another project to your crochet collection, these little booties are a lovely handmade creation worth trying.