Crochet Tutu Dress Pattern: A Beautiful Handmade Baby Dress for Special Occasions
SEO-friendly crochet guide | Baby crochet dress | Red color theme
A handmade crochet tutu dress is one of those special projects that makes you smile as you watch it come together. With a delicate crochet bodice, a fluffy tulle skirt, and pretty adjustable straps, this dress is perfect for birthdays, family photos, Easter celebrations, flower girl outfits, and other memorable occasions.
What I particularly love about the tutu dress style is the combination of two textures. The crochet bodice gives the dress a beautiful handmade appearance, while the soft tulle creates a full, playful skirt. Together, they make a lovely outfit that looks much more complicated than it needs to be.
In this guide, I’ll walk through the materials, construction process, yarn selection, sizing considerations, and finishing details to help you plan your own crochet tutu dress. I’ve also included two useful Amazon product recommendations to make choosing your supplies easier.
Why You’ll Love This Crochet Tutu Dress
This crochet tutu dress is a wonderful project for anyone who enjoys making beautiful handmade baby clothing.
Here are some of its best features:
- Pretty crochet bodice: A delicate shell-style stitch pattern creates an elegant texture.
- Fluffy tulle skirt: The soft tulle gives the dress its classic tutu appearance.
- No-sew skirt attachment: The tulle is tied through crochet chain loops instead of being sewn onto the bodice.
- Adjustable straps: The straps can be adjusted to help achieve a comfortable fit.
- Button closure: A button fastening at the back makes dressing easier.
- Multiple sizes: The pattern is available for newborns through 2 years, with a separate larger-size version for children from 3T to 10 years.
The design is especially suitable for spring and summer celebrations because the crochet bodice has an airy, lacy appearance.
Understanding the Crochet Tutu Dress Design
Before gathering your supplies, it helps to understand how the dress is constructed.
The dress has two main sections:
1. The crochet bodice
The upper portion is made using DK-weight yarn and a delicate variation of the solid shell stitch. It creates a decorative fabric that is attractive without looking too heavy.
2. The tulle skirt
The lower portion is made from soft tulle. Instead of stitching the tulle directly onto the crochet fabric, it is attached through chain loops along the bodice.
This construction makes the dress particularly interesting because you can create a full, fluffy skirt without needing advanced sewing skills.
The back features a button closure, and the straps are adjustable for a more flexible fit.
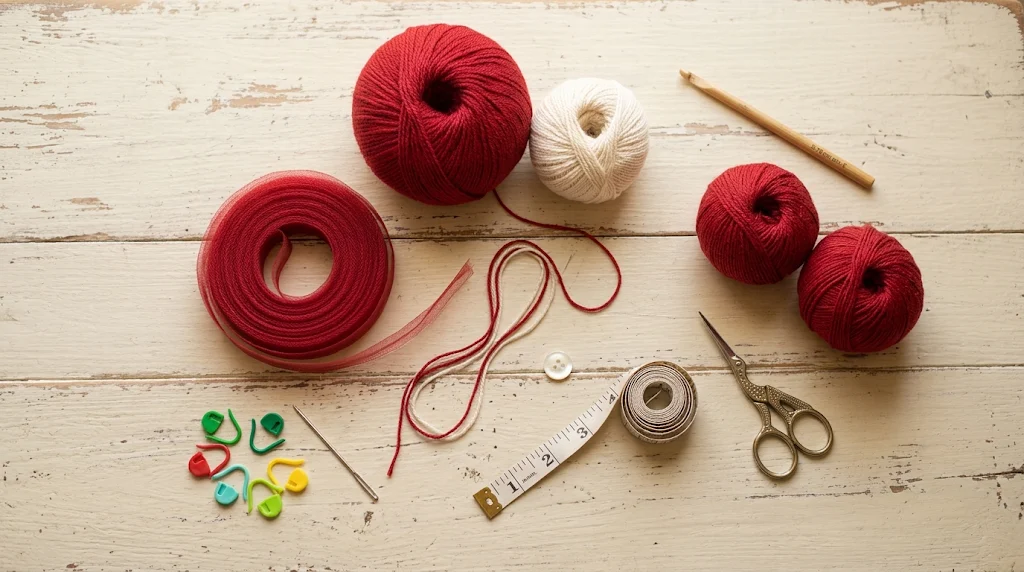
Materials Needed for a Crochet Tutu Dress
Having the right materials makes a big difference in the final appearance of a handmade dress.
Here is the basic supply list:
| Material | Purpose |
|---|---|
| DK-weight yarn | Crochet bodice and straps |
| 3.75 mm crochet hook | Working the bodice |
| Soft tulle | Creating the fluffy skirt |
| Small button | Back closure |
| Yarn needle | Weaving in loose ends |
| Scissors | Cutting yarn and tulle |
| Measuring tape | Checking measurements |
| Stitch markers | Keeping track of important sections |
1. DK-Weight Baby Yarn
DK-weight yarn is a good choice because it creates a lightweight fabric that works beautifully for baby clothing.
I would choose a soft yarn with a smooth texture and consistent thickness. Avoid anything scratchy or overly fuzzy, especially for clothing that will sit close to a baby’s skin.
One yarn option worth considering is Lion Brand Baby Soft Yarn. It is a DK-weight yarn, and its soft texture and range of baby-friendly shades make it a suitable option for projects like this.
2. Crochet Hook
The original design specifies an F-size crochet hook, measuring 3.75 mm.
A comfortable hook is helpful when working the bodice because you may need to repeat the same stitch pattern several times.
3. Tulle Fabric
Tulle is the most important material for creating the tutu effect.
You can purchase it in two ways:
- Six-inch-wide tulle ribbon spools.
- Tulle fabric by the yard.
Ribbon spools are convenient because they already have a consistent width. Fabric by the yard can be useful when you want more control over the length and fullness of the skirt.
For a red-themed version, consider pairing a soft ivory or white bodice with a rich cherry-red tulle skirt.
4. Buttons and Other Accessories
You will need a small button for the back closure. Choose one that is securely attached and appropriate for the child’s age.
A yarn needle, sharp scissors, measuring tape, and stitch markers will also make the project easier to manage.
My Two Recommended Amazon Products
These are the two supplies I would prioritize when preparing for this project. They are recommendations based on their suitability for the pattern, rather than claims of personal product testing.
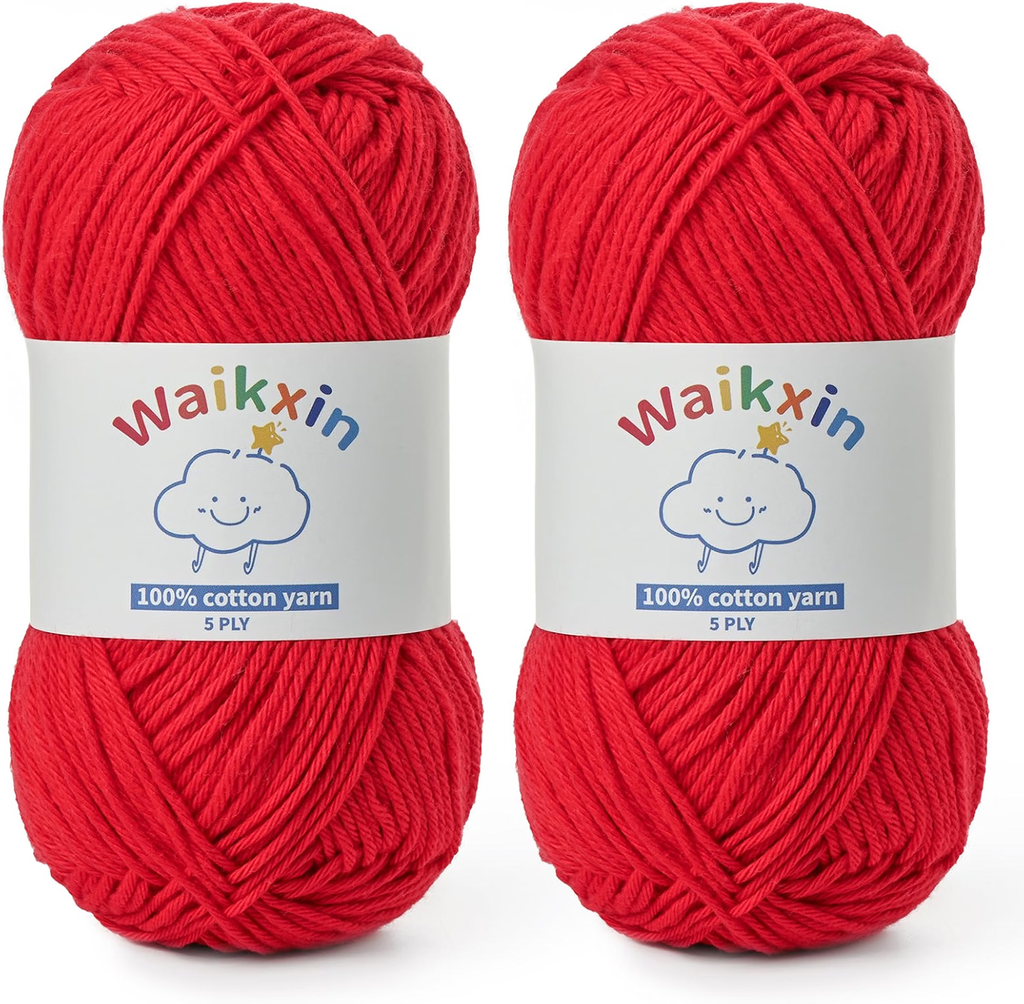
1. Lion Brand Baby Soft Yarn
Best for the bodice
- DK-weight yarn.
- Soft acrylic and nylon blend.
- Suitable for lightweight baby garments.
- Available in different shades.
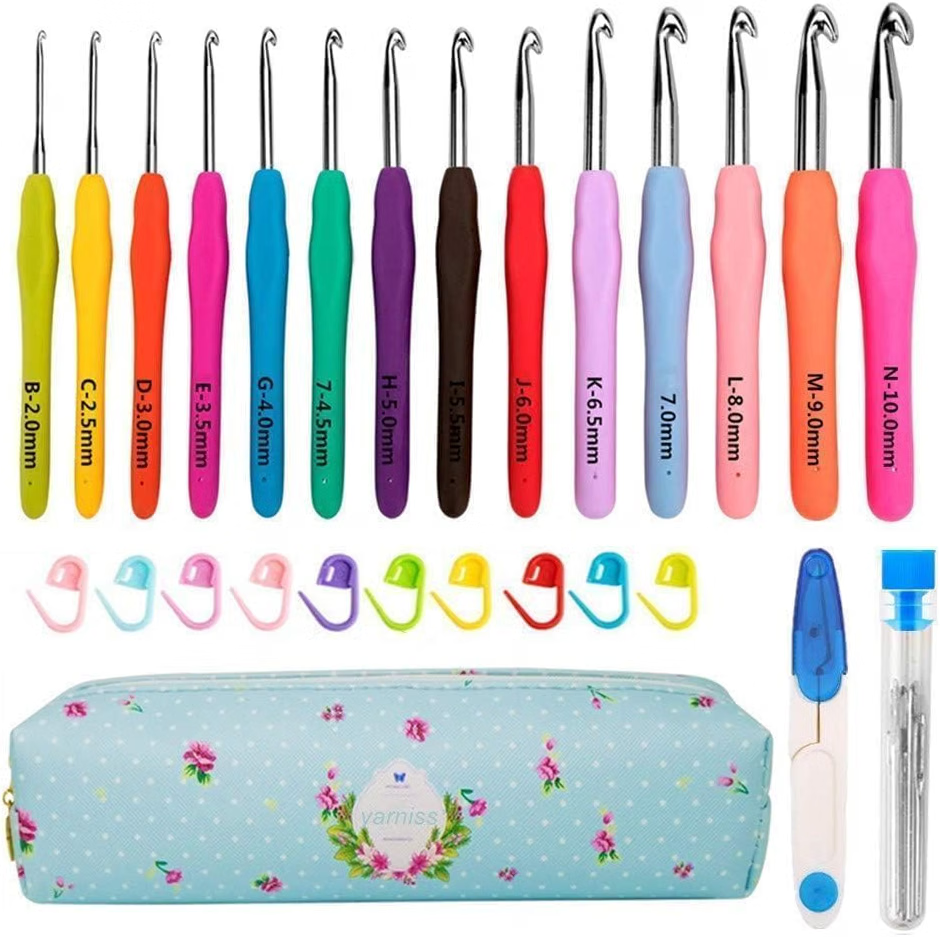
2. Clover Amour 3.75 mm Crochet Hook
Best for comfortable crocheting
- Comfortable ergonomic handle.
- Smooth hook surface.
- Useful for repetitive crochet stitches.
- Exact 3.75 mm size for the specified bodice hook.
Crochet Tutu Dress Construction: Step-by-Step Guide
The following sections explain the construction process and important techniques. They are a companion guide, not a replacement for the original paid pattern instructions. The exact stitch counts, row instructions, tulle quantities, and attachment details should be followed from the pattern for your selected size.
Step 1: Choose Your Dress Size
Start by deciding which size you want to make.
The baby and toddler version includes:
- Newborn
- 3 months
- 6 months
- 12 months
- 18 months
- 2 years
A separate version covers children from 3T through 10 years.
Before starting, measure the child’s chest and compare it with the finished garment measurements provided in the pattern.
I recommend measuring carefully rather than choosing a size based only on age. Children grow at different rates, and a properly fitted bodice will make the dress look much neater.
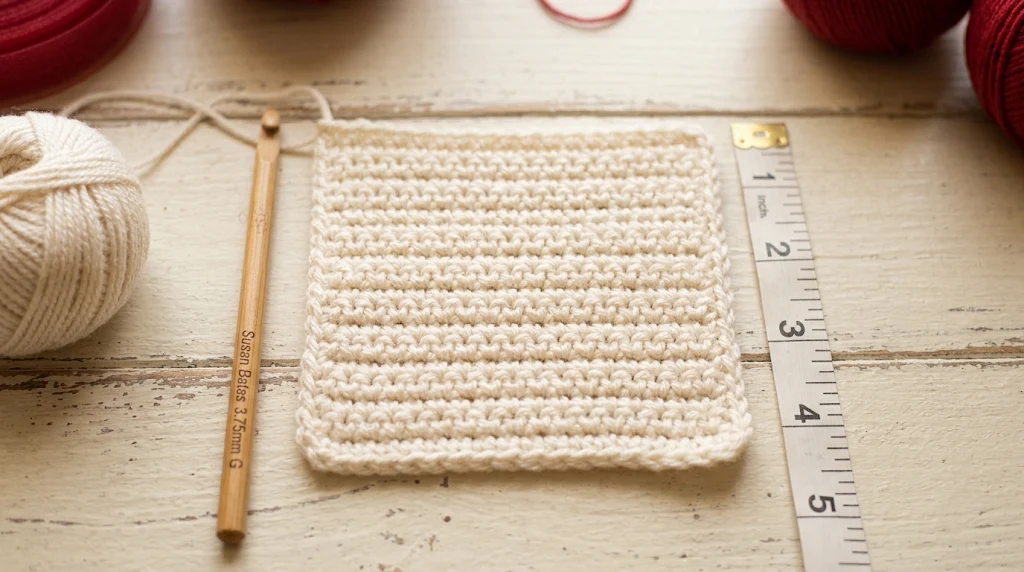
Step 2: Make a Crochet Gauge Swatch
Gauge is one of the most important parts of making clothing.
The specified hook is 3.75 mm, but your personal tension may be different from the designer’s tension.
Make a small swatch using the same yarn and hook. Compare the stitch density with the pattern’s gauge information.
If your stitches are too tight, the bodice may become smaller than expected. If they are too loose, the dress may become wider and less structured.
Do not skip this step, especially when making a dress for a special occasion.
Step 3: Crochet the Bodice
The bodice is the decorative upper portion of the dress.
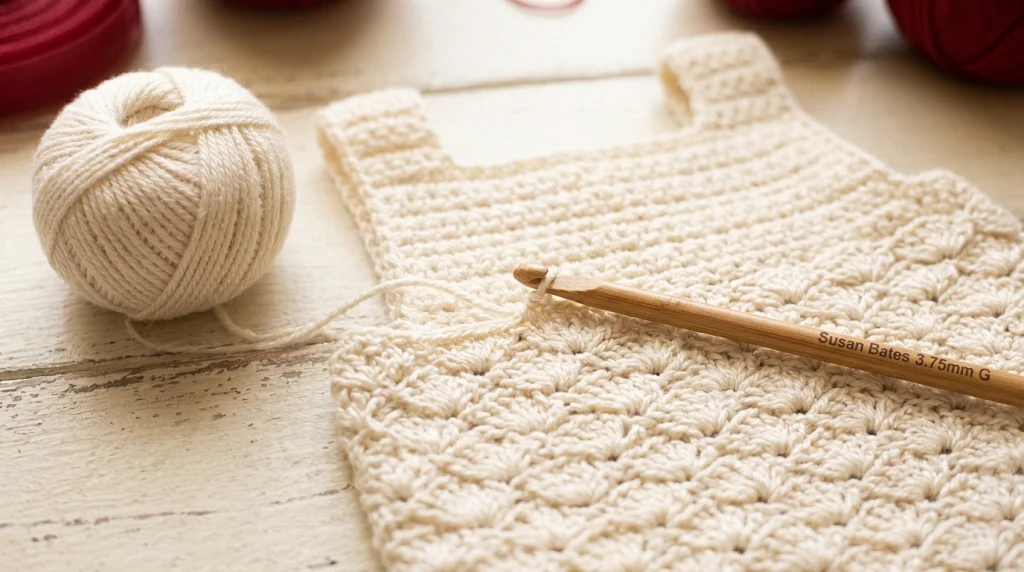
The design uses a lacy variation of the solid shell stitch. This stitch creates a lovely textured fabric with small openings that give the bodice a delicate appearance.
Work carefully through the pattern instructions, checking the stitch count at the end of each row.
A few helpful tips:
- Keep your yarn tension consistent.
- Count stitches regularly.
- Avoid pulling the yarn too tightly.
- Check the width against your measurements.
- Keep the edges straight and even.
The bodice should feel comfortable rather than stiff. This is particularly important for baby garments.
Step 4: Create the Back Closure
The back of the dress includes a button closure.
This makes it easier to put the dress on and take it off without stretching the crochet fabric too much.
Follow the pattern’s instructions for the button band and button placement.
Choose a small, securely attached button that complements your color scheme. A simple white or cream button looks especially pretty with a red dress.
For baby clothing, regularly inspect closures for loose stitching and potential choking hazards.
Step 5: Prepare the Adjustable Straps
The adjustable straps are a useful feature because they provide some flexibility in the fit.
Follow the original instructions for their placement and length.
When positioning the straps, check that they sit comfortably over the shoulders without slipping or pulling.
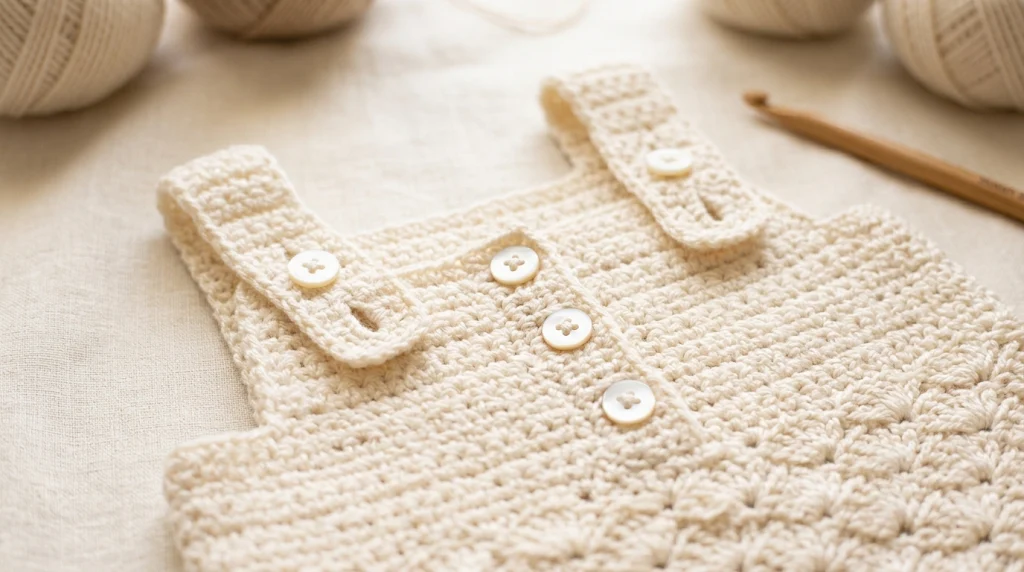
The finished straps should look balanced on both sides.
Step 6: Prepare the Tulle
Now comes the fun part!
Tulle is what transforms the crochet bodice into a beautiful tutu dress.
You can use ribbon spools or tulle fabric purchased by the yard.
Before cutting anything, check the yardage requirements for your chosen size. The amount of tulle affects how full the skirt will look.
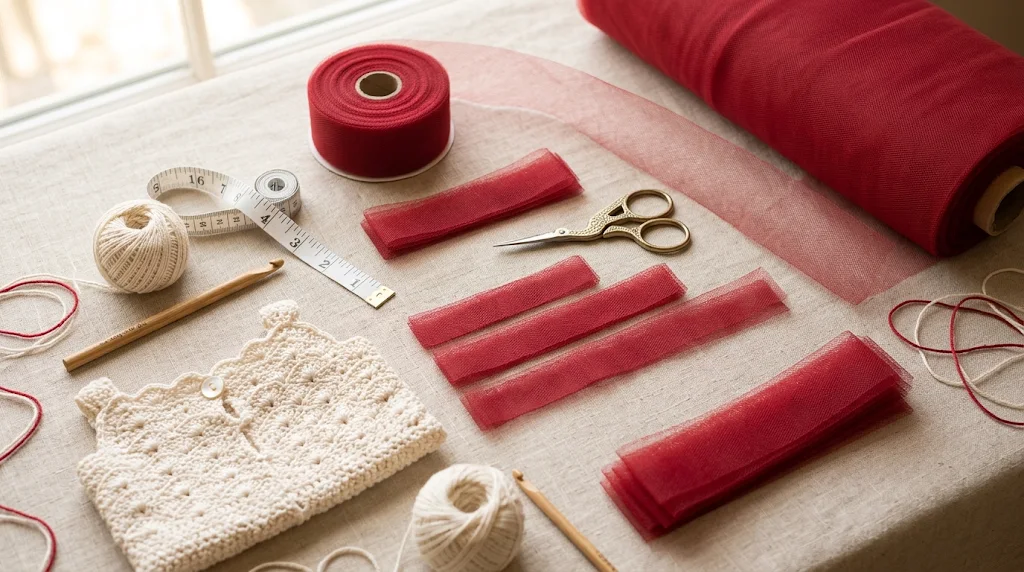
For a classic party dress, I particularly like these combinations:
- Cherry red and ivory.
- Burgundy and soft white.
- Ruby red and blush pink.
- Red and champagne gold.
If you want a more dramatic appearance, use multiple layers of tulle in coordinating shades.
Step 7: Attach the Tulle to the Bodice
One of the most interesting features of this design is its no-sew skirt construction.
The tulle is attached through crochet chain loops rather than being sewn directly onto the bodice.
This makes the technique accessible even if you do not have much sewing experience.
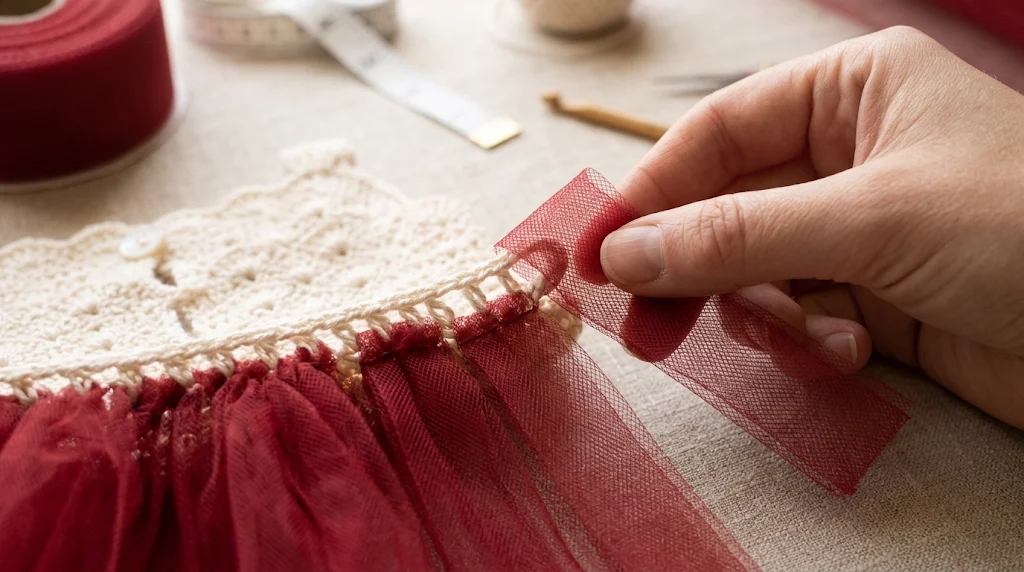
Work slowly and keep the attachment consistent around the skirt.
Try to distribute the tulle evenly so that there are no large gaps or sections that appear noticeably thicker than others.
A helpful trick is to lay the dress flat occasionally and inspect the skirt from different angles.
Step 8: Shape the Tutu Skirt
Once the tulle is attached, gently separate and arrange the layers.
The goal is to create an evenly distributed, fluffy skirt.
If one side looks flatter than the other, adjust the tulle gently.
Do not pull aggressively on the crochet loops. The attachment points should remain secure.
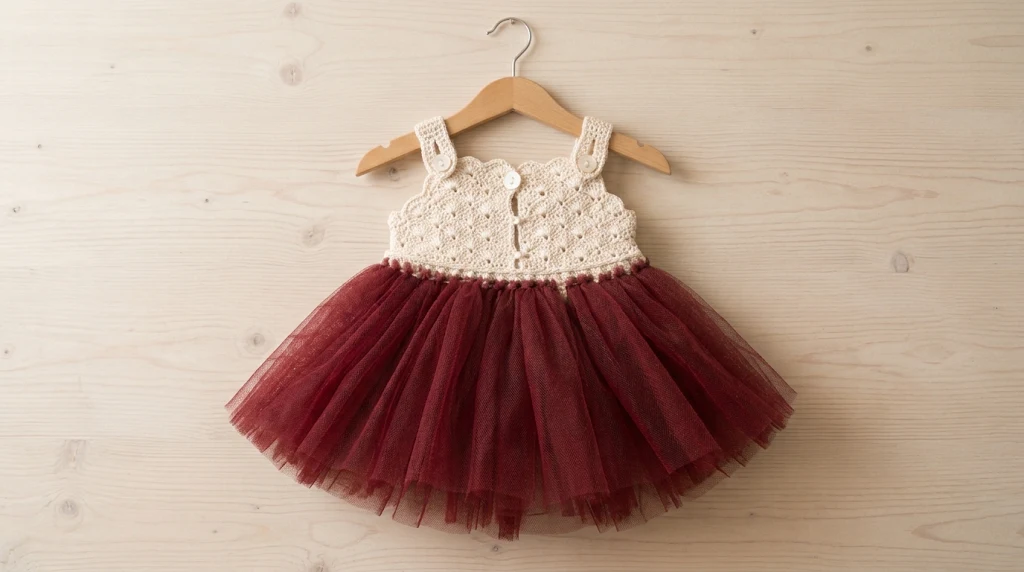
You can also trim uneven tulle ends carefully to create a more balanced hemline.
Step 9: Finish and Inspect the Dress
Before considering the dress complete, inspect every section.
Check:
- The bodice for missed stitches.
- The straps for even placement.
- The button closure for security.
- The tulle for consistent fullness.
- The skirt attachment for loose sections.
- The yarn ends for secure weaving.
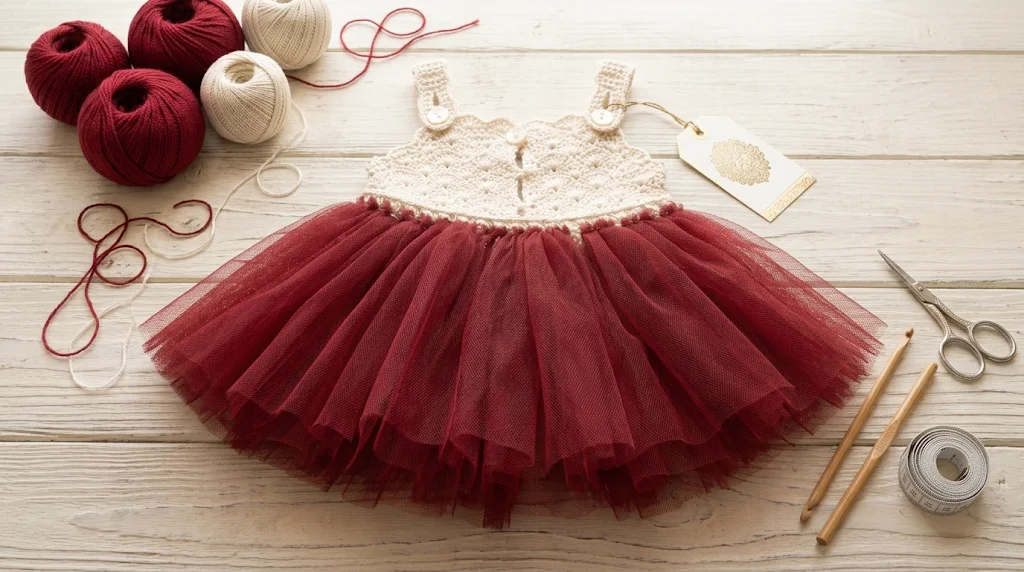
A final inspection is especially important when making clothing for babies and toddlers.
Best Red Color Combinations for a Crochet Tutu Dress
If you want your dress to have a beautiful red theme, there are several combinations worth trying.
Cherry Red & Ivory
Classic, bright and elegant.
Burgundy & White
Rich and sophisticated.
Ruby Red & Blush
Soft and romantic.
Red & Champagne Gold
Perfect for celebrations.
My favorite combination is cherry red tulle with an ivory crochet bodice. The contrast makes the handmade stitches stand out while giving the skirt a lovely festive appearance.
Tips for Making a Beautiful Crochet Tutu Dress
Here are some practical tips to help you get a polished result.
1. Choose soft yarn
Baby clothing should feel comfortable against delicate skin. Always check the yarn label and wash-care instructions.
2. Keep your stitches consistent
Uneven tension can make the bodice look distorted. Take breaks if your hands become tired.
3. Check measurements frequently
Do not wait until the dress is finished to discover that the bodice is too tight or too loose.
4. Distribute tulle evenly
A beautiful tutu skirt depends on balanced fullness. Take your time when attaching and arranging the tulle.
5. Secure all loose ends
Weave yarn ends in carefully and check the button and every attachment point.
6. Follow safe baby clothing practices
Avoid loose decorative pieces, beads, detachable embellishments, and unsecured buttons. Keep the dress away from a baby’s face and neck, and never leave a baby unattended while wearing a decorative outfit.
How to Care for Your Handmade Crochet Tutu Dress
A handmade dress deserves gentle care.
Before washing, check the yarn manufacturer’s care instructions and the tulle’s washing requirements.
My general recommendations are:
- Use a gentle washing method suitable for both materials.
- Avoid harsh detergents and bleach.
- Do not wring the crochet bodice.
- Reshape the bodice gently after washing.
- Allow it to dry completely before storage.
- Store the dress in a clean, dry place.
If the tulle becomes flattened, gently separate the layers with your fingers after the dress is dry.
Is This Crochet Tutu Dress Suitable for Beginners?
This project is a good choice for crocheters who already understand basic stitches and want to try something a little more decorative.
You should be comfortable with:
- Making chain stitches.
- Working basic crochet stitches.
- Following written stitch instructions.
- Counting rows and stitches.
- Attaching yarn and finishing loose ends.
The bodice requires attention to stitch placement, but the tulle attachment is an interesting technique that does not require traditional sewing.
Complete beginners may find it easier to practice the basic stitches before starting the full dress.
Frequently Asked Questions
1. What yarn is best for a crochet tutu dress?
DK-weight yarn is specified for the bodice. Choose a soft, lightweight yarn that is suitable for baby clothing.
2. What crochet hook size is required?
The design specifies an F-size 3.75 mm crochet hook for the bodice.
3. Does this crochet tutu dress require sewing?
The skirt is designed to be attached through crochet chain loops rather than sewn onto the bodice. The back closure still requires securely attaching a button.
4. Can I use tulle ribbon instead of fabric?
Yes. Six-inch-wide tulle ribbon spools are one of the suggested options. Tulle fabric by the yard is another possibility.
5. Can I make this dress in red?
Absolutely! Red is a beautiful choice for birthdays, Christmas celebrations, holiday photos, and special occasions. Pair it with ivory or white for a classic look.
6. Can I make the dress for an older child?
Yes. A separate larger-size pattern is available for children from 3T to 10 years.
7. How much yarn will I need?
The amount depends on the selected size. Check the yarn and yardage requirements in the original pattern before purchasing supplies.
Final Thoughts
A crochet tutu dress is a lovely way to combine traditional crochet with the playful appearance of a fluffy tulle skirt. The delicate bodice, adjustable straps, button closure, and no-sew skirt attachment make this design especially interesting.
Whether you choose cherry red, burgundy, blush pink, or classic ivory, you can create a beautiful handmade outfit for a special celebration.
My biggest recommendation is to take your time with the sizing, use a suitable DK-weight yarn, and distribute the tulle evenly. These small details can make a noticeable difference in the finished dress.
If you enjoy making handmade baby clothing, this is certainly a design worth adding to your crochet project list!