Easy Crochet Beehive Baby Beanie Pattern – Newborn Size
There is something especially sweet about a tiny handmade crochet hat. A baby beanie takes relatively little yarn, works up quickly, and makes a thoughtful handmade gift for a new baby.
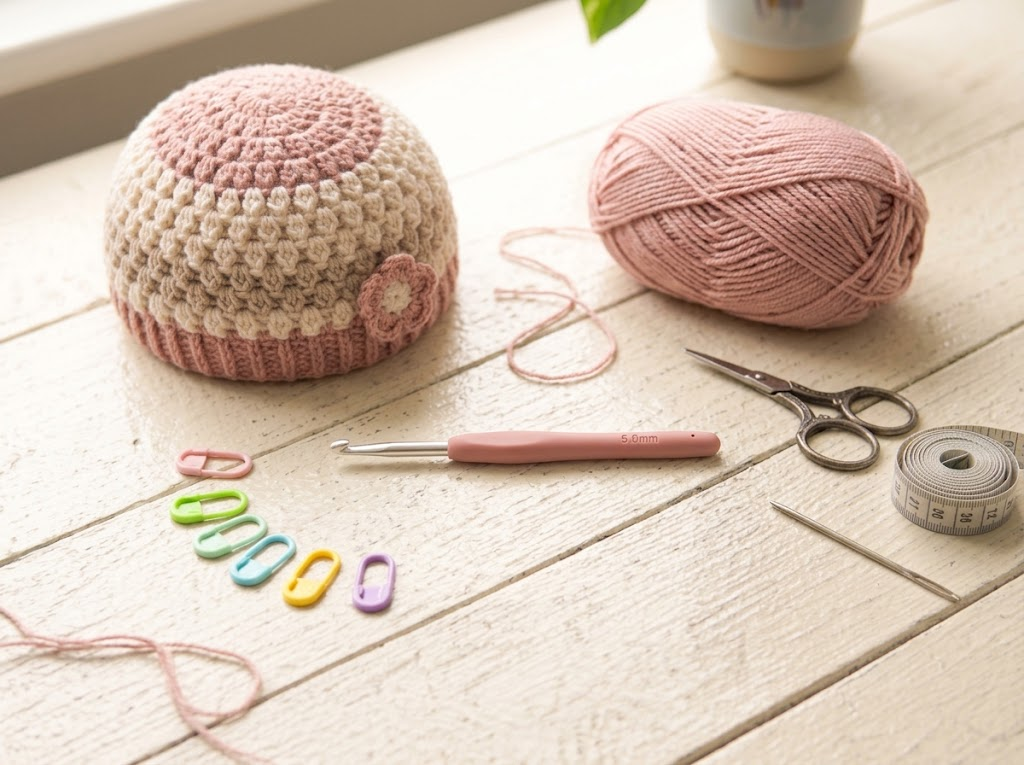
Today I’m sharing an easy crochet beehive-style baby beanie pattern with a soft textured look and a simple construction. The finished hat has a gently rounded crown and a cozy lower edge, making it a lovely project for a baby shower gift, newborn photo prop, or handmade keepsake.
I particularly like this style because the texture gives the hat visual interest without requiring complicated cable or lace techniques. If you’re comfortable with basic crochet stitches, you can work through the pattern one round at a time.
What Makes This Beanie Special?
The texture is created by alternating simple stitches and slightly changing the placement of stitches between rounds. The result is a subtle raised, honeycomb-like appearance.
For a baby version, I recommend choosing a soft, washable yarn and avoiding rough fibers. Since babies have delicate skin, comfort should always come before decoration.
The pattern below is written for approximately newborn size, but you can adjust the circumference by adding or removing increase rounds.
Finished Size
- Head circumference: approximately 13–14 inches
- Hat height: approximately 5 inches
- Skill level: Easy to confident beginner
- Crochet terminology: US terms
Because every baby is different, use the measurements as a guide rather than assuming a particular age will always fit one size.
Materials
- Medium #4 worsted-weight yarn – approximately 45–60 yards
- 5 mm crochet hook
- Yarn needle
- Scissors
- Stitch marker
- Measuring tape
Two useful supplies to consider
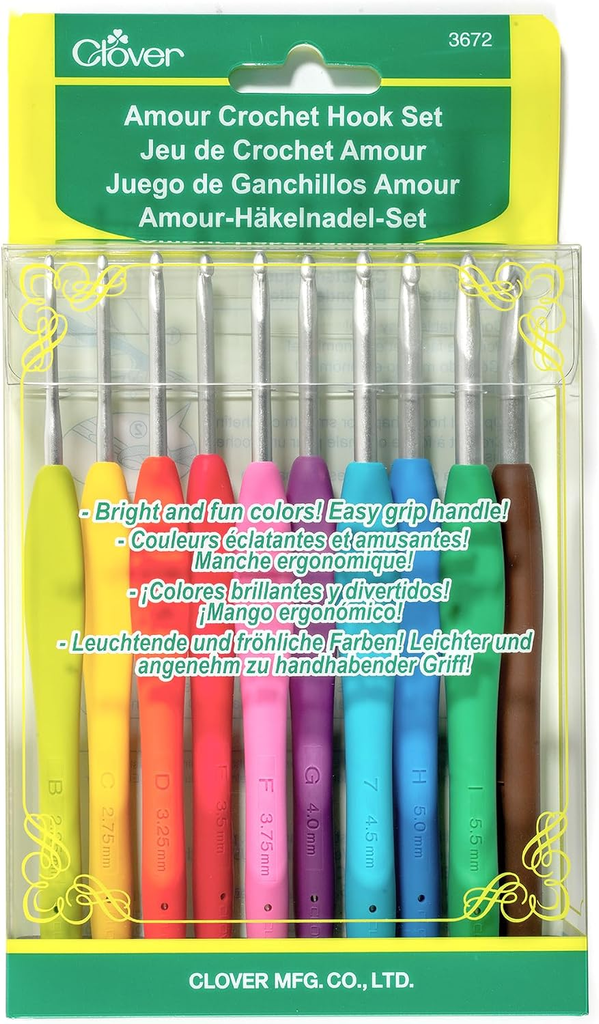
1. Clover Amour Crochet Hook Set
If you’re building a crochet tool collection, the Clover Amour range is worth considering because the hooks have ergonomic handles and are available in multiple sizes. Current Amazon-market tracking lists the 10-size Clover Amour set among the active crochet-hook products on Amazon, although price and availability can change.
I especially like recommending a multi-size set for crocheters who make different types of projects because you don’t have to buy a new hook every time a pattern calls for another size.
2. Lion Brand Pound of Love Yarn
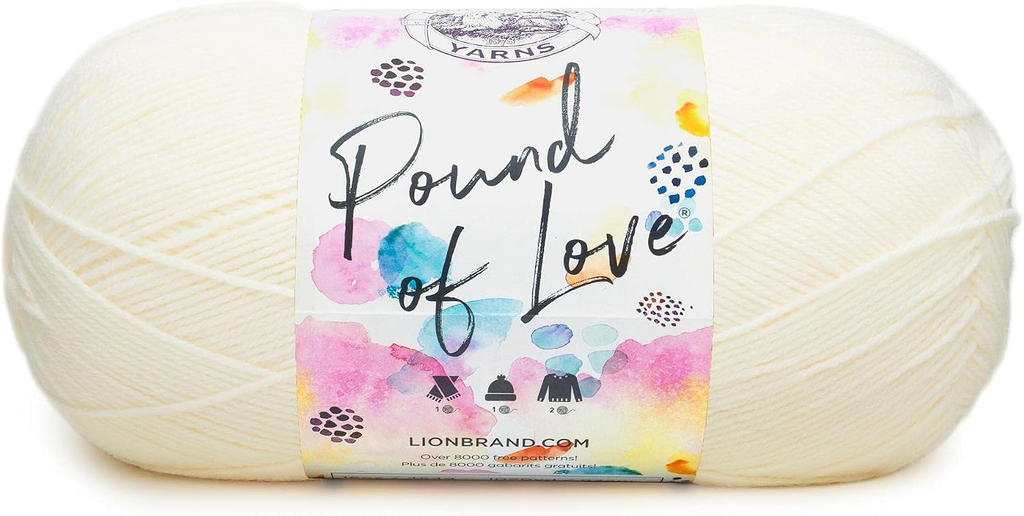
For baby projects, Lion Brand Pound of Love is another useful option to look at. The manufacturer describes it as a 100% acrylic worsted-weight yarn with more than 1,000 yards per skein, and it is available in several soft baby-friendly shades including pastel pink, pastel blue and pastel green.
Amazon-market tracking also shows current listings for Pound of Love, although specific colors and sellers can change.
Crochet Abbreviations
| Abbreviation | Meaning |
|---|---|
| ch | Chain |
| sc | Single crochet |
| hdc | Half double crochet |
| sl st | Slip stitch |
| st | Stitch |
| BLO | Back loop only |
| inc | Increase |
Before You Begin
The most important thing with a baby beanie is gauge and fit.
Crochet a small swatch first if your tension tends to be tight or loose. A very tight fabric can make a hat stiff, while a very loose fabric can create larger gaps.
For this project, the fabric should feel soft and flexible rather than rigid.
I also recommend measuring the baby’s head whenever possible. If the beanie is intended as a gift and you don’t know the exact measurement, make the brim slightly flexible rather than trying to make the hat extremely snug.
Step-by-Step Crochet Beehive Baby Beanie
Step 1: Make the Magic Ring
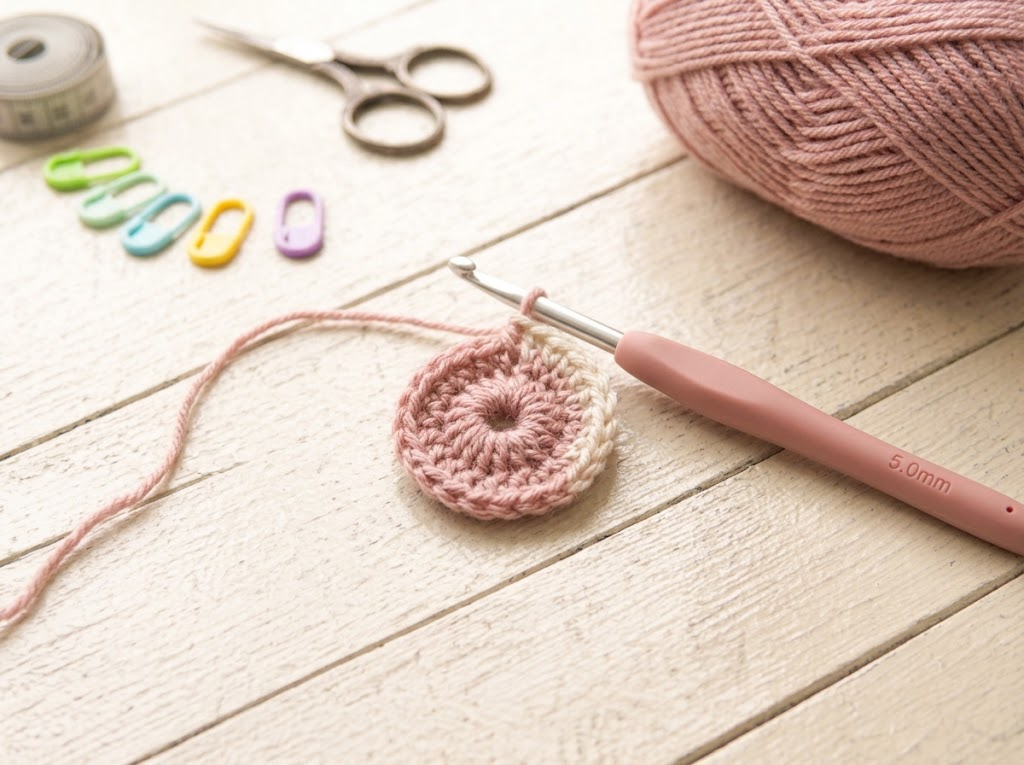
Start with a magic ring.
If you prefer not to use a magic ring, you can chain 3 and join with a slip stitch to form a ring.
Work:
Round 1: Ch 1, then work 8 hdc into the ring. Pull the ring closed. Join with a sl st to the first hdc.
You should have 8 stitches.
Don’t pull the center so tightly that the stitches become difficult to work into.
Step 2: Begin Increasing the Crown
The next few rounds create the rounded top of the hat.
Round 2: Ch 1. Work 2 hdc in each stitch around. Join with a sl st.
You should have 16 stitches.
Round 3: Ch 1. Work 1 hdc in the first stitch, then 2 hdc in the next stitch. Repeat around. Join.
You should have 24 stitches.
Round 4: Ch 1. Work 1 hdc in each of the next 2 stitches, then 2 hdc in the next stitch. Repeat around. Join.
You should have 32 stitches.
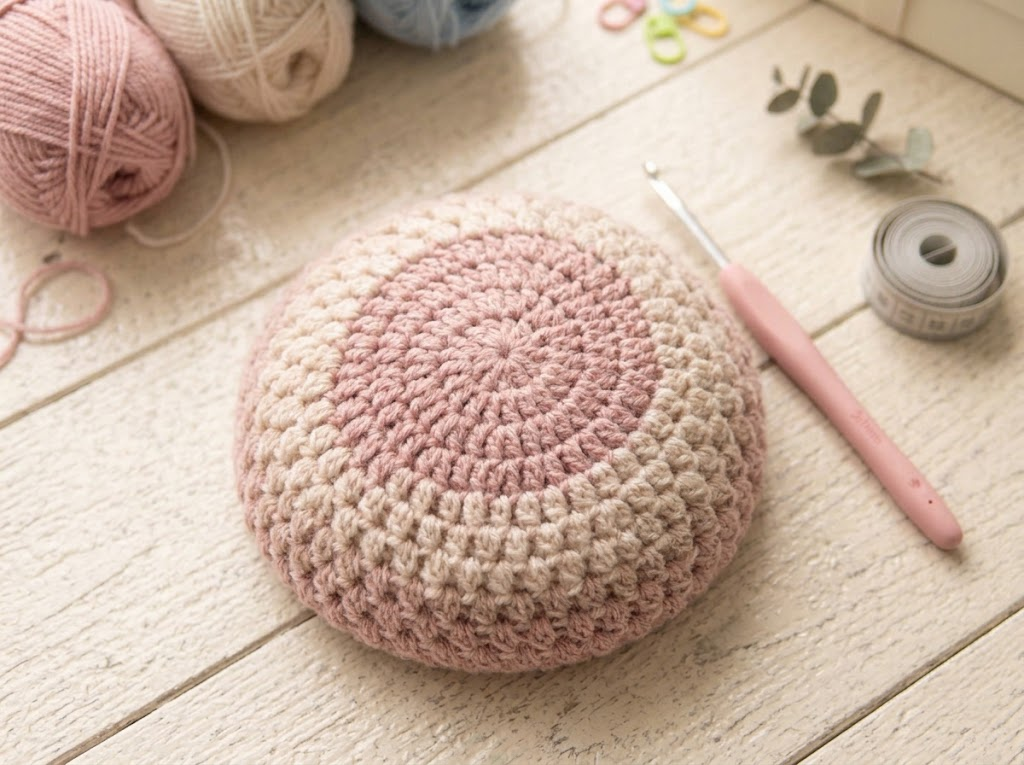
At this stage, lay your work flat. The crown should look like a small, gently rounded circle rather than a bowl.
If your circle is curling strongly, your tension may be too tight or you may need another increase. If it is becoming wavy, you may be adding increases too quickly.
Step 3: Build the Beehive Texture
Now we’ll stop increasing and begin creating the body of the beanie.
Round 5: Ch 1. Work 1 hdc in each stitch around. Join.
Round 6: Ch 1. Work 1 sc in each stitch around. Join.
Round 7: Ch 1. Work 1 hdc in each stitch around. Join.
Repeat Rounds 6 and 7 for approximately 3–4 additional rounds, depending on the height you want.
The alternating rows create a gentle horizontal texture that gives the finished hat its cozy beehive-inspired appearance.
Don’t pull your stitches too tightly. A relaxed stitch will give the hat a softer drape.
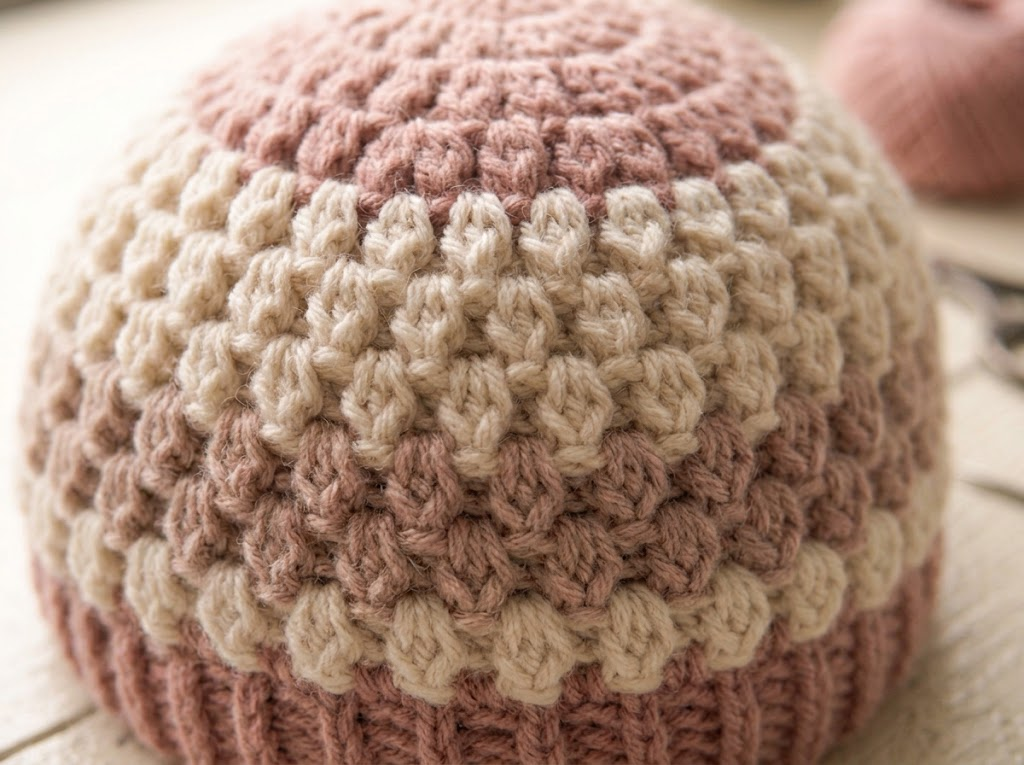
Step 4: Check the Height
At this point, measure from the center of the crown down toward the bottom edge.
For a newborn-size version, aim for roughly 4½–5 inches before finishing the brim.
If you’re making the hat for a larger baby, simply continue the body rounds until the hat reaches the desired height.
This is one of the easiest ways to customize the pattern without changing the crown.
Step 5: Create the Ribbed-Style Edge
For a little more structure around the bottom, work a short textured edge.
Next round: Ch 1. Work 1 sc in each stitch around. Join.
For the final round, work:
Final Round: Ch 1. Work sc in the BLO around. Join with a sl st.
The back-loop-only stitches create a subtle ridge that looks similar to a soft ribbed edge.
Fasten off and leave a yarn tail of about 5–6 inches.
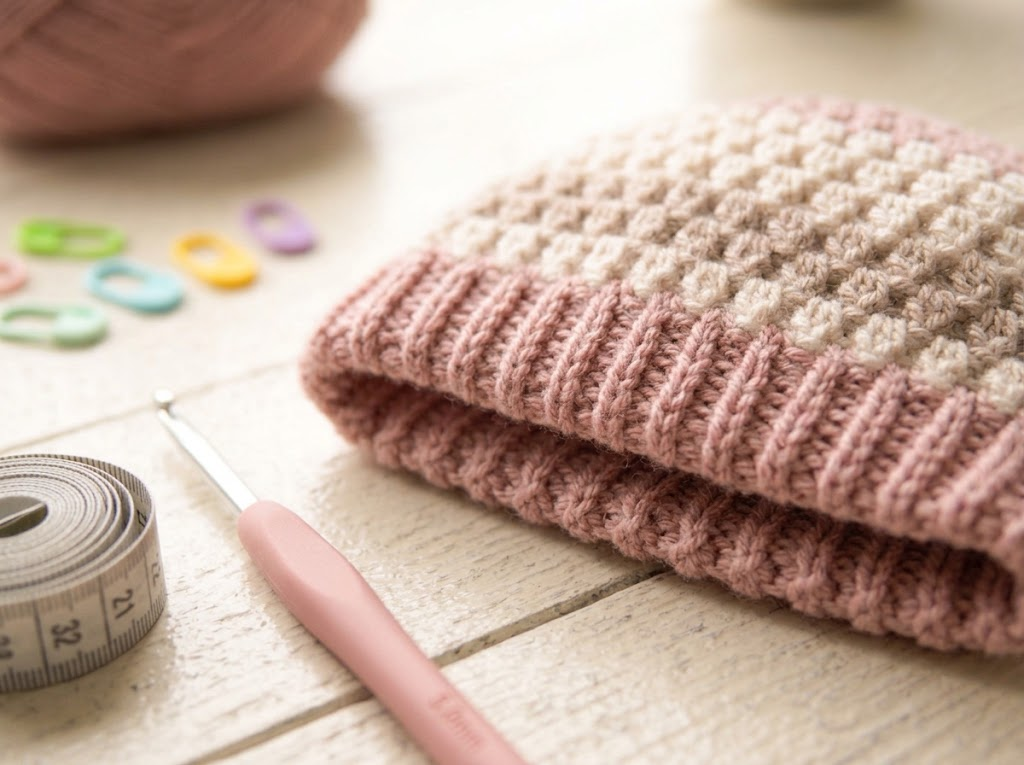
Step 6: Finish the Beanie
Thread your yarn needle with the remaining yarn tail.
Weave the end securely through several stitches on the inside of the hat. Move in different directions through the stitches rather than relying on one knot.
Trim the excess yarn.
Repeat with any remaining ends.
Turn the hat right side out and gently shape the crown with your hands.
Avoid stretching it aggressively. You want the stitches to relax naturally.
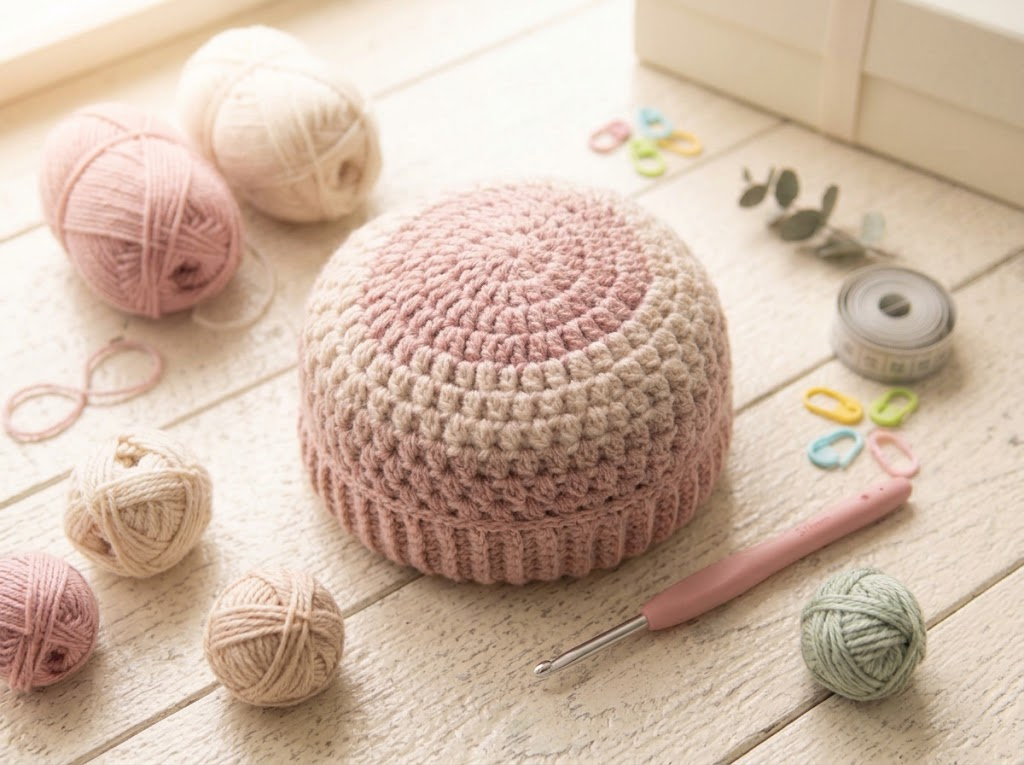
Optional: Add a Small Top Detail
For a newborn hat, I prefer keeping the decoration simple.
You can make a tiny crochet pom-pom or attach a small crocheted flower if the hat is intended primarily as a decorative gift.
However, for something intended to be worn by a baby, avoid loose buttons, beads, detachable decorations, cords, or other small pieces.
A plain textured crown is already beautiful and keeps the design simple.
How to Adjust the Size
The easiest way to change this pattern is to adjust the crown circumference.
For a larger size:
- Continue adding one increase round before beginning the straight body.
- Stop increasing when the crown is close to the desired head circumference.
- Work even rounds until you reach the desired hat height.
- Finish with the BLO edging.
For a smaller size, stop the increase section one round earlier and continue with the body.
The key is to measure the actual head circumference whenever possible instead of relying only on age.
My Tips for a Better Finish
1. Keep your tension relaxed
Baby hats look much softer when the crochet fabric isn’t worked too tightly.
2. Check the crown regularly
Place your work flat after each increase round. This makes it easier to notice curling or unwanted ruffling early.
3. Choose soft yarn
A yarn that feels pleasant against your own wrist is generally a better starting point than a scratchy fiber, but always consider the yarn manufacturer’s care information and the baby’s individual sensitivity.
4. Wash according to the yarn label
If you’re making this as a gift, include the yarn-care instructions with the finished hat.
5. Make a second one
This pattern uses relatively little yarn, so it’s a nice project for making coordinating hats in different colors.
Try cream, dusty pink, pale blue, soft sage, butter yellow, or warm beige for a gentle baby palette.
Final Thoughts
I love simple crochet patterns that look more complicated than they actually are, and this beehive-inspired baby beanie fits that description beautifully.
The combination of basic hdc and sc stitches creates enough texture to make the hat interesting while keeping the construction approachable for a newer crocheter.
It is also a practical little project because you can customize the color, height, and edging without having to completely redesign the pattern.
Make one in a soft neutral for a minimalist baby gift, or choose a pastel shade for a sweet nursery-inspired look. Either way, the handmade texture gives the finished beanie that special quality that store-bought baby accessories often don’t have.
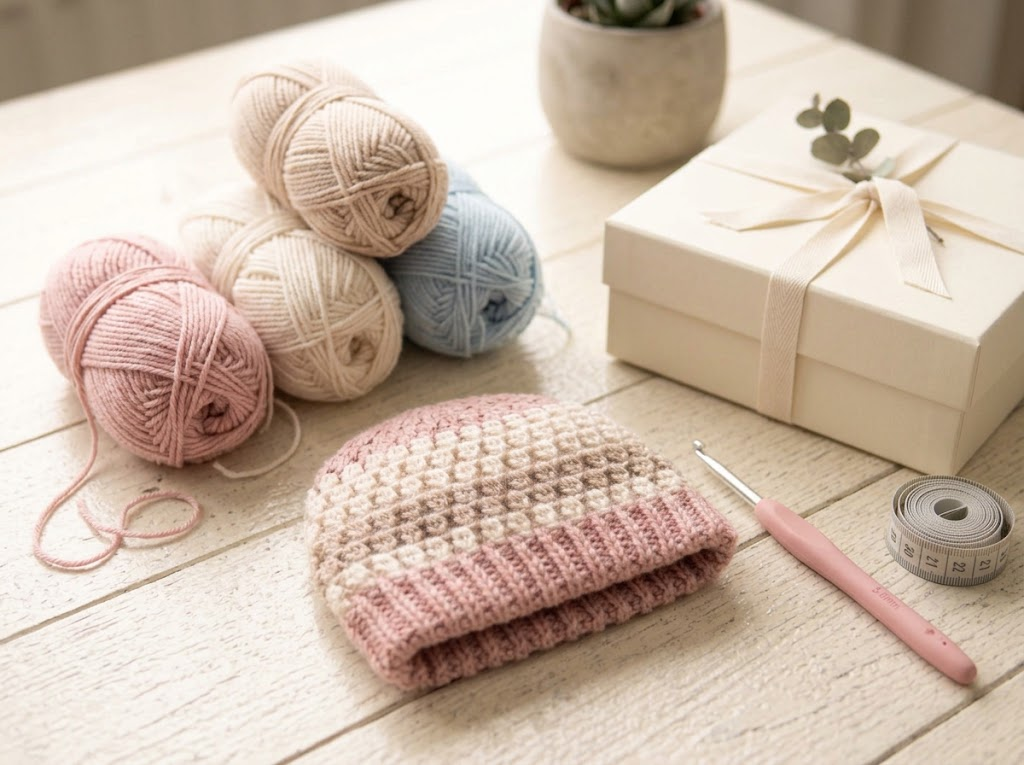
Safety note: Crochet baby accessories should always be checked for loose yarn ends, detachable decorations, and overly tight areas before use. Never leave a baby unattended while wearing a handmade accessory, and remove the hat during sleep unless advised otherwise by a qualified healthcare professional.