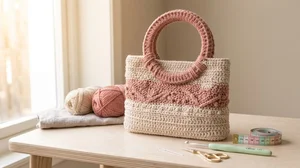
Easy Crochet Wallet Pattern: A Beautiful Handmade Wallet for Everyday Use
If you love making small crochet projects that are both pretty and practical, this crochet wallet pattern is a lovely project to try. A handmade wallet is perfect for carrying cards, folded cash, gift cards, and a few small essentials. It also makes a thoughtful handmade gift for birthdays, holidays, or anyone who appreciates something made with care.
For this design, I would choose a beautiful combination of sage green, dusty rose, and warm cream. These colors create a soft, elegant look that feels modern without being overly decorative. The wallet features a textured crochet body, a fold-over flap, and an optional button closure.
I especially like one-piece wallet designs because they reduce the amount of sewing required. You crochet one long rectangle, fold it into shape, and sew the sides together. With basic crochet stitches and a little patience, even a confident beginner can make a useful accessory.
Why You’ll Love This Crochet Wallet
This pattern is designed to be simple, customizable, and practical. You can use a single color for a minimal look or alternate two colors to create attractive stripes.
The compact design fits easily inside a handbag, backpack, or larger crochet purse. You can also adjust the dimensions to make a coin purse or a slightly larger wallet.
Pattern details
- Skill level: Beginner
- Construction: One rectangular panel folded into a wallet
- Suggested finished size: Approximately 4 × 3.5 inches when folded
- Stitches: Chain, single crochet, and slip stitch
- Closure: Optional button and yarn loop
- Yarn: Medium-weight cotton yarn
Materials You’ll Need
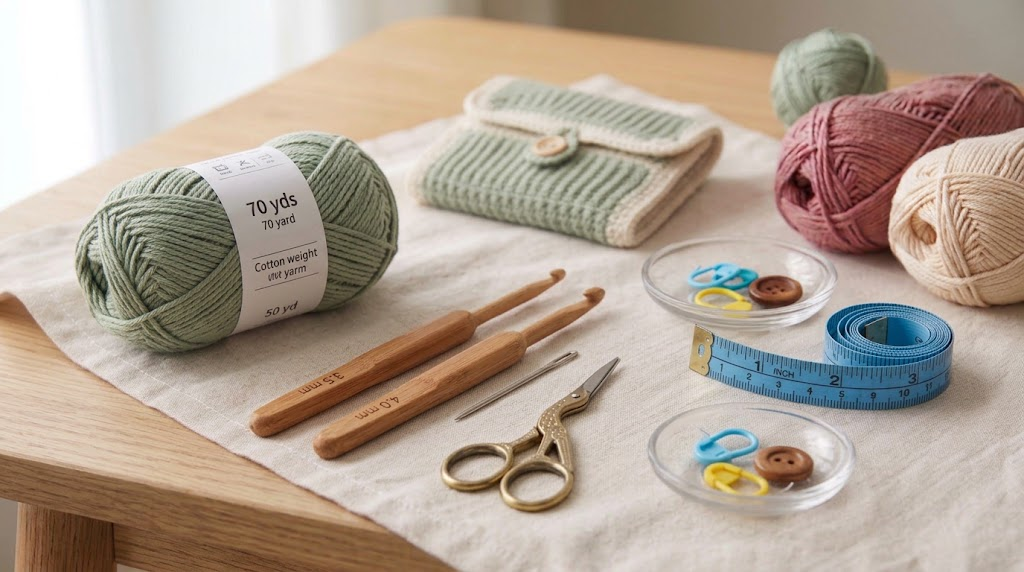
- Approximately 50–70 yards of medium-weight cotton yarn
- A 3.5 mm or 4 mm crochet hook, depending on your yarn and tension
- Tapestry needle
- Scissors
- Measuring tape
- One small, securely attached button, optional
- Stitch markers, optional
Two Helpful Amazon Product Recommendations
1. Cotton crochet yarn
For a wallet, I would choose a smooth cotton yarn because it produces clearly defined stitches and generally holds its shape better than very fluffy yarn. A sage-green cotton yarn paired with dusty rose or cream makes a beautiful combination.
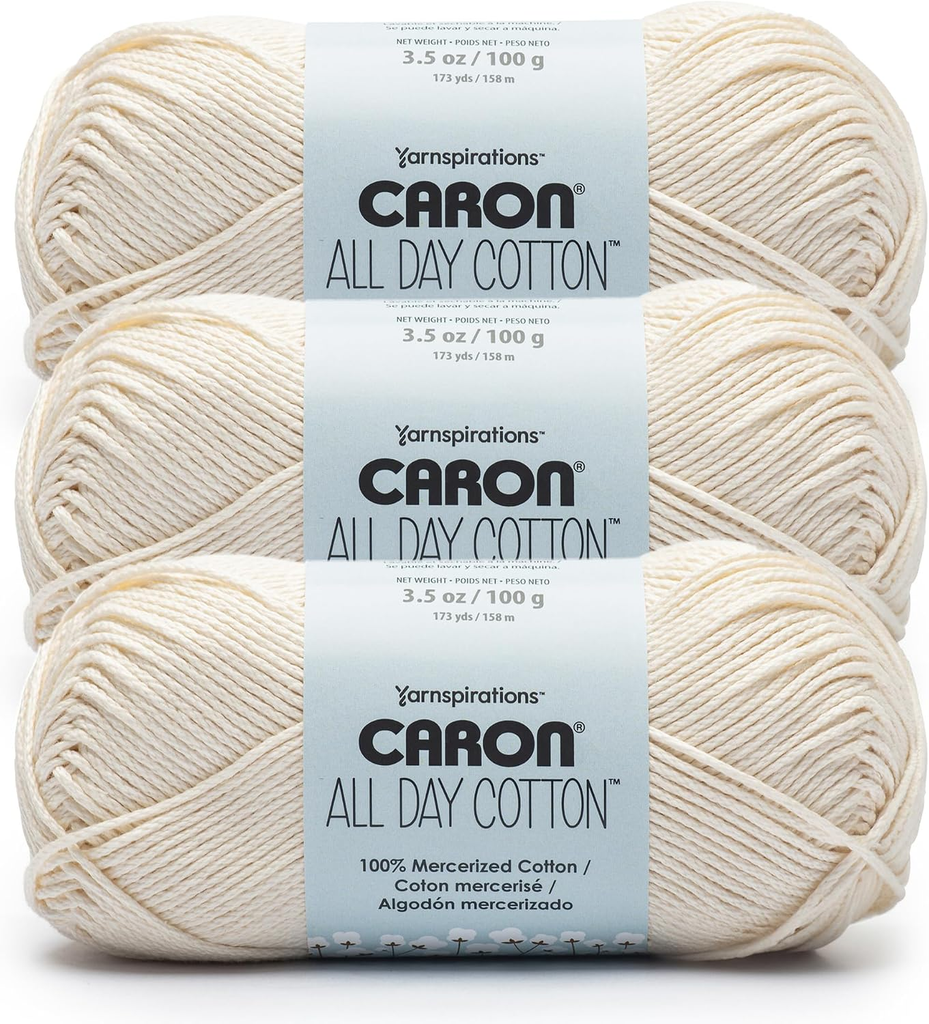
Check the yarn weight, yardage, and washing instructions before ordering. You’ll want enough yarn to finish the panel, edging, and closure.
2. Ergonomic crochet hook set
An ergonomic crochet hook set can be useful if you make wallets, bags, and other small accessories regularly. Comfortable handles may make repetitive stitching easier on your fingers, although comfort varies from person to person.
Choose a hook that works with your yarn and produces a firm fabric. The wallet should be sturdy enough to hold cards without stretching excessively.

Crochet Abbreviations
This pattern uses US crochet terminology.
- ch: Chain
- sc: Single crochet
- sl st: Slip stitch
- st(s): Stitch(es)
- BLO: Back loop only
Step-by-Step Free Crochet Wallet Pattern
Step 1: Create the Foundation Chain
Choose your main color and make a slip knot.
Chain 22 stitches. This creates a starting width suitable for a compact wallet, although the finished measurements depend on your yarn, hook, and tension.
Row 1: Work one single crochet into the second chain from your hook. Continue working one single crochet into each chain across. You should have 21 single crochet stitches.
Chain one and turn your work.
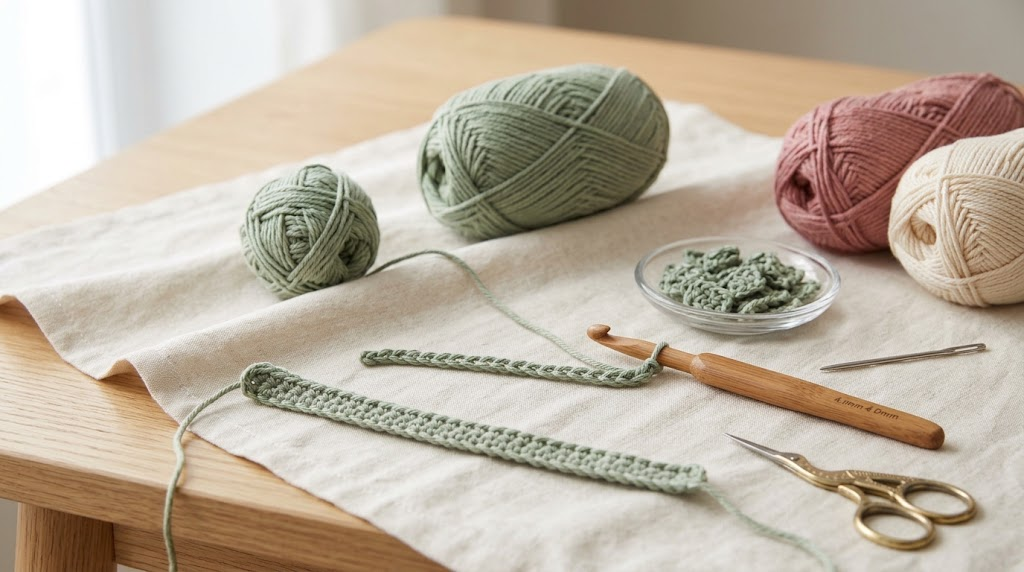
Tip: Count your stitches before moving to the next row. Keeping the same stitch count throughout the project will help the wallet maintain straight edges.
Step 2: Crochet the Main Panel
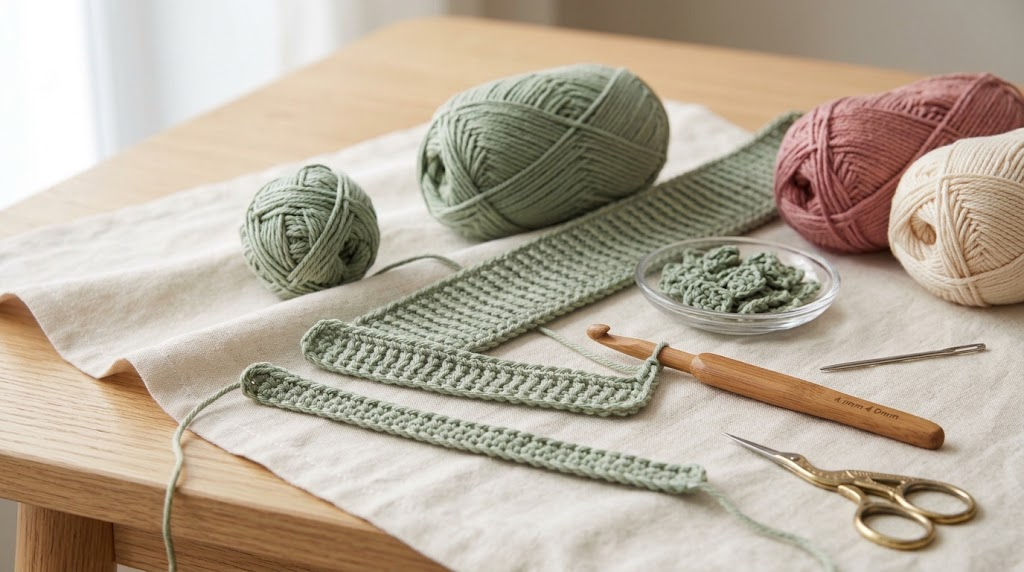
Rows 2–44: Chain one and turn. Work one single crochet into each stitch across, giving you 21 stitches per row.
For a subtle ribbed texture, you can work each single crochet into the back loop only. This creates raised horizontal lines that give the wallet a little extra visual interest.
If you’re a complete beginner, work through both loops instead. The result will still be attractive and functional.
Continue until you have 44 rows in total. Measure your panel and aim for approximately 8–9 inches long. If your panel is shorter or longer, adjust the number of rows to suit your preferred wallet size.
Keep the tension even. Very loose stitches can make a wallet stretch, while extremely tight stitches can make folding and sewing difficult.
Step 3: Add a Contrasting Edge
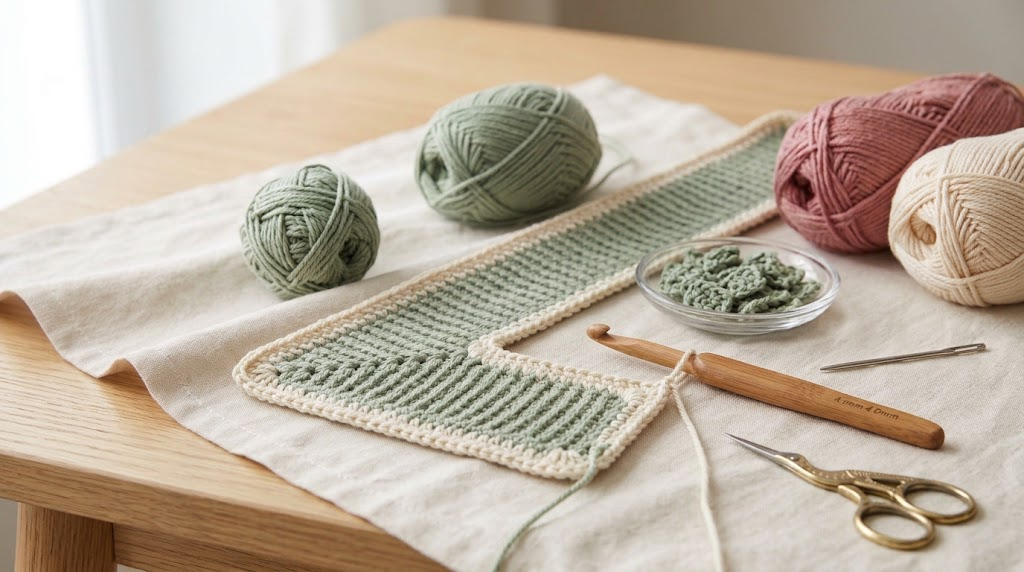
For a polished finish, attach cream yarn to one corner of your rectangle.
Work single crochet stitches evenly along the long sides and short ends. At each corner, work three single crochet stitches into the corner space to help the edging turn smoothly.
Join with a slip stitch and fasten off.
If you prefer a clean, minimalist look, you can skip the contrasting border and keep the wallet in one solid color.
Step 4: Fold the Panel into a Wallet
Place the rectangle flat with the right side facing upward.
Fold the bottom edge upward by approximately 3.5 inches. This creates the pocket section where your cards and folded cash will sit.
The remaining middle section forms the back of the wallet, while the upper section folds down to create the flap.
Check the arrangement before sewing. The flap should comfortably cover the pocket opening without being so long that it becomes awkward to fold.
Use stitch markers to hold the sides in place.

Step 5: Sew the Wallet Sides
Thread your tapestry needle with matching yarn.
Starting at the bottom corner, sew up one side of the folded pocket using a whipstitch. Repeat on the other side.
Try to catch the edge stitches evenly so the seams look neat from both inside and outside. Avoid pulling too tightly, as this may cause the sides to pucker.
Fasten off securely and weave in all loose ends.
Turn the wallet right side out if necessary, gently shape the corners, and check that the pocket opens comfortably.

Step 6: Add a Button Closure
Fold the flap down and decide where you want the button to sit.
Sew a small button securely onto the front of the wallet using strong sewing thread or an appropriate yarn attachment. For the button loop, attach yarn to the center of the flap edge, chain enough stitches to fit around the button, and join the chain back to its starting point.
Test the loop before securing the ends. It should be snug enough to hold the flap closed without stretching the crochet fabric.
For items intended for young children, avoid small detachable embellishments because they can present a choking hazard.

How to Customize Your Crochet Wallet
One of my favorite things about handmade accessories is how easily the design can be personalized.
- Soft and elegant: Use sage green with a cream border.
- Romantic and modern: Combine dusty rose with warm ivory.
- Minimalist: Choose one neutral shade, such as beige or taupe.
- Colorful: Alternate two shades every four or six rows.
- Gift-ready: Add a small crocheted flower or a matching handmade keychain.
You can also add a fabric lining to help the wallet retain its shape and prevent cards from catching on the stitches. Measure the inside carefully, sew the lining separately, and attach it discreetly along the edges.
Troubleshooting and Finishing Tips
My wallet is curling at the edges. Check your tension and stitch count. A firm but flexible fabric usually works best.
My wallet looks too floppy. Try a smaller hook, provided the stitches remain comfortable to work. A cotton yarn with good structure or a fabric lining may also help.
My flap doesn’t line up. Reposition the folds before sewing the sides. The flap should cover the pocket opening naturally.
My wallet is too small for my cards. Make a larger foundation chain and add rows as needed. Check the dimensions with a standard payment card before finishing the seams.
Once the wallet is complete, inspect the seams and closure, weave in all ends, and follow the yarn label’s washing instructions.
Final Thoughts
This easy crochet wallet pattern is a useful way to turn a small amount of yarn into a handmade accessory you can carry every day. The one-piece construction keeps the project manageable, while the textured stitches and thoughtful color choices give it a finished, stylish appearance.
Start with the basic pattern, then experiment with your favorite colors, a contrasting border, or a fabric lining. Whether you make one for yourself or give it as a handmade present, this little wallet is a satisfying project that combines creativity with everyday usefulness.