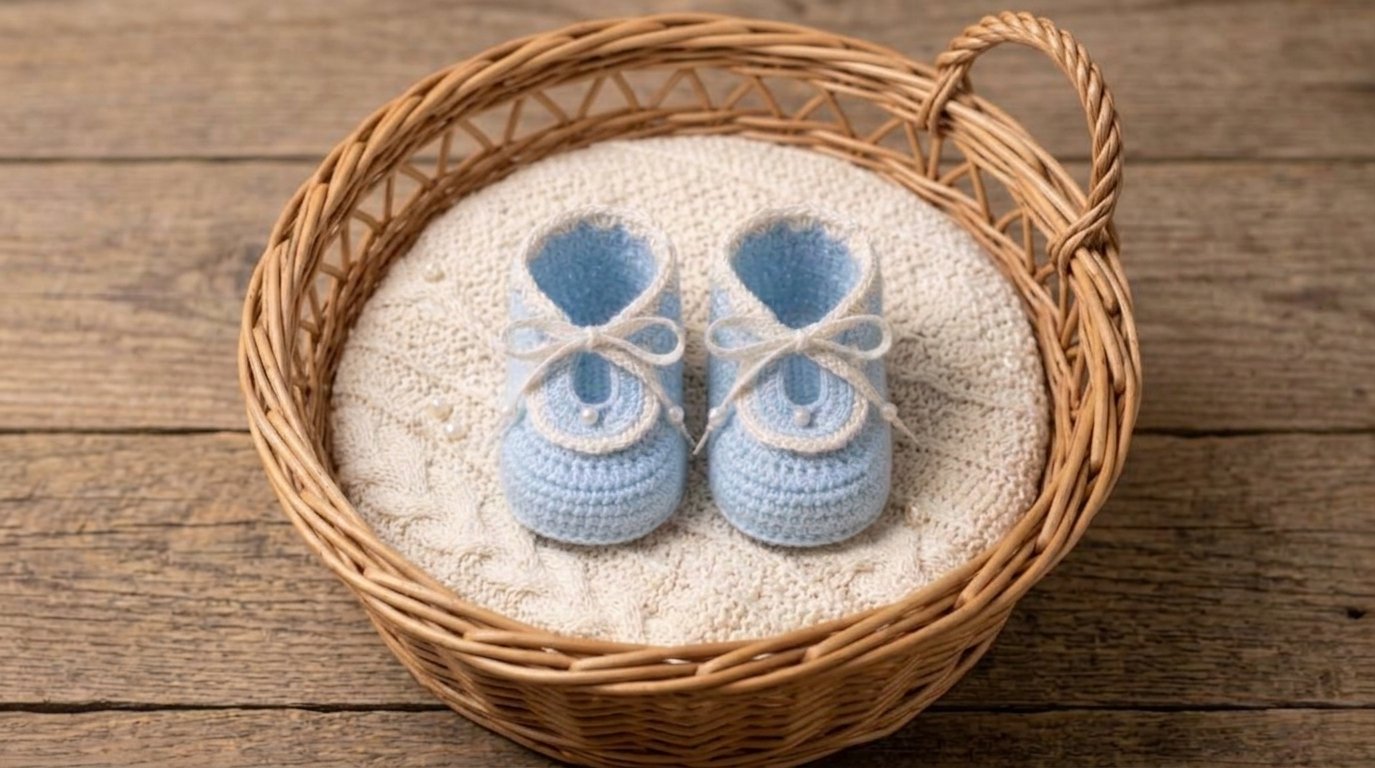
Keyhole Baby Booties Crochet Pattern: A Sweet and Stylish Handmade Gift
There is something especially lovely about handmade baby shoes. They are tiny, adorable, and full of thoughtful details that make them feel even more special. If you enjoy crocheting baby accessories, keyhole baby booties are a beautiful project to add to your collection.
What makes these booties stand out is their charming keyhole-style opening and delicate lace-up detail. The design gives them a pretty, feminine look while allowing the opening to be adjusted gently around a baby’s ankle. They look wonderful with baby dresses, leggings, rompers, and other little outfits.
In this guide, I’ll walk you through the design, materials, useful crochet techniques, sizing considerations, and finishing tips. I’ll also share two useful tools that can make the crocheting process easier.
Why You’ll Love Keyhole Baby Booties
Keyhole booties have a delicate appearance that makes them different from ordinary crochet baby shoes. Their special opening and decorative tie create a pretty detail without needing complicated embellishments.
Here are a few reasons I love this style:
- Adorable design: The keyhole opening gives the booties a distinctive handmade appearance.
- Adjustable detail: A lace or tie helps customize the opening gently.
- Lovely gift idea: They make thoughtful baby shower, birthday, and newborn gifts.
- Color flexibility: You can make them in soft blue, ivory, blush pink, lavender, or other baby-friendly colors.
- Coordinated outfits: They look beautiful with handmade baby dresses, hats, and cardigans.
For this version of the project, I’m using a soft blue color theme with clean, delicate finishing. Blue yarn creates a sweet, timeless look that works beautifully for handmade baby accessories.
Materials You’ll Need
Before beginning, gather your supplies. Having everything ready makes crocheting more enjoyable and helps you avoid unnecessary interruptions.
| Material | Purpose |
|---|---|
| Worsted-weight yarn | Main bootie fabric |
| 5 mm crochet hook | Larger hook option |
| 4.25 mm crochet hook | Smaller hook option |
| Stitch markers | Marking important stitches |
| Tapestry needle | Weaving in yarn ends |
| Measuring tape | Checking finished measurements |
| Scissors | Cutting yarn |
| Soft yarn tie | Decorative adjustable detail |
The original design specifies H (5 mm) and G (4.25 mm) hooks and mentions worsted-weight yarn. It also lists Red Heart Super Saver and Lily Sugar’n Cream.
My yarn recommendation: For baby accessories, I would choose a soft, washable yarn with a comfortable feel. Always check the manufacturer’s care instructions and make sure the finished fabric is not stiff or scratchy.

A quick note: yarn weight alone does not guarantee the correct size. Your hook, tension, and stitch pattern all affect the finished measurements.
Understanding the Keyhole Bootie Design
Before picking up your hook, it helps to understand the different parts of the booties.
A traditional crochet baby bootie usually has a sole, a shaped upper, and an opening around the ankle. The keyhole style adds a decorative opening and tie detail that gives the finished shoe its signature appearance.
1. The Sole
The sole is the foundation of the bootie. It needs to be comfortable, evenly shaped, and wide enough for the baby’s foot.
When working the sole, pay attention to the rounded ends. These create the toe and heel areas. Keep your stitches consistent so that the sole does not curl or become wavy.

Helpful tips:
- Count your stitches after every round.
- Use a stitch marker to identify the beginning of the round.
- Check the sole measurements against the intended baby size.
- Avoid pulling your stitches too tightly.
I always recommend checking the shape before moving on to the upper section. It is much easier to correct a small sizing issue at this stage.
2. Building the Sides
Once the sole is complete, the next stage is building the sides of the bootie.
This section creates the depth needed to hold the baby’s foot comfortably. The stitches should form a neat wall around the sole without making the shoe too stiff.
Keep your tension consistent and make sure the sides rise evenly. If one side is noticeably higher than the other, count your rounds and check your stitch placement.

3. Shaping the Toe Area
The toe area gives baby booties their familiar rounded shape.
Carefully placed decreases help bring the upper section together. This is where consistent stitch counting becomes especially important.
I recommend using a stitch marker to identify the center of the toe. It makes it easier to keep the shaping balanced on both sides.

Don’t pull the decreases too tightly. A neat finish is important, but the fabric should still have a little flexibility.
4. Creating the Keyhole Opening
This is the detail that makes the design special.
The keyhole opening creates a decorative space near the upper portion of the bootie. Instead of having a completely closed ankle section, the design features an opening that gives the shoe a delicate appearance.
For a clean result:
- Keep both sides of the opening even.
- Avoid leaving loose or uneven stitches.
- Check that the opening is not unnecessarily large.
- Make sure the finished edge looks neat.

The opening should be decorative rather than a place where a baby’s toes or fingers could become caught.
5. Adding the Lace or Tie Detail
The lace detail gives the booties their pretty, finished appearance.
You can use a coordinating yarn tie to complement the main blue color. A slightly lighter blue, ivory, or white accent can look beautiful.
Make sure the tie is securely finished and does not have long loose ends. For baby accessories, avoid small detachable decorations and any loose components that could become a choking hazard.
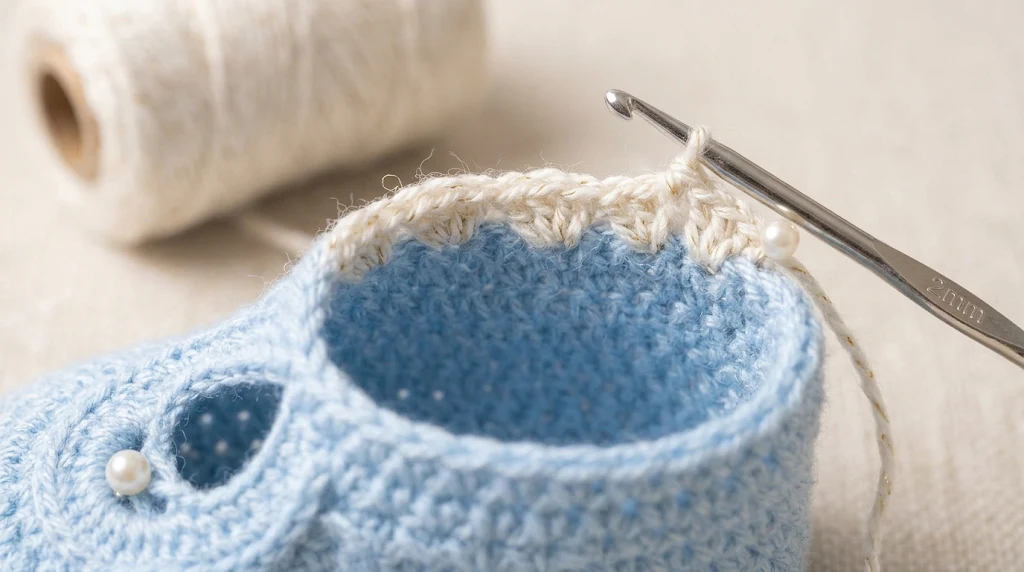
Important: A decorative tie should never be treated as a safety restraint. The booties must fit comfortably without being pulled tightly around the baby’s ankle.
6. Finishing Both Booties
When the first bootie is complete, repeat the construction for the second one.
This sounds simple, but making two matching booties can take a little attention.
I suggest comparing the following details:
- Sole length and width
- Height of the upper section
- Toe shaping
- Size of the keyhole opening
- Placement of the decorative tie

Place the booties next to each other on a flat surface. This is an easy way to spot differences before weaving in the final ends.
Crochet Techniques You’ll Need to Know
The original pattern uses four basic crochet stitches. If you are comfortable with these techniques, you will find the project easier to follow.
| Stitch | Abbreviation | Description |
|---|---|---|
| Single crochet | sc | Creates a compact fabric |
| Slip stitch | sl st | Useful for joining and finishing |
| Half double crochet | hdc | Creates medium-height stitches |
| Double crochet | dc | Creates taller stitches |
Single Crochet (sc)
Insert your hook into the indicated stitch, yarn over, and pull up a loop. Yarn over again and pull through both loops.
Slip Stitch (sl st)
Insert your hook into the stitch, yarn over, and pull the yarn through both the stitch and the loop on your hook.
Half Double Crochet (hdc)
Yarn over, insert your hook into the stitch, and pull up a loop. Yarn over once more and pull through all three loops.
Double Crochet (dc)
Yarn over, insert your hook into the stitch, and pull up a loop. Yarn over and pull through two loops, then yarn over again and pull through the remaining two loops.
Practicing these stitches with a small yarn sample before starting is a good way to become comfortable with the texture and tension.
Choosing the Right Baby Bootie Size
The original keyhole booties design includes four size ranges.
| Baby age | Pattern size |
|---|---|
| 0–3 months | Newborn |
| 3–6 months | Small baby |
| 6–9 months | Medium baby |
| 9–12 months | Older baby |
Age is only a general guide. Babies grow at different rates, so measuring the baby’s foot is more reliable than choosing a size based on age alone.
Before making a pair as a gift, ask the parents for the baby’s approximate foot length if possible.
Also remember that crochet tension can change the finished size. If your stitches are tighter than the pattern gauge, your booties may turn out smaller. If they are looser, they may be larger.

Two Helpful Amazon Products for This Project
You don’t need a large collection of expensive supplies to make beautiful baby booties. A couple of reliable basics can make the process easier.
These are product recommendations rather than claims of personal product testing. Check the current Amazon.com listing, seller, reviews, and delivery availability before purchasing.
1. Bernat Softee Baby Yarn – For a Soft Baby-Friendly Project
Bernat Softee Baby is worth considering if you want a yarn specifically marketed for baby projects. It is a soft acrylic yarn that is available in a range of gentle colors.
For this project, I would look for a pale blue shade to create a delicate and coordinated appearance.
Why consider it?
- Designed for baby knitting and crochet projects.
- Offers a range of baby-friendly colors.
- Easy-care acrylic construction.
- Useful for matching hats, blankets, and other accessories.

2. Clover Amour Crochet Hook – For Comfortable Crocheting
A comfortable crochet hook can make a noticeable difference when working on small projects that require consistent stitches.
Clover Amour hooks have ergonomic handles designed to provide a comfortable grip. A 5 mm hook is one of the sizes specified in the original keyhole booties design.
Why consider it?
- Comfortable ergonomic handle.
- Smooth hook surface.
- Helpful for maintaining consistent stitch movement.
- Useful for many other crochet projects.
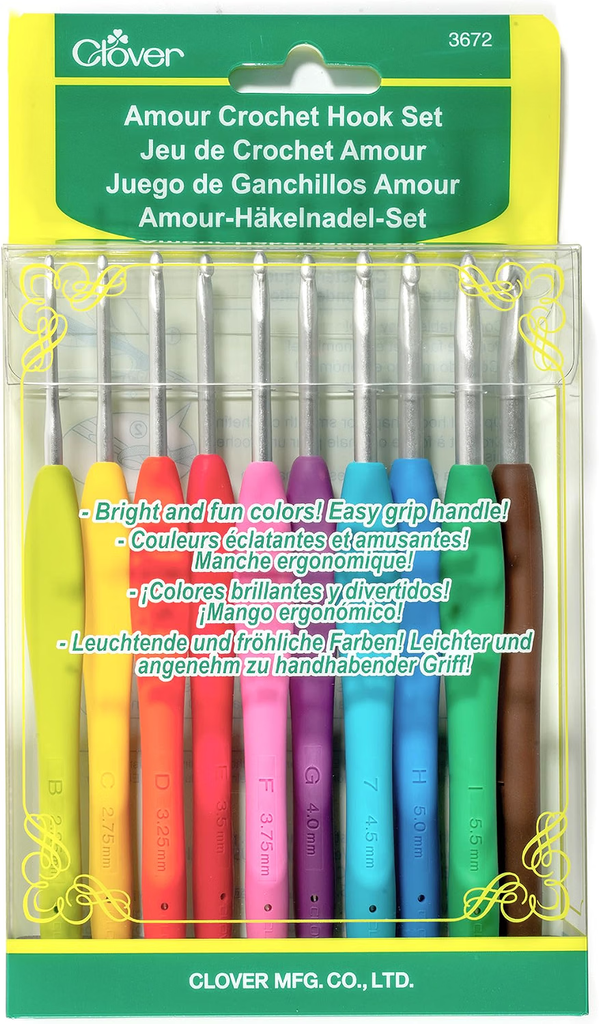
If you purchase a hook set, check that it includes both 4.25 mm and 5 mm sizes, or purchase the required sizes individual.
Tips for Making Beautiful Crochet Keyhole Booties
A few small details can make a big difference in the finished appearance of your booties.
Maintain Consistent Tension
Try to keep your stitches approximately the same size throughout the project. Uneven tension can make one bootie larger than the other.
If you notice that your stitches are becoming tighter as you work, take a short break and relax your hands.
Choose Light Blue Yarn
Blue is a lovely choice for baby accessories. It gives the booties a soft, peaceful appearance and pairs beautifully with white, cream, and pastel-colored baby clothing.
Some beautiful color combinations include:
- Baby blue with white edging
- Powder blue with ivory details
- Sky blue with pale gray accents
- Dusty blue with cream ties
Make the Edges Neat
Pay special attention to the opening and toe area. Loose loops and uneven edges can make handmade footwear look unfinished.
Use a tapestry needle to weave in yarn ends securely.
Check the Fit
Before gifting the booties, check the finished measurements and make sure there are no tight areas, rough yarn ends, or loose decorative pieces.
These are decorative accessories, not walking shoes. They should never be used as footwear for a baby who is standing or walking.
How to Care for Handmade Crochet Baby Booties
Handmade baby accessories need gentle care to maintain their shape and appearance.
Here are a few suggestions:
- Follow the washing instructions on the yarn label.
- Use a gentle detergent suitable for delicate clothing.
- Avoid harsh chemicals and bleach.
- Reshape the booties gently after washing.
- Allow them to dry completely before storing.
If you are making these booties as a gift, including a small care instruction card is a thoughtful finishing touch.
Frequently Asked Questions
Are crochet keyhole booties suitable for beginners?
They can be suitable for confident beginners who understand basic crochet stitches. However, the shaping and decorative opening require some attention. Practicing single crochet, half double crochet, and double crochet beforehand will help.
What yarn should I use for crochet baby booties?
Choose a soft, smooth yarn that is suitable for baby projects. Worsted-weight yarn is specified in the original design. Always check the yarn weight and gauge before starting.
What crochet hook size is needed?
The original design specifies a 5 mm (H) hook and a 4.25 mm (G) hook. Use the sizes indicated in your purchased pattern and check your gauge.
What sizes are available?
The original pattern lists four sizes: 0–3 months, 3–6 months, 6–9 months, and 9–12 months.
Can I make these booties in different colors?
Absolutely! Although I’m using a soft blue theme for this project, you can choose pink, cream, white, lavender, or any color that matches your preferred baby outfit.
Are keyhole booties good baby shower gifts?
Yes! Handmade booties make thoughtful baby shower gifts because they are personal, practical accessories, and can be coordinated with other handmade baby items.
Final Thoughts
Crochet keyhole baby booties are a lovely way to create something special for a little one. Their delicate opening, charming lace detail, and classic baby-shoe shape make them a beautiful addition to any handmade baby collection.
I especially love the idea of making them in soft blue with little ivory accents. They would look adorable paired with a handmade baby dress, cardigan, or matching crochet hat.
Remember to pay attention to your stitch tension, check your measurements, and choose comfortable yarn. These small details help create a more polished finished project.
Whether you’re making a pair for your own baby, preparing a baby shower gift, or adding another handmade design to your crochet collection, these booties are a sweet project worth exploring.
Happy crocheting!